Transform with a Custom Frame
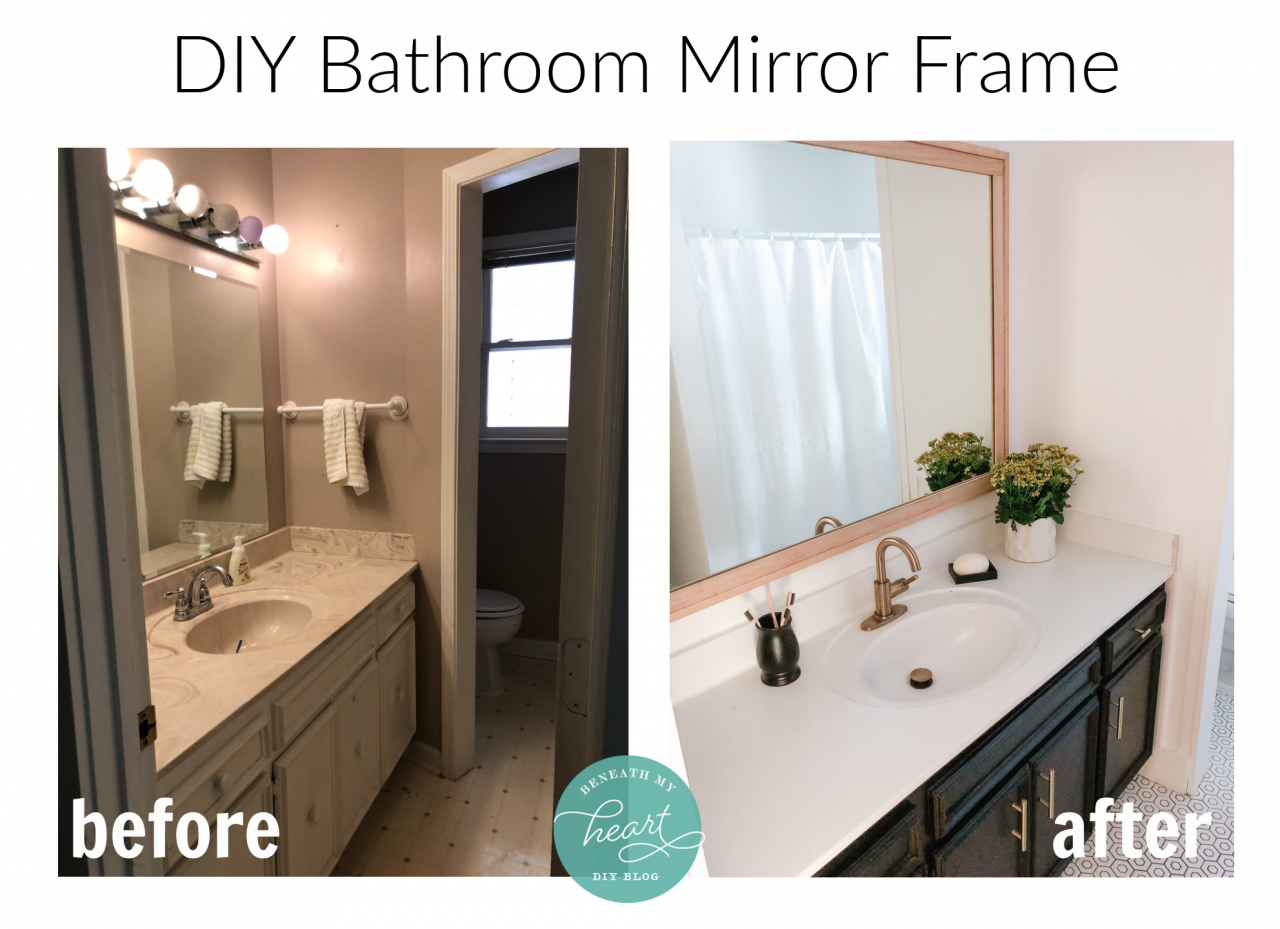
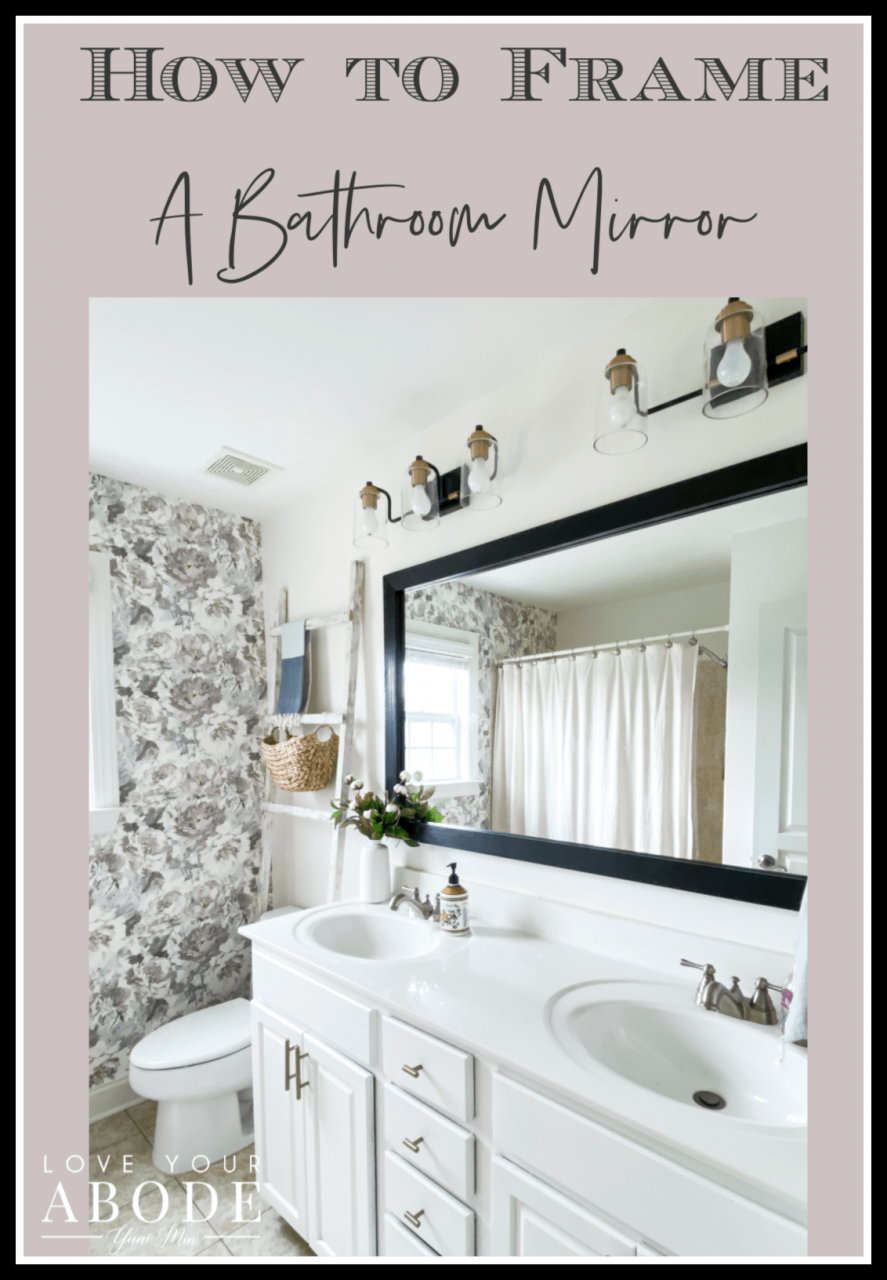
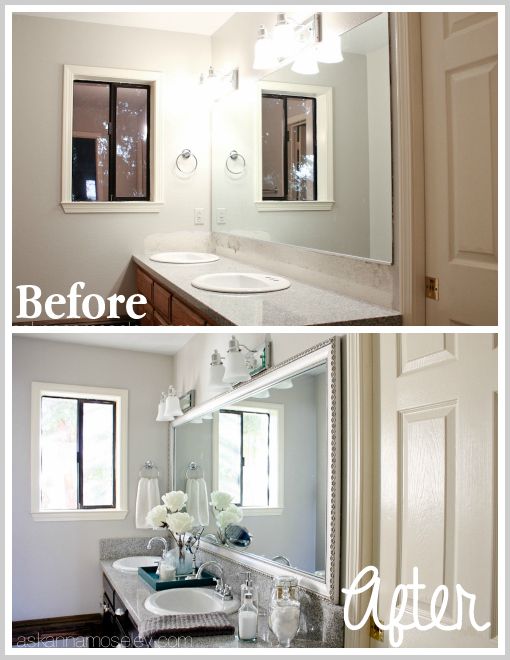
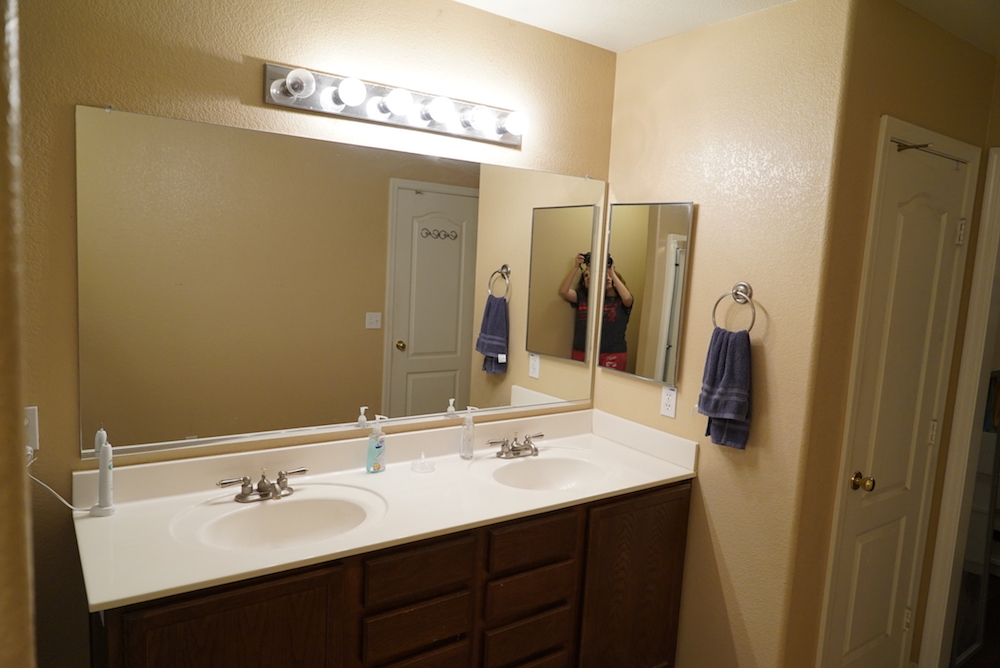
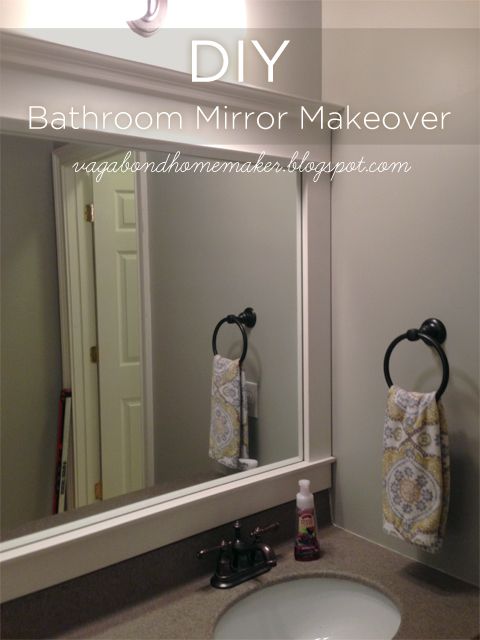
When I first looked at my bathroom mirror, it seemed a bit dull and lifeless. I realized that adding a custom frame could transform it into a stunning focal point. Here’s how I did it:
- Choose Your Frame Material: The first step in my DIY project was selecting the right frame material. I explored various options, including wood, metal, and even mosaic tiles. I decided on a sleek wooden frame for a warm, inviting look that complemented my bathroom decor.
- Measure and Cut: Accurate measurements were crucial to ensure the frame fit perfectly around the mirror. I carefully measured the dimensions and cut the wood accordingly. For those who aren’t comfortable with power tools, many home improvement stores offer cutting services.
- Assemble the Frame: After cutting the pieces, I assembled the frame using wood glue and corner brackets for added stability. This step required a bit of patience to ensure the corners aligned perfectly, but the result was a sturdy, well-constructed frame.
- Sand and Paint/Stain: To achieve a smooth finish, I sanded the frame thoroughly. Then, I chose a rich mahogany stain to give it a polished look. Alternatively, painting the frame in a bold color can add a fun, modern touch to the bathroom.
- Attach the Frame to the Mirror: With the frame ready, I attached it to the mirror using a strong adhesive suitable for glass. I made sure to apply even pressure to avoid any gaps or misalignment. After allowing it to dry overnight, the transformation was almost complete.
- Finishing Touches: Finally, I added some decorative accents, like small metal brackets and a coat of clear sealant to protect the wood. The custom frame completely revitalized my bathroom mirror, making it a beautiful, eye-catching feature in the room.

Add a Splash of Color with Paint
Looking at my plain bathroom mirror, I realized it needed a vibrant makeover. Adding a splash of color with paint was an easy and cost-effective way to breathe new life into it. Here’s how I did it:
Choose the Right Paint The first step was selecting the right type of paint. I opted for a high-quality acrylic paint that adhered well to glass. I also chose a bright teal color to add a pop of vibrancy to my bathroom. The color selection process was exciting as I imagined different possibilities.
Prepare the Surface Before painting, I cleaned the mirror frame thoroughly to remove any dust and grime. For those without a frame, painter’s tape can be used to create clean lines directly on the mirror. I ensured the surface was dry and smooth, ready to absorb the paint.
Prime the Frame Applying a primer was essential to help the paint adhere better and last longer. I used a glass-friendly primer and let it dry completely. This step provided a solid base for the vibrant color I was about to add.
Paint the Frame With everything prepped, I began painting the frame. Using a small, high-quality brush, I applied the teal paint in even strokes. Multiple thin coats worked best to avoid drips and achieve a smooth finish. Watching the transformation was incredibly satisfying.
Seal the Paint Once the paint dried, I applied a clear sealant to protect the finish and add a subtle sheen. The sealant also made the frame easier to clean, ensuring the vibrant color would last for years. This final touch added durability and a polished look.
Rehang the Mirror After allowing the sealant to dry overnight, I rehung the mirror. The splash of color instantly brightened up the bathroom, adding a cheerful and personalized touch. It was a simple DIY project that made a significant impact.
Illuminate with Integrated Lighting
Realizing my bathroom mirror lacked adequate lighting, I decided to add integrated lighting to enhance both functionality and aesthetics. Here’s how I transformed my mirror with this DIY project:
Choose the Right Lighting I started by selecting the right type of lighting. LED strip lights were a perfect choice due to their energy efficiency and flexibility. I chose a soft white light to create a warm and inviting ambiance in the bathroom.
Measure and Plan Accurate measurements were crucial for this project. I carefully measured the mirror’s dimensions and planned where the lights would be placed. I decided to install the lights around the mirror’s perimeter for even illumination.
Prepare the Mirror Before attaching the lights, I cleaned the mirror’s edges to ensure the adhesive would stick properly. I also ensured the mirror was dry and free from any dust or residue. Proper preparation was essential for a seamless installation.
Install the LED Strip Lights With the mirror prepped, I began installing the LED strip lights. I carefully adhered the strips along the mirror’s edges, pressing firmly to ensure they stayed in place. The adhesive backing made this step straightforward and hassle-free.
Connect and Hide the Wires After installing the lights, I connected the strips to the power source. Hiding the wires was important for a clean look, so I used cable clips and adhesive channels to keep them out of sight. This step required some creativity but resulted in a tidy finish.
Enjoy the Enhanced Lighting Once everything was connected, I switched on the lights and admired the transformation. The integrated lighting not only improved visibility but also added a modern, luxurious feel to my bathroom. It was a practical and aesthetic upgrade that made a huge difference.
Create a Statement with Decorative Molding
When I wanted to give my bathroom mirror a sophisticated makeover, I decided to add decorative molding. This DIY project turned my plain mirror into an elegant statement piece. Here’s how I did it:
Select Your Molding The first step was choosing the right decorative molding. I visited a home improvement store and found a variety of options. I opted for a classic, ornate design that matched the existing decor in my bathroom. The selection process was exciting as I envisioned different looks.
Measure and Cut Precise measurements were essential to ensure the molding fit perfectly around the mirror. I carefully measured each side and used a miter saw to cut the molding at 45-degree angles for seamless corners. This step required attention to detail but was crucial for a professional finish.
Prepare the Molding Before attaching the molding, I sanded the edges to smooth out any rough spots. I also primed the molding to ensure the paint would adhere properly. This preparation step was key to achieving a polished and durable result.
Attach the Molding I used a strong adhesive to attach the molding to the mirror frame. Applying even pressure, I ensured each piece was securely in place. For added stability, I used finishing nails to reinforce the corners. This step required patience and precision.
Paint and Seal Once the molding was attached, I painted it to match the bathroom’s color scheme. I chose a glossy white paint to add a touch of elegance. After the paint dried, I applied a clear sealant to protect the finish and make cleaning easier.
Admire the Transformation The decorative molding completely transformed my bathroom mirror, making it a stunning focal point. The intricate details and elegant design added a touch of sophistication that enhanced the entire space. It was a rewarding DIY project that elevated my bathroom’s style.
Incorporate Storage with Shelf Mirrors
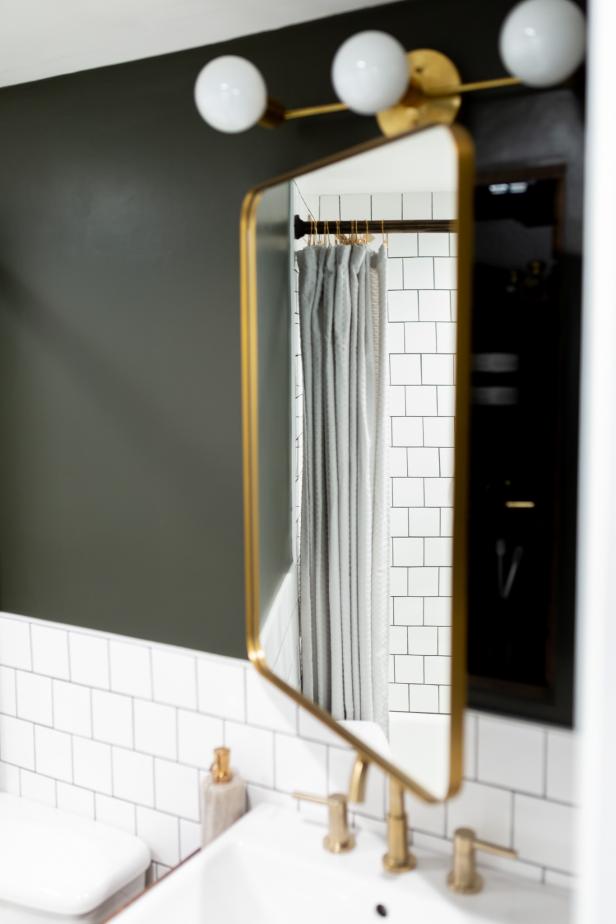
During my bathroom makeover, I realized I needed more storage space. Incorporating a shelf mirror was the perfect solution to combine style and functionality. Here’s how I did it:
Choose Your Shelf Mirror The first step was selecting the right shelf mirror. I found a variety of options online and at home improvement stores. I opted for a modern design with a sleek glass shelf integrated into the mirror. The choice added both storage and a contemporary touch to my bathroom.
Measure and Plan Accurate measurements were crucial to ensure the shelf mirror fit perfectly. I measured the available wall space and planned where the mirror would be placed. This step helped me visualize the final look and ensured a balanced arrangement.
Prepare the Wall Before installing the shelf mirror, I prepared the wall by cleaning it thoroughly and marking the placement. I used a level to ensure the mirror would be perfectly aligned. Proper preparation was key to achieving a professional and secure installation.
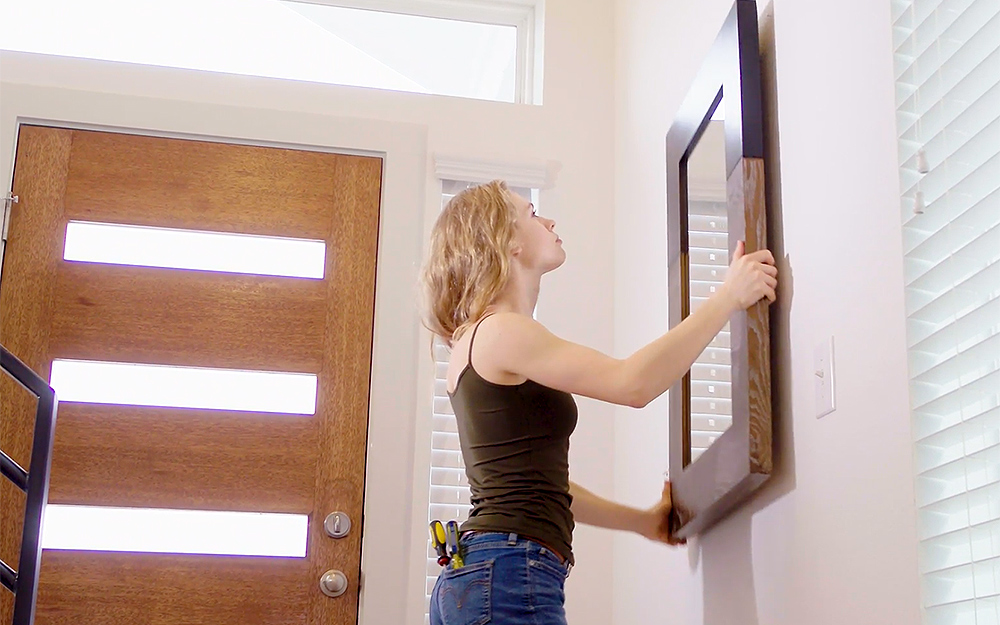
Install the Shelf Mirror With everything ready, I began installing the shelf mirror. I used wall anchors and screws to secure it in place, following the manufacturer’s instructions. This step required precision to ensure the mirror was stable and safe for use.
Organize and Decorate Once the mirror was installed, I started organizing the shelf. I placed essential items like toiletries and decorative elements such as small plants and candles. The added storage space was incredibly convenient and helped keep my bathroom clutter-free.
Enjoy the Enhanced Functionality The shelf mirror not only added a stylish touch to my bathroom but also provided much-needed storage space. It was a practical upgrade that enhanced functionality and made my daily routine more efficient. The project was a perfect blend of form and function.
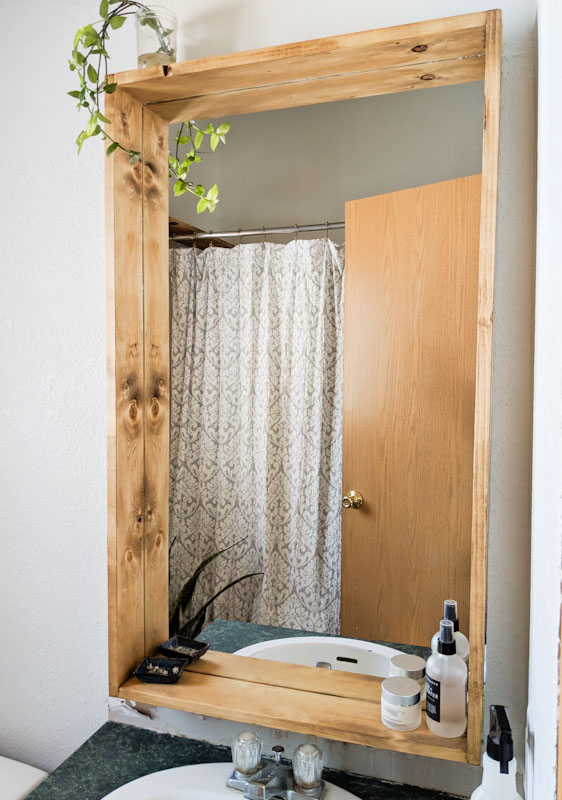
Go Rustic with Reclaimed Wood
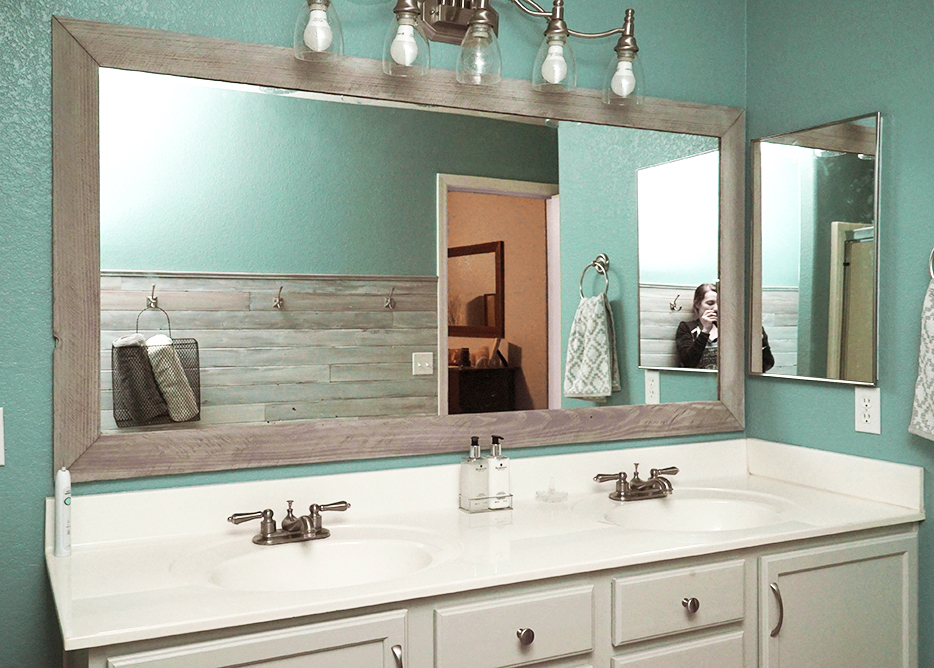
To give my bathroom mirror a warm and rustic makeover, I decided to use reclaimed wood. This DIY project added character and charm, transforming my mirror into a unique focal point. Here’s how I did it:
Source Reclaimed Wood The first step was finding the right reclaimed wood. I visited local salvage yards and flea markets, looking for pieces with interesting textures and patinas. I eventually found a batch of old barn wood that had the perfect rustic look.
Prepare the Wood Before using the reclaimed wood, I cleaned and sanded it to remove any dirt and rough spots. This step was essential to ensure the wood was safe and ready for use. I loved seeing the natural beauty of the wood emerge during this process.
Measure and Cut Accurate measurements were crucial for this project. I carefully measured the mirror and cut the wood to fit around it. I used a miter saw to create precise angles for the corners, ensuring a seamless fit. This step required attention to detail but was worth the effort.
Assemble the Frame With the pieces cut, I assembled the frame using wood glue and finishing nails. I loved the rustic, imperfect look of the reclaimed wood. Each piece had its own unique character, adding to the overall charm of the mirror.
Attach the Frame to the Mirror I used a strong adhesive to attach the wooden frame to the mirror. Applying even pressure, I ensured the frame was securely in place. The reclaimed wood added a warm, natural element that completely transformed the mirror’s appearance.
Finishing Touches To protect the wood and enhance its natural beauty, I applied a clear sealant. This step added a subtle sheen and made the frame easier to clean. The reclaimed wood frame gave my bathroom mirror a rustic, cozy feel that I absolutely loved.
Embrace Minimalism with Frameless Mirrors
Wanting to create a sleek and modern look in my bathroom, I decided to embrace minimalism with a frameless mirror. This simple yet elegant upgrade made a significant impact. Here’s how I did it:
Choose a Frameless Mirror The first step was selecting the right frameless mirror. I found various shapes and sizes at home improvement stores and online. I opted for a large, rectangular mirror with polished edges to add a touch of sophistication to my bathroom.
Measure and Plan Accurate measurements were crucial for this project. I measured the available wall space and planned where the mirror would be placed. This step helped me visualize the final look and ensured a balanced arrangement.
Prepare the Wall Before installing the frameless mirror, I prepared the wall by cleaning it thoroughly and marking the placement. I used a level to ensure the mirror would be perfectly aligned. Proper preparation was key to achieving a professional and seamless installation.
Install the Frameless Mirror With everything ready, I began installing the frameless mirror. I used mirror clips and adhesive to secure it in place, following the manufacturer’s instructions. This step required precision to ensure the mirror was stable and safe for use.
Create a Clean, Modern Look The frameless design added a sleek and modern touch to my bathroom. Without a bulky frame, the mirror seamlessly blended with the wall, creating a clean and uncluttered look. I loved how it made the bathroom feel more spacious and open.
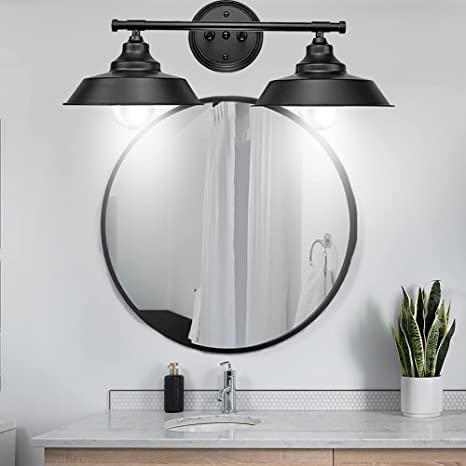
Enhance with Minimalist Decor To complement the frameless mirror, I added minimalist decor elements such as simple light fixtures and a few carefully chosen accessories. The result was a stylish, contemporary bathroom that felt both luxurious and inviting. It was a perfect example of how less can truly be more.
DIY Bathroom Mirror Frame
Bathroom Mirror Makeover
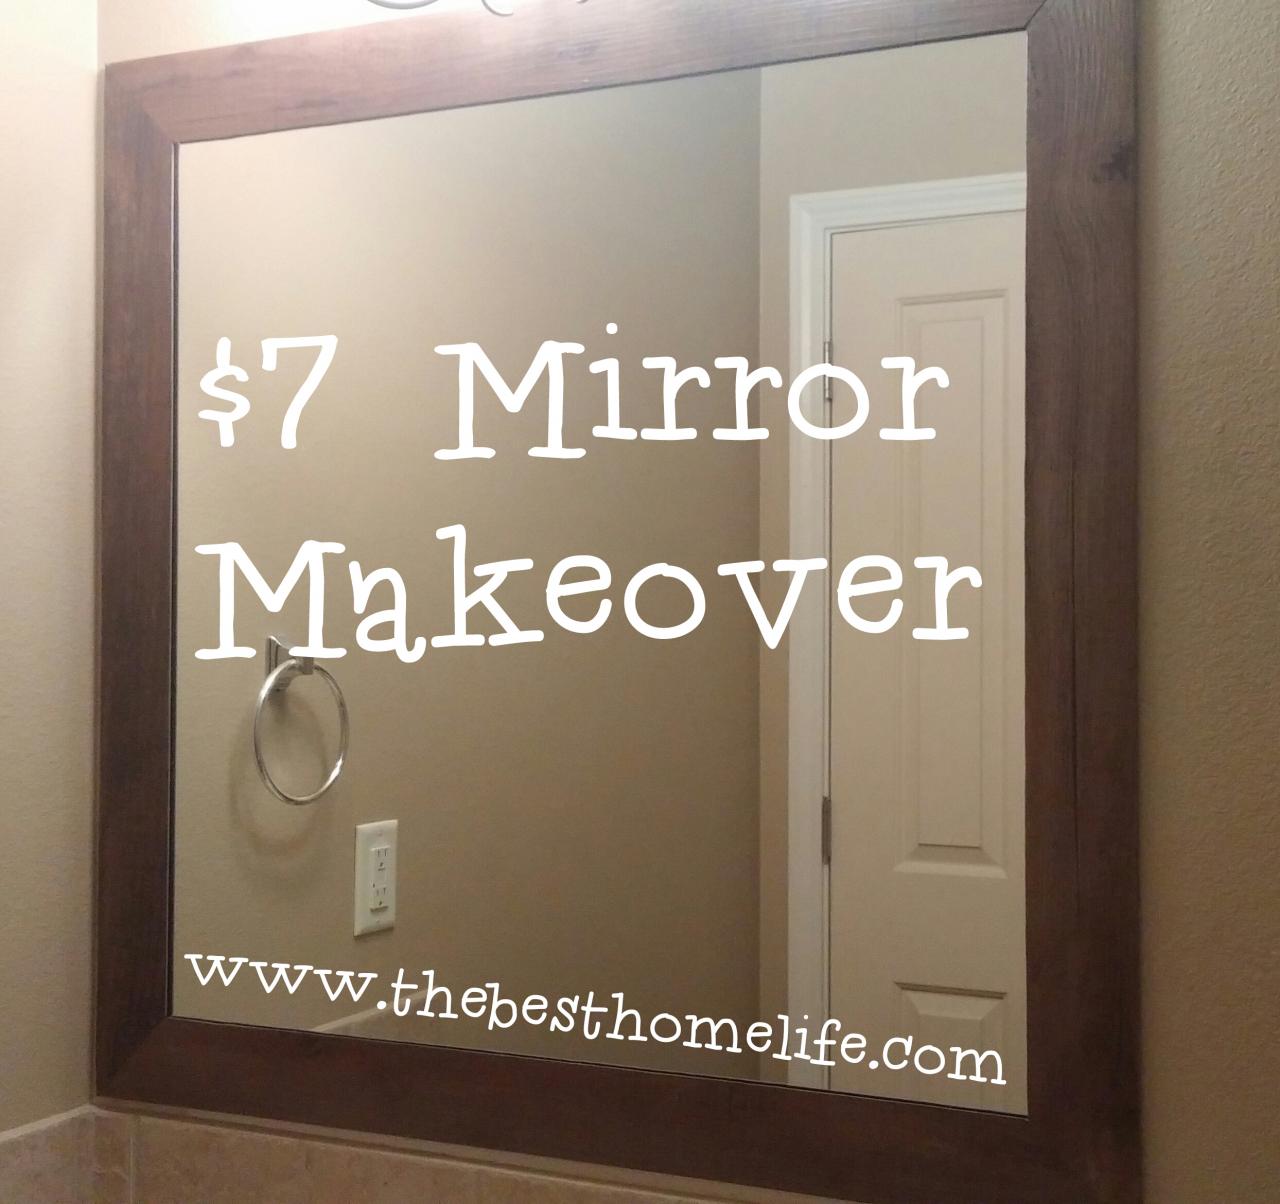
$7 Mirror Makeover
Easy and Quick Mirror Makeover Simply Tale
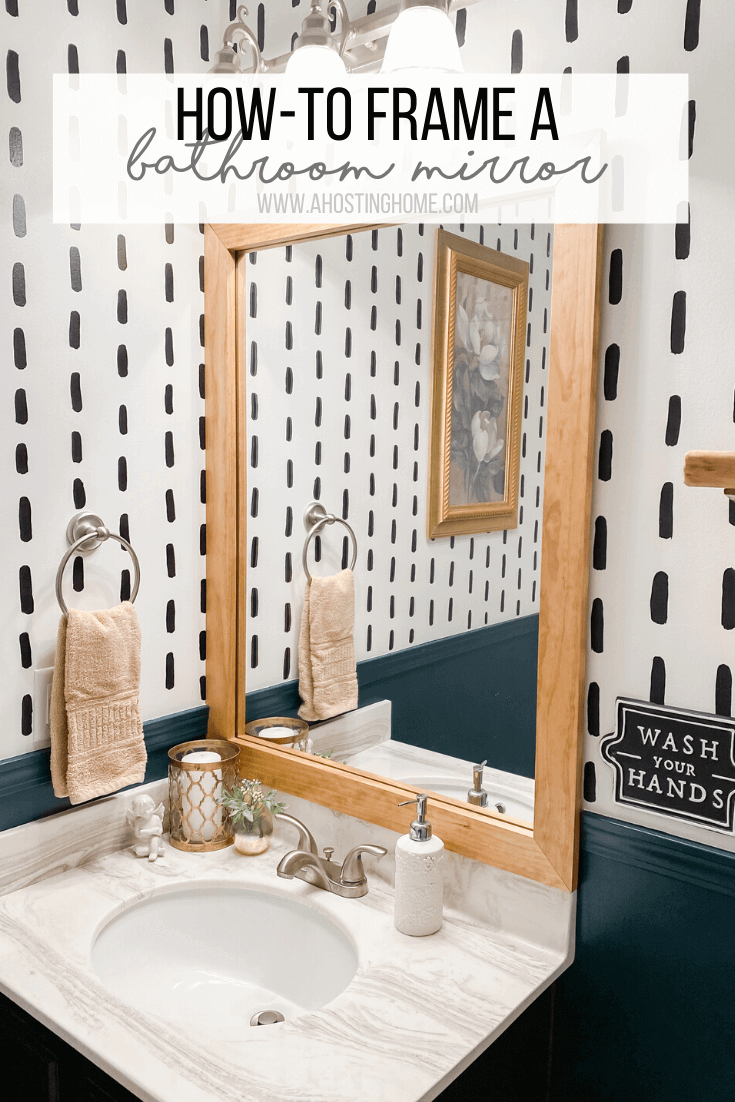
How-To Frame a Bathroom Mirror
DIY Bathroom Mirror Frame for Under $10
DIY Bathroom Mirror Makeover Bathroom
Related Posts:
- Framing In A Bathroom Mirror
- Large Bathroom Mirror Redo
- Bathroom Mirror With Magnifying
- Bathroom Mirror With Light And Shaving Point
- Bathroom Mirror Cabinet With Demister
- Bathroom Mirror Camera
- Bathroom Mirrors Extendable
- Bathroom Mirrors Kohler
- Custom Made Bathroom Mirror Cabinets
- Round Gold Bathroom Mirror

