How to Identify Different Types of Bathroom Faucet Handles
Bathroom faucet handles come in various shapes, sizes, and designs. Identifying the type of handle you have is crucial for successfully removing it. Below are the different types of bathroom faucet handles and provide you with the necessary knowledge to identify them.
- Knob Handles: Knob handles are the most common type found in bathrooms. They are round or square-shaped and are typically attached to a stem that controls the water flow and temperature. To identify a knob handle, look for a single, centralized handle that can be turned in either direction.
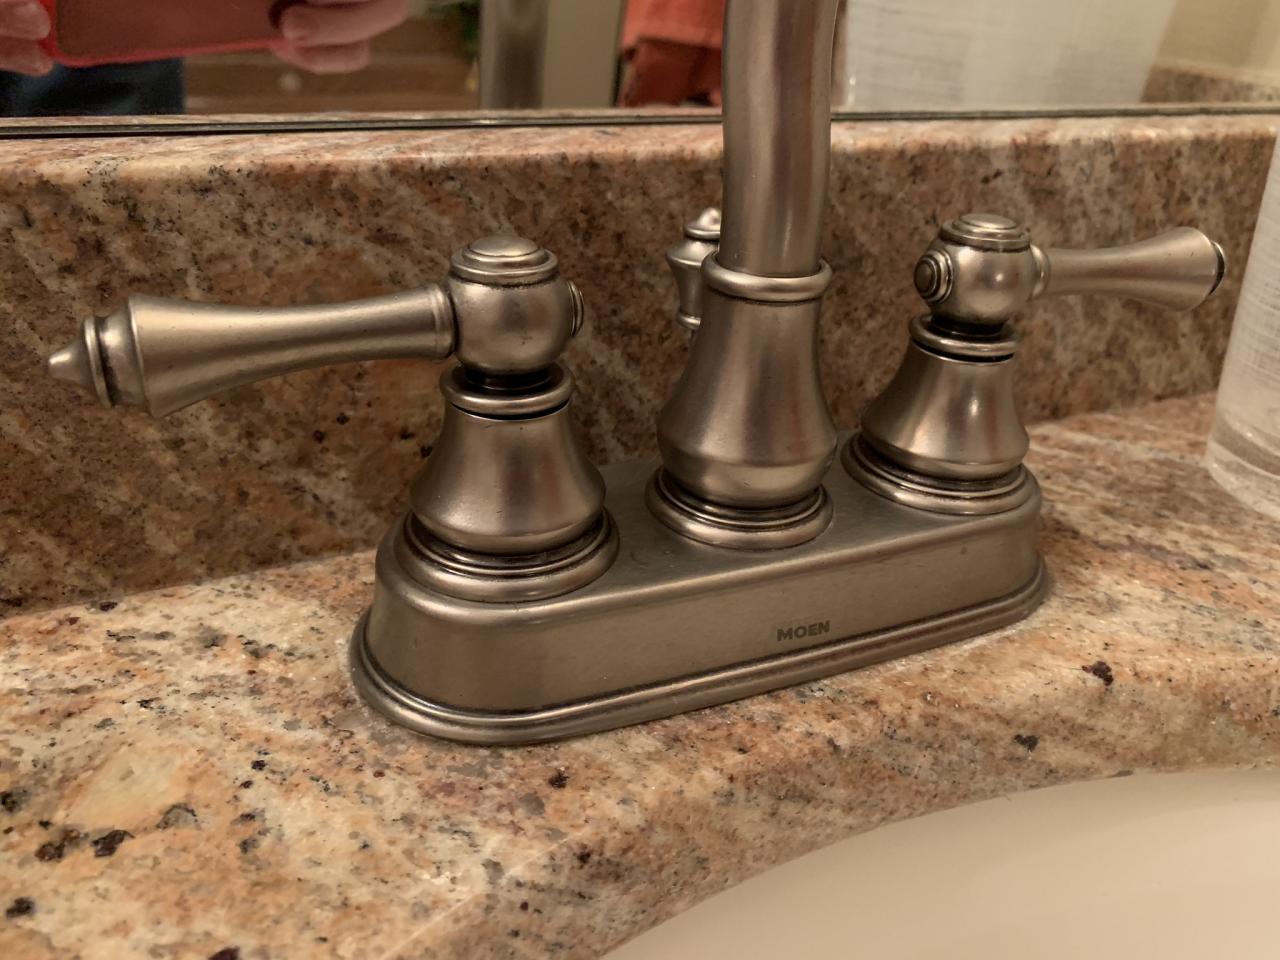
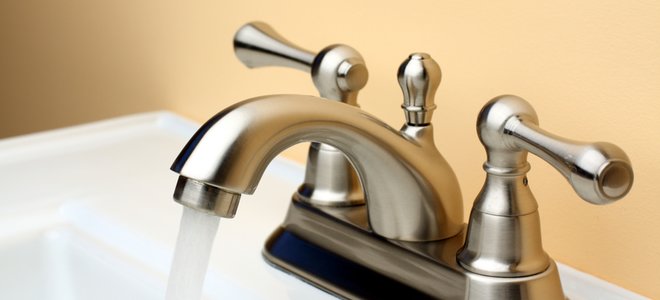
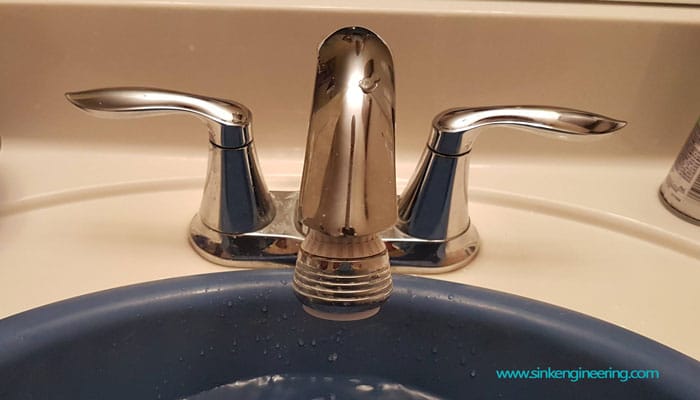
- Lever Handles: Lever handles are another popular choice for bathroom faucets. They have a sleek and modern design and are easy to operate. Lever handles can be recognized by their elongated shape, which allows for smooth and effortless movement. Unlike knob handles, lever handles move up and down or side to side to control the water flow and temperature.
- Cross Handles: Cross handles have a distinct cross-shaped design, with separate handles for hot and cold water. They exude a classic and elegant look, often found in traditional or vintage-style bathrooms. To identify cross handles, look for two separate handles, usually with “H” and “C” labels, denoting hot and cold.
- Touchless or Sensor-Activated Handles: With advancements in technology, touchless or sensor-activated handles have gained popularity. These handles operate with the wave of a hand, making them hygienic and convenient. They often feature a small sensor near the base of the faucet, which detects motion and activates the water flow.
Tools and Materials You’ll Need
Removing a bathroom faucet handle requires the right tools and materials to ensure a safe and efficient process. Below are the essential tools and materials you’ll need to successfully remove a bathroom faucet handle.
Adjustable Wrench: An adjustable wrench is a versatile tool that can be adjusted to fit different sizes of nuts and bolts. It is essential for loosening and removing the nut that secures the handle to the faucet. Ensure you have an adjustable wrench that fits the size of the nut on your specific faucet.
Screwdriver: A screwdriver is necessary for handles that are held in place with screws. Depending on the type of screws used, you may need a Phillips or flathead screwdriver. Always use the correct size and type of screwdriver to avoid damaging the screws or handle.
Allen Wrench: Some faucet handles are secured with Allen screws, which require an Allen wrench for removal. Check if your faucet handle has visible Allen screws and acquire the appropriate size of Allen wrench.
Plumber’s Tape: Plumber’s tape, also known as Teflon tape, is used to create a watertight seal when reinstalling the faucet handle. Wrap a few layers of plumber’s tape around the stem threads before reattaching the handle to prevent any leaks.
Removing Different Types of Bathroom Faucet Handles
Removing a bathroom faucet handle may seem like a daunting task, but with the right guidance, it can be a straightforward process. We will provide you with a step-by-step guide on removing different types of bathroom faucet handles.
Knob Handles:
- Turn off the water supply to the faucet by locating the shut-off valves under the sink.
- Use an adjustable wrench to loosen the nut securing the handle to the faucet stem.
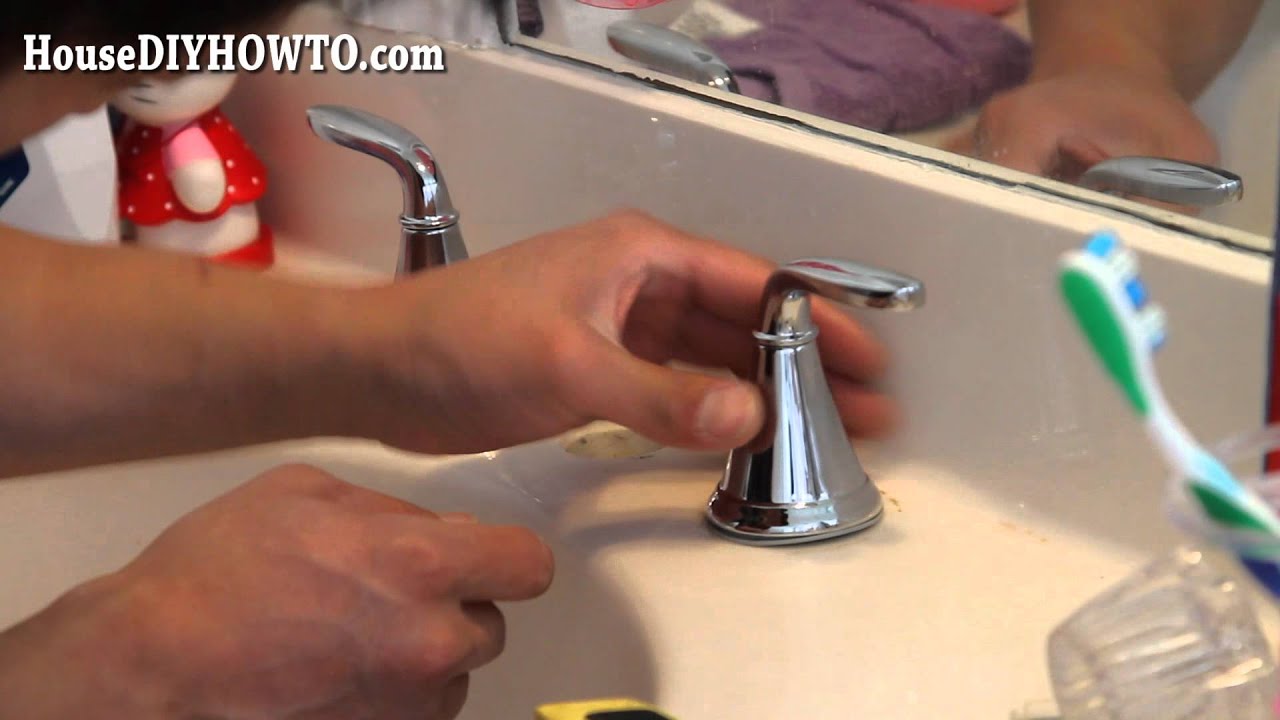
- Once the nut is loose, carefully pull the handle straight out to remove it.
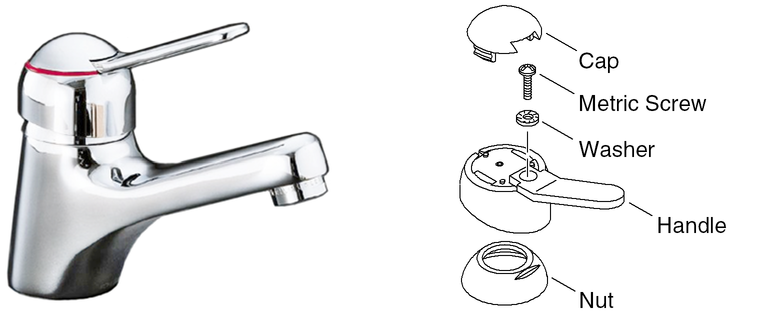
Lever Handles:
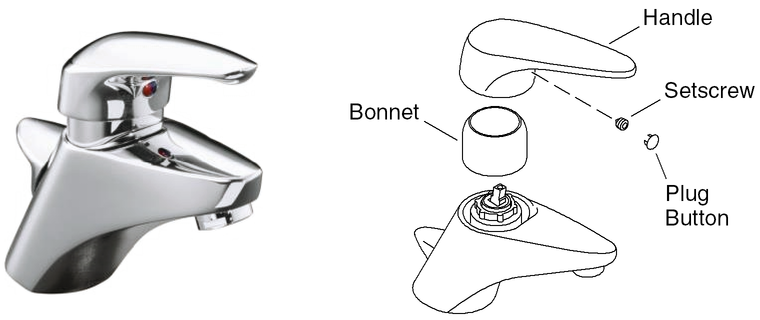
- Turn off the water supply and locate the set screw on the handle.
- Use the appropriate screwdriver to remove the set screw.
- Gently pull the lever handle away from the faucet to detach it from the stem.
Cross Handles:
- Shut off the water supply and locate the set screws on the base of each handle.
- Use a screwdriver to remove the set screws.
- With the set screws removed, the cross handles can be pulled straight up to detach them from the faucet.
Touchless or Sensor-Activated Handles:
- Turn off the water supply and locate the sensor or control box.
- Disconnect the sensor/control box from the faucet using the appropriate method specified by the manufacturer.
- Once disconnected, the touchless handle can be easily removed by pulling it straight off the stem.
Troubleshooting Common Issues
Dealing with stuck or stubborn bathroom faucet handles can be frustrating. However, there are solutions to troubleshoot and resolve these issues. We will explore common problems with faucet handles and provide you with solutions to overcome them.
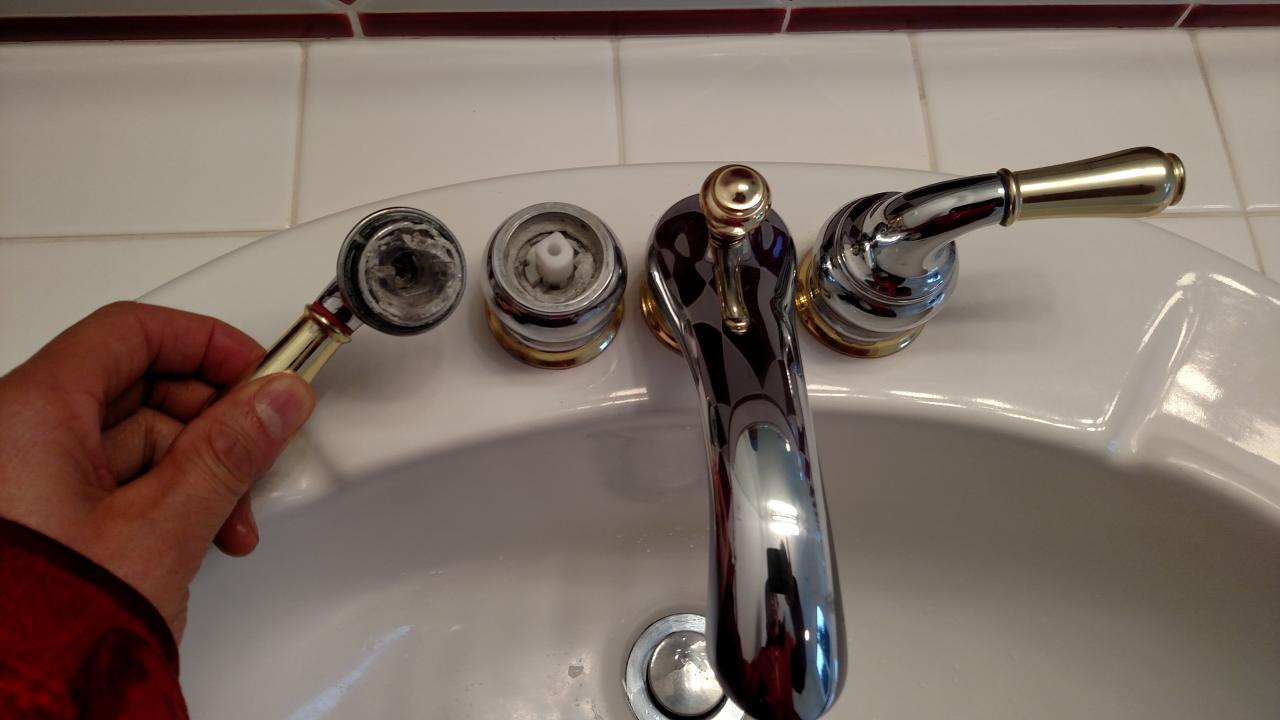
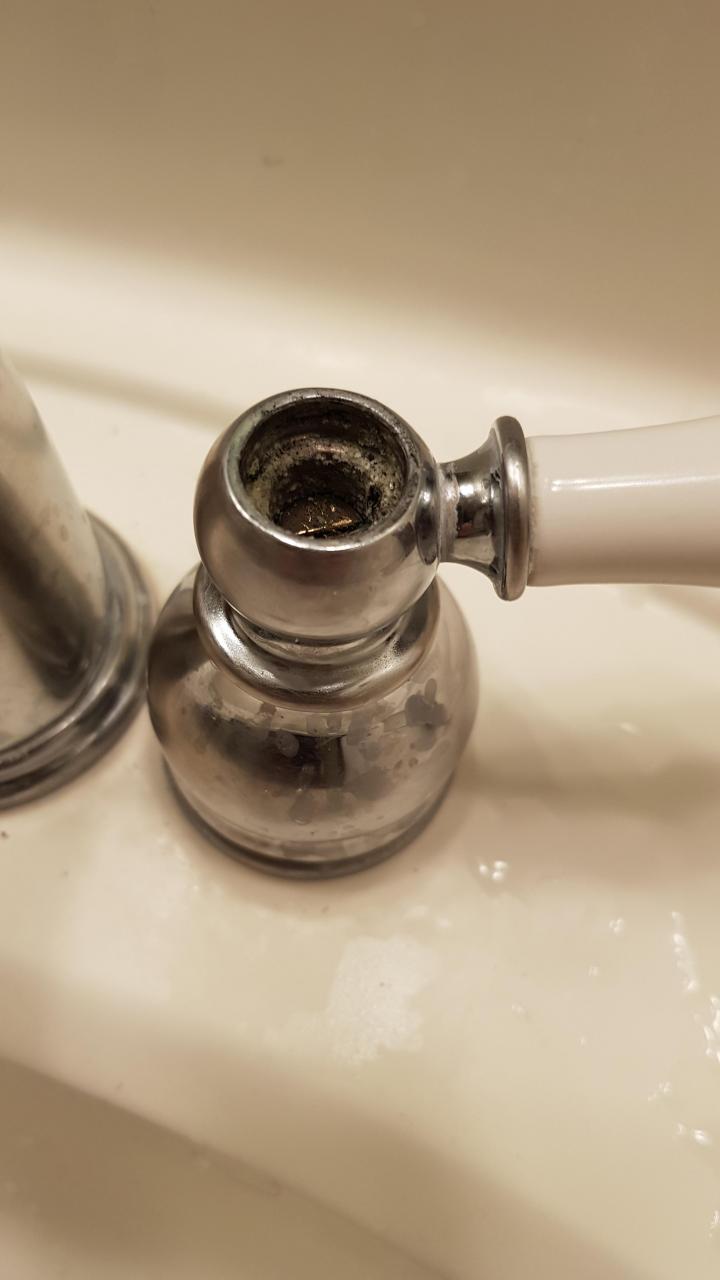
Accumulated Mineral Deposits: Mineral deposits can build up over time, causing handles to become stuck. To address this issue, try soaking the handle in a mixture of equal parts vinegar and water. After soaking for a few hours, gently scrub away the mineral deposits with a soft brush or toothbrush. Rinse thoroughly and attempt to remove the handle again.
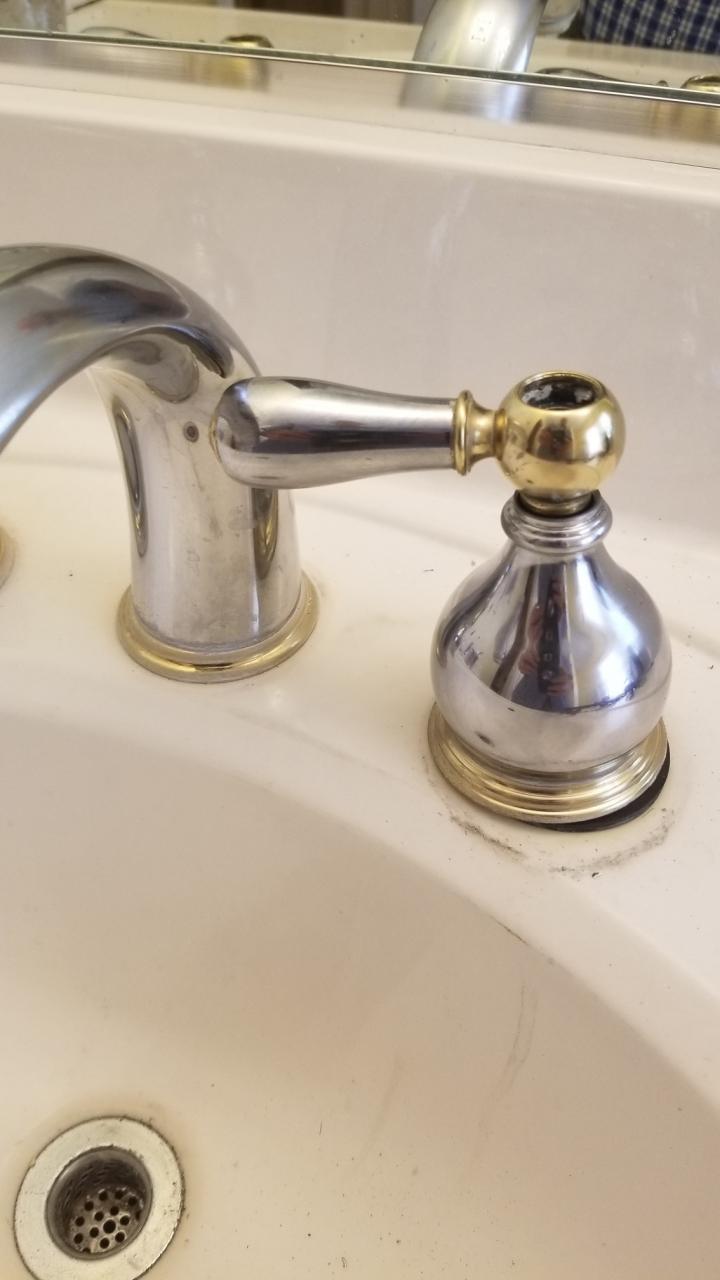
Corroded or Rusty Components: Corrosion or rust can make handles difficult to remove. Apply a penetrating oil, such as WD-40, to the area where the handle connects to the stem. Allow the oil to penetrate for a few minutes, then use an adjustable wrench or pliers to gently twist and remove the handle.
Stripped or Damaged Threads: If the threads on the handle or stem are stripped or damaged, removal becomes challenging. In such cases, you may need to replace the entire faucet assembly. Consult a professional plumber or refer to the manufacturer’s instructions for guidance on replacing the faucet.
Tightened Set Screws: Sometimes, set screws can be tightened excessively, making it difficult to remove the handle. Loosen the set screws by turning them counterclockwise with the appropriate screwdriver. Apply gentle pressure while turning to avoid damaging the screws or handle.
Expert Tips and Tricks
Removing bathroom faucet handles requires precision and care to avoid any damage. We will provide you with expert tips and tricks to safely remove bathroom faucet handles, ensuring a smooth and successful removal process.
Take Precautions: Before starting the removal process, turn off the water supply to the faucet to prevent any accidental leaks or water damage. Place a cloth or towel in the sink to catch any small parts or prevent them from falling down the drain.
Apply Heat: If you’re dealing with a stubborn handle, use a hairdryer to apply heat to the handle and surrounding area. The heat will help expand the metal, making it easier to loosen the handle. Be cautious not to overheat or damage any surrounding components.
Use Lubricants: Applying a lubricant, such as silicone spray or penetrating oil, can help loosen a tight or stuck handle. Apply the lubricant to the area where the handle connects to the stem and allow it to penetrate for a few minutes before attempting to remove the handle.
Seek Professional Help: If you’re unsure or uncomfortable with removing a bathroom faucet handle, it’s always best to seek professional assistance. A plumber or experienced handyman can provide expert guidance and ensure the removal process is done safely and correctly.
Leaky bathroom faucet – can’t find screw on handle

removing faucet handle bathroom sink
How to Remove Faucet Handles
Help removing bathroom faucet handle

How Do I Replace Bathroom Sink Faucet Handles?

How to Fix a Leaky Faucet

Single-Handle Bathroom Sink Faucets – Handle Removal u2013 KOHLER
How to Remove Bathroom Sink Faucet Handle That has No Screw
Related Posts:
- Elements Of Design Bathroom Faucets Reviews
- Moen Banbury Bathroom Faucet Brushed Nickel
- Labor Cost To Replace Bathroom Faucet
- How To Fix Leaky Bathroom Faucet Handle
- Delta Bathroom Faucet Repair Single Handle
- Where Is The Aerator On A Bathroom Faucet
- New Bathroom Faucet Leaking
- Glacier Bay Bathroom Faucets Reviews
- American Standard Cadet Bathroom Faucet
- Moen Brantford Single Handle Bathroom Faucet


