Embracing Creativity with DIY Bathroom Sinks
Creating a unique bathroom sink through DIY projects allows you to express your style while also saving money. Embracing creativity in your bathroom design can result in a stunning centerpiece that reflects your taste and ingenuity. Whether you prefer modern, rustic, or eclectic styles, DIY bathroom sinks offer endless possibilities.
- Personal Touch: One of the main advantages of DIY bathroom sinks is the opportunity to infuse your personality into your home decor. By designing and crafting your sink, you can ensure it aligns perfectly with your vision, making your bathroom a truly personalized space.
- Cost-Effective: DIY projects often cost significantly less than purchasing pre-made designer sinks. By using repurposed materials or crafting your sink from scratch, you can achieve a high-end look without the hefty price tag. This approach allows you to allocate more of your budget to other aspects of your bathroom renovation.
- Eco-Friendly: DIY bathroom sinks often involve repurposing or upcycling materials, which is an environmentally friendly choice. By reusing items that might otherwise end up in a landfill, you contribute to sustainability and reduce your carbon footprint. Plus, it’s a great way to give new life to old objects.
- Customization: DIY sinks offer unparalleled customization options. Whether you want a specific size, shape, or color, you have full control over the design process. This level of customization ensures that your sink perfectly fits your bathroom layout and aesthetic preferences.
- Sense of Accomplishment: Completing a DIY project provides a tremendous sense of satisfaction. The process of designing, creating, and installing your own bathroom sink can be incredibly rewarding. Each time you use your sink, you’ll be reminded of your creativity and hard work.
- Unique Design: DIY bathroom sinks can be one-of-a-kind. Unlike mass-produced sinks, a DIY creation is unique and can become a conversation piece. Guests will likely admire your handiwork, and you can take pride in having a bathroom that stands out from the rest.
Repurposed Objects: Turning Everyday Items into Unique Bathroom Sinks
Repurposing everyday objects into bathroom sinks is a creative and sustainable way to add character to your bathroom. This approach not only gives new life to old items but also results in a unique and personalized sink.
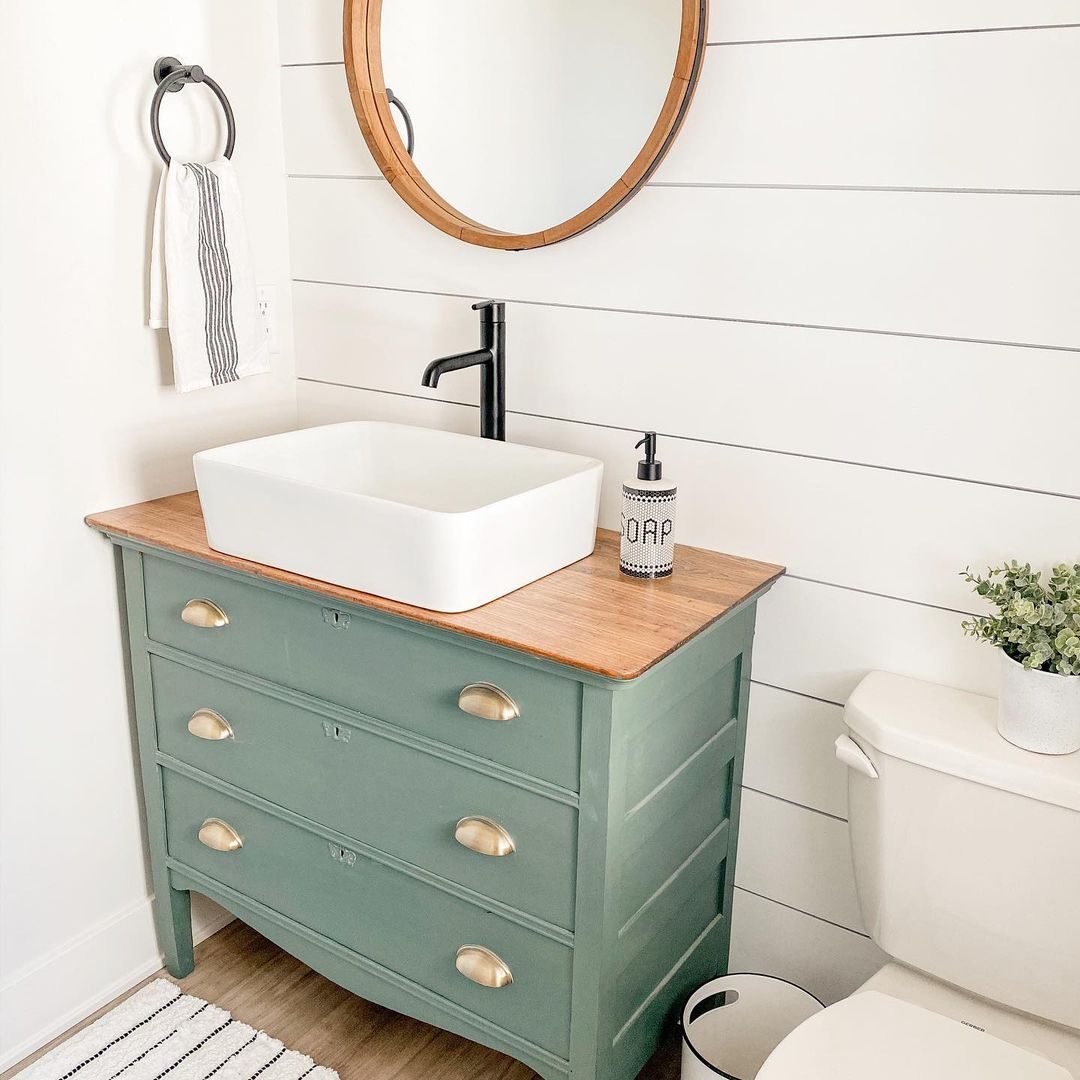
Vintage Furniture: One popular trend is converting vintage dressers or cabinets into bathroom vanities. By adding a sink basin to the top and making necessary plumbing adjustments, you can transform an old piece of furniture into a stylish and functional bathroom fixture.
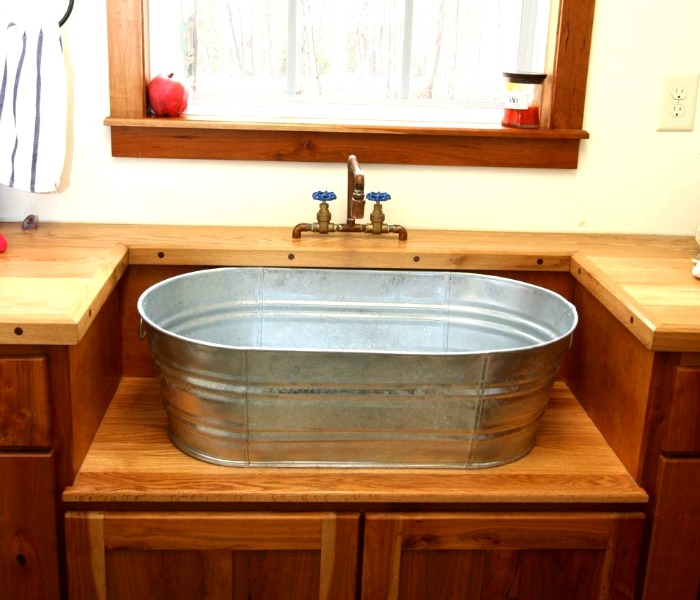
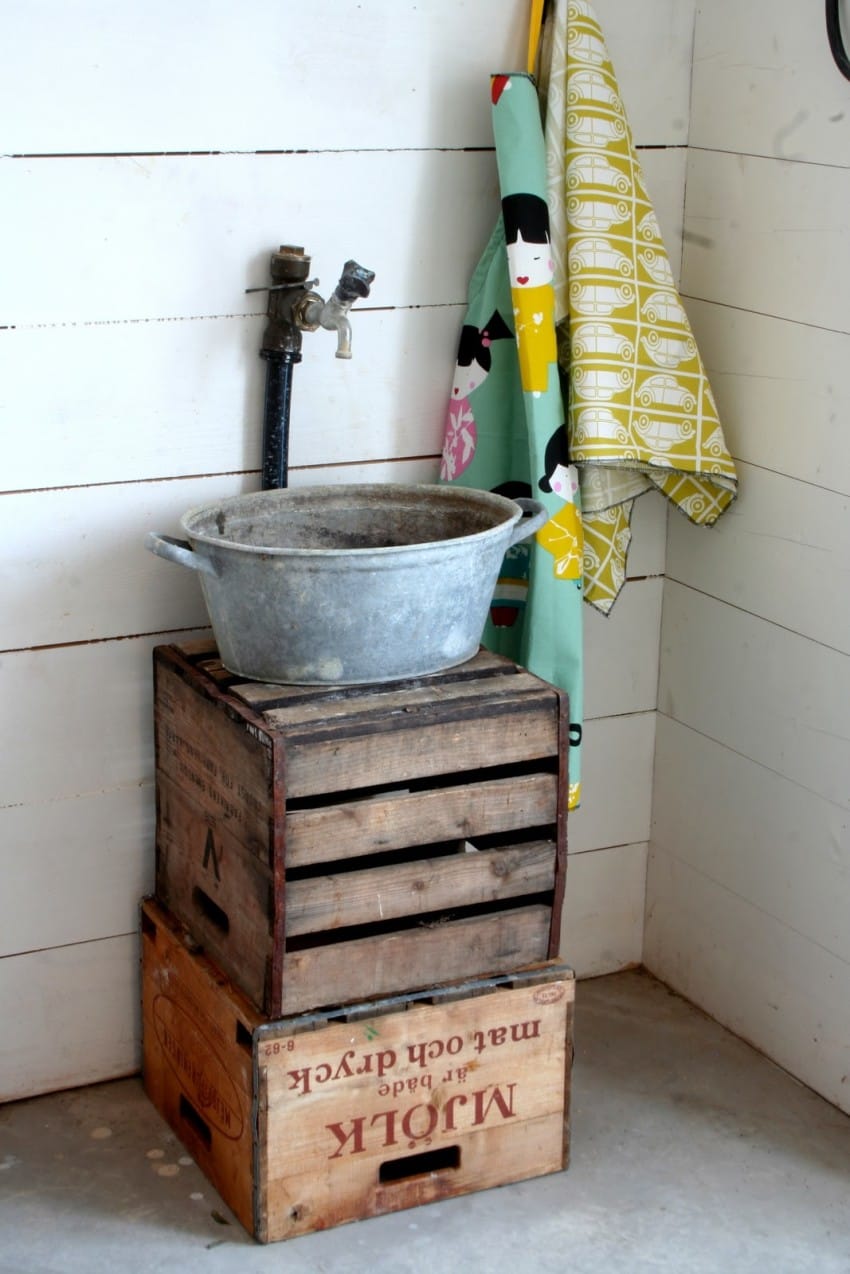
Farmhouse Finds: Items like old buckets, troughs, and basins can be repurposed into charming farmhouse-style sinks. These items often have a rustic appeal that adds warmth and character to your bathroom. With a bit of creativity, you can turn these simple objects into beautiful and functional sinks.
Industrial Objects: Repurposing industrial objects like metal drums or steel basins can give your bathroom a modern, edgy look. These materials are durable and add a unique industrial chic vibe to your space. Pair them with sleek fixtures and minimalistic decor for a cohesive look.
Ceramic Bowls: Decorative ceramic bowls, often found in home decor stores, can be transformed into stunning sink basins. These bowls come in a variety of colors and patterns, allowing you to choose one that complements your bathroom’s design. A ceramic bowl sink adds an artistic touch to your bathroom.
Stone Basins: Natural stone basins, such as those carved from river rocks or marble, offer a unique and organic look. These basins can often be found at garden centers or stone suppliers. Their natural beauty and texture make them an eye-catching addition to any bathroom.
Repurposed Metal: Using repurposed metal objects like old washbasins or copper pots can add a vintage charm to your bathroom. Metal sinks are not only durable but also develop a beautiful patina over time, adding to their character and appeal.
Concrete and Resin Sinks: Crafting Modern, Industrial Looks
Concrete and resin sinks are gaining popularity for their modern and industrial aesthetic. These materials offer versatility in design and can be customized to fit your specific needs and preferences.
Concrete Sinks: Concrete sinks are known for their industrial and minimalist look. They can be molded into various shapes and sizes, allowing for unique and customized designs. Concrete’s raw and unfinished appearance adds a contemporary edge to any bathroom.
Resin Sinks: Resin is a versatile material that can mimic the appearance of natural stone, glass, or even metal. Resin sinks are available in a wide range of colors and finishes, making it easy to find a style that suits your bathroom. The smooth, glossy surface of resin sinks adds a modern touch.
Durability: Both concrete and resin are highly durable materials. Concrete is resistant to scratches and chips, while resin is non-porous and easy to clean. These qualities make them ideal for bathroom sinks, where durability and low maintenance are important.
Customization: One of the biggest advantages of concrete and resin sinks is their customization options. You can choose the exact size, shape, and color that fits your bathroom design. For concrete sinks, you can even add decorative elements like embedded stones or colored pigments.
DIY Possibilities: Creating your own concrete or resin sink can be a rewarding DIY project. For concrete sinks, you’ll need a mold, concrete mix, and sealant. For resin sinks, you’ll need a mold, resin mixture, and hardener. There are numerous tutorials available to guide you through the process.
Installation Tips: When installing a concrete or resin sink, ensure your vanity or countertop can support the weight, especially for concrete sinks, which can be quite heavy. Proper sealing is also crucial to prevent staining and moisture damage. With the right preparation and care, your DIY concrete or resin sink will be a stunning addition to your bathroom.
Wood and Stone Combo: Creating Natural, Rustic Bathroom Sinks
Combining wood and stone in bathroom sink designs creates a natural and rustic aesthetic. This blend of materials adds warmth and texture to your bathroom, making it a cozy and inviting space.
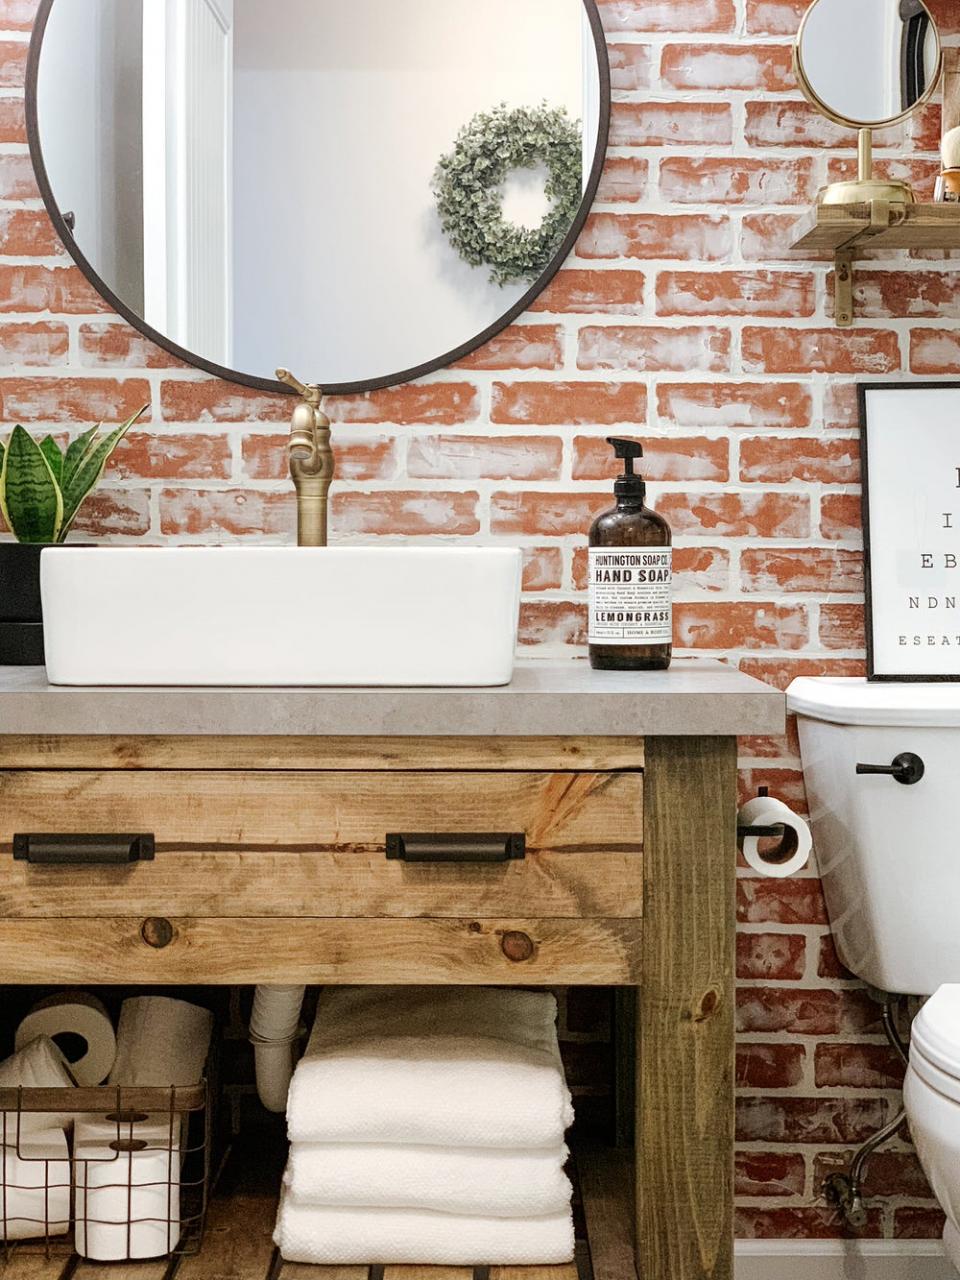
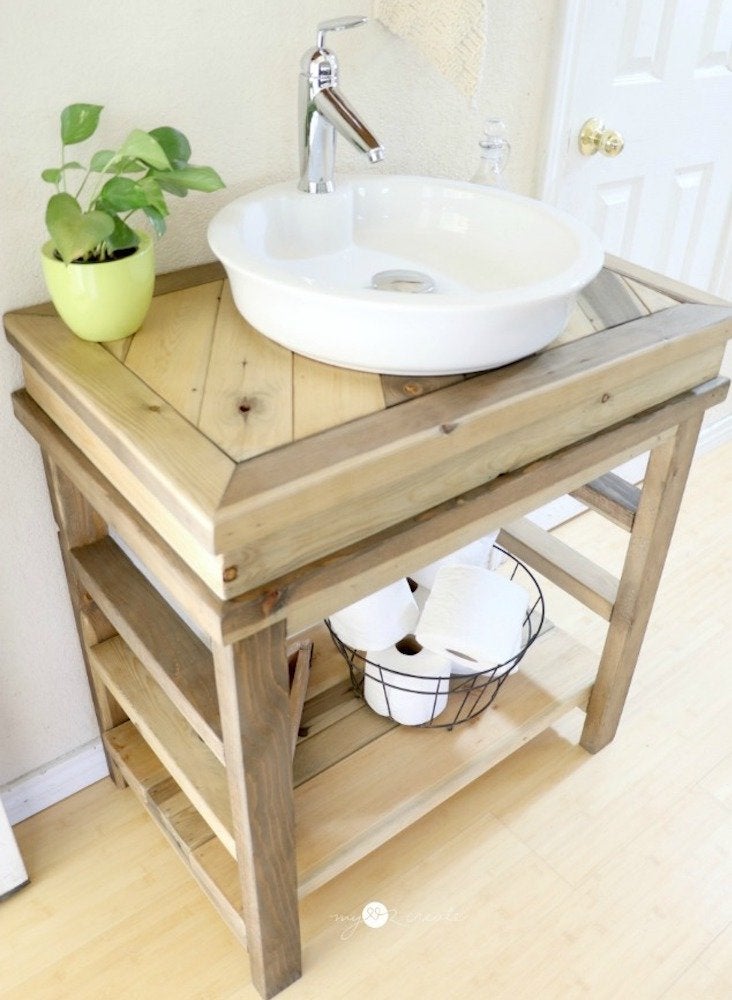
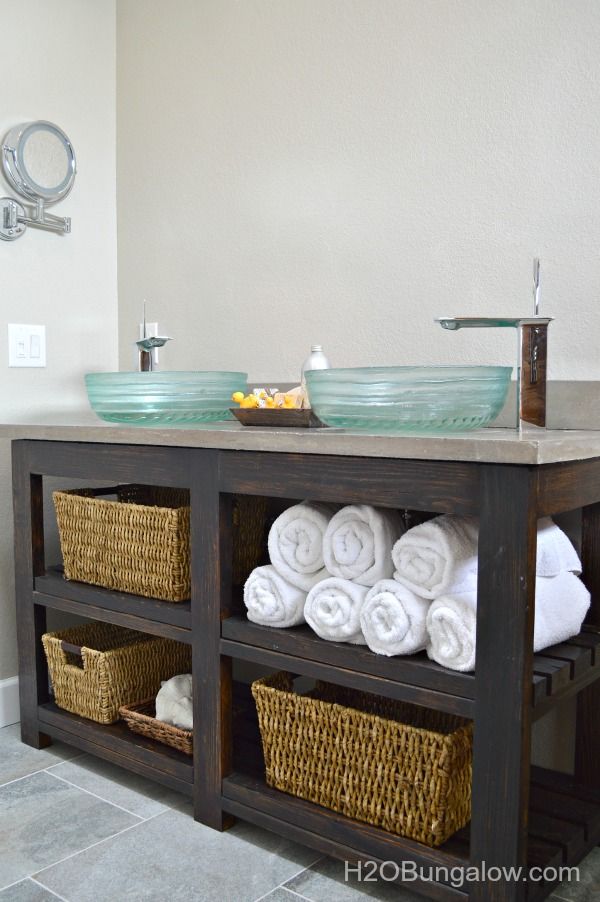
Wooden Vanities with Stone Sinks: Pairing a stone sink with a wooden vanity creates a beautiful contrast between the smooth, cool stone and the warm, textured wood. This combination works well in rustic, farmhouse, or nature-inspired bathroom designs.
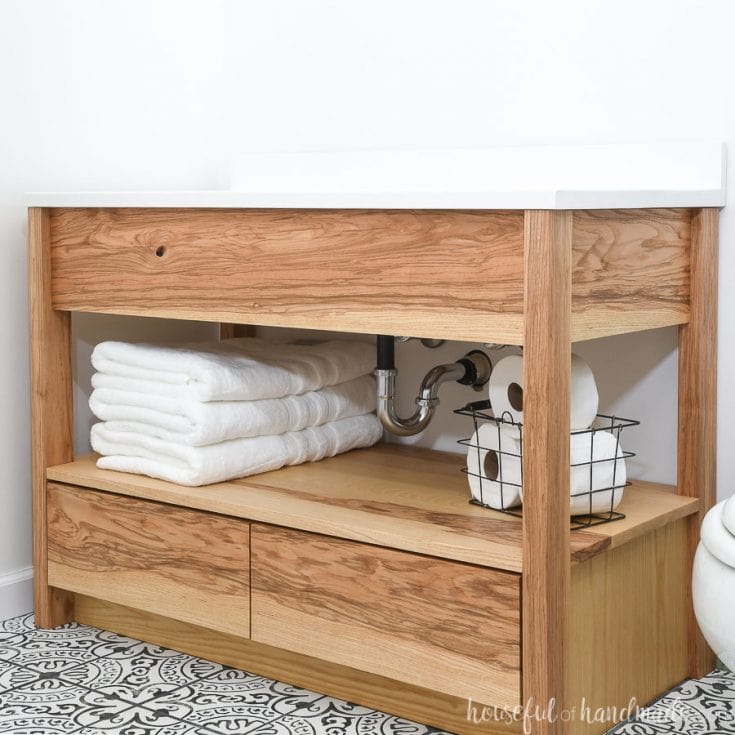
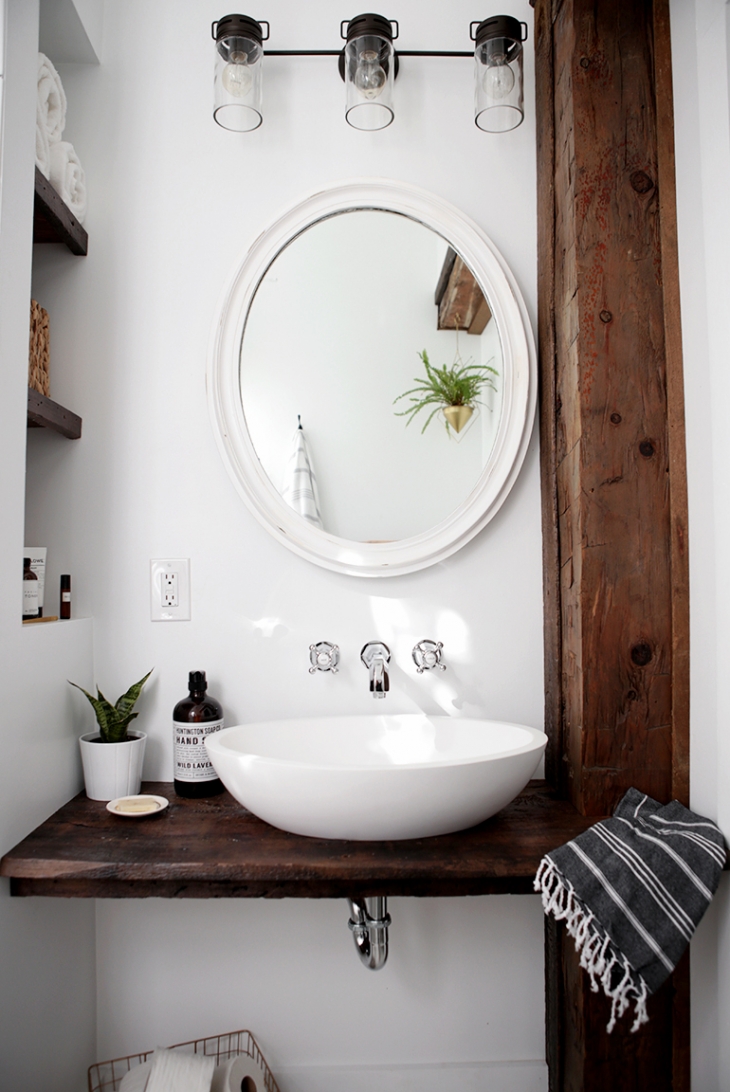
Live Edge Wood: Using live edge wood for your vanity or countertop adds a natural and organic element to your bathroom. The irregular edges and natural grain patterns of the wood create a unique and eye-catching feature. Pair it with a stone basin to complete the rustic look.
Stone Vessel Sinks: Stone vessel sinks, made from materials like granite, marble, or river rock, can be placed atop wooden vanities for a stunning focal point. The natural variations in the stone add character and depth to your bathroom design.
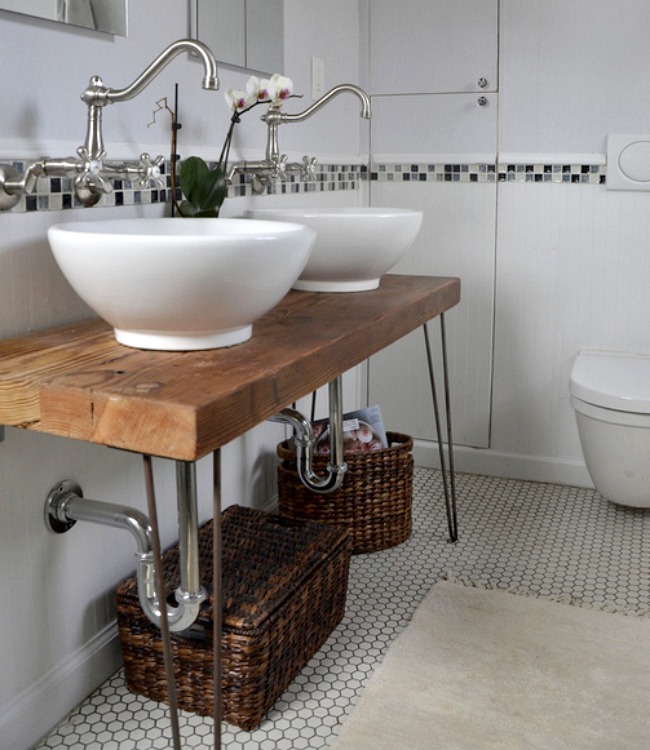
Reclaimed Wood: Using reclaimed wood for your vanity or countertop is an eco-friendly choice that adds history and character to your bathroom. Reclaimed wood has a weathered and rustic appearance that pairs beautifully with stone sinks. This combination creates a warm and inviting atmosphere.
Maintenance Considerations: Both wood and stone require proper maintenance to ensure longevity. Wood should be sealed to protect against moisture and staining, while stone should be sealed to prevent absorption of water and stains. Regular cleaning and resealing will keep your wood and stone sink looking beautiful.
DIY Inspiration: Creating a wood and stone combo sink can be a rewarding DIY project. Look for tutorials and inspiration online to guide you through the process. Whether you’re building a custom wooden vanity or installing a stone vessel sink, the result will be a unique and personalized bathroom feature.
Glass and Tile Mosaic Sinks: Adding Color and Texture
Glass and tile mosaic sinks are a creative way to add color, texture, and a touch of artistry to your bathroom. These sinks can be customized to match your bathroom decor and create a stunning visual impact.
Glass Vessel Sinks: Glass vessel sinks come in a variety of colors and patterns, making it easy to find one that complements your bathroom design. The translucent nature of glass adds a light and airy feel to the space, while the vibrant colors create a focal point.
Mosaic Tile Designs: Mosaic tiles can be used to create intricate designs on your sink. Whether you choose a simple geometric pattern or a more elaborate design, mosaic tiles add texture and visual interest. These tiles can be made from glass, ceramic, or even natural stone.
DIY Tile Mosaics: Creating a mosaic tile sink can be a fun and rewarding DIY project. Start with a plain sink basin and use adhesive to attach the tiles in your desired pattern. Grout the tiles to fill in the gaps and create a smooth, finished surface. This project allows you to express your creativity and create a truly unique sink.
Combining Materials: For a truly unique look, consider combining glass and tile mosaics. Use glass tiles for a reflective and shimmering effect, and ceramic or stone tiles for added texture. This combination adds depth and dimension to your sink design.
Custom Colors: One of the advantages of glass and tile mosaic sinks is the ability to customize the colors to match your bathroom decor. Choose tiles in shades that complement your walls, countertops, and fixtures. This customization ensures a cohesive and harmonious look.
Installation Tips: When installing a glass or tile mosaic sink, ensure the tiles are securely attached and properly grouted. Use a high-quality sealant to protect the tiles and grout from moisture and staining. With proper installation and maintenance, your mosaic sink will be a beautiful and durable addition to your bathroom.
Upcycling Furniture: Transforming Old Pieces into Stylish Sinks
Upcycling old furniture into stylish bathroom sinks is a creative way to add character and charm to your bathroom. This approach not only gives new life to old pieces but also results in a unique and personalized sink.
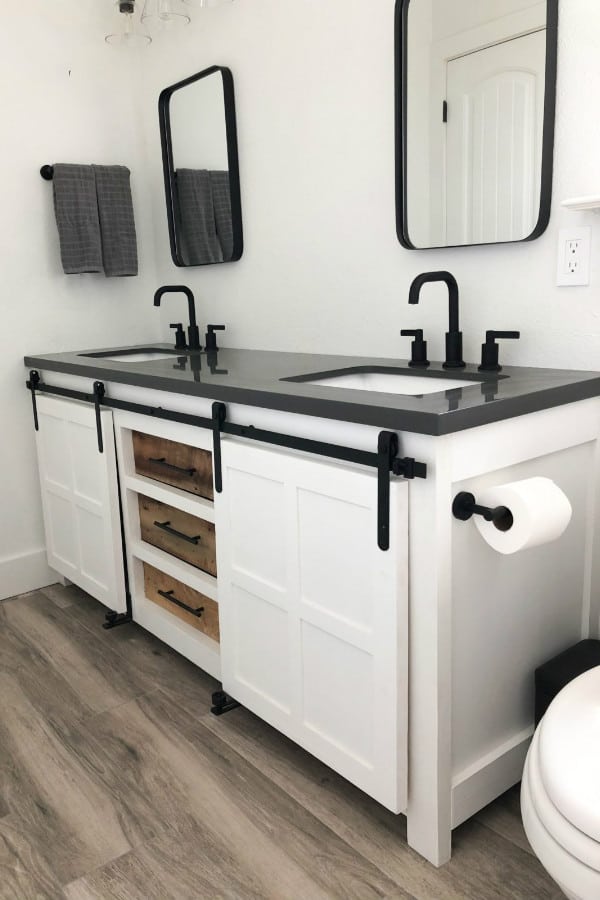
Dressers and Cabinets: Old dressers and cabinets can be repurposed into bathroom vanities. By adding a sink basin to the top and making necessary plumbing adjustments, you can transform an old piece of furniture into a functional and stylish bathroom fixture.
Tables and Desks: Vintage tables and desks can also be upcycled into bathroom sinks. Their unique shapes and designs add character to your bathroom. Simply cut a hole in the top to accommodate the sink basin and make necessary plumbing adjustments.
Trunks and Chests: Antique trunks and chests can be transformed into rustic bathroom sinks. Their sturdy construction and unique appearance make them ideal for upcycling. Add a sink basin and faucet, and make necessary plumbing adjustments to create a one-of-a-kind sink.
Wine Barrels: Wine barrels can be repurposed into charming farmhouse-style sinks. Their cylindrical shape and rustic appearance add warmth and character to your bathroom. Simply cut a hole in the top of the sink basin and make necessary plumbing adjustments.
Sewing Machine Tables: Vintage sewing machine tables can be upcycled into stylish bathroom sinks. Their unique designs and sturdy construction make them ideal for this purpose. Add a sink basin and faucet, and make necessary plumbing adjustments to create a functional and stylish sink.
Maintenance Considerations: When upcycling furniture into bathroom sinks, it’s important to properly seal and protect the wood from moisture and staining. Use a high-quality sealant to ensure the longevity of your upcycled sink. Regular maintenance and cleaning will keep your sink looking beautiful.
Step-by-Step Guide: DIY Sink Installation Tips and Tricks
Installing a DIY bathroom sink can be a rewarding project that adds a personal touch to your bathroom. Follow these steps and tips to ensure a successful and professional-looking installation.
Planning and Preparation: Start by planning your project and gathering all necessary materials and tools. Measure the space where you’ll install the sink to ensure a proper fit. Choose a sink basin, faucet, and any additional materials needed for your design.
Removing the Old Sink: If you’re replacing an existing sink, turn off the water supply and disconnect the plumbing. Carefully remove the old sink and vanity, taking care not to damage the surrounding area. Clean the space thoroughly before proceeding.
Assembling the Vanity: If you’re using a pre-made vanity or repurposing furniture, assemble it according to the manufacturer’s instructions or your design plan. Ensure the vanity is level and securely attached to the wall or floor.
Installing the Sink Basin: Place the sink basin in the designated hole on the vanity or countertop. Apply a bead of silicone sealant around the edge of the basin to create a watertight seal. Secure the basin in place according to the manufacturer’s instructions.
Connecting the Plumbing: Connect the faucet and drain assembly to the sink basin. Attach the water supply lines and drain pipe, ensuring all connections are secure and leak-free. Turn on the water supply and check for any leaks.
Finishing Touches: Once the sink is installed and the plumbing is connected, apply a bead of silicone sealant around the edges of the sink and countertop to create a watertight seal. Clean up any excess sealant and ensure the area is tidy. Test the sink to ensure everything is functioning properly.
Homemade Bathroom Vanity/Cabinet Plans You Can DIY Easily
Crazy-Creative DIY Bathroom Vanities
DIY Bathroom Vanity Ideas Perfect For Repurposers
DIY Bathroom Vanity Ideas Perfect For Repurposers
Related Posts:
