Selecting the Right Materials for Your DIY Bathroom Shelf
When I set out to build a DIY bathroom shelf, the first thing I consider is the material. The right choice of material can make all the difference in how well the shelf functions and lasts in a bathroom environment. Here’s a breakdown of the best materials to consider, based on my own experiences and what’s worked well in various bathroom settings.
- Moisture-Resistant Woods: Bathrooms are prone to humidity, so choosing a wood that can withstand moisture is key. I often turn to cedar or teak for bathroom shelves because they’re naturally resistant to water damage. These woods not only hold up well in damp conditions but also bring a warm, natural aesthetic to the bathroom.
- Treated and Sealed Woods: If you have your heart set on using a specific type of wood that isn’t naturally moisture-resistant, sealing it can make all the difference. I’ve had success using pine or oak after treating them with a good sealant. This added layer of protection ensures that the wood won’t warp or crack over time, even in a humid bathroom.
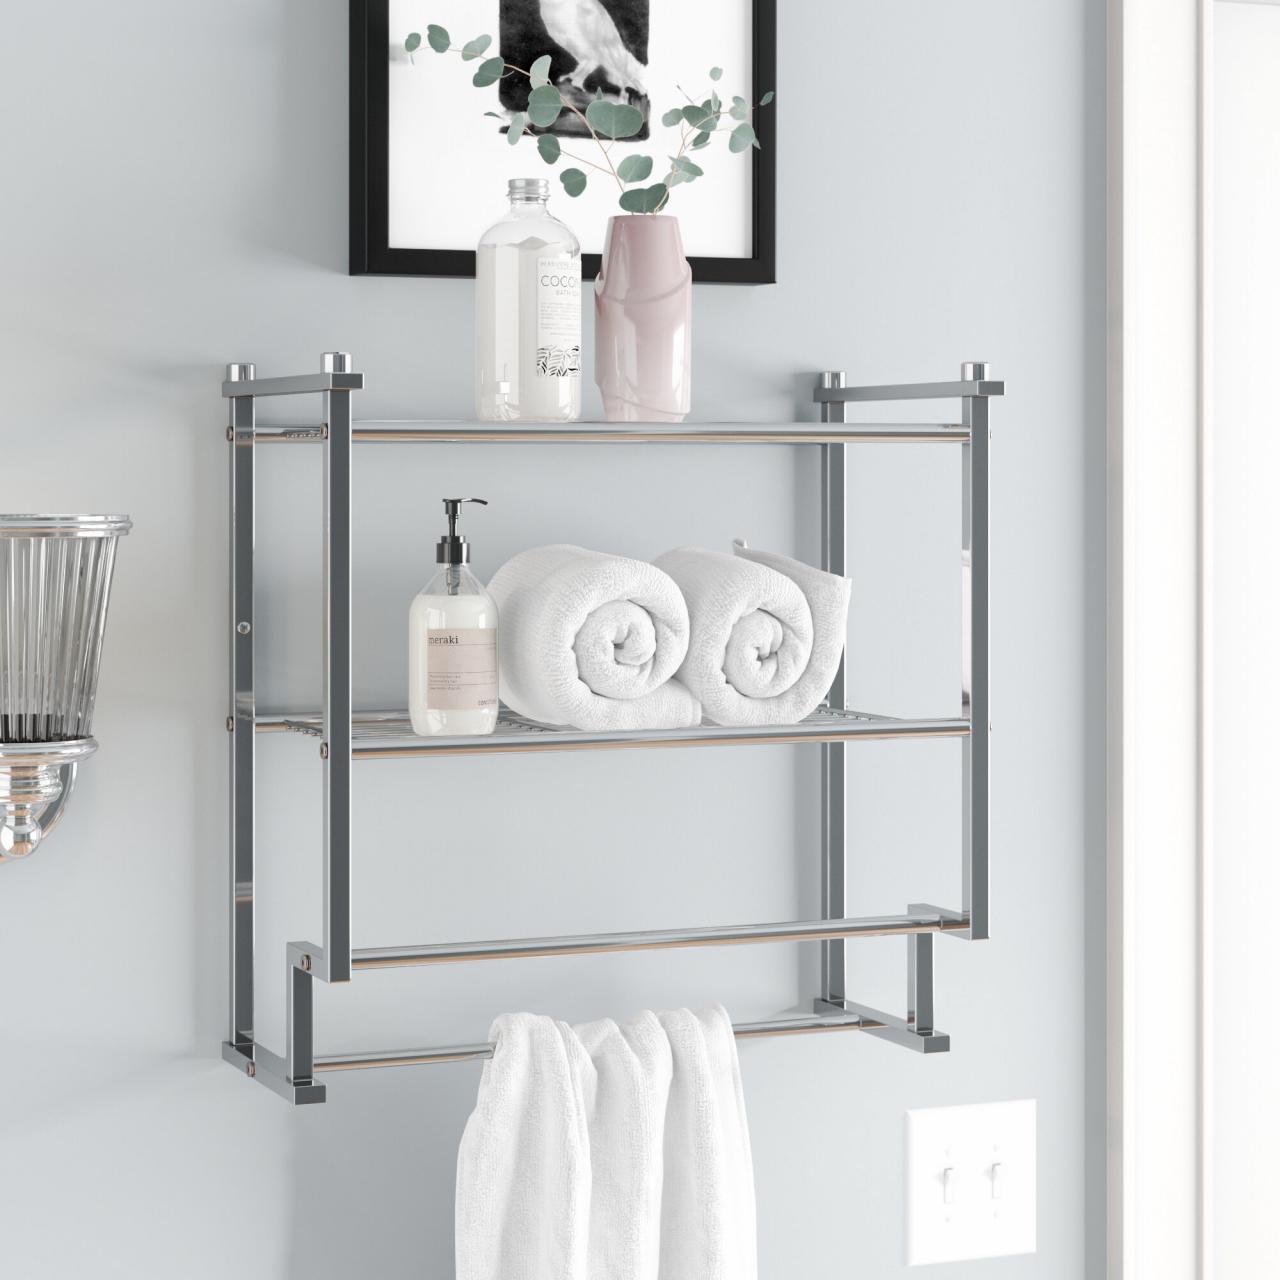
- Metal for a Modern Touch: For a sleek, modern look, I like to incorporate metal into my bathroom shelf designs. Stainless steel or aluminum brackets not only add a contemporary edge but are also resistant to rust and corrosion. These metals are perfect for supporting wooden or glass shelves while maintaining durability.
- Glass for an Airy Feel: Glass shelves can create a sense of space and openness in a bathroom, which is especially useful in smaller rooms. I’ve found that tempered glass is the best option, as it’s stronger and safer than regular glass. It’s also easy to clean and maintain, making it a practical choice for bathroom shelving.
- Reclaimed Materials for a Rustic Vibe: If you’re like me and enjoy a bit of DIY with a story behind it, using reclaimed wood or metal can add character to your bathroom shelf. Not only is this approach eco-friendly, but it also brings a unique, rustic charm to the space. Just be sure to treat and seal any reclaimed wood to protect it from moisture.
- Composite Materials: For those looking for an affordable and low-maintenance option, composite materials can be a great choice. I’ve used medium-density fiberboard (MDF) and plywood in several projects, as they’re easy to work with and can be painted or laminated to suit any style. Just make sure to use moisture-resistant varieties to prevent swelling or damage over time.
- Stone or Marble Accents: For a touch of luxury, consider incorporating stone or marble into your bathroom shelf design. I’ve added marble accents to shelves for a sophisticated look, and it holds up remarkably well in a bathroom environment. While these materials can be heavier and pricier, they add an elegant touch that’s hard to beat.

Step-by-Step Guide to Building a Basic Bathroom Shelf
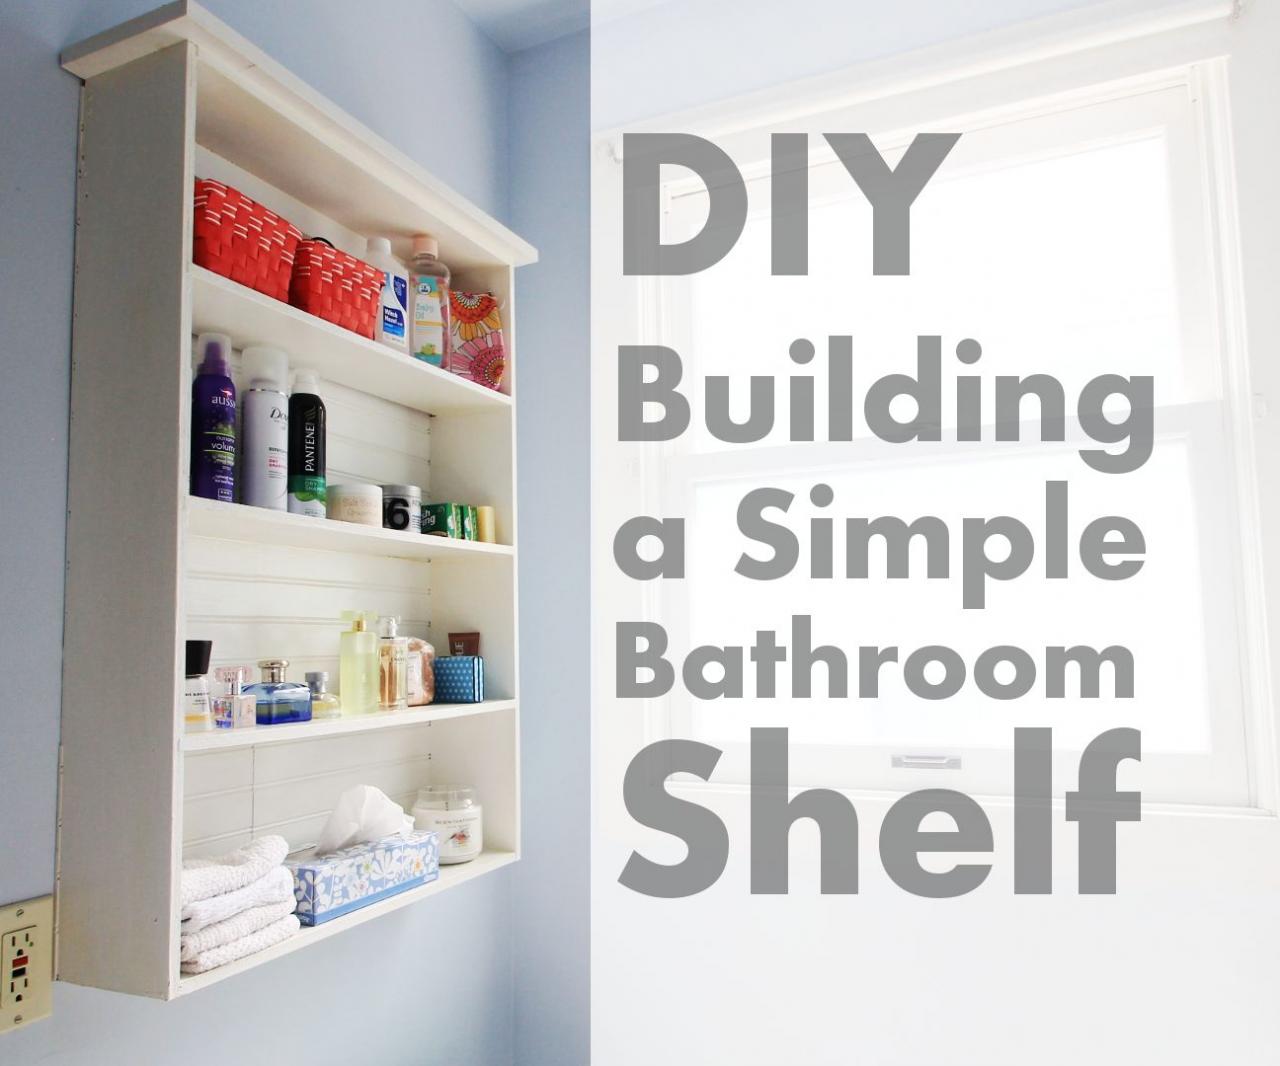
Building your bathroom shelf can be a rewarding project, especially when you see the finished product installed and in use. I’ve put together a simple, step-by-step guide to help you create a basic shelf that’s both functional and stylish.
Gathering Your Materials Before I start any DIY project, I like to make sure I have all the necessary materials on hand. For a basic bathroom shelf, you’ll need a piece of wood (cut to your desired length), shelf brackets, screws, a drill, a level, sandpaper, and your chosen finish (paint, stain, or sealant). Having everything ready before you begin helps the project go smoothly.
Measuring and Marking The next step is to measure the space where you’ll be installing the shelf. I always use a tape measure to get the exact length and height, making sure the shelf will fit perfectly in the intended spot. Once I have the measurements, I mark the wood and the wall where the brackets will be placed. This ensures everything is aligned and looks professional.
Cutting and Sanding the Wood If the wood isn’t already cut to size, now is the time to do it. I prefer to use a saw for precise cuts, and then I smooth the edges with sandpaper to remove any rough spots. Sanding also helps prepare the wood for staining or painting, giving it a nice, even surface.
Attaching the Brackets With the wood ready, it’s time to attach the brackets. I usually start by drilling pilot holes into the wall where the brackets will be placed. This makes it easier to insert the screws and ensures the brackets are securely attached. Once the brackets are in place, I attach the wood shelf to the brackets, making sure everything is level.
Finishing the Shelf After the shelf is assembled, I apply my chosen finish. Whether it’s a coat of paint, stain, or a clear sealant, this step helps protect the wood and gives the shelf a polished look. I often apply two coats, allowing each to dry thoroughly before moving on to the next.
Installing the Shelf The final step is installing the shelf in your bathroom. I double-check the placement to make sure everything is level and secure. Once it’s installed, you can start adding your bathroom essentials or decorative items, transforming your DIY shelf into a functional and stylish addition to the space.
Creative Design Ideas for Simple Bathroom Shelves
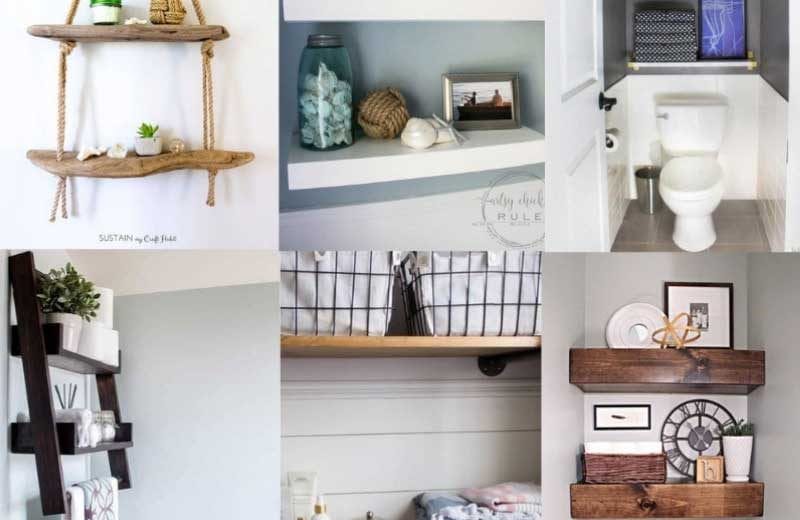
When it comes to DIY bathroom shelves, the possibilities are endless. I love experimenting with different designs to create shelves that are both functional and eye-catching. Here are some creative ideas that can inspire your next project.
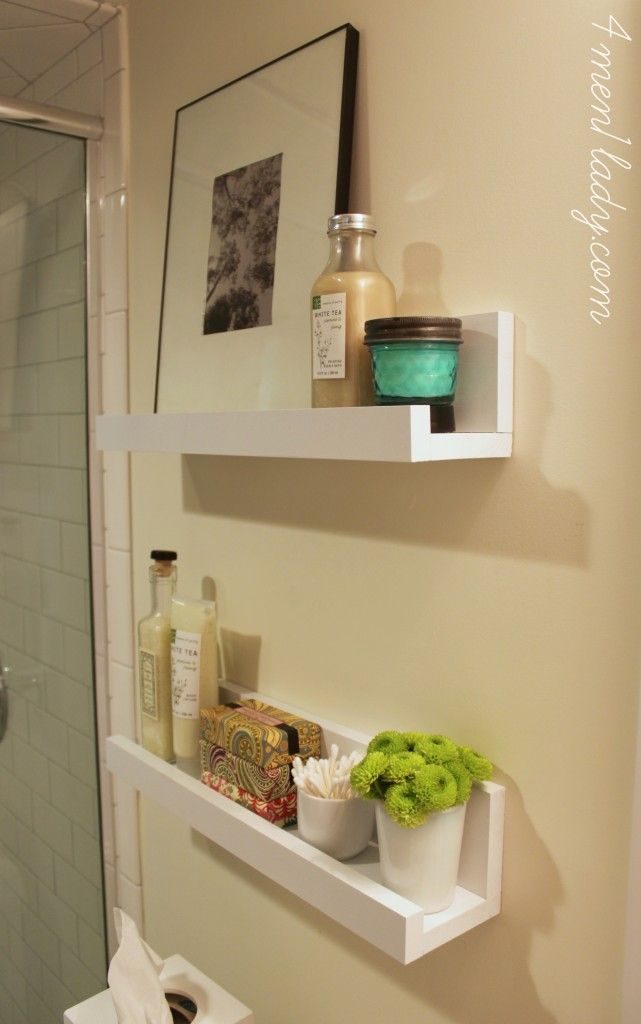
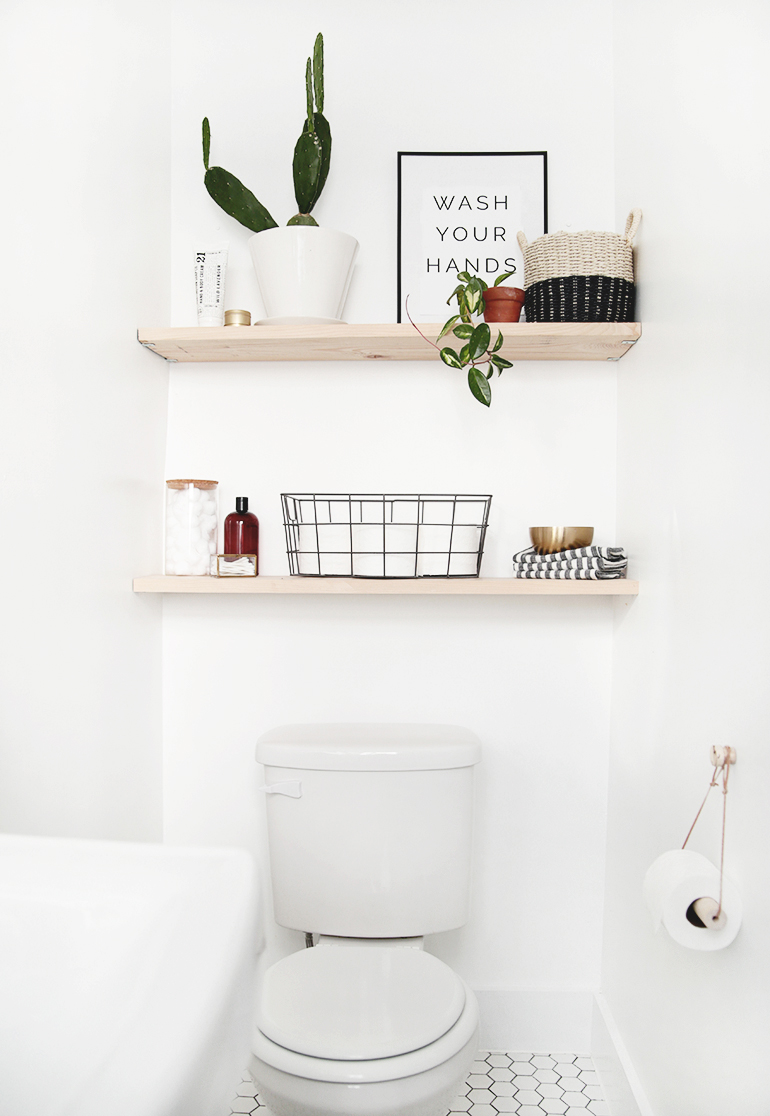
Floating Shelves for a Minimalist Look Floating shelves are one of my favorite designs because they offer a clean, modern look without visible brackets. These shelves appear to “float” on the wall, creating a sleek and streamlined effect. I like using them in bathrooms with limited space, as they don’t overwhelm the room but still provide ample storage.
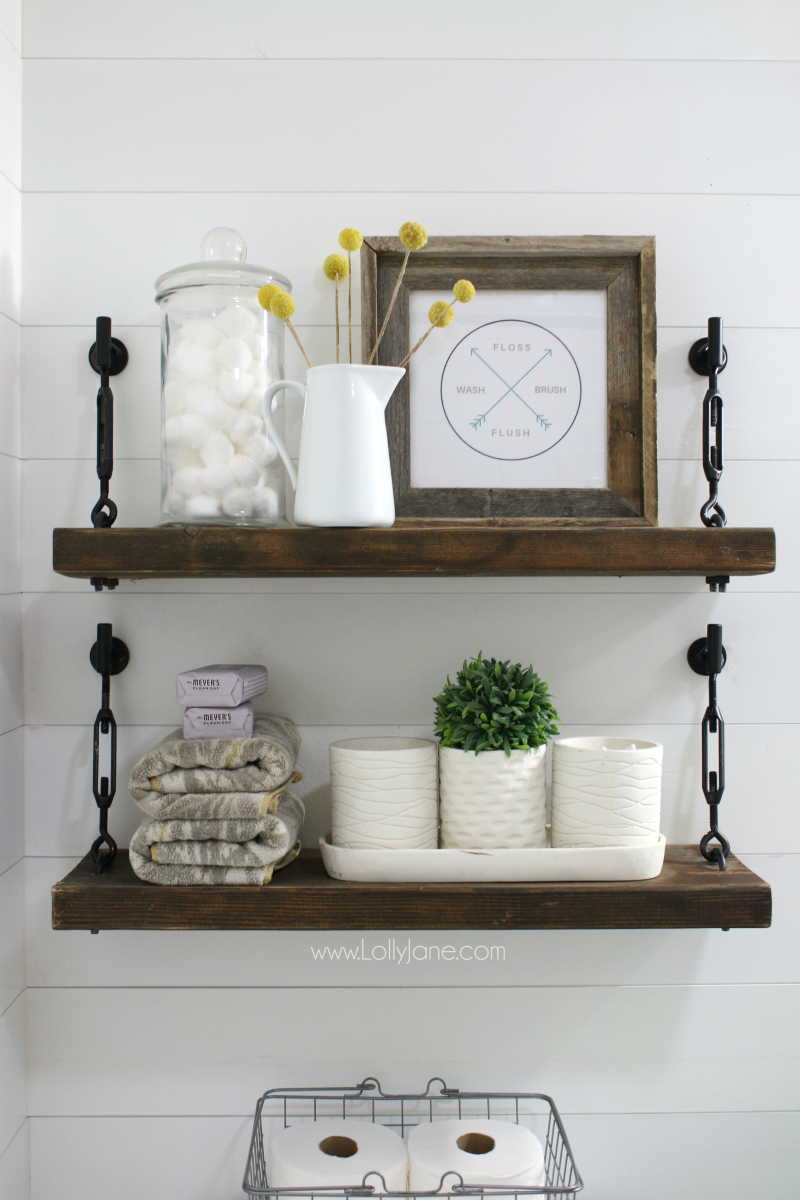
Rustic Wooden Shelves For a cozy, rustic feel, I often opt for wooden shelves with a weathered finish. Reclaimed wood works particularly well for this style, adding character and warmth to the bathroom. I like to pair rustic shelves with metal brackets or wrought iron supports to enhance the vintage vibe.
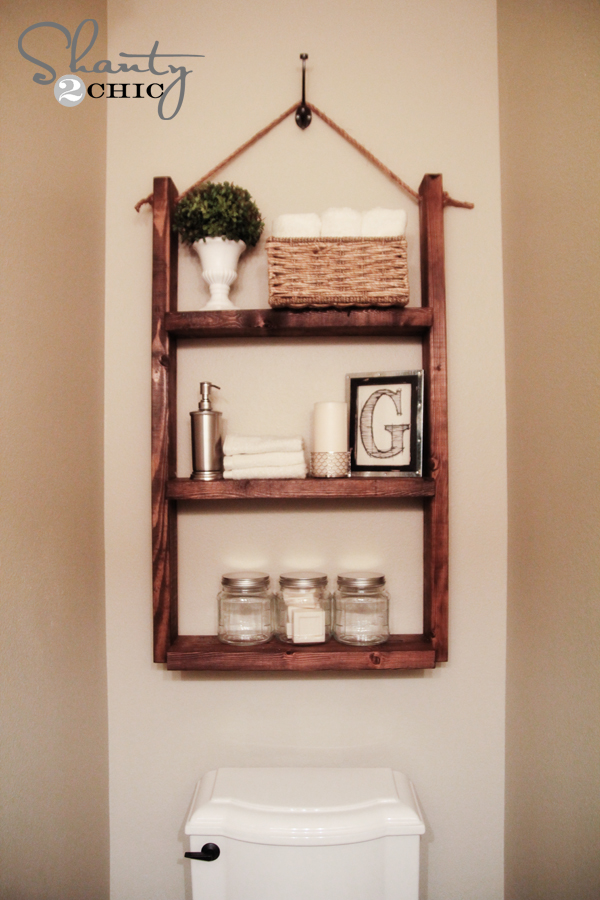
Ladder Shelves Ladder shelves are a fun and functional design that adds a bit of flair to the bathroom. I’ve built a few of these for clients, and they always get compliments. The angled design provides multiple tiers of storage, making them perfect for displaying towels, toiletries, or decorative items.
Geometric Shelves For a more modern and artistic look, I sometimes create geometric shelves. Hexagons, triangles, or even a series of connected squares can add a unique visual element to the bathroom. These shelves work well in contemporary spaces and can be a great conversation piece.
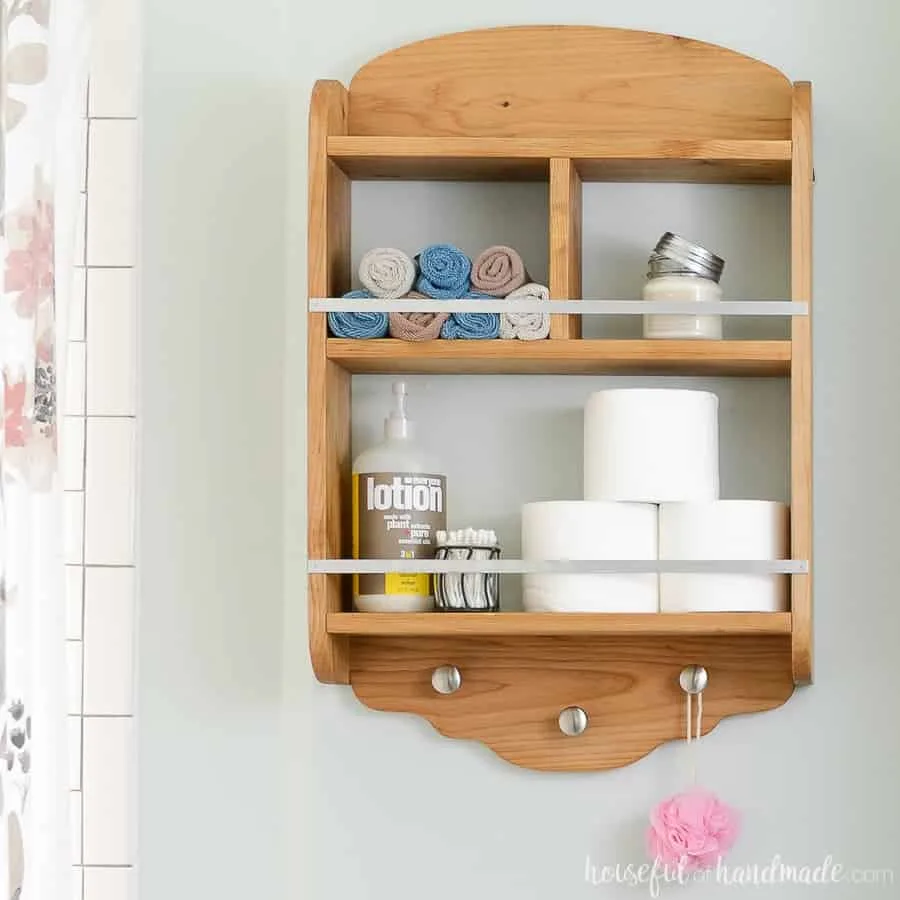
Shelves with Integrated Hooks Combining a shelf with hooks underneath is a great way to maximize functionality. I like to use these in smaller bathrooms where space is at a premium. The shelf provides a place for storage or decor, while the hooks are perfect for hanging towels, robes, or other essentials.
Corner Shelves Making use of corner space is always a smart move, and I often recommend corner shelves for bathrooms that need a little extra storage. These shelves can be designed to fit snugly into any corner, providing a stylish solution without taking up much room. I’ve built corner shelves in various materials, from wood to glass, depending on the desired look.
Tips for Properly Installing Your DIY Shelf
Proper installation is crucial when it comes to DIY bathroom shelves. Over the years, I’ve learned that taking the time to install a shelf correctly can mean the difference between a functional storage solution and a potential disaster waiting to happen. Here’s how I ensure that every shelf I put up is secure, level, and built to last.
Find the Studs One of the first things I do before installing a shelf is locate the wall studs. Shelves, especially those intended to hold heavier items, need to be anchored into something solid. I use a stud finder to locate the studs behind the drywall and mark their positions with a pencil. This gives me a solid foundation for attaching the brackets, ensuring the shelf won’t sag or pull away from the wall over time.
Use the Right Hardware The type of hardware you use can make a big difference in how secure your shelf is. I always choose screws that are long enough to penetrate the stud by at least an inch. If I’m not able to attach the shelf to a stud, I use heavy-duty wall anchors that can support the weight of the shelf and its contents. I’ve found that toggle bolts and molly bolts work particularly well for this purpose.
Leveling the Shelf Ensuring the shelf is level is a step that I never skip. I use a bubble level to make sure the shelf is perfectly horizontal before drilling any holes. If the shelf is even slightly off, it can throw off the entire look of the bathroom and potentially cause items to slide off. I’ve found that taking the time to adjust and recheck the level is well worth the effort.
Pre-Drill Holes Before I attach the brackets or the shelf itself, I always pre-drill holes for the screws. This helps prevent the wood from splitting and makes it easier to insert the screws. Pre-drilling also allows me to double-check that everything is aligned properly before committing to the final installation.
Double-Check Weight Limits Every time I install a shelf, I consider what it will be used for and ensure that the brackets and wall anchors can support the expected weight. I’ve seen shelves collapse because they were overloaded, so I always recommend erring on the side of caution. If in doubt, I opt for sturdier brackets or additional supports.
Test the Shelf After everything is installed, I like to give the shelf a gentle push and add a few items to test its stability. If there’s any wobbling or shifting, I’ll reinforce the shelf with additional screws or brackets. This final step gives me peace of mind knowing that the shelf is secure and ready for use.
Maximizing Storage with Multiple DIY Shelves
One of the best ways to increase storage in a bathroom is by using multiple shelves. Over the years, I’ve found that strategically placing shelves in different areas of the bathroom can maximize storage space while keeping everything organized and accessible. Here’s how I go about planning and installing multiple DIY shelves.
Assessing the Space Before I start, I take a good look at the bathroom to see where shelves would be most useful. I consider spaces above the toilet, next to the sink, or even in the shower. By placing shelves in underutilized areas, I can create additional storage without cluttering up the room. I also think about the size and shape of the shelves to ensure they fit the space perfectly.
Creating a Storage Plan Once I’ve identified where I want the shelves, I sketch out a plan for how they’ll be arranged. I often group shelves to create a cohesive look, with smaller shelves placed above larger ones for a balanced design. This also allows me to customize the storage for specific needs, such as a larger shelf for towels and smaller ones for toiletries or decorative items.
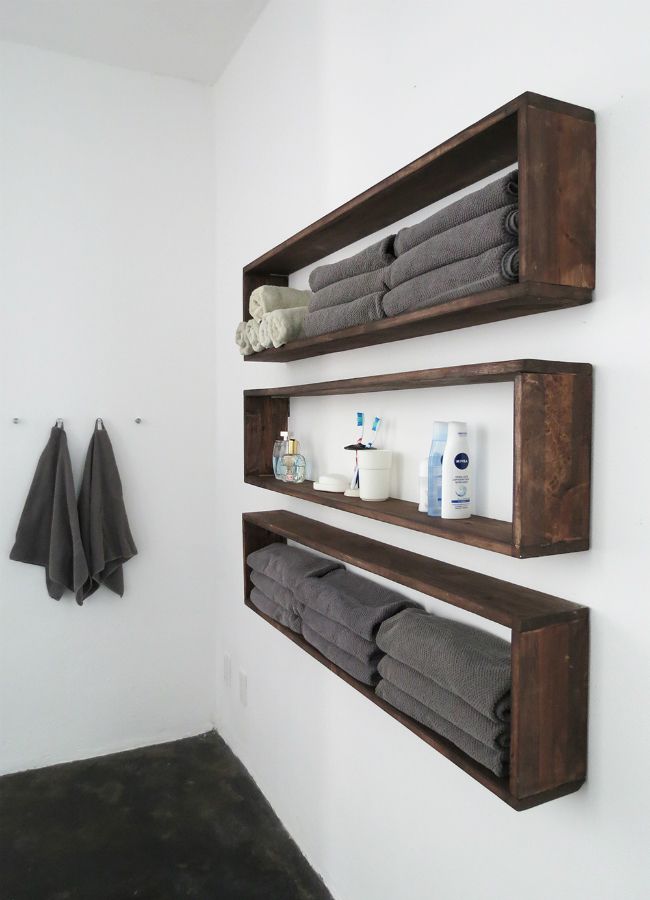
Installing Shelves at Different Heights I’ve found that varying the height of the shelves not only adds visual interest but also makes better use of the available space. For instance, placing a shelf lower on the wall near the bathtub can be handy for storing bath products, while higher shelves can be used for items that aren’t needed as often. By staggering the shelves, I can create a layered look that’s both practical and aesthetically pleasing.
Mixing Open and Closed Storage Combining open shelves with closed storage, such as cabinets or baskets, is another way I maximize storage. Open shelves are great for displaying decorative items or keeping frequently used products within easy reach, while closed storage can hide away clutter. I’ve found this mix of storage types works well in maintaining a tidy and organized bathroom.
Using Corner Shelves Corners are often overlooked when it comes to storage, but I love using corner shelves to make the most of every inch of space. These shelves are perfect for smaller items and can be installed in almost any bathroom, regardless of size. I typically use triangular or L-shaped shelves that fit snugly into the corner, providing extra storage without taking up much room.
Customizing Shelf Sizes One of the benefits of DIY shelves is that I can customize them to fit my exact needs. For bathrooms with odd dimensions or specific storage requirements, I build shelves to the precise size needed. This not only maximizes storage but also ensures that every inch of the bathroom is utilized efficiently. I’ve created narrow shelves for tight spaces and deeper shelves for bulkier items, all tailored to the specific needs of the bathroom.
Budget-Friendly Options for Building Your Bathroom Shelf
Creating a stylish and functional bathroom shelf doesn’t have to break the bank. Over the years, I’ve discovered several budget-friendly materials and techniques that allow me to build shelves that look great and serve their purpose, all while staying within a reasonable budget. Here’s how you can do the same.
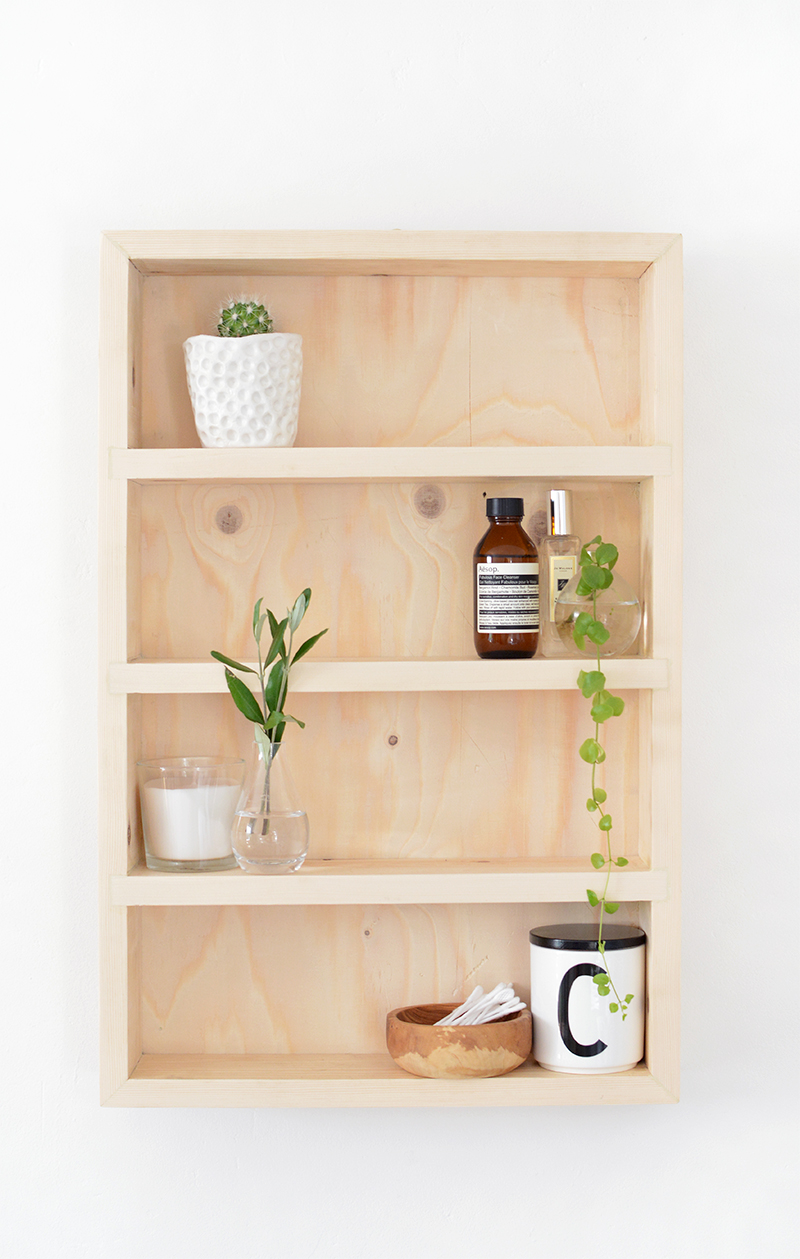
Using Inexpensive Woods While premium woods like teak or cedar can be pricey, there are plenty of affordable alternatives that work just as well. I often use pine or plywood for budget-friendly shelves. These woods are easy to work with and can be stained or painted to match any bathroom decor. I’ve found that with the right finish, even the most inexpensive wood can look high-end.
Repurposing Old Furniture One of my favorite tricks is to repurpose old furniture into new bathroom shelves. An old dresser drawer, for example, can be turned into a rustic shelf with a little sanding and paint. I’ve also used reclaimed wood from pallets or other discarded items to create unique shelves that cost next to nothing. This not only saves money but also adds character to the bathroom.
Buying Brackets and Hardware in Bulk Purchasing brackets and screws in bulk is a simple way to reduce costs, especially if you plan on building multiple shelves. I’ve found that hardware stores often offer discounts on bulk purchases, and I can usually find what I need for a fraction of the cost of buying individual pieces. This is a great way to stretch your budget while still getting quality materials.
Opting for Simple Designs Elaborate shelf designs can be beautiful, but they often require more materials and time to build, which can drive up costs. I like to stick to simple, straightforward designs that are both functional and stylish. Basic floating shelves, for instance, are easy to build and require minimal materials, making them an excellent budget-friendly option.
Shopping for Deals and Discounts I always keep an eye out for sales and discounts at local hardware stores or online retailers. By shopping smart, I’ve been able to score high-quality materials at a fraction of the regular price. Clearance sections are another great place to find discounted items that can be used for DIY projects. With a little patience and persistence, you can find great deals on everything you need.
DIY Finishing Touches Instead of buying pre-finished shelves, I like to do the finishing work myself. This not only saves money but also allows me to customize the look of the shelf to match the bathroom decor. Whether it’s a coat of paint, a wood stain, or a protective sealant, doing the finishing touches yourself can significantly reduce the overall cost of the project.
Finishing Touches: Painting and Decorating Your DIY Shelf
Once the shelf is built and installed, it’s time to add the finishing touches that will really make it shine. I’ve found that a little creativity and attention to detail can turn a simple shelf into a beautiful focal point in the bathroom. Here’s how I like to finish and decorate my DIY bathroom shelves.
Choosing the Right Paint or Stain The first step in finishing a DIY shelf is deciding whether to paint or stain the wood. I often choose paint for a more modern, colorful look, especially if I’m trying to match the shelf to the bathroom’s existing color scheme. For a more natural or rustic appearance, I opt for wood stain, which highlights the grain and texture of the wood. Both options have their own appeal, and the choice depends on the overall style of the bathroom.
Applying the Finish When it comes to applying paint or stain, I always start with a primer or pre-stain conditioner to ensure an even finish. I apply the paint or stain in thin, even coats, allowing each coat to dry completely before adding the next. This method helps prevent drips and ensures a smooth, professional-looking finish. If I’m using paint, I often apply a clear protective sealant on top to protect the surface from moisture and wear.
Decorative Accents Adding decorative accents is one of my favorite parts of finishing a DIY shelf. I like to personalize the shelf with small touches that reflect the bathroom’s overall theme. For example, I might add a strip of decorative molding to the edge of the shelf for a more polished look, or use stencils to create a custom pattern on the shelf’s surface. These little details can make a big difference in the final appearance of the shelf.
Incorporating Greenery I’ve found that adding a bit of greenery can really bring a bathroom shelf to life. Small potted plants or succulents are perfect for this, as they add a fresh, natural element to the space. I usually choose low-maintenance plants that thrive in humid environments, such as ferns or air plants. Placing a few plants on the shelf can create a calming, spa-like atmosphere in the bathroom.
Using Decorative Containers To keep the shelf looking neat and organized, I like to use decorative containers for storing smaller items. Baskets, jars, or trays can help corral toiletries, towels, and other bathroom essentials, while also adding a decorative touch. I often choose containers that complement the bathroom’s color scheme or theme, tying the whole look together.
Arranging Items for Visual Appeal The final step is arranging the items on the shelf in a way that’s both functional and visually appealing. I like to mix practical items, such as towels and toiletries, with decorative elements, like candles or framed photos. By varying the height and size of the items, I create a balanced and interesting display. I also leave some space between the items to prevent the shelf from looking too cluttered.
DIY Bathroom Shelves To Increase Your Storage Space
How to Build a Simple Bathroom Shelf
Homemade Bathroom Shelves Plans You Can DIY Easily
Clever DIY Bathroom Shelves for Bathroom
Creative DIY Bathroom Shelf Ideas
Related Posts:
