Signs Your American Standard Bathroom Faucet is Leaking
A leaking faucet in your bathroom can be both annoying and wasteful. Not only does it create a constant drip, but it can also lead to increased water bills and potential damage to your fixtures and surfaces. Identifying the signs of a leaking American Standard bathroom faucet early can help you address the issue promptly and prevent further damage. Here are some common signs to watch out for:
- Dripping Water: The most obvious sign of a leaking faucet is the sound of dripping water. If you hear a constant drip coming from your American Standard bathroom faucet, even when it’s turned off tightly, there’s likely a leak somewhere in the fixture.
- Visible Water Stains: Check around the base of the faucet and sink for any water stains or discoloration. Leaks can cause water to accumulate around the fixture, leading to unsightly stains on your countertops or vanity.
- Increased Water Bills: A sudden spike in your water bills without any changes in your usage habits could indicate a hidden leak in your plumbing fixtures, including your bathroom faucet. Keep an eye on your water bills and investigate any unexplained increases.
- Mold or Mildew Growth: Excess moisture from a leaking faucet can create the perfect environment for mold and mildew to thrive. If you notice any signs of mold or mildew around your faucet or sink area, it could be a sign of a leak.
- Low Water Pressure: A leaky faucet can sometimes result in reduced water pressure, as water is escaping through the leak instead of flowing out of the faucet properly. If you’re experiencing lower-than-usual water pressure in your bathroom, it’s worth checking for leaks.
- Pooling Water: In severe cases, a leaking faucet can cause water to pool around the base of the fixture or underneath the sink. If you notice any standing water or dampness in these areas, it’s important to address the leak promptly to prevent further damage.

Understanding Why Your American Standard Bathroom Faucet is Leaking
A leaking American Standard bathroom faucet can be caused by various factors, ranging from worn-out parts to improper installation. Understanding the common causes of faucet leaks can help you pinpoint the issue and determine the best course of action for repair. Here are some of the most frequent causes of leaking bathroom faucets:
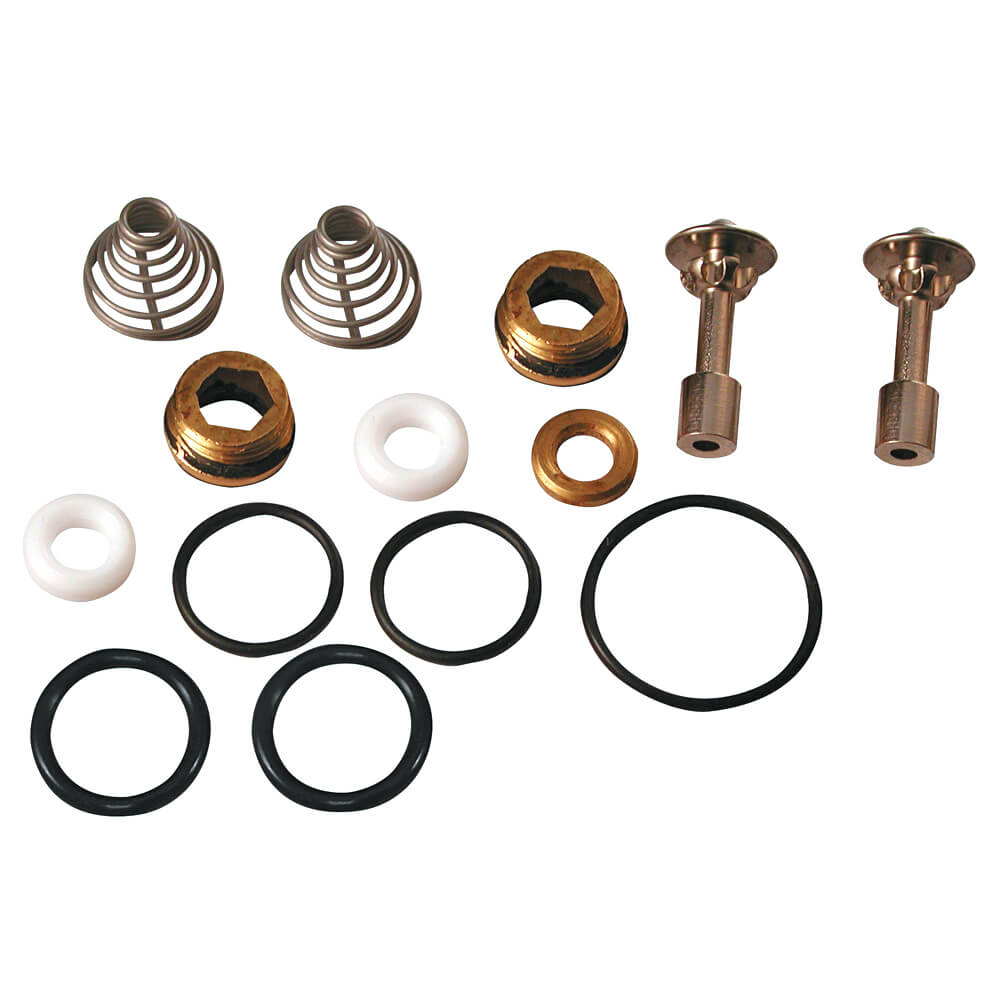
Worn-Out Washers: Over time, the rubber washers inside the faucet handles can degrade and lose their ability to create a tight seal. This can result in water leaking out around the handles when the faucet is turned on. Replacing the worn-out washers is a relatively simple fix that can solve the problem.
Loose or Damaged O-rings: O-rings are rubber seals that help create a watertight seal between the various components of the faucet. If the O-rings become loose or damaged, they can allow water to leak out around the base of the faucet spout or handles. Tightening or replacing the O-rings can resolve this issue.
Corroded Valve Seat: The valve seat is the connection between the faucet and the spout inside the handle assembly. If the valve seat becomes corroded or worn, it can cause water to leak out around the spout when the faucet is turned on. Cleaning or replacing the valve seat can stop the leak.
Faulty Cartridge or Valve Stem: Modern American Standard faucets often use cartridges or valve stems to control the flow of water. If these components become worn or damaged, they can cause leaks. Replacing the cartridge or valve stem may be necessary to fix the issue.
Improper Installation: In some cases, a leaking faucet may be the result of improper installation. If the faucet is not installed correctly or if the connections are not properly sealed, it can lead to leaks. Revisiting the installation process and ensuring that all connections are tight and secure can help resolve the issue.
High Water Pressure: Excessively high water pressure can put a strain on the internal components of the faucet, leading to leaks over time. Installing a pressure regulator or reducing the water pressure at the source can help prevent leaks and extend the life of your faucet.
Step-by-Step Guide to Repairing a Leaking American Standard Bathroom Faucet
Repairing a leaking American Standard bathroom faucet doesn’t always require calling a plumber. With the right tools and a bit of know-how, you can often fix the issue yourself. Here’s a step-by-step guide to repairing a leaking faucet:
Turn Off the Water Supply: Before you begin any repairs, shut off the water supply to the faucet. Look for the shut-off valves located beneath the sink or near the main water supply line and turn them clockwise to close them.
Disassemble the Faucet: Remove the handles, spout, and any other components necessary to access the internal parts of the faucet. Use a screwdriver or Allen wrench to loosen and remove the screws or fasteners holding the handles in place.
Inspect the Components: Once you’ve disassembled the faucet, inspect the internal components for signs of wear or damage. Look for worn-out washers, loose O-rings, corroded valve seats, or faulty cartridges or valve stems.
Replace Worn-Out Parts: If you identify any worn-out or damaged parts, replace them with new ones. Take the old parts to a hardware store or home improvement center to ensure you get the correct replacements. Install the new parts according to the manufacturer’s instructions.
Clean and Lubricate: While the faucet is disassembled, take the opportunity to clean any debris or mineral deposits from the internal components. Use a mild cleaning solution and a soft brush or cloth to remove any buildup. Apply a thin layer of plumber’s grease to the O-rings and other moving parts to lubricate them and ensure a tight seal.
Reassemble the Faucet: Once you’ve replaced any worn-out parts and cleaned the components, reassemble the faucet in the reverse order of disassembly. Make sure all connections are tight and secure, and double-check that the handles are properly aligned.
Turn On the Water Supply: Once the faucet is reassembled, turn the water supply back on and test the faucet for leaks. Slowly turn on the handles and check for any signs of dripping or leaking. If you don’t detect any leaks, congratulations – you’ve successfully repaired your leaking American Standard bathroom faucet!
What You’ll Need to Fix a Leaking American Standard Bathroom Faucet
Repairing a leaking American Standard bathroom faucet requires the right tools and materials to get the job done properly. Before you begin any repairs, gather the following items:
Adjustable Wrench: An adjustable wrench is essential for loosening and tightening nuts and bolts during the repair process. Choose a wrench with jaws that can be adjusted to fit various sizes of nuts and bolts.
Screwdriver Set: A set of screwdrivers, including both flathead and Phillips head screwdrivers, will be needed to remove screws and fasteners from the faucet handles and other components.
Allen Wrench Set: Many American Standard faucets use Allen screws or fasteners to secure handles and other components. A set of Allen wrenches in various sizes will be necessary to loosen and tighten these screws.
Plumber’s Grease: Plumber’s grease, also known as faucet grease or silicone grease, is used to lubricate O-rings and other moving parts inside the faucet. It helps create a tight seal and prevents leaks.
Replacement Parts: Depending on the specific issue with your faucet, you may need to purchase replacement parts such as washers, O-rings, cartridges, or valve stems. Take the old parts to a hardware store or home improvement center to ensure you get the correct replacements.
Cleaning Supplies: Before reassembling the faucet, you’ll need to clean any debris or mineral deposits from the internal components. Use a mild cleaning solution and a soft brush or cloth to remove buildup from the faucet parts.
Bucket or Container: Have a bucket or container handy to catch any water that may drip out of the faucet during the repair process. This will help prevent water damage to your countertops or vanity.
Towels or Rags: Keep a few towels or rags nearby to wipe up any spills or drips and to protect your work surface from scratches or damage.
Knowing When It’s Time to Seek Professional Help
While DIY repairs can often fix a leaking American Standard bathroom faucet, there are certain situations where it’s best to leave the job to a professional plumber. Here are some signs that indicate it’s time to call in the experts:
Persistent Leaks: If you’ve attempted DIY fixes and the faucet continues to leak or if the leak worsens after attempted repairs, it’s a sign that there may be underlying issues that require professional attention.
Complex Repairs: Some faucet repairs, such as replacing a cartridge or repairing a corroded valve seat, can be complex and require specialized tools and expertise. If you’re unsure how to proceed or if the repair involves intricate plumbing work, it’s best to leave it to a professional plumber.
Old or Worn-Out Faucets: If your American Standard bathroom faucet is old, worn-out, or heavily corroded, it may be more cost-effective to replace it entirely rather than attempting repairs. A professional plumber can help you choose a new faucet and handle the installation process.
Hidden Leaks: If you suspect that the leak is coming from a hidden or hard-to-reach location, such as inside the wall or under the sink, it’s best to leave the investigation and repair work to a professional plumber. Attempting to access and repair hidden leaks without the proper tools and expertise can cause further damage and complications.
Safety Concerns: If the repair involves working with electricity or gas lines, it’s essential to prioritize safety and leave the job to a licensed professional plumber or electrician. Attempting to perform repairs on electrical or gas-powered fixtures without proper training and certification can pose serious safety risks.
Home Warranty Coverage: If your home is covered by a warranty or service contract that includes plumbing repairs, it may be more cost-effective to have a professional plumber handle the repair work. Check your warranty coverage and contact your service provider to determine if the repair is covered under your policy.
Tips for Avoiding Leaks and Maintaining Your Faucet
Preventing leaks in your American Standard bathroom faucet starts with proper installation and regular maintenance. By following these preventive measures, you can prolong the life of your faucet and avoid costly repairs:
Professional Installation: Ensure that your American Standard bathroom faucet is installed correctly by hiring a professional plumber. Proper installation helps prevent leaks and ensures optimal performance.
Regular Maintenance: Schedule regular maintenance checks for your faucet to detect any signs of wear or damage early. Inspect the faucet, handles, and connections for leaks, loose parts, or corrosion, and address any issues promptly.
Monitor Water Pressure: Excessively high water pressure can put a strain on your faucet and lead to leaks over time. Install a pressure regulator or adjust the water pressure at the source to prevent damage to your plumbing fixtures.
Avoid Harsh Cleaners: Use mild cleaning solutions and non-abrasive cloths or sponges to clean your American Standard bathroom faucet. Harsh chemicals and abrasive cleaners can damage the finish and seals, leading to leaks and corrosion.
Repair Leaks Promptly: If you notice any signs of leaks or damage, such as dripping water, water stains, or reduced water pressure, address the issue promptly to prevent further damage and costly repairs.
Protect Against Freezing: In cold climates, take measures to protect your plumbing fixtures from freezing temperatures. Insulate exposed pipes and faucets, and allow faucets to drip slowly during freezing weather to prevent pipes from freezing and bursting.
How to Repair (Not Replace) Any Leaking Bathroom Faucet
DANCO Bathtub and Shower 3-Handle Remodel/Rebuild Trim Kit for American Standard Colony Faucets Cross-Arm Handle 9C-23H, 9C-23C, 11C-1D Chrome
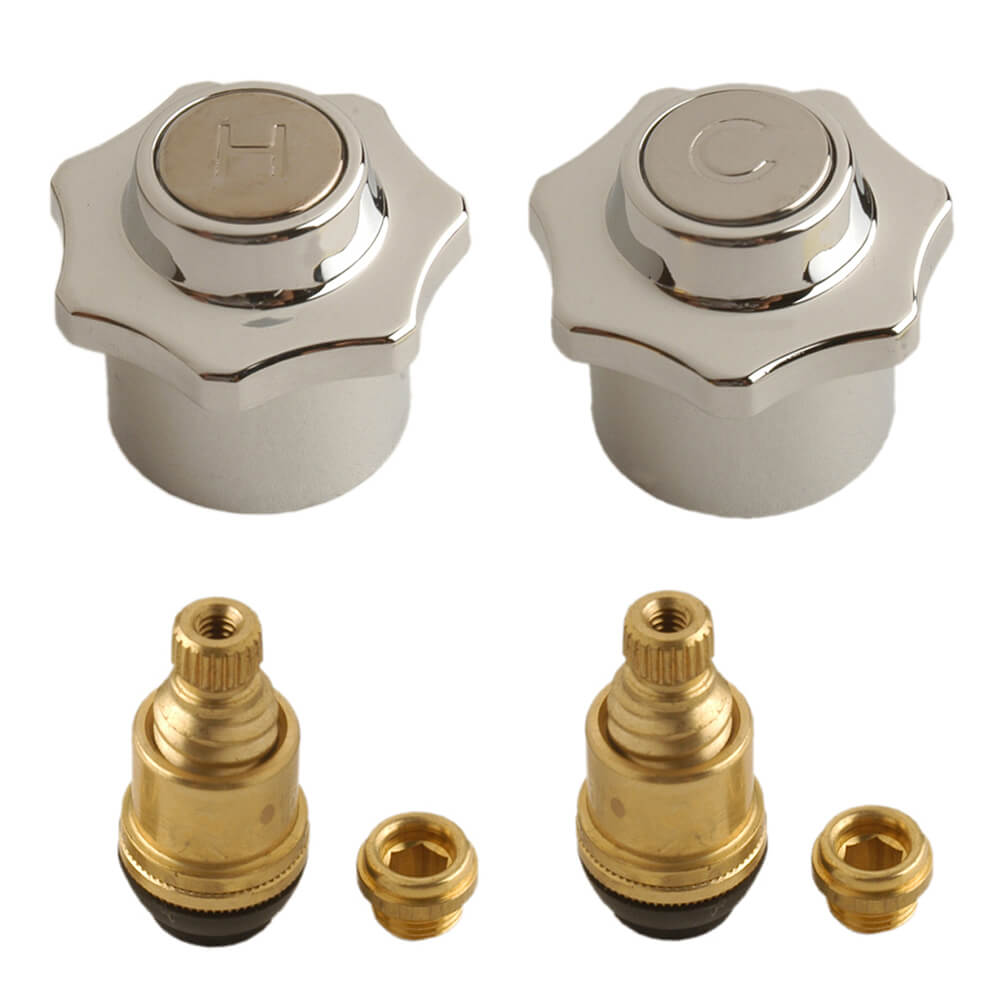
Complete Faucet Rebuild Trim Kit for American Standard Faucets
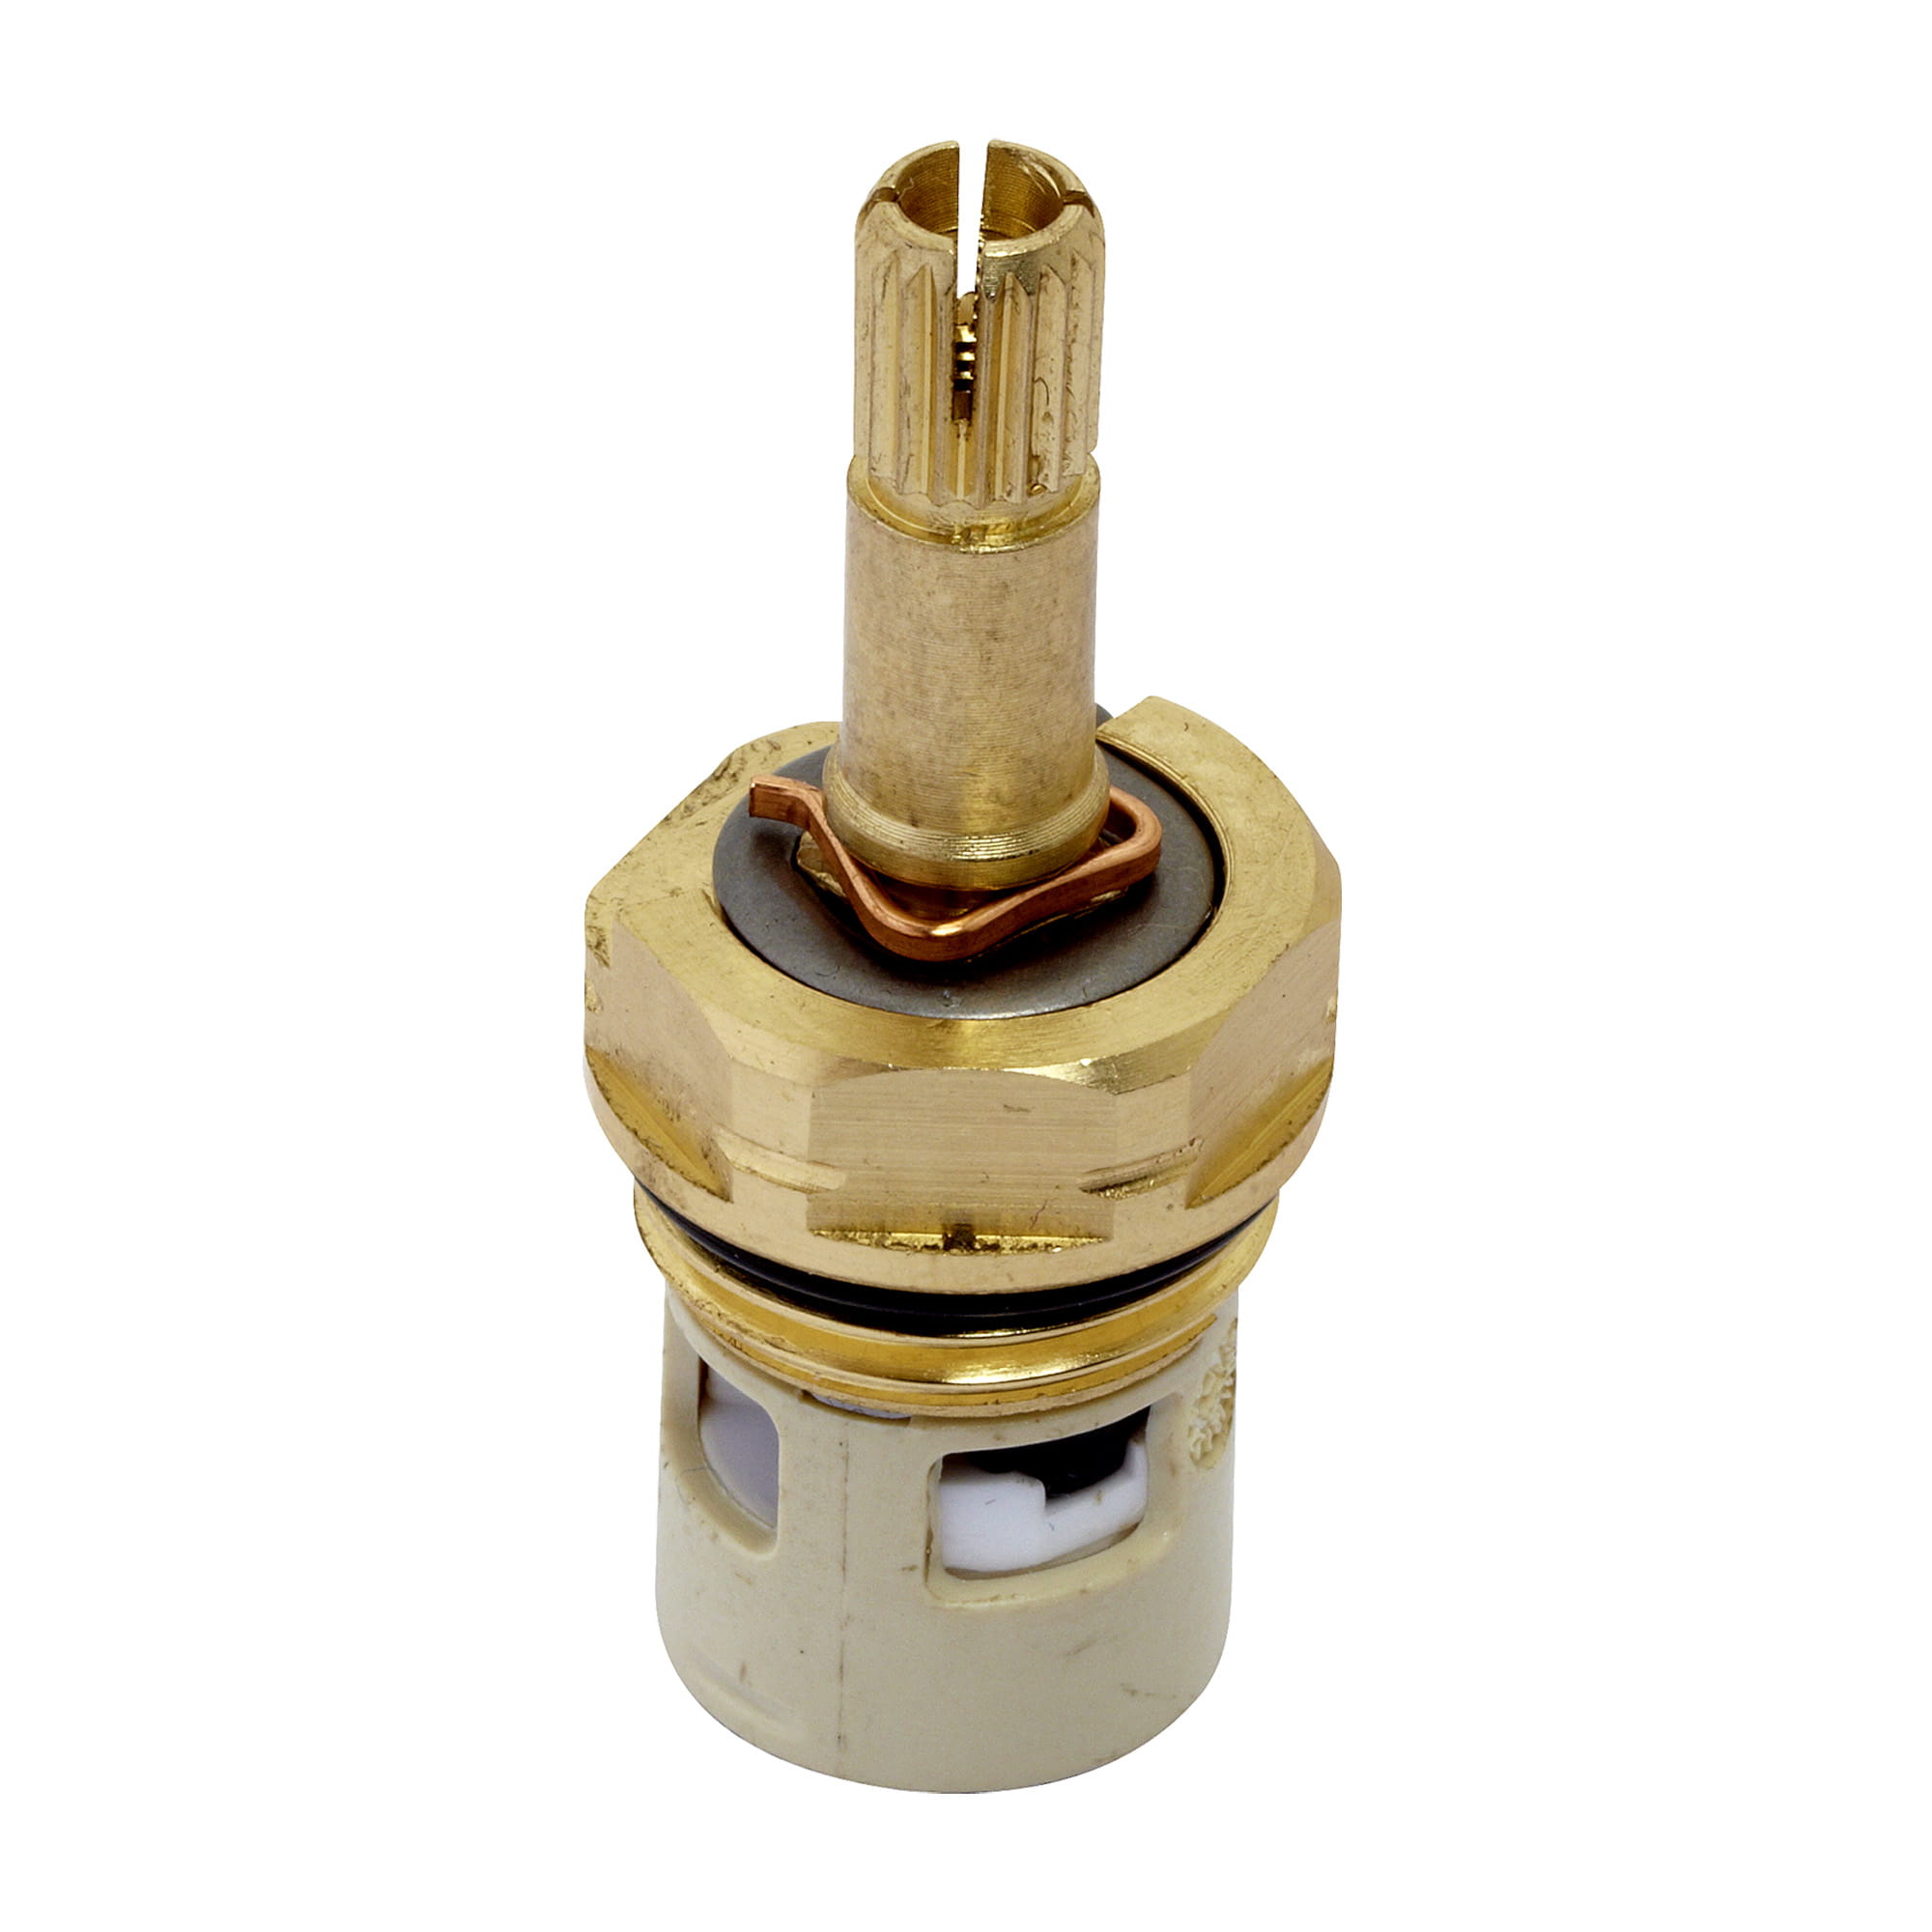
American Standard 994053-0070A Bath u0026 Kitchen Faucet Replacement Valve Cartridge
How to flip American Standard dual-handle faucet cartridge
Can’t disassemble american standard bathroom faucet to change the
Faucet Replacement Valve Cartridge for 2-Hanlde Faucets
American Standard 2064.131
AM-10 Repair Kit for American Standard Tub/Shower Faucets
Related Posts:
- Replace Delta Bathroom Faucet
- Delta Bathroom Faucet With White Handles
- Bathroom Faucet Aerator Size
- Moen Satin Nickel Bathroom Faucets
- Moen Bathroom Faucets For Vessel Sinks
- How To Remove Price Pfister Bathroom Faucet
- Moen Caldwell Chrome Bathroom Faucet
- Bathroom Faucet Trim Kit
- Brushed Nickel Bathroom Faucets Cheap
- Bathroom Faucets And Sinks


