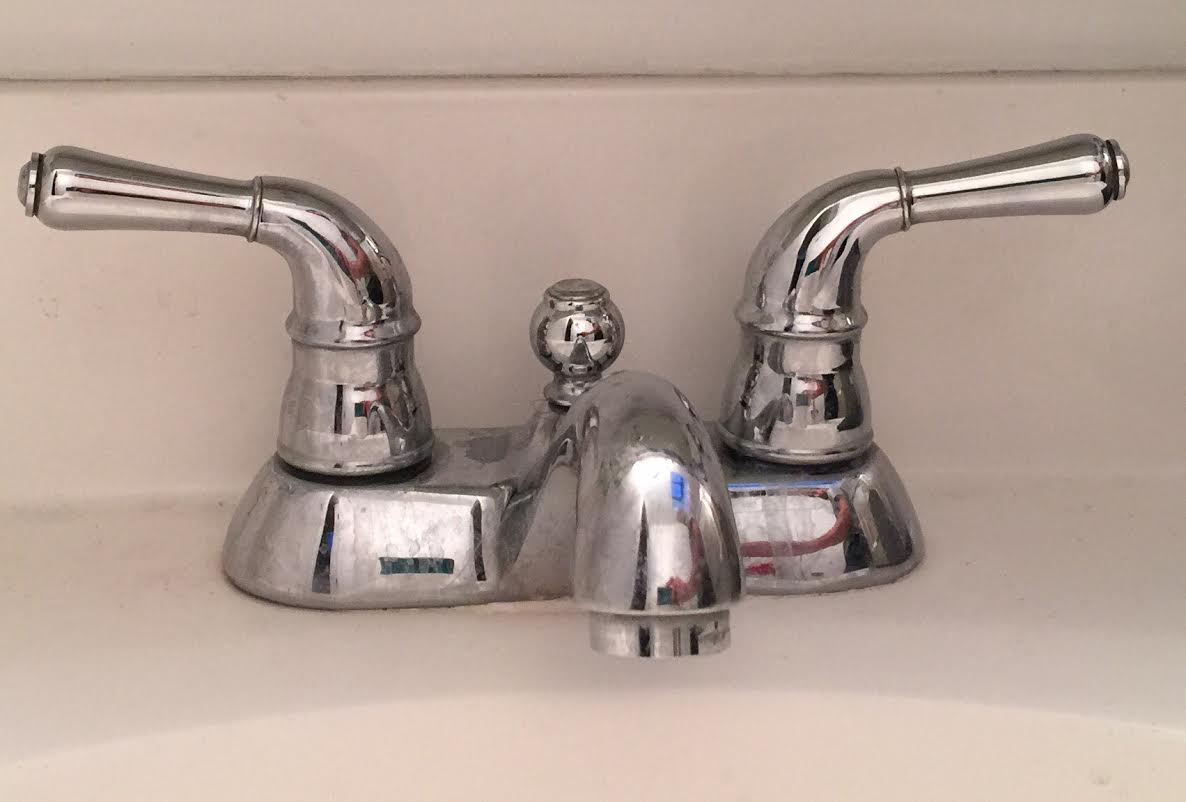
Identifying Common Issues with Bathroom Faucet Handles
Your bathroom faucet handle may seem like a small component, but when it malfunctions, it can cause significant inconvenience. Understanding the common issues that can arise with bathroom faucet handles is the first step toward fixing them efficiently. From leaks to stiffness, various problems can occur, each with its own set of causes and solutions.
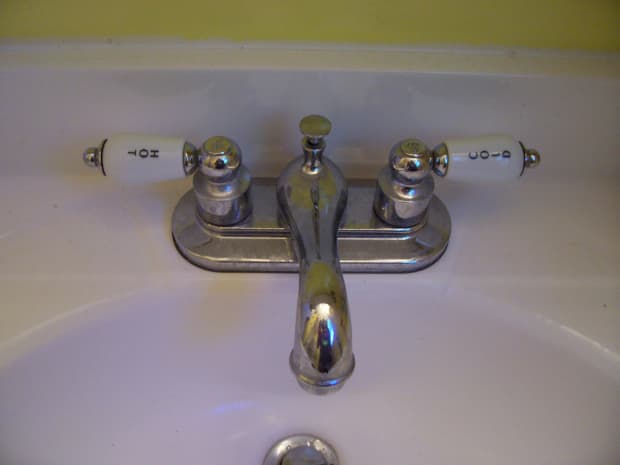
- Leaky Faucet Handles: Leaky faucet handles are perhaps the most common issue homeowners face. A dripping faucet not only wastes water but also increases your water bill. The most likely culprit behind a leaky handle is a worn-out or damaged O-ring, which creates a faulty seal. Additionally, mineral deposits or corrosion within the faucet assembly can contribute to leaks. To fix this issue, you’ll need to disassemble the handle, replace the O-ring, and clean any buildup inside the faucet.
- Loose Handles: Another prevalent problem is a loose faucet handle, which can be frustrating to use and may worsen over time if left unaddressed. Loose handles are typically caused by worn-out or damaged screws or fasteners that secure the handle to the valve stem. To resolve this issue, you’ll need to tighten or replace the screws or fasteners, ensuring a snug fit that prevents wobbling or shifting.
- Stiff or Difficult-to-Turn Handles: If your faucet handle is stiff or difficult to turn, it can make adjusting the water flow and temperature a hassle. This issue often occurs due to mineral buildup or corrosion inside the faucet assembly, which inhibits smooth movement. To remedy this, you’ll need to clean the interior of the faucet thoroughly, removing any debris or buildup that may be causing the stiffness. In some cases, lubricating the moving parts with silicone grease can also help restore smooth operation.
- Noisy Handles: A noisy faucet handle can be annoying, especially if it produces loud squeaks or grinding sounds every time you use it. This problem is typically caused by friction between the handle and other components of the faucet assembly. Insufficient lubrication or loose parts can exacerbate the issue. To quiet a noisy handle, lubricate the moving parts with silicone grease and ensure that all screws and fasteners are securely tightened.
- Handle Damage: Over time, faucet handles can become worn, scratched, or cracked, detracting from the overall appearance of your bathroom. While cosmetic damage may not affect the functionality of the handle, it can detract from the aesthetics of your space. Consider replacing damaged handles with new ones to refresh the look of your bathroom and restore functionality.

What You’ll Need for Fixing a Bathroom Faucet Handle
Fixing a bathroom faucet handle requires the right tools and materials to ensure a successful repair. Whether you’re tightening a loose handle, replacing a faulty component, or upgrading your faucet, having the proper equipment on hand is essential. From basic tools like screwdrivers to specialized plumbing supplies, here’s what you’ll need to get the job done.
Adjustable Wrench: An adjustable wrench is a versatile tool that allows you to tighten or loosen nuts and bolts of various sizes. It’s indispensable for removing and installing faucet handles, as well as adjusting plumbing connections underneath the sink.
Phillips and Flathead Screwdrivers: Phillips and flathead screwdrivers are essential for removing screws and fasteners that secure faucet handles in place. Make sure you have both types on hand, as different faucets may require different screwdriver types.
Allen Wrench: Some faucet handles are attached using Allen screws, which require an Allen wrench for removal. Make sure you have the appropriate size Allen wrench for your faucet model.
Plumber’s Tape: Plumber’s tape, also known as Teflon tape, is used to create a watertight seal on threaded plumbing connections. It’s especially useful when installing or replacing faucet components to prevent leaks.
Replacement Parts: Depending on the nature of the repair, you may need to have replacement parts on hand, such as O-rings, screws, washers, or entire faucet handle assemblies. Before starting the repair, identify the specific parts you’ll need and ensure you have them available.
Bucket or Basin: When disassembling a faucet handle, water may spill out from the plumbing connections. To prevent mess and water damage, place a bucket or basin underneath the sink to catch any drips or spills.
Step-by-Step Guide: How to Repair a Loose or Leaky Faucet Handle
A loose or leaky faucet handle can be a nuisance, but fortunately, repairing it is a relatively straightforward process. With the right tools and a bit of know-how, you can tackle this common plumbing issue and restore your faucet to optimal condition. Follow these step-by-step instructions to fix a loose or leaky faucet handle with ease.
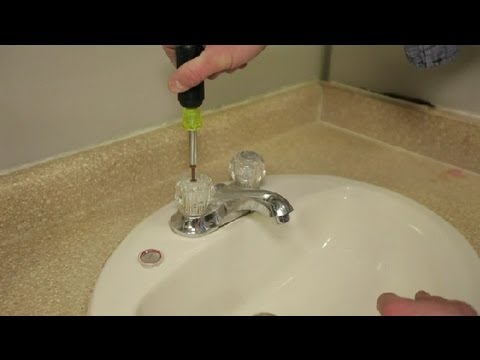
Turn Off the Water: Before you begin any repair work, it’s essential to shut off the water supply to the faucet. Locate the shut-off valves underneath the sink and turn them clockwise to close them completely. Once the water is off, turn on the faucet to release any remaining water pressure and drain the lines.
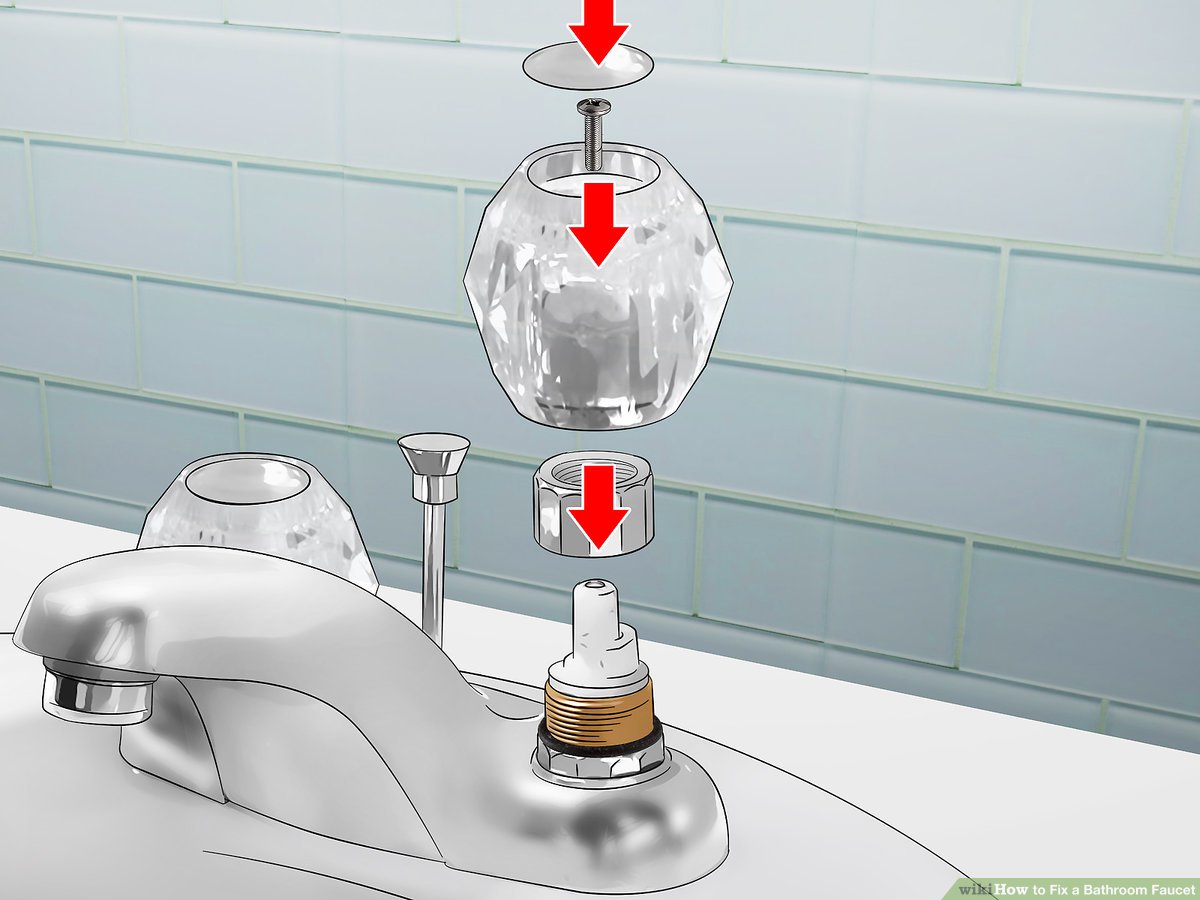
Remove the Handle: Use a screwdriver to remove any screws or fasteners securing the handle to the faucet assembly. Once the screws are removed, carefully lift the handle off the valve stem. If the handle is stuck, you may need to gently pry it loose using a flathead screwdriver.
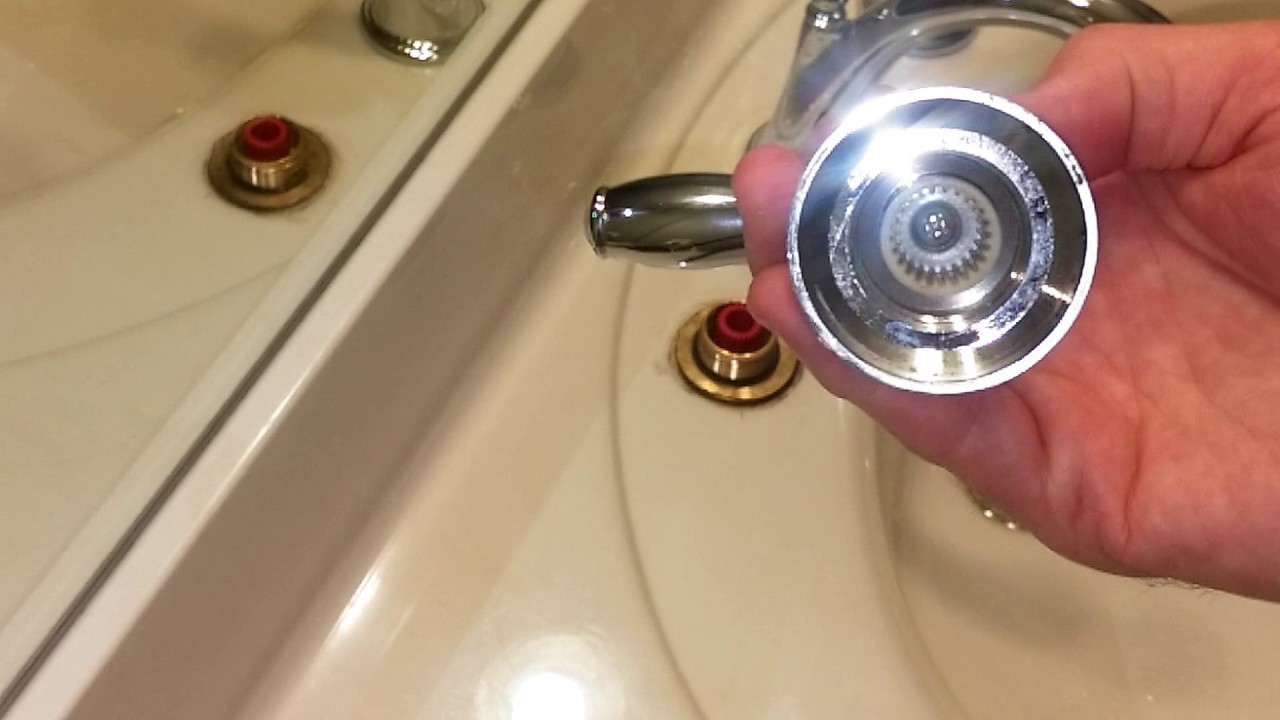
Inspect the Components: Once the handle is removed, inspect the components inside the faucet assembly for any signs of damage or wear. Look for worn-out O-rings, damaged screws, or mineral buildup that may be causing the issue.
Replace Worn or Damaged Parts: If you identify any worn or damaged parts, such as O-rings or screws, replace them with new ones. Make sure to use the appropriate replacement parts for your faucet model to ensure a proper fit and reliable performance.
Reassemble the Handle: Once all necessary repairs have been made, reassemble the handle by placing it back onto the valve stem and securing it with screws or fasteners. Tighten the screws securely to prevent the handle from loosening again.
Turn On the Water: After reassembling the handle, turn the water supply back on by reopening the shut-off valves underneath the sink. Turn on the faucet and check for any leaks or issues. If everything looks good, you’ve successfully repaired your loose or leaky faucet handle.
Dealing with Persistent Issues and Complications
While many faucet handle issues can be resolved with basic repairs, some problems may persist or require additional troubleshooting. From stubborn leaks to unexpected complications, dealing with these issues can be frustrating but not insurmountable. Here are some troubleshooting tips to help you tackle persistent faucet handle problems effectively.
Stubborn Leaks: If you’ve replaced worn-out O-rings or tightened loose connections but still have a leaky faucet handle, there may be underlying issues with the valve or plumbing connections. Consider replacing the entire faucet assembly or contacting a plumber for professional assistance.
Corrosion or Mineral Buildup: Stubborn corrosion or mineral buildup inside the faucet assembly can impede repairs and cause ongoing issues with the handle’s operation. Use a commercial descaling solution or vinegar to dissolve mineral deposits, and consider replacing heavily corroded components for long-term reliability.
Hidden Damage: In some cases, faucet handle problems may be caused by hidden damage or wear within the plumbing system. Inspect the surrounding pipes and connections for signs of leaks, corrosion, or damage that may be contributing to the issue. Addressing underlying plumbing problems may be necessary to resolve the faucet handle issue fully.
Manufacturer-Specific Solutions: Certain faucet brands or models may have unique repair requirements or proprietary parts that differ from standard components. Refer to the manufacturer’s instructions or contact their customer support for guidance on troubleshooting and repairing your specific faucet model.
Professional Assistance: If you’ve exhausted all DIY troubleshooting options and are still experiencing issues with your faucet handle, don’t hesitate to seek professional assistance. A licensed plumber can diagnose the problem accurately and provide expert repairs or replacement services as needed.
Preventive Maintenance: Once you’ve resolved the immediate issue with your faucet handle, implement preventive maintenance measures to prevent future problems. Regularly clean and inspect the faucet assembly, address any minor issues promptly, and schedule professional maintenance as needed to keep your plumbing system in top condition.

Options for Replacing or Upgrading Faucet Handles
If your bathroom faucet handles are outdated, damaged, or simply no longer meet your aesthetic preferences, upgrading them can breathe new life into your space. From modern designs to innovative features, there are numerous options available to suit your style and functional needs. Explore these options for replacing or upgrading your bathroom faucet handles and transform your bathroom into a stylish and functional retreat.
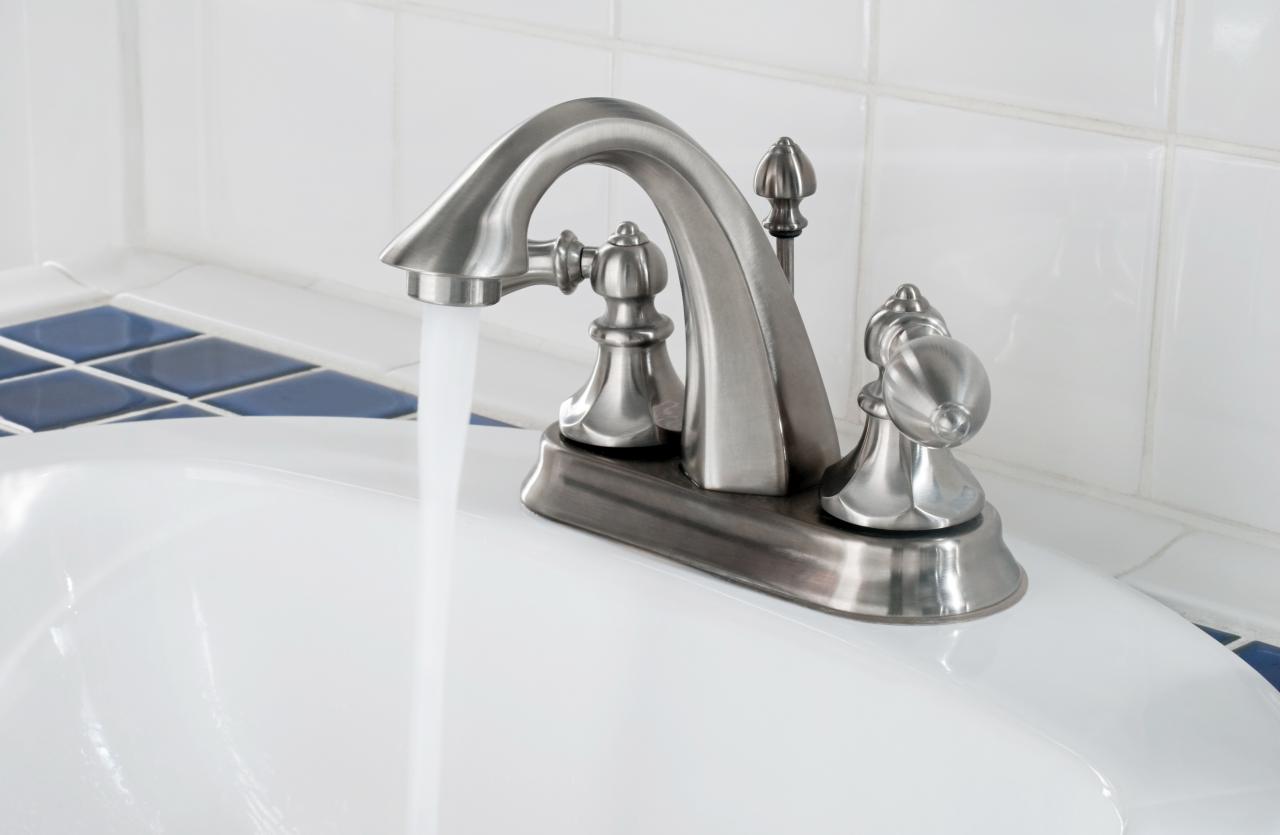
Style and Finish Options: When selecting new faucet handles, consider the style and finish that best complements your bathroom décor. Choose from classic designs with traditional finishes like chrome or brushed nickel, or opt for contemporary styles with sleek lines and matte black or brass finishes. Coordinate the finish with other fixtures in your bathroom for a cohesive look.
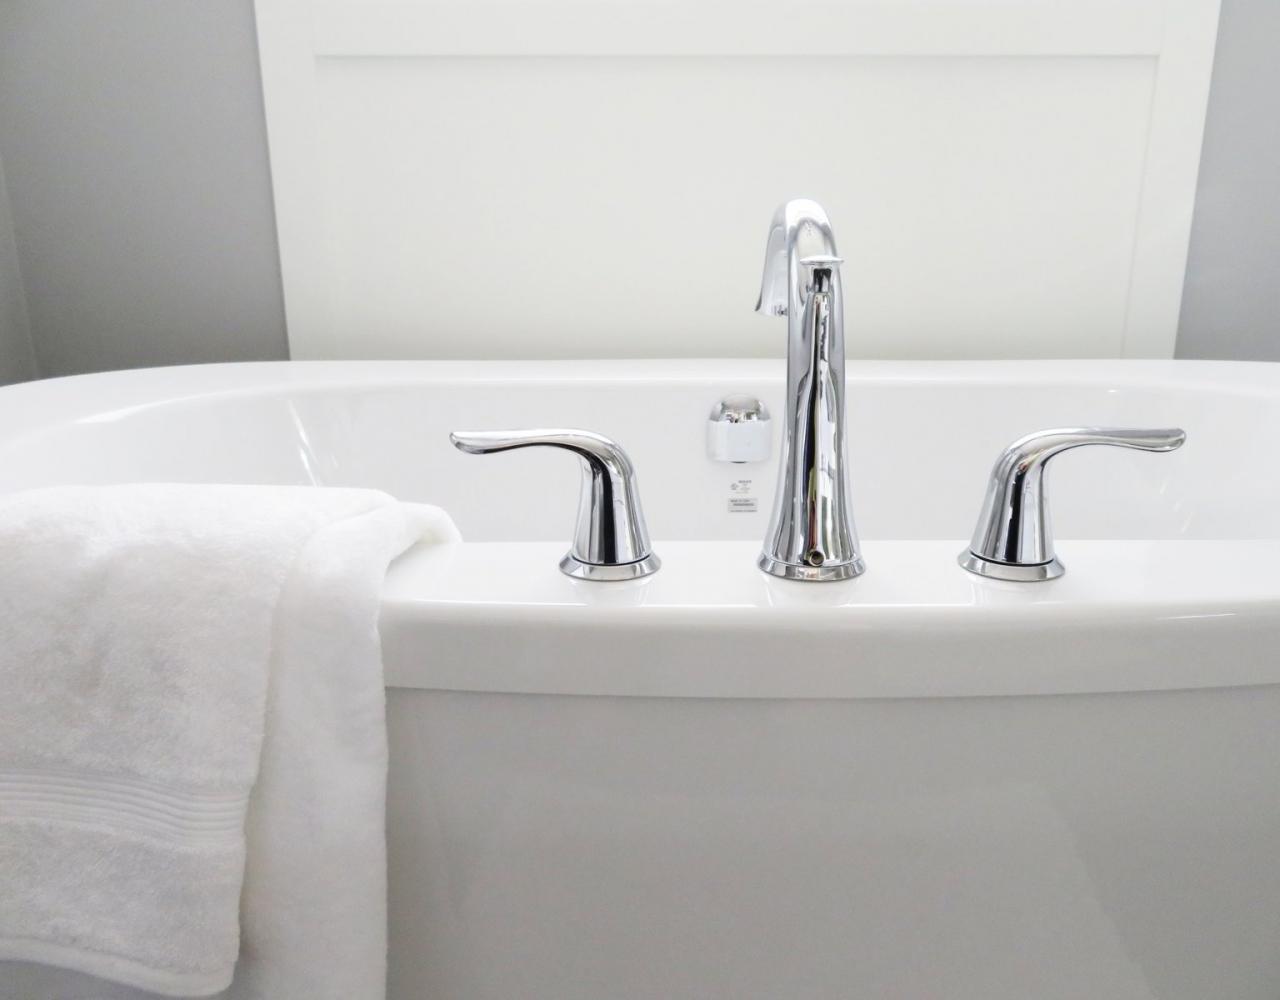
Handle Types: Faucet handles come in various types, including single-handle, double-handle, and touchless options. Single-handle faucets offer convenient one-handed operation and are ideal for smaller spaces, while double-handle faucets allow for precise control over water temperature and flow. Touchless faucets feature motion-sensing technology for hands-free operation, reducing the spread of germs and enhancing convenience.
Innovative Features: Upgrading your faucet handles allows you to incorporate innovative features that enhance functionality and convenience. Look for options with built-in LED indicators for water temperature, integrated pull-out or pull-down sprayers for added versatility, or touch-activated controls for effortless operation.
Water-Saving Technology: If sustainability is a priority, consider upgrading to faucet handles with water-saving technology. Look for models with aerators or flow restrictors that reduce water consumption without sacrificing performance. These eco-friendly features not only conserve water but also lower your utility bills over time.
Easy Installation: Many modern faucet handles are designed for easy installation, allowing you to upgrade your bathroom without the need for professional assistance. Choose models with simple installation instructions and compatible connections that fit your existing plumbing setup. DIY installation saves time and money while giving you the satisfaction of completing the project yourself.
How to Fix a Stripped Faucet Handle in 10 Minutes or Less
How to Repair (Not Replace) Any Leaking Bathroom Faucet
How to Fix a Bathroom Faucet: 14 Steps (with Pictures)
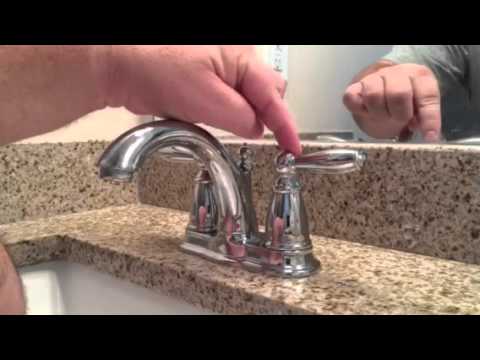
Tighten a Loose Lever on Moen Brantford Faucet
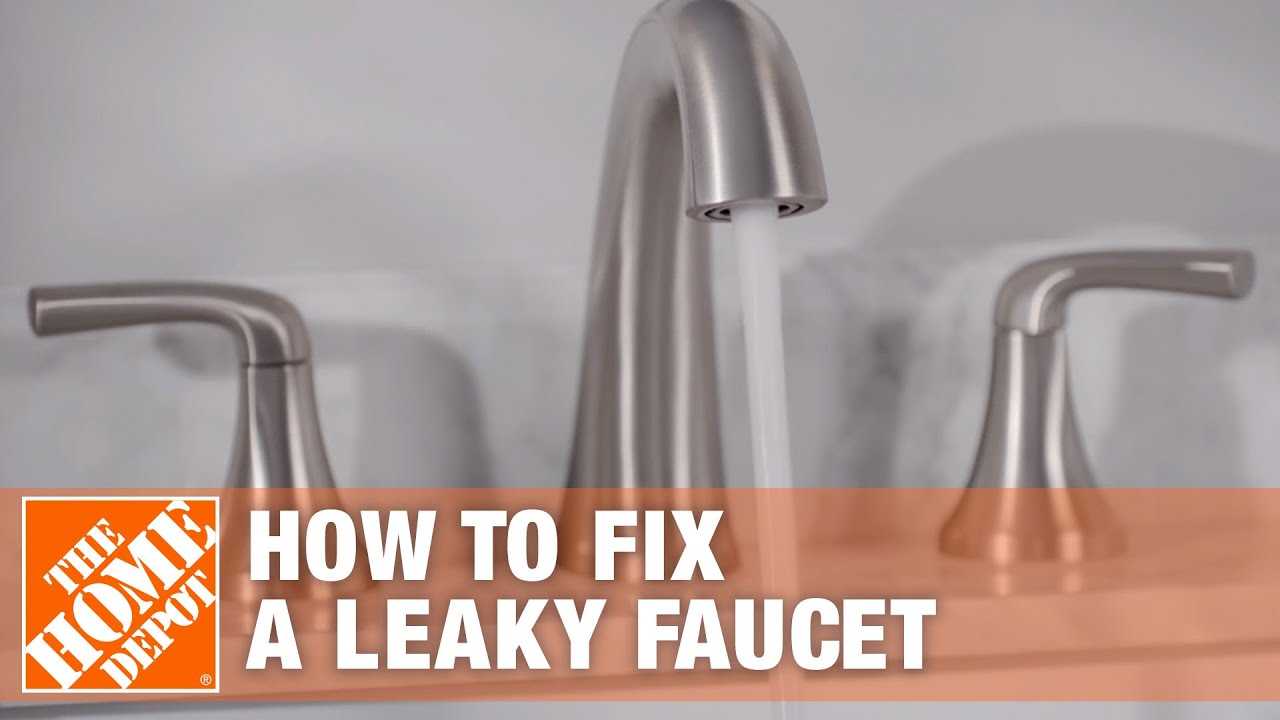
How to Fix a Leaky Faucet
How To Fix A Leaky Delta Two Handle Faucet

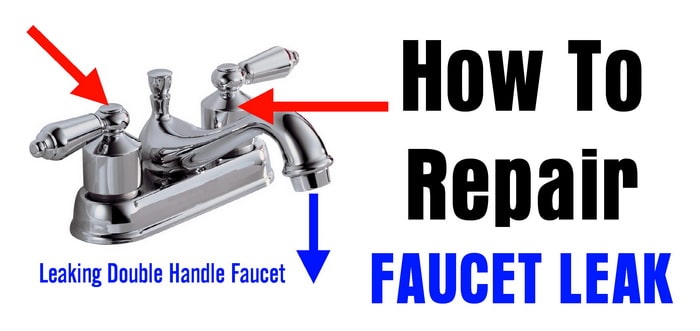
How To Repair A Leaking Double Handle Faucet
How to Fix a Leaky Bathtub Faucet: A Step-By-Step Guide
Related Posts:
- Kohler Bathroom Faucet Repair Diagram
- Bathroom Faucet Parts List
- Kraus Bathroom Faucets Reviews
- Repair Bathroom Faucet Leak
- Kohler Kelston Bathroom Faucet
- Bathroom Faucet Replacement Knobs
- Best Touchless Bathroom Faucet
- How To Change Bathroom Faucet Washer
- Repair Moen Double Handle Bathroom Faucet
- Aerator For Delta Bathroom Faucet


