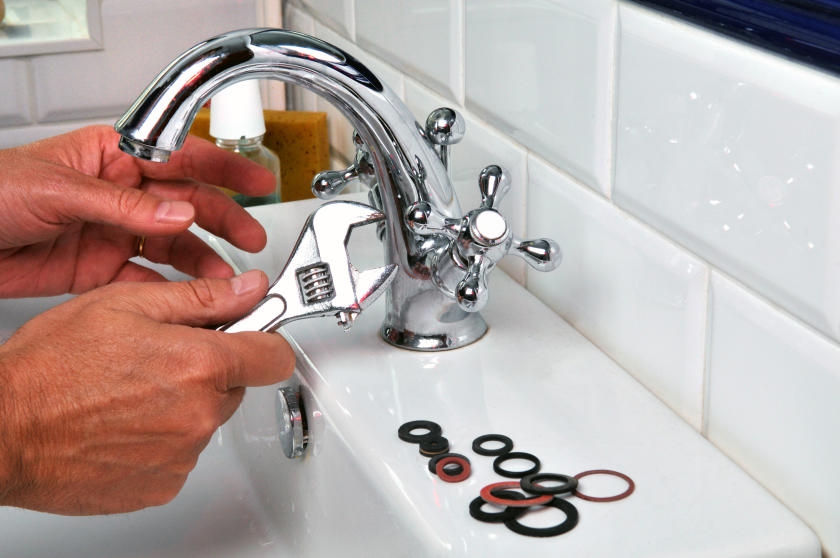
Is your bathroom faucet leaking? If so, it could be due to a faulty O-ring. The O-ring is a small rubber ring that helps to seal the connection between the faucet body and the spout. Over time, the O-ring can wear out, crack or become dislodged, causing water to leak out of your faucet. But don’t worry; replacing an O-ring is a relatively easy fix that can be done in just a few simple steps.
Tools and materials you’ll need:
- New O-ring
- Plumber’s grease
- Flathead screwdriver
- Adjustable wrench
- Towel or rag
Step 1: Turn off the water supply. Before you start, turn off the water supply to your bathroom faucet. Look for the water supply valves under your sink and turn them clockwise until the water stops flowing.
Step 2: Remove the handle. Use a flathead screwdriver to remove the screw holding the faucet handle. Once the screw is removed, gently pull the handle off the faucet.
Step 3: Remove the nut and collar. Loosen the nut that holds the faucet in place using an adjustable wrench. Once the nut is loose, remove it, along with the collar that sits underneath it.
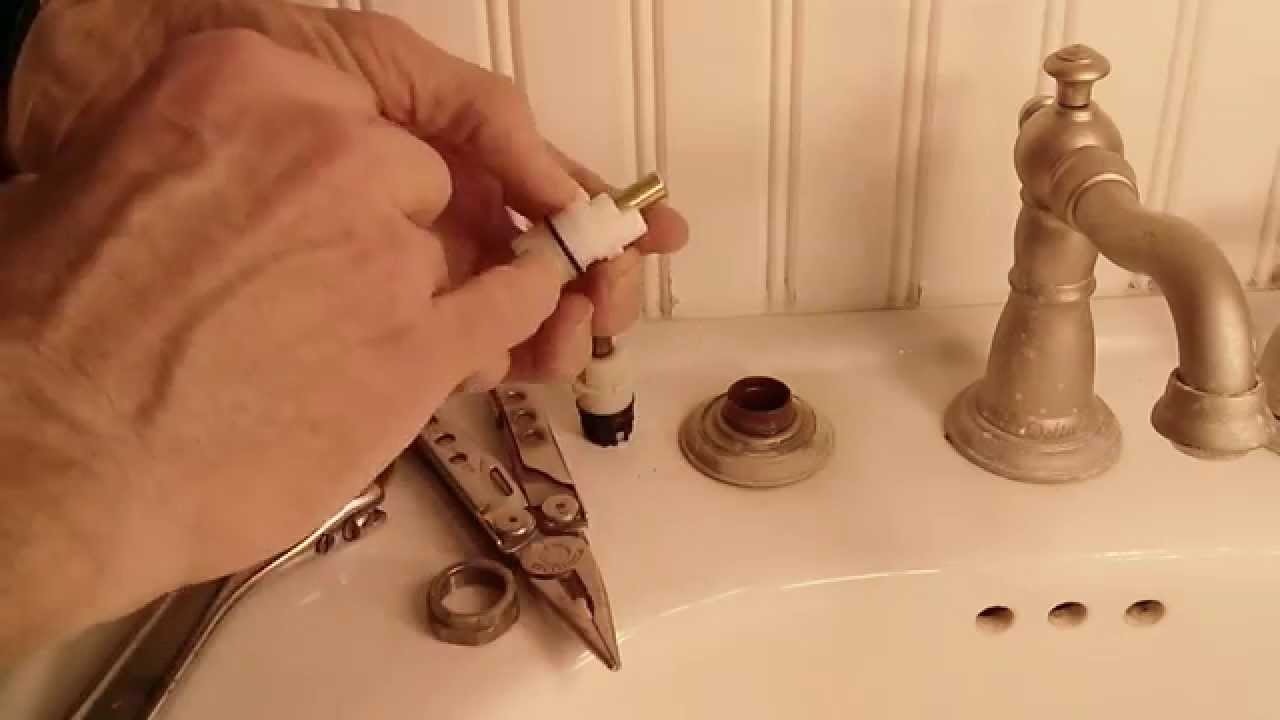
Step 4: Remove the spout. Gently pull the spout off of the faucet body. You may need to wiggle it a bit to get it loose. Once the spout is removed, you should be able to see the O-ring that needs to be replaced.
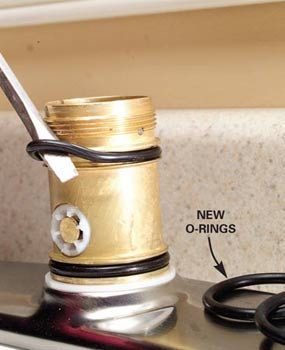
Step 5: Replace the O-ring. Remove the old O-ring and replace it with a new one. Be sure to use a high-quality O-ring that is the same size and shape as the original. Apply a small amount of plumber’s grease to the new O-ring to help it slide into place.
Step 6: Reassemble the faucet. Reassemble the faucet in the reverse order of how you took it apart. Start by sliding the spout back onto the faucet body, lining up the O-ring with the groove in the spout. Then, replace the collar and nut, tightening the nut with an adjustable wrench. Finally, replace the handle and screw it back into place.
Step 7: Turn the water supply back on. Once you’ve reassembled the faucet, turn the water supply back on and test it to ensure it’s no longer leaking. If the faucet still leaks, you may need to replace other components, such as the cartridge or washer.
Replacing an O-ring on your bathroom faucet is a quick and easy DIY project that can save money and prevent water damage. With just a few basic tools and a new O-ring, your faucet will work like new in no time.
Replace O Ring Bathroom Faucet
Leaky Faucet Base u2013 O-Ring Replacement

Replacing an O-Ring HowStuffWorks

How to Fix a Leaky Faucet The Home Depot

How to Repair (Not Replace) Any Leaking Bathroom Faucet

How to Fix a Bathroom Faucet: 14 Steps

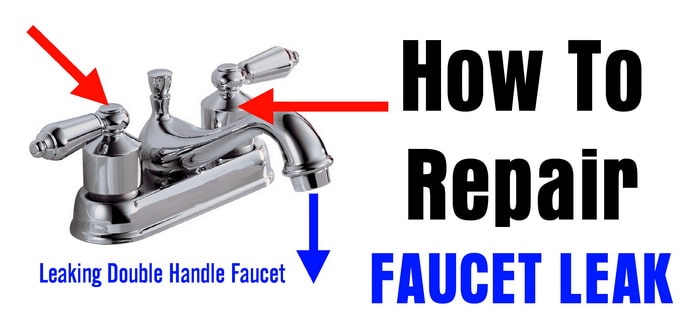
How To Repair A Leaking Double Handle Faucet
How To Fix A Leaky Delta Two Handle Faucet
How to Fix a Leaky Faucet (DIY) Family Handyman
How to Replace a Bathtub Faucet

How to Repair a 2-Handle Cartridge Faucet
:max_bytes(150000):strip_icc()/repair-a-two-handle-cartridge-faucet-1824887-hero-46a7f7b8303a40e88a3efea73c3381d3.jpg)
Quickly Fix a Leaky Faucet Cartridge (DIY) Family Handyman

O-rings

Related Posts:
- Mirabelle Bathroom Faucets Reviews
- Metropolitan Chrome Widespread Bathroom Faucet
- Delta Victorian Widespread Bathroom Faucet
- Fontaine Vincennes Chrome Widespread Bathroom Faucet
- Moen Monticello Bathroom Faucet Handle Removal
- Moen 8 Inch Spread Bathroom Faucets
- Single Handle Bathroom Faucet Installation
- Price Pfister Contempra Bathroom Faucet
- How To Fix A Leaky Delta Two Handle Bathroom Faucet
- Monroe Bridge Bathroom Faucet


