Installing a Moen bathroom sink faucet is a straightforward process that can instantly upgrade the look and functionality of your bathroom. Moen is a trusted brand known for its quality and innovative faucet designs. In this comprehensive article, I will guide you through the steps of Moen bathroom sink faucet installation, covering preparation, tools needed, the installation process itself, and final tips for a successful installation. With this knowledge, you can confidently install your Moen bathroom sink faucet and enjoy a refreshed bathroom experience.
Preparation for Moen Bathroom Sink Faucet Installation
Before beginning the installation process, gathering all the necessary tools and materials is important. Check the packaging of your Moen faucet to ensure it includes all the required components, such as the faucet, handles, supply lines, and mounting hardware. Additionally, gather basic tools like an adjustable wrench, pliers, screwdriver, and plumber’s tape.
Next, turn off the water supply to the bathroom sink. Locate the shut-off valves beneath the sink and rotate them clockwise until fully closed. It’s also a good idea to place a towel or bucket under the sink to catch any water that may drip during installation.
Moen Bathroom Sink Faucet Installation Process
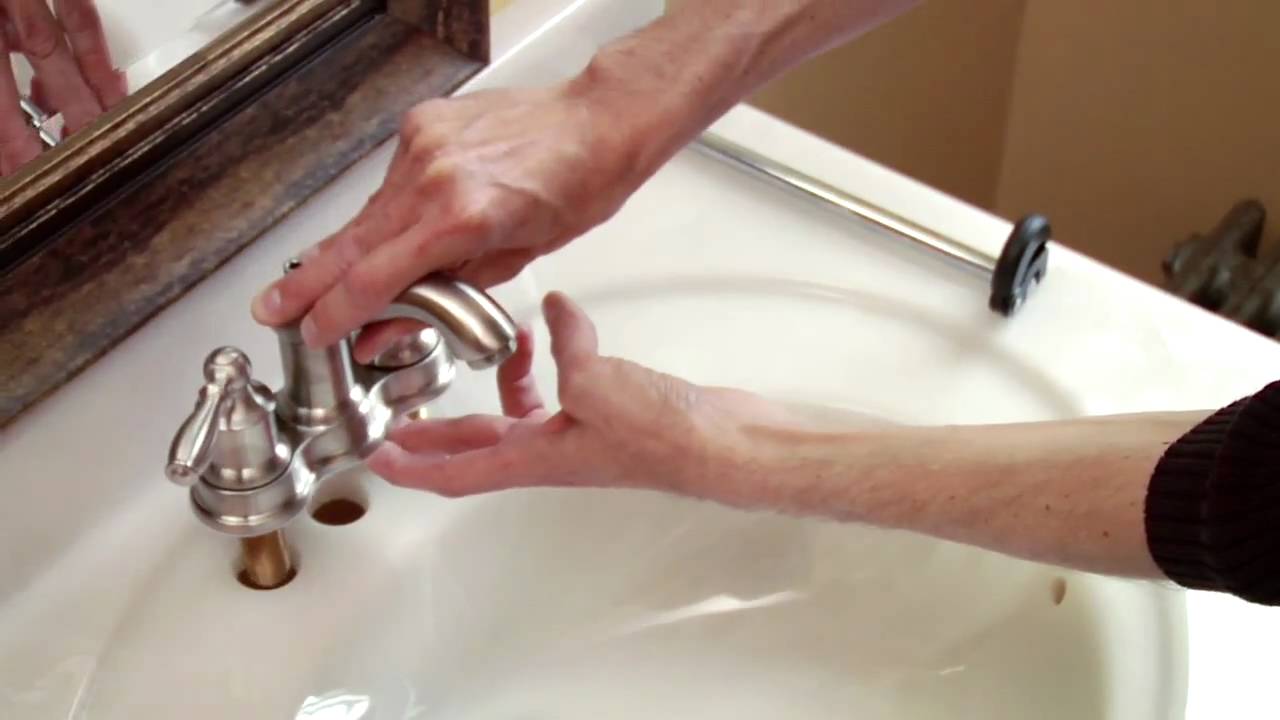
Remove the old faucet: Begin by disconnecting the water supply lines from the old faucet using an adjustable wrench. Then, use a screwdriver to remove any mounting nuts or screws that secure the faucet in place. Lift the old faucet out of the sink, taking care not to damage the surrounding surfaces.
Prepare the sink: Clean the area where the new faucet will be installed, ensuring it is free from debris and old sealant. Use a putty knife to remove excess caulk or adhesive from the sink surface if necessary.
Install the new faucet: Start by applying a thin layer of plumber’s tape to the threads of the faucet’s mounting hardware to create a watertight seal. Position the faucet into the mounting holes on the sink, ensuring it is properly aligned. Secure the faucet using the provided nuts or screws, tightening them with a screwdriver or pliers.
Connect the water supply lines: Attach the water supply lines to the corresponding hot and cold water inlets on the faucet. Use an adjustable wrench to tighten the connections, being careful not to overtighten and risk damaging the fittings.

Final Tips for Moen Bathroom Sink Faucet Installation
After completing the installation process, checking for leaks is crucial. Slowly turn on the water supply valves beneath the sink and observe the connections for any signs of leakage. If you notice any leaks, tighten the connections slightly or add more plumber’s tape to create a secure seal.
Once you have confirmed no leaks, turn on the faucet and check the water flow and temperature. Make any necessary adjustments to ensure the water flows smoothly and the temperature is comfortable.
Maintenance and Care for Moen Bathroom Sink Faucets
To keep your Moen bathroom sink faucet looking and functioning at its best, regular maintenance is essential. Clean the faucet regularly using a mild soap and water solution, and avoid abrasive cleaners or scrub brushes that may damage the finish. Dry the faucet thoroughly after cleaning to prevent water spots or mineral buildup.
If you live in an area with hard water, consider using a water softener or installing a water filtration system to prevent mineral deposits from affecting the faucet’s performance. Periodically check the faucet’s aerator for any buildup and remove it for necessary cleaning.
Installing a Moen bathroom sink faucet can be a rewarding DIY project that enhances your bathroom’s aesthetic appeal and functionality. You’ll achieve a successful installation by following the preparation steps, carefully installing the faucet, and performing the necessary checks. With regular maintenance and care, your Moen bathroom sink faucet will provide years of reliable performance and add a touch of elegance to your daily routine.
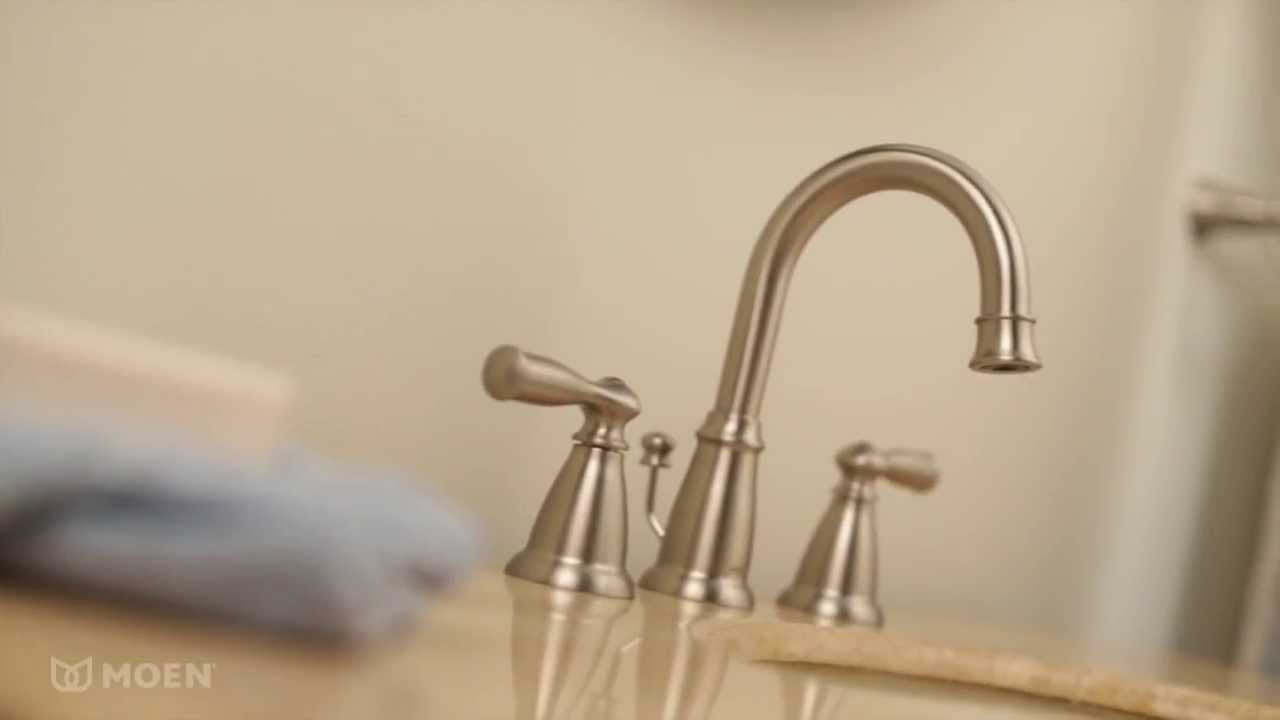
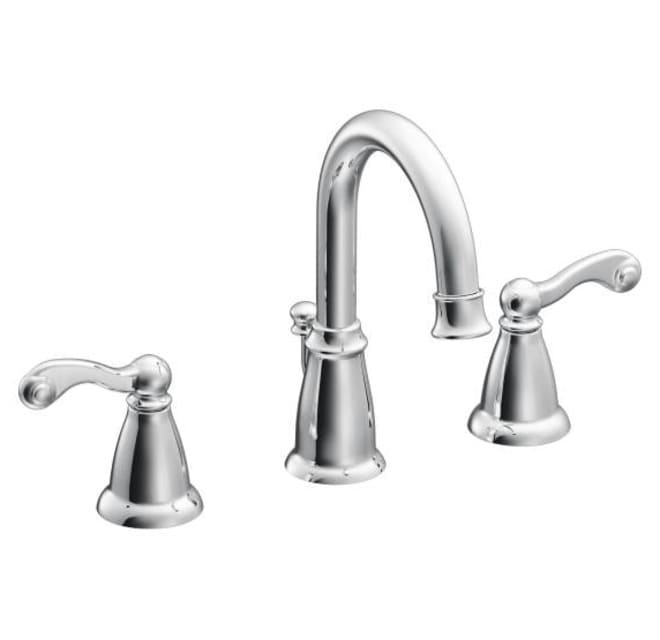
Banbury® Widespread Bathroom Sink Faucet Moen Features Spotlight
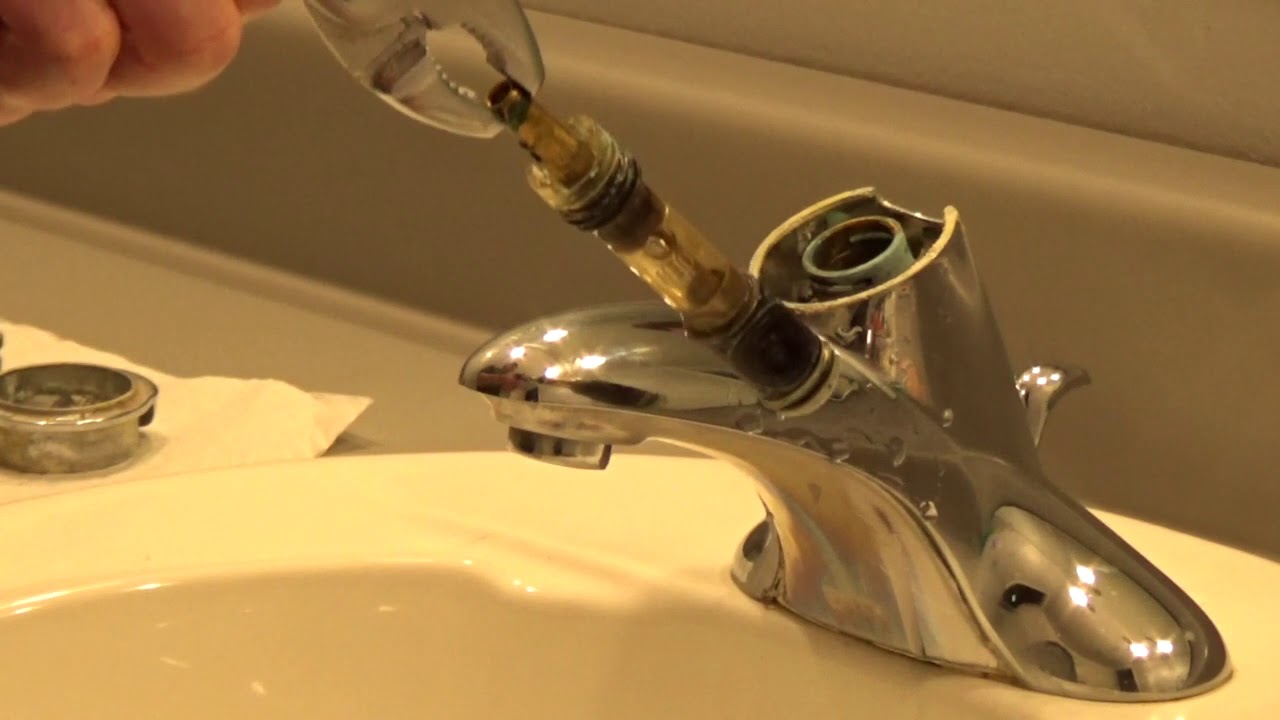
Moen Bathroom Faucet Repair – Moen 1225
Install Moen Bathroom Sink Faucet and Drain

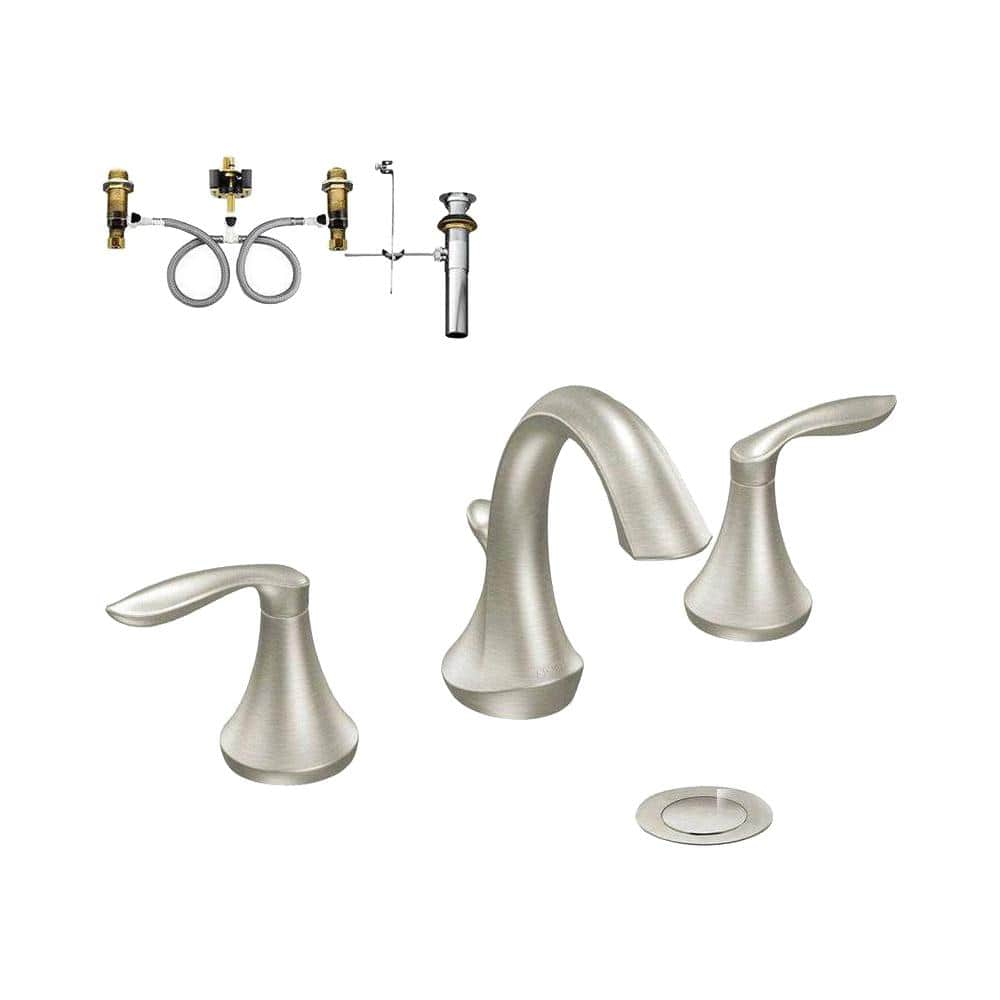
MOEN Eva 8 in. Widespread 2-Handle Bathroom Faucet Trim Kit in Brushed Nickel (Valve Included) T6420BN-9000
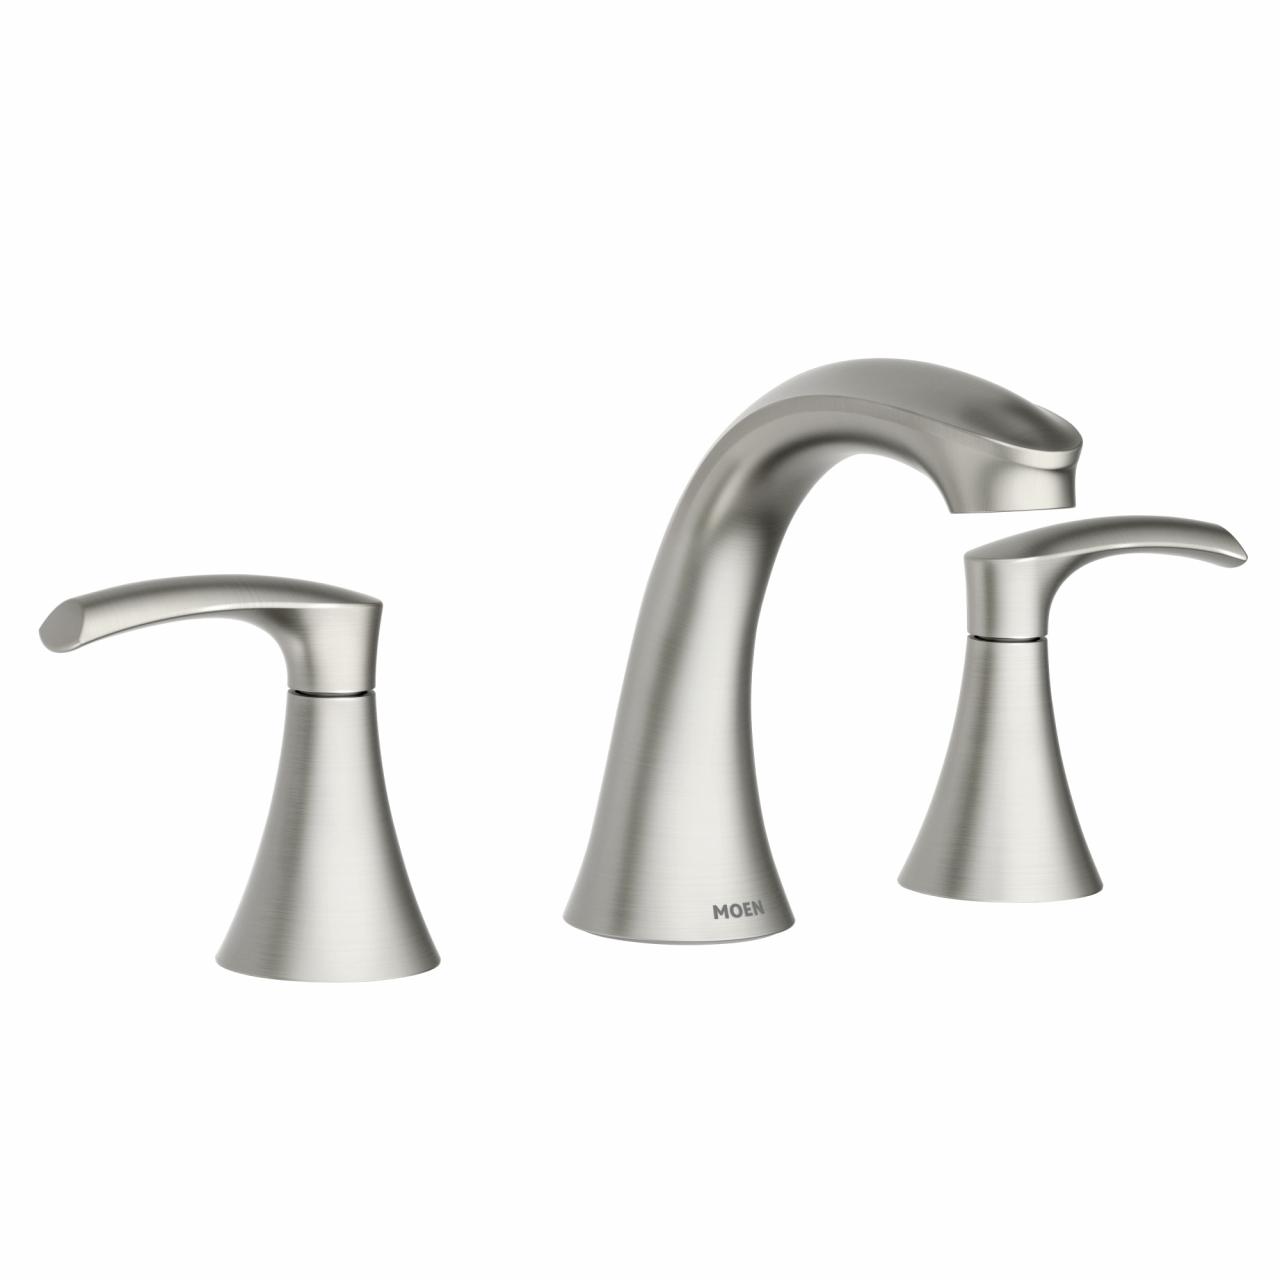
Moen Graeden Spot Resist Brushed Nickel 2-Handle Widespread WaterSense Bathroom Sink Faucet with Drain Lowes.com
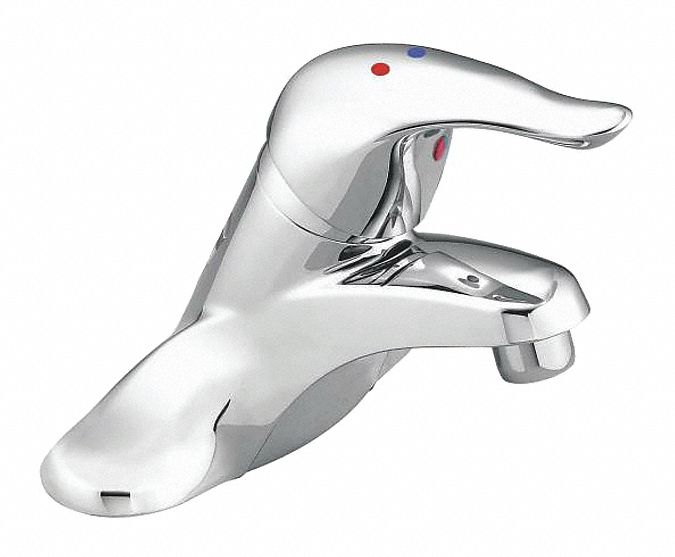
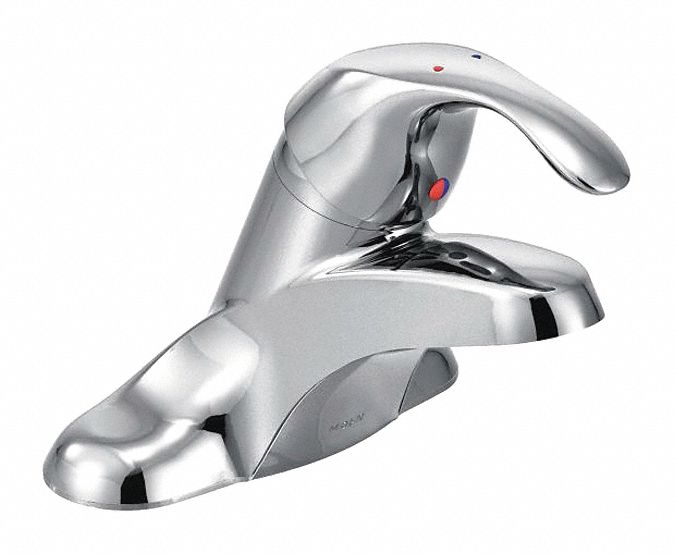
Moen WS84004
Chrome, Low Arc, Bathroom Sink Faucet, Manual Faucet Activation, 1.2 gpm
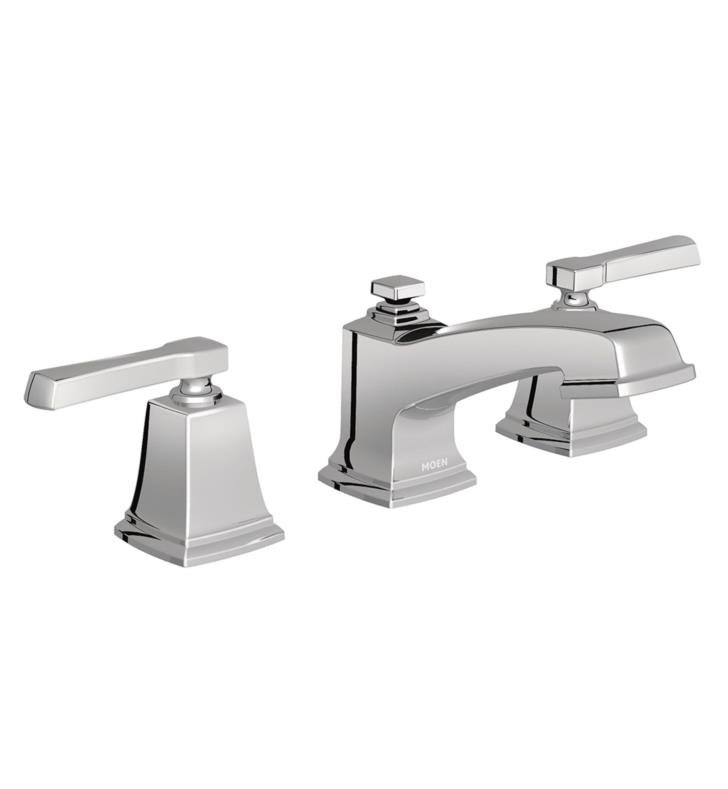
Moen T6220 Boardwalk 3 3/4″ Three Hole Widespread Bathroom Sink
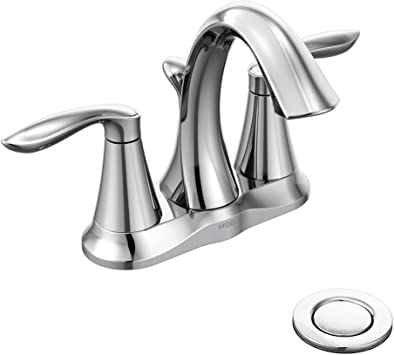
Moen 6410 Eva Two-Handle Centerset Bathroom Sink Faucet with Drain Assembly, Chrome
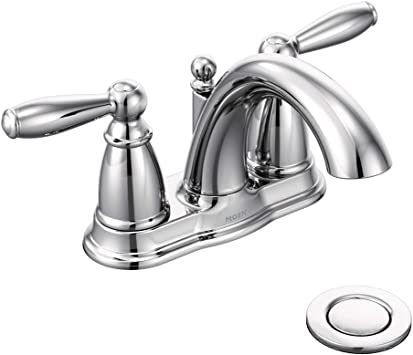
Moen 6610 Brantford Two-Handle Low-Arc Centerset Bathroom Faucet with Drain Assembly, Chrome
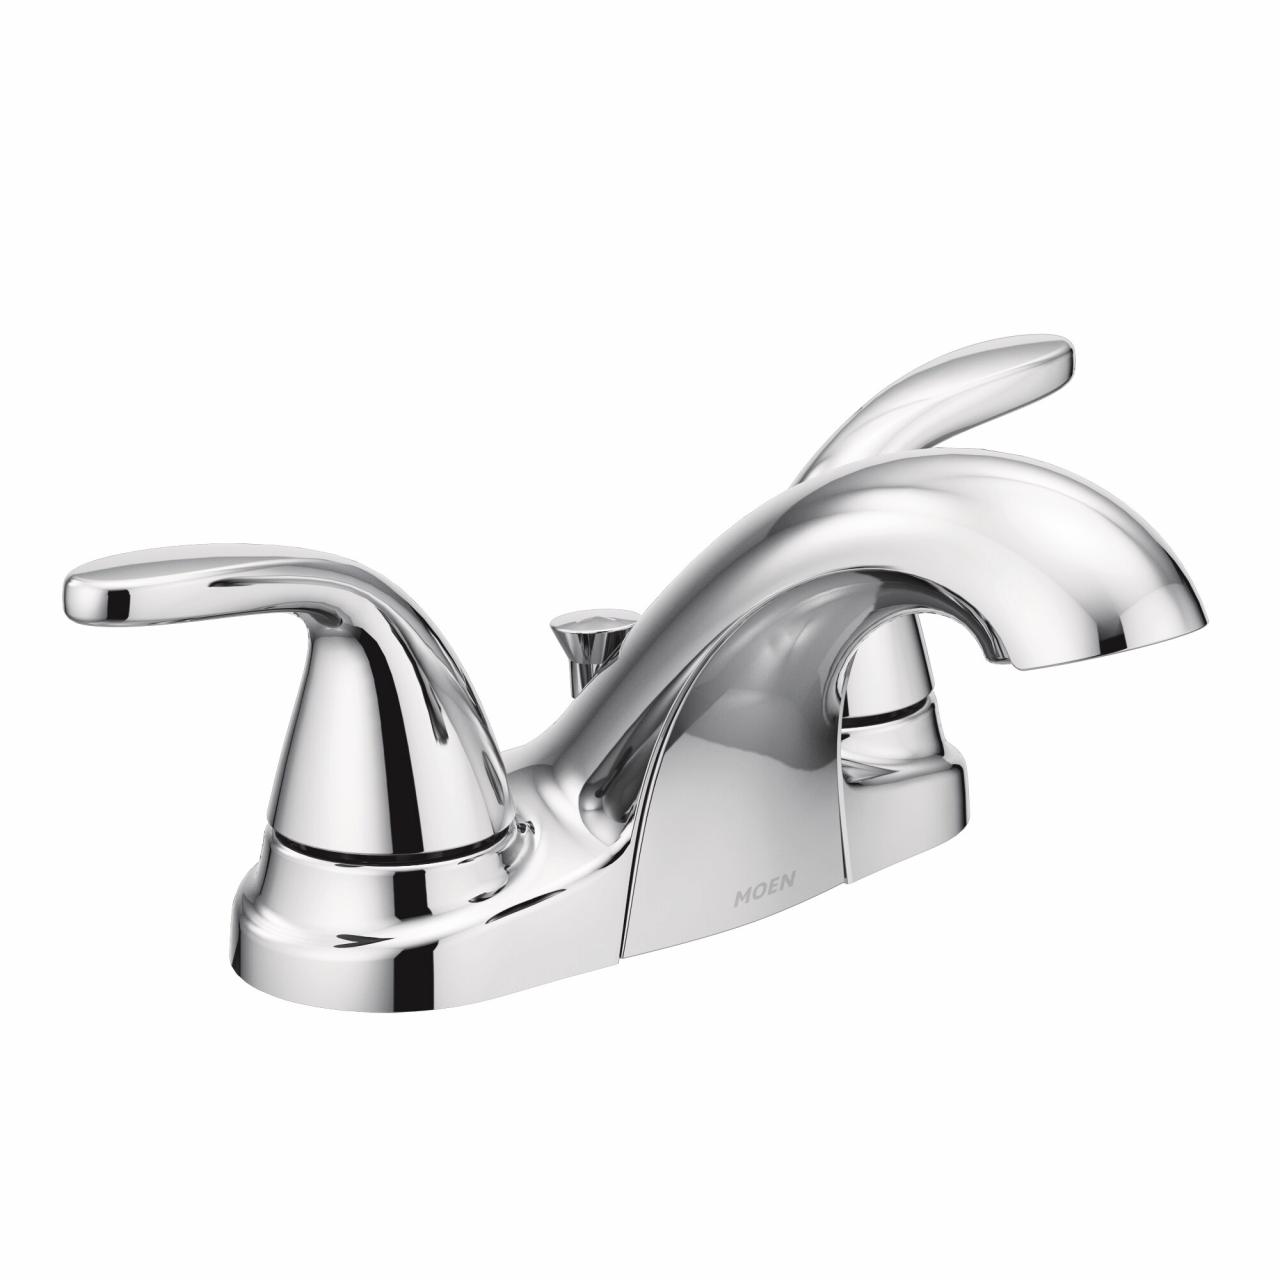
Chrome, Low Arc, Bathroom Sink Faucet, Manual Faucet Activation, 1.2 gpm
Moen Adler Chrome 2-handle 4-in Centerset WaterSense Bathroom Sink
Related Posts:
- Bathroom Sink Units Wickes
- Bathroom Sink And Vanity Sets
- Bathroom Sink 24″
- Bathroom Sink Drain Trap
- American Standard Bathroom Sink Drain Parts
- Black Bathroom Sink Vanity
- Mini Bathroom Sinks Perfect For Small Bathrooms
- Bathroom Sink 30 X 18
- Bathroom Sink Drain Ring
- Bathroom Sink Faucet Black


