Choosing the Right Ceramic Tiles for Your Bathroom
When it comes to installing ceramic tiles in your bathroom, one of the most important factors to consider is choosing the right tiles. The right tiles can enhance the overall look and functionality of your bathroom, while the wrong ones can lead to disappointment and frustration. We will guide you through the process of choosing the perfect ceramic tiles for your bathroom.
- Consider the Size and Shape: The size and shape of the tiles you choose can make a significant impact on the overall aesthetic of your bathroom. Large tiles can create a sense of spaciousness, while small mosaic tiles can add a touch of intricacy. Think about the size of your bathroom and the effect you want to achieve before making a decision.
- Evaluate the Durability: Bathrooms are prone to moisture, humidity, and frequent use, so it’s crucial to select tiles that can withstand these conditions. Look for ceramic tiles with a high water absorption rating, as they are more resistant to moisture damage. Additionally, consider the durability of the tile’s surface, as some finishes may be more prone to scratches or wear over time.
- Assess the Slip Resistance: Safety should always be a priority in a bathroom, and slip resistance is a crucial factor to consider when choosing ceramic tiles. Look for tiles with a textured surface or a high slip resistance rating to minimize the risk of accidents, especially in wet areas such as showers or near the bathtub.
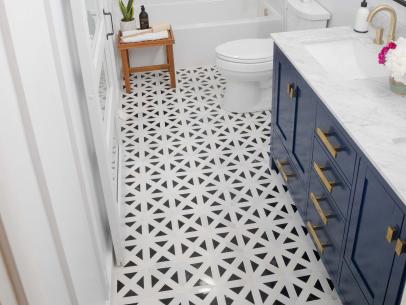
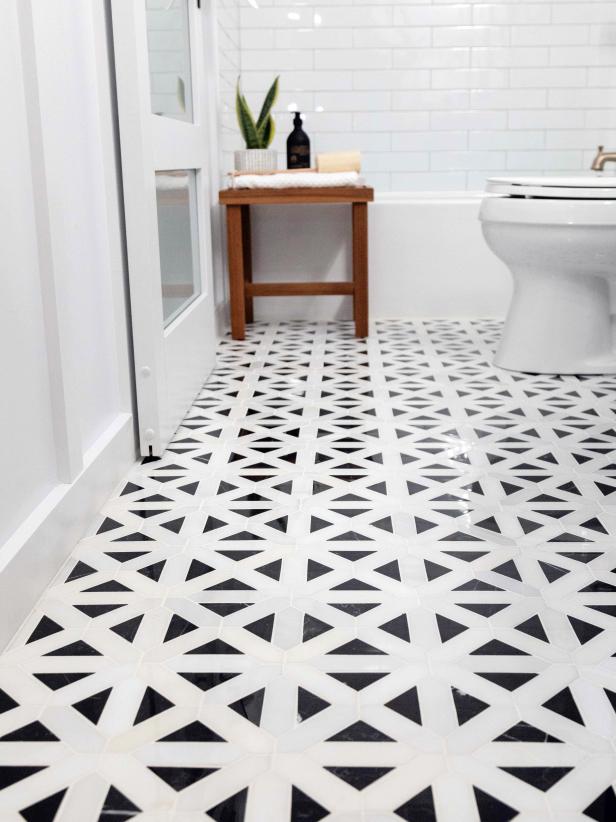
- Explore Different Styles and Colors: Ceramic tiles come in a wide range of styles, colors, and patterns, allowing you to unleash your creativity and personalize your bathroom. Consider the overall theme and color scheme of your bathroom and choose tiles that complement or contrast with the existing elements. Don’t be afraid to experiment with different combinations to create a unique and visually appealing space.
- Set a Budget: Lastly, it’s important to establish a budget for your tile selection. Ceramic tiles can vary greatly in price, depending on factors such as size, style, and brand. Determine your budget beforehand to narrow down your options and ensure that you choose tiles that not only meet your design preferences but also fit within your financial constraints.
Preparing the Surface: Steps to Ensure a Smooth Installation
Before you begin the installation of ceramic tiles in your bathroom, it’s essential to prepare the surface properly. Proper surface preparation ensures that the tiles adhere securely and results in a smooth and long-lasting installation. We will guide you through the steps to prepare the surface of your bathroom for a successful tile installation.
Remove Existing Flooring: If you have existing flooring in your bathroom, such as vinyl or laminate, it needs to be removed before installing ceramic tiles. Use a utility knife or floor scraper to carefully remove the old flooring, ensuring that the surface is clean and free from any debris or adhesive residue.
Repair any Damaged Areas: Inspect the bathroom floor for any damaged or uneven areas. If you find any cracks, holes, or uneven surfaces, it’s important to repair them before installing the ceramic tiles. Use a suitable patching compound or filler to level the surface and ensure proper tile adhesion.
Clean and Degrease: Thoroughly clean the surface of the bathroom floor to remove any dirt, dust, or grease. Use a mild detergent or specifically formulated cleaner for tile preparation. Ensure that the surface is completely dry before proceeding to the next step.
Apply a Primer: Applying a primer to the bathroom floor is essential, as it enhances the adhesion of the tile adhesive to the surface. Follow the manufacturer’s instructions to apply the primer evenly. Allow it to dry completely before moving on to the next step.
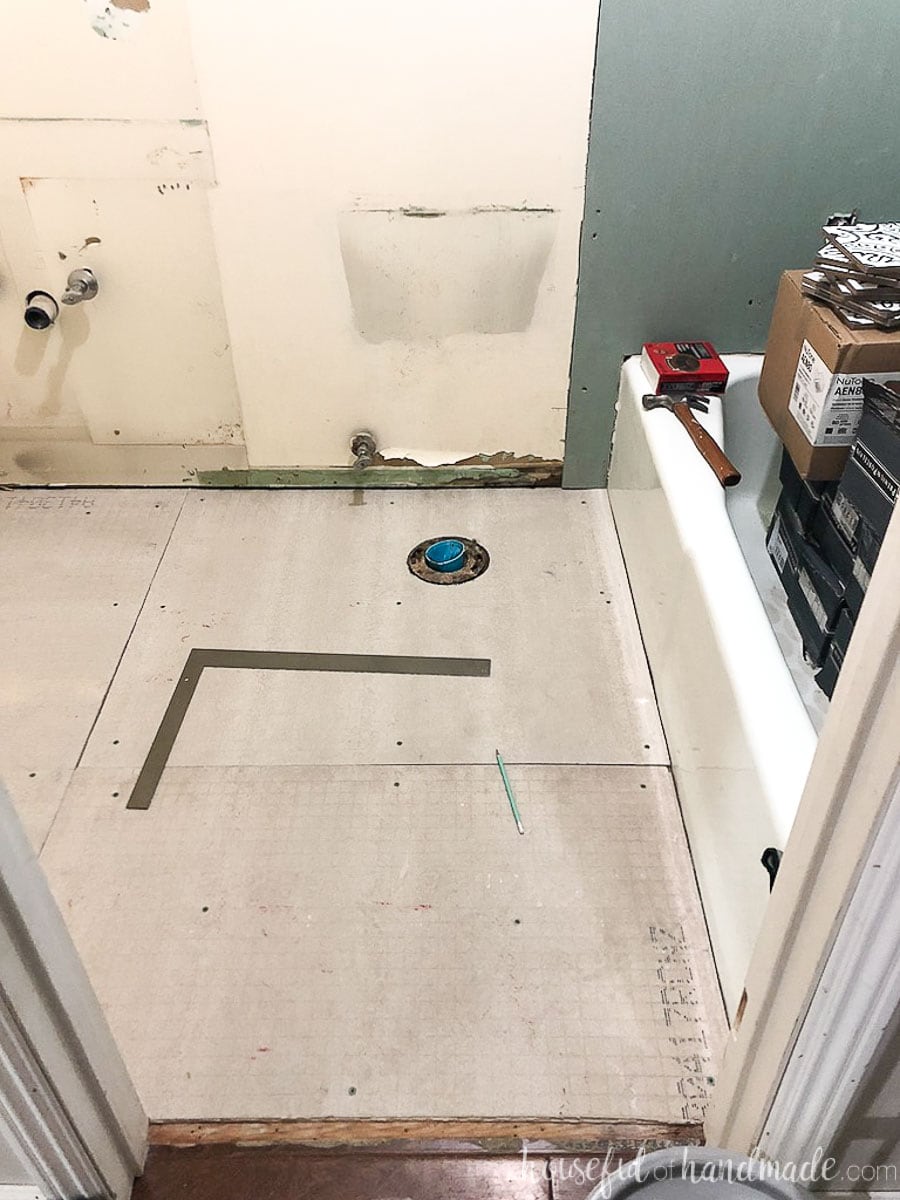
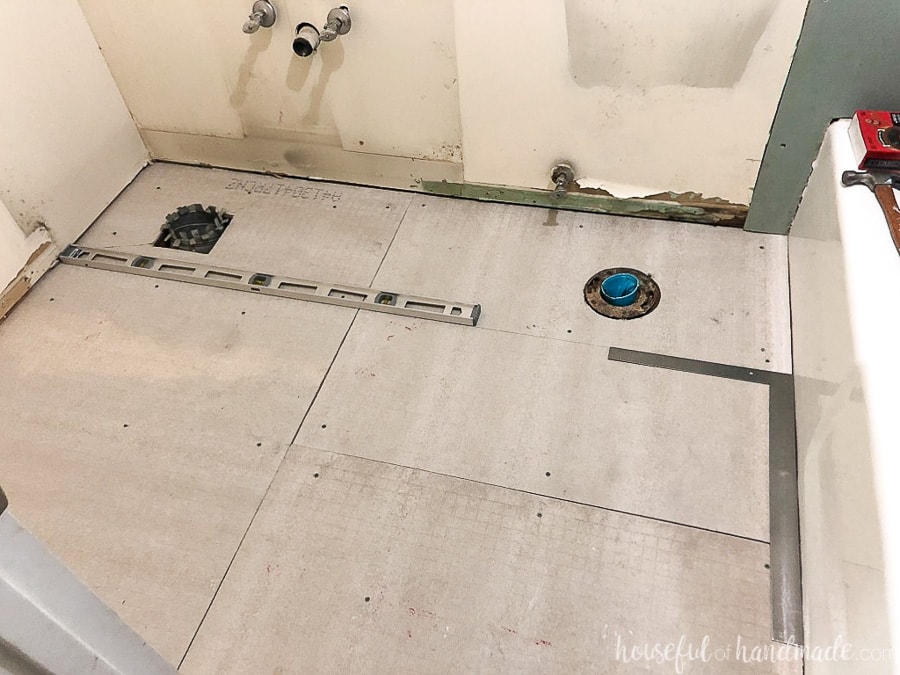
Plan the Tile Layout: Before applying the tile adhesive, plan the layout of the ceramic tiles. Measure the dimensions of the bathroom floor and mark reference lines to guide the installation process. This step will help ensure that the tiles are aligned correctly and result in a professional-looking finish.
Protect Adjacent Surfaces: To protect adjacent surfaces, such as walls or fixtures, use painter’s tape to create a barrier. This will prevent any accidental damage or adhesive smears during the installation process.
Tools and Materials: What You’ll Need for a Successful Tile Installation
Installing ceramic tiles in your bathroom requires the right tools and materials to ensure a successful outcome. Having the necessary equipment on hand will make the installation process smoother and more efficient. We will outline the essential tools and materials you’ll need to install ceramic tiles in your bathroom.
Measuring Tools: Accurate measurements are crucial when installing ceramic tiles. You’ll need a tape measure to determine the dimensions of the bathroom floor and calculate the amount of tiles needed. Additionally, a level and a straight edge will help ensure that the tiles are installed evenly and aligned correctly.
Tile Cutter or Wet Saw: A tile cutter or wet saw is essential for cutting ceramic tiles to fit around edges, corners, or fixtures. A manual tile cutter is suitable for straight cuts, while a wet saw is recommended for more complex cuts. Ensure that you have the appropriate cutting tool based on the size and thickness of the tiles you’re using.
Trowel and Tile Adhesive: A notched trowel is used to apply tile adhesive to the bathroom floor. The size of the trowel should correspond to the size of the tiles. Choose a high-quality tile adhesive that is suitable for ceramic tiles and the specific conditions of your bathroom, such as moisture resistance.
Tile Spacers and Leveling System: Tile spacers are small plastic tools that ensure consistent spacing between tiles. They help create straight grout lines and ensure a professional finish. Additionally, a leveling system can be used to ensure that the tiles are level and evenly aligned during the installation process.
Grout and Grout Float: Grout is used to fill the gaps between tiles and create a seamless and waterproof surface. Choose a grout color that complements your tile selection. A grout float is used to apply and spread the grout evenly between the tiles.
Sponge and Grout Sealer: A sponge is essential for cleaning excess grout off the tiles during the grouting process. It helps achieve a clean and polished look. Additionally, a grout sealer is recommended to protect the grout from stains and moisture damage. Follow the manufacturer’s instructions for applying the grout sealer.
Step-by-Step Guide: Installing Ceramic Tiles in Your Bathroom
Installing ceramic tiles in your bathroom can be a rewarding and cost-effective way to enhance its aesthetics and functionality. While it may seem like a daunting task, following a step-by-step guide can make the process much more manageable. Below we provide a detailed guide on how to install ceramic tiles in your bathroom.
Prepare the Surface: Before starting the installation, ensure that the bathroom floor is clean, level, and properly prepared. Follow the steps outlined in the previous article to remove any existing flooring, repair damaged areas, clean, and apply a primer.
Plan the Tile Layout: Measure the bathroom floor and determine the layout of the tiles. Mark reference lines using a level and a straight edge to guide the installation process. Dry-fit the tiles to ensure they fit properly and make any necessary adjustments.
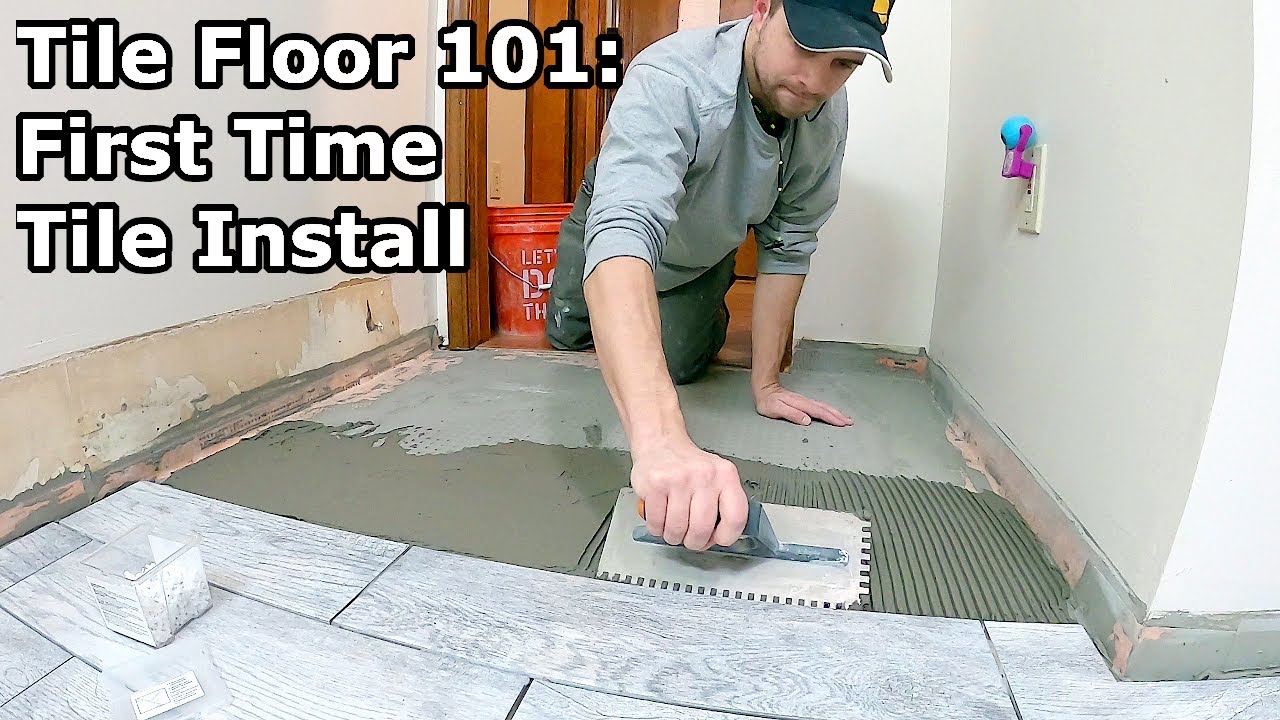
Apply Tile Adhesive: Using a notched trowel, apply the tile adhesive to a small area of the bathroom floor. Hold the trowel at a 45-degree angle to create ridges in the adhesive. Start at the reference lines and work your way outwards.
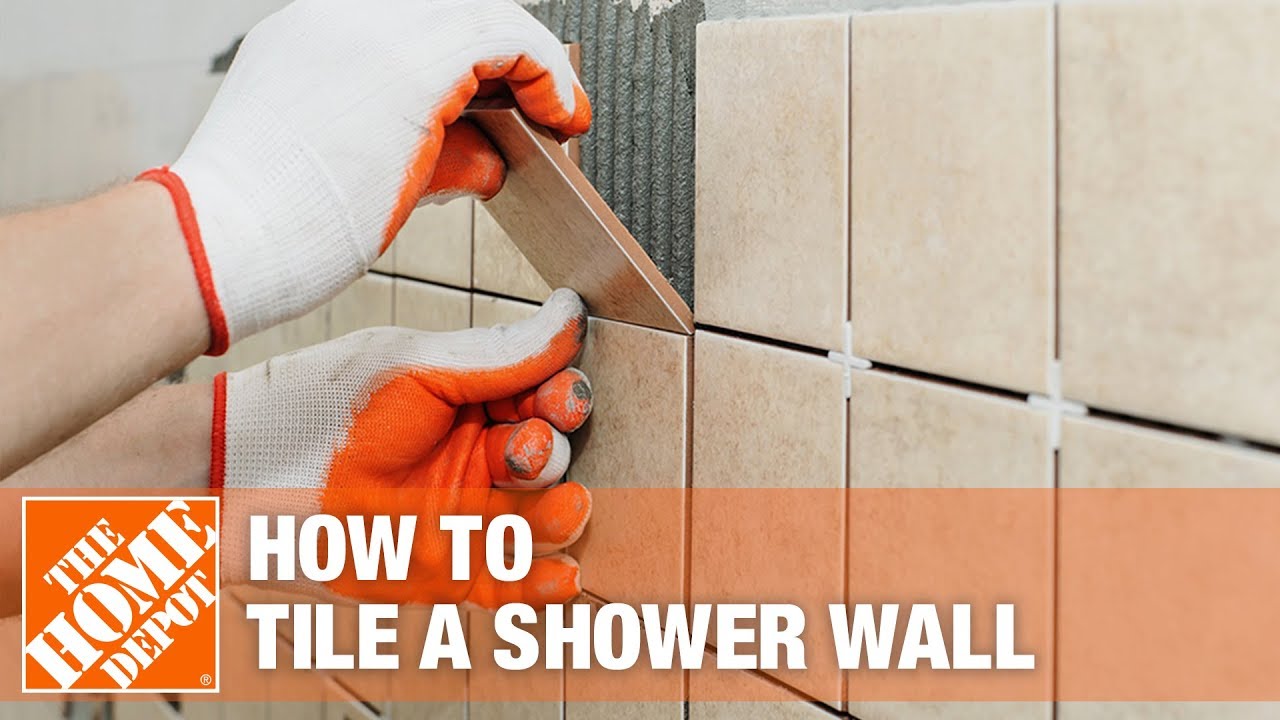
Install the Tiles: Place the first tile at the intersection of the reference lines and press it firmly into the adhesive, wiggling it slightly to ensure proper adhesion. Continue placing tiles, using tile spacers to maintain consistent spacing between them. Cut tiles as needed to fit around edges, corners, or fixtures.
Allow the Adhesive to Set: Once all the tiles are installed, allow the adhesive to set according to the manufacturer’s instructions. This typically takes 24 to 48 hours. Avoid walking on the tiles during this time to prevent shifting or damage.
Grout the Tiles: Prepare the grout according to the manufacturer’s instructions. Use a grout float to spread the grout over the tiles, pressing it into the gaps. Hold the float at a 45-degree angle and work diagonally across the tiles to ensure full coverage. Remove excess grout with a damp sponge, rinsing it frequently.
Clean and Seal the Grout: After the grout has dried for the recommended time, clean the tiles with a damp sponge to remove any remaining grout haze. Once the grout is fully cured, apply a grout sealer to protect it from stains and moisture damage.
Finishing Touches: Grouting and Sealing for a Professional Look
Once you have successfully installed ceramic tiles in your bathroom, it’s time for the final step to achieve a professional and polished look – grouting and sealing. Grouting not only enhances the aesthetic appeal of your tiles but also provides protection against moisture and dirt. Sealing, on the other hand, adds an extra layer of protection and helps to maintain the longevity of your tiles. We will guide you through the process of grouting and sealing your ceramic bathroom tiles, ensuring a beautiful and long-lasting finish.
Preparing for Grouting: Before you begin the grouting process, it’s essential to clean the tiles thoroughly. Use a damp sponge or cloth to remove any dust or debris from the surface. Next, ensure that the grout lines are free from any excess adhesive or mortar. It’s recommended to wait at least 24 hours after tile installation before starting the grouting process to allow the adhesive to fully cure.
Choosing the Right Grout: Selecting the appropriate grout color is crucial in achieving the desired aesthetic for your bathroom. Consider the color scheme of your tiles and the overall style you want to achieve. Grout comes in various colors, so choose one that complements or contrasts with your tiles. It’s also important to choose a grout type that is suitable for bathroom use, as it should be resistant to moisture and mold growth.
Applying the Grout: Begin by mixing the grout according to the manufacturer’s instructions. Use a grout float to apply the grout diagonally across the tiles, ensuring that it fills the spaces completely. Work in small sections to prevent the grout from drying out too quickly. Once applied, use the float to remove excess grout from the surface, holding it at a 45-degree angle. Be careful not to remove too much grout from the lines. Allow the grout to set for the recommended time.
Cleaning the Tiles: After the grout has set for the specified time, use a clean, damp sponge to wipe away any grout haze or residue from the surface of the tiles. Rinse the sponge frequently to avoid smearing the grout. Take care not to disturb the grout lines while cleaning. Allow the grout to cure for at least 24 hours before proceeding to the sealing stage.
Sealing the Grout: Sealing the grout is an essential step in protecting it from stains, moisture, and mildew. There are various types of grout sealers available, such as penetrating sealers and surface sealers. Follow the manufacturer’s instructions to apply the sealer evenly onto the grout lines. It’s recommended to use a small brush or roller for precise application. Allow the sealer to dry completely before exposing the tiles to water or cleaning agents.
Regular Maintenance: To ensure the longevity and beauty of your ceramic bathroom tiles, it’s important to maintain them properly. Regularly clean the tiles using mild cleaners and avoid abrasive materials that can scratch the surface. Periodically check the grout lines for any signs of damage or wear and reapply sealant as needed. With proper care, your ceramic bathroom tiles will continue to look stunning for years to come.
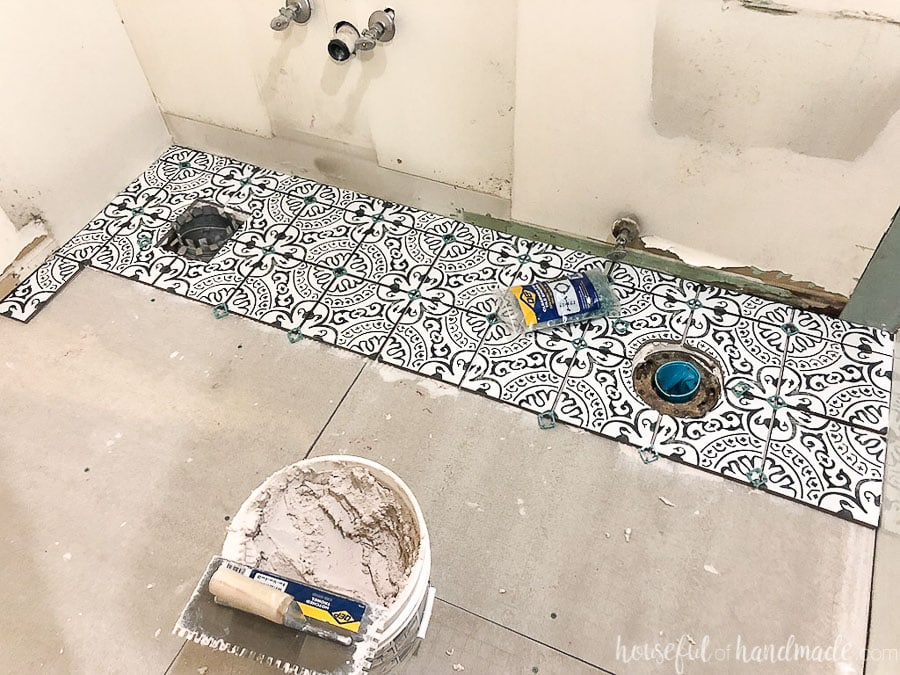
Laying Floor Tiles in a Small Bathroom – Houseful of Handmade
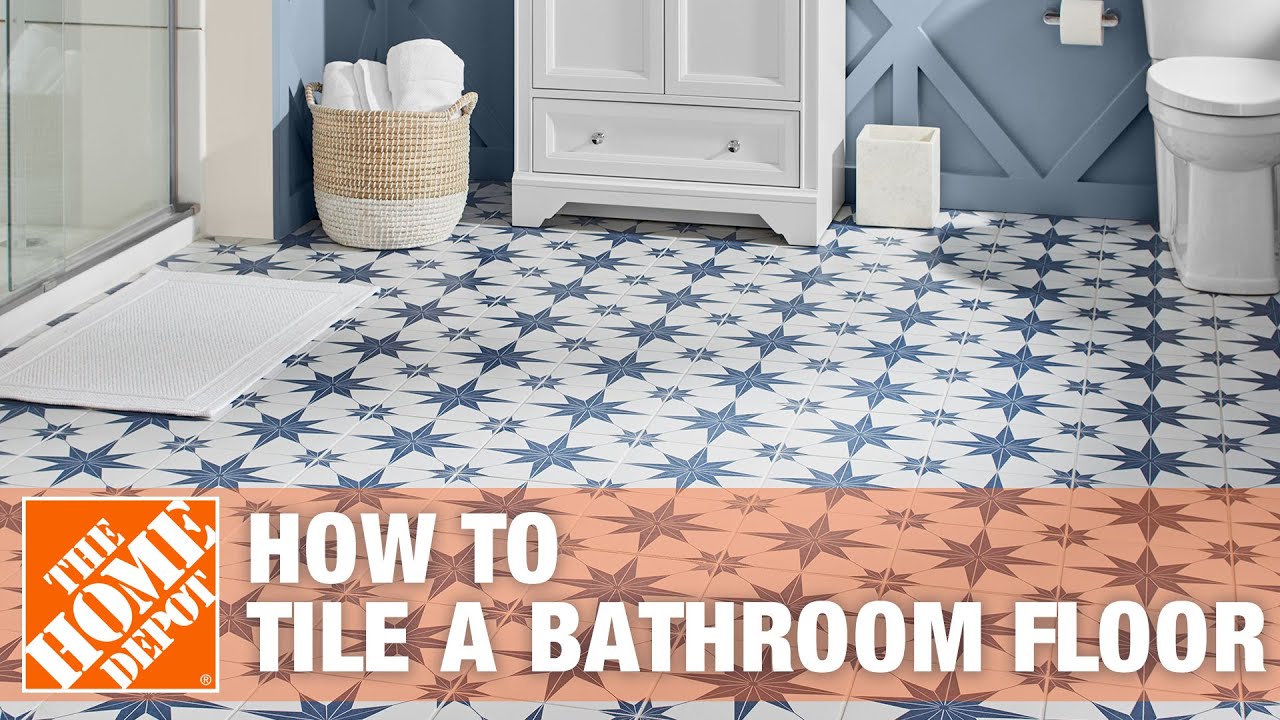
How To Tile a Bathroom Floor The Home Depot
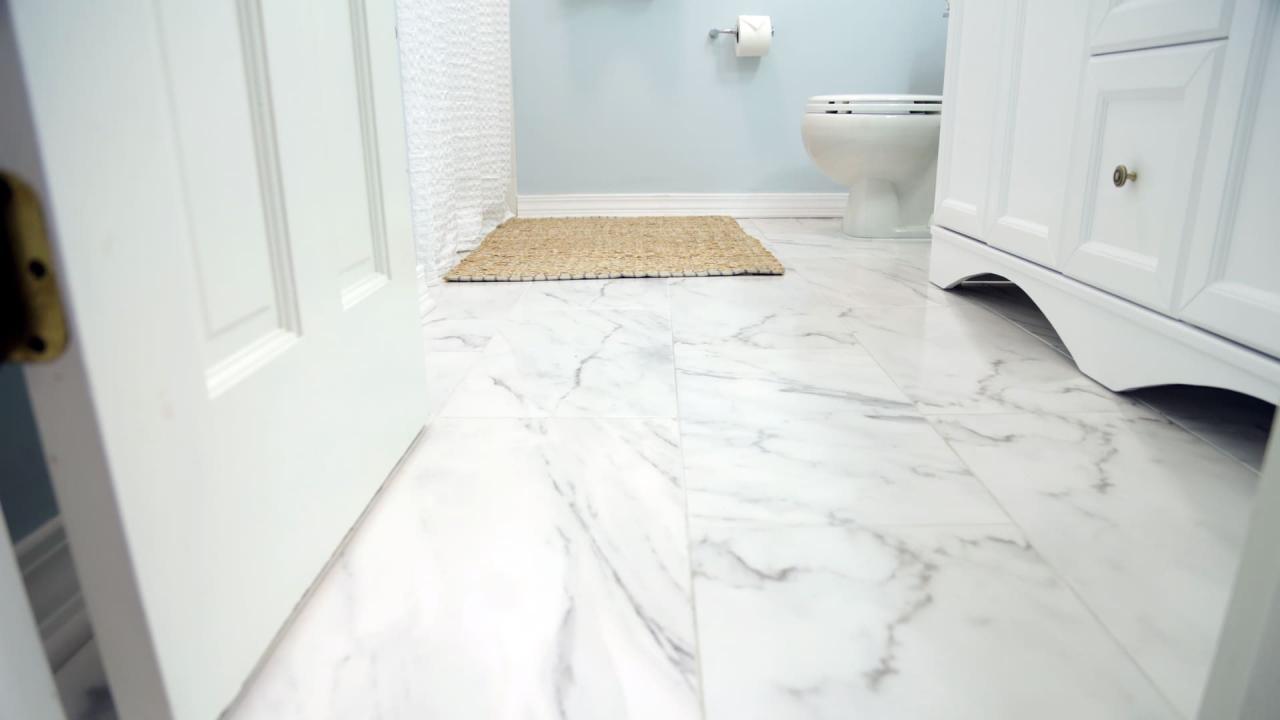
How to Install Ceramic Tile on a Tile Floor
Laying Floor Tiles in a Small Bathroom – Houseful of Handmade
Related Posts:
- How To Seal Bathroom Tile Grout
- Luxury Bathroom Tile Designs
- Bathroom Tile Ideas Cream
- Bathroom Tiles Perth Cheap
- Bathroom Tile Floor To Ceiling
- Bathroom Tiles Gumtree
- Bathroom Tile Design Ideas On A Budget
- Brown And White Bathroom Tiles
- Bathroom Tile Demolition
- Bathroom Tiles Hexagon


