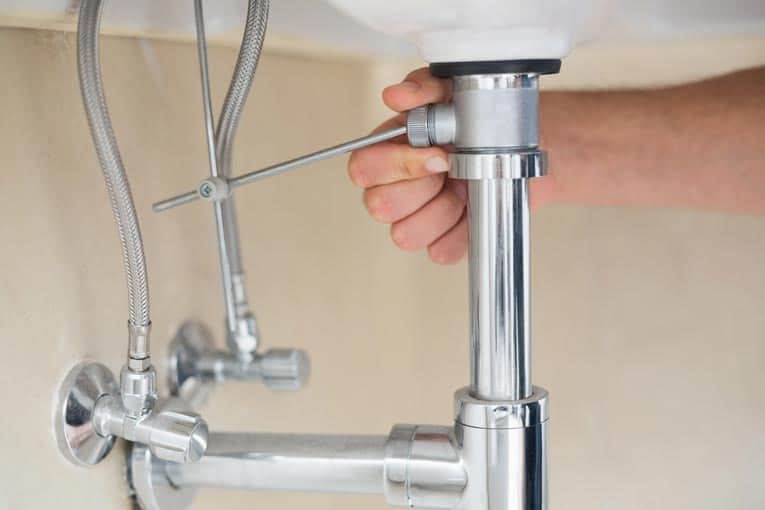
To replace the bathroom sink drain stopper, the first step is to remove the old one. This process requires a few tools and can be done relatively easily.
First, locate the horizontal rod underneath the sink. This rod is connected to the drain stopper and is usually attached to the sink by a small nut. Use a pair of pliers or a wrench to loosen and remove the nut.
Once the nut is removed, the horizontal rod should be free to move. Pull the rod downward to disengage it from the stopper. This may require some force, as the rod is often held in place by tension.
Next, locate the vertical rod that connects the stopper to the clevis. The clevis is a small horizontal metal piece that connects to the sink drain pipe. Disconnect the vertical rod from the clevis by unscrewing the metal nut that holds them together.
After the vertical rod is detached, the old drain stopper should be free to remove. Simply lift it out of the sink drain, being careful not to damage the surrounding area.
With the old drain stopper removed, the next step is to install the new one. This process will vary depending on the type of stopper being used, so refer to the manufacturer’s instructions for specific details.
Installing the new drain stopper
To install the new drain stopper in your bathroom sink, follow these step-by-step instructions:
1. Remove the old drain stopper: Begin by unscrewing the nut located under the sink that holds the old drain stopper in place. Once the nut is loose, you can easily pull out the old stopper.
2. Clean the drain hole: Take a moment to clean any debris or residue from the drain hole using a brush or rag. This will ensure a smooth installation of the new drain stopper.
3. Apply plumber’s putty: Roll a small amount of plumber’s putty between your hands to create a long, thin rope-like shape. Place the putty around the underside of the new drain stopper flange. This will create a watertight seal once installed.
4. Insert the new drain stopper: Carefully insert the new stopper into the drain hole, making sure the flange sits flush against the sink surface. Apply gentle pressure to ensure a secure fit.
5. Tighten the mounting nut: Reach under the sink and tighten the mounting nut onto the threaded post of the drain stopper. Use a wrench or pliers to ensure the nut is securely fastened, but be careful not to overtighten and risk damaging the sink.
6. Test the drain stopper: Fill the sink with water and check if the new drain stopper is functioning correctly. Push down on the stopper to close the drain, and pull up to open it. If the stopper operates smoothly and creates a watertight seal, you have successfully installed the new drain stopper.
Note: These instructions may vary depending on the type of drain stopper you are installing. Always refer to the manufacturer’s instructions for specific guidance.
Troubleshooting common issues with sink drain stoppers
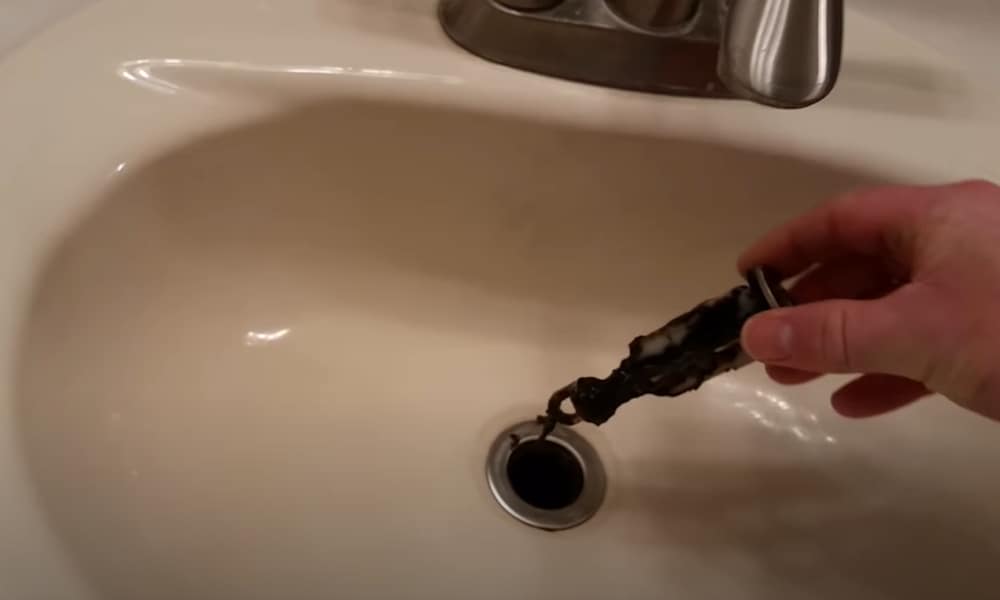
Clogged Drain: One of the most common issues with sink drain stoppers is a clogged drain. If water is not draining properly or is pooling in the sink, it is likely that there is a blockage. To troubleshoot this issue, start by removing the drain stopper. Use a plunger or a drain snake to clear any debris or hair that may be causing the blockage. Once the blockage is removed, reassemble the drain stopper and test the drainage.
Stuck or Jammed Stopper: Another common issue is a sink drain stopper that is stuck or jammed. This can happen due to a buildup of soap scum, debris, or mineral deposits. To troubleshoot this issue, begin by removing the stopper. Clean it thoroughly using warm water and a mild detergent to remove any buildup. If the stopper still does not move smoothly, apply a lubricant such as WD-40 to loosen it. Once the stopper is moving freely, reassemble it and test its functionality.
Leaking Stopper: A leaking sink drain stopper can be a nuisance and may lead to water damage if not addressed promptly. The most common cause of a leaking stopper is worn-out or damaged seals. To troubleshoot this issue, remove the stopper and inspect the seals for any signs of wear or damage. If necessary, replace the seals with new ones. Additionally, ensure that the stopper is properly aligned and tightened to prevent any leaks.
Ineffective Stopper: If the sink drain stopper is not effectively stopping the water from draining, it may be due to a faulty mechanism or poor installation. Start by removing the stopper and inspecting its components for any signs of damage or misalignment. If any parts are broken or worn out, they will need to be replaced. Additionally, check the installation to ensure that the stopper is correctly positioned and secured. Adjustments may be necessary to improve the stopper’s functionality.
Rust or Corrosion: Over time, sink drain stoppers can become rusty or corroded, especially if they are made of metal. Rust or corrosion can affect the stopper’s performance and appearance. To troubleshoot this issue, remove the stopper and clean it using a rust remover or a mixture of vinegar and baking soda. Scrub the stopper gently and rinse it thoroughly before reassembling it.
How To Replace a Rusty Sink Drain
How to Remove a Sink Stopper – Mother Daughter Projects
How to Replace a Sink Stopper (with Pictures) – wikiHow
How to Fix Stopper in Bathroom Sink Faucet Quick and Easy
9 Easy Steps to Remove a Bathroom Sink Stopper
Bathroom Sink quick fix: How to remove and clean the Stopper – unclog sink – pop up Drain
How to Remove a Sink Stopper
Click this image to show the full-size version. Bathroom sink
We use cookies on our website to give you the most relevant experience by remembering your preferences and repeat visits. By clicking “Accept All”, you consent to the use of ALL the cookies. However, you may visit "Cookie Settings" to provide a controlled consent.
This website uses cookies to improve your experience while you navigate through the website. Out of these, the cookies that are categorized as necessary are stored on your browser as they are essential for the working of basic functionalities of the website. We also use third-party cookies that help us analyze and understand how you use this website. These cookies will be stored in your browser only with your consent. You also have the option to opt-out of these cookies. But opting out of some of these cookies may affect your browsing experience.
Necessary cookies are absolutely essential for the website to function properly. These cookies ensure basic functionalities and security features of the website, anonymously.
Cookie
Duration
Description
cookielawinfo-checkbox-analytics
11 months
This cookie is set by GDPR Cookie Consent plugin. The cookie is used to store the user consent for the cookies in the category "Analytics".
cookielawinfo-checkbox-functional
11 months
The cookie is set by GDPR cookie consent to record the user consent for the cookies in the category "Functional".
cookielawinfo-checkbox-necessary
11 months
This cookie is set by GDPR Cookie Consent plugin. The cookies is used to store the user consent for the cookies in the category "Necessary".
cookielawinfo-checkbox-others
11 months
This cookie is set by GDPR Cookie Consent plugin. The cookie is used to store the user consent for the cookies in the category "Other.
cookielawinfo-checkbox-performance
11 months
This cookie is set by GDPR Cookie Consent plugin. The cookie is used to store the user consent for the cookies in the category "Performance".
viewed_cookie_policy
11 months
The cookie is set by the GDPR Cookie Consent plugin and is used to store whether or not user has consented to the use of cookies. It does not store any personal data.
Functional cookies help to perform certain functionalities like sharing the content of the website on social media platforms, collect feedbacks, and other third-party features.
Performance cookies are used to understand and analyze the key performance indexes of the website which helps in delivering a better user experience for the visitors.
Analytical cookies are used to understand how visitors interact with the website. These cookies help provide information on metrics the number of visitors, bounce rate, traffic source, etc.
Advertisement cookies are used to provide visitors with relevant ads and marketing campaigns. These cookies track visitors across websites and collect information to provide customized ads.


 Related Posts:


