Common Issues with American Standard Bathroom Faucets
Don’t get me wrong, American Standard is known for quality, but even the best can have their quirks. If you’ve ever faced a dripping faucet or a handle that seems to have a mind of its own, you’re not alone. We’ll be your trusty plumbing detectives, exploring the most typical hiccups that can occur with American Standard bathroom faucets.
Leaking Faucet: One of the most common issues with American Standard bathroom faucets is leaking. This can occur due to several reasons such as worn-out washers, damaged O-rings, or loose connections. To repair a leaking faucet, you can start by turning off the water supply valves. Then, disassemble the faucet and replace any worn-out parts. Make sure to clean the faucet components thoroughly before reassembling.
Low Water Pressure: Another issue that homeowners may encounter with American Standard bathroom faucets is low water pressure. This can be caused by a clogged aerator, mineral buildup in the faucet, or a faulty cartridge. To address this issue, start by removing the aerator and cleaning it thoroughly. If the problem persists, you may need to clean the faucet cartridge or replace it if necessary.
Dripping Handles: Dripping handles can be quite frustrating and can waste a significant amount of water. This issue is often caused by a worn-out cartridge or valve stem. To repair this, turn off the water supply and remove the handle. Inspect the cartridge or valve stem for any signs of damage or wear. Replace the faulty component and reassemble the handle.
Rust and Corrosion: Over time, American Standard bathroom faucets may develop rust or corrosion, especially in areas with hard water. This can affect the overall appearance and functionality of the faucet. To remove rust and corrosion, start by turning off the water supply and disassembling the faucet. Use a mixture of vinegar and water to scrub away the rust or corrosion. For stubborn stains, you can use a mild abrasive cleaner. Rinse the faucet thoroughly and reassemble it.
Continuous Running Water: If your American Standard bathroom faucet continuously runs even when the handle is turned off, it could be due to a faulty valve or cartridge. Start by turning off the water supply and disassembling the faucet. Inspect the valve or cartridge for any signs of damage or wear. Replace the faulty component and reassemble the faucet. If the issue persists, it may be necessary to call a professional plumber.
Guide to Repairing American Standard Bathroom Faucets
Step 1: Gather the necessary tools and materials
Before you begin repairing your American Standard bathroom faucet, make sure you have all the necessary tools and materials. This may include an adjustable wrench, screwdriver, replacement parts such as washers or cartridges, plumber’s tape, and a towel or rag to clean up any spills or drips.
Step 2: Turn off the water supply
To avoid any accidents or water damage, it is crucial to turn off the water supply before you start repairing your bathroom faucet. Locate the shut-off valves under the sink or near the main water supply line and turn them clockwise until they are fully closed. Then, open the faucet to release any remaining water pressure.
Step 3: Disassemble the faucet
Next, you will need to disassemble the faucet to access the internal components. Use a screwdriver or an Allen wrench to remove the handles and any decorative caps or trim. Once the handles are removed, you can access the cartridge or valve stem assembly.
Step 4: Inspect and clean the components
Inspect the cartridge or valve stem assembly for any signs of damage or wear. If you notice any leaks or if the faucet is not functioning properly, it may be necessary to replace these components. Before installing new parts, clean the inside of the faucet body with a brush or rag to remove any debris or mineral buildup.
Step 5: Replace faulty parts
If you have identified any faulty components during the inspection, now is the time to replace them. Follow the manufacturer’s instructions or consult a plumbing professional to ensure you select the correct replacement parts for your specific American Standard faucet model. Install the new parts according to the provided instructions, making sure they are secure and properly aligned.
Step 6: Reassemble the faucet
Once you have replaced any necessary parts, reassemble the faucet in the reverse order of disassembly. Make sure all the connections are tight and secure to prevent any leaks. Replace the handles and decorative trim, using a screwdriver or wrench to tighten them if necessary.
Step 7: Test the faucet
Now that you have completed the repair, turn the water supply back on and test the faucet for any leaks or issues. Run both hot and cold water to ensure the faucet is functioning properly. If you notice any leaks or problems, double-check the connections and make any necessary adjustments.
Tips and Tricks for Maintaining American Standard Bathroom Faucets
Regular Cleaning: To maintain the performance and appearance of your American Standard bathroom faucet, it is important to clean it regularly. Use a soft cloth or sponge with mild soap and warm water to wipe away any dirt or debris. Avoid using harsh chemicals or abrasive cleaners, as they can damage the finish of the faucet.
Check for Leaks: Periodically check your American Standard bathroom faucet for any signs of leaks. A dripping faucet not only wastes water but can also lead to further damage if left unchecked. Inspect the handles, spout, and connections for any water seepage. If you notice any leaks, it is important to repair them promptly.
Replace O-Rings: Over time, the O-rings in your American Standard bathroom faucet may wear out, causing leaks to occur. To replace the O-rings, first, turn off the water supply to the faucet. Remove the handle and unscrew the cap to access the O-rings. Replace them with new ones of the same size, ensuring a proper fit. Reassemble the faucet and turn on the water supply to test for any leaks.
Clean the Aerator: The aerator in your American Standard bathroom faucet is responsible for mixing air with the water, reducing splashing and conserving water. However, it can become clogged with mineral deposits and debris over time, affecting the flow of water. To clean the aerator, unscrew it from the faucet using pliers or a wrench. Soak it in a mixture of equal parts water and vinegar for a few hours. Scrub away any remaining deposits with a small brush and rinse thoroughly before reattaching it to the faucet.
Avoid Excessive Force: When using your American Standard bathroom faucet, avoid applying excessive force to the handles or spout. This can cause damage to the internal components and lead to leaks. Instead, use gentle pressure when turning the handles or adjusting the temperature.
Regular Maintenance: In addition to cleaning and checking for leaks, it is important to perform regular maintenance on your American Standard bathroom faucet. This includes lubricating any moving parts, such as the handles and spout, with silicone-based lubricant. It is also recommended to periodically tighten any loose connections to prevent leaks.
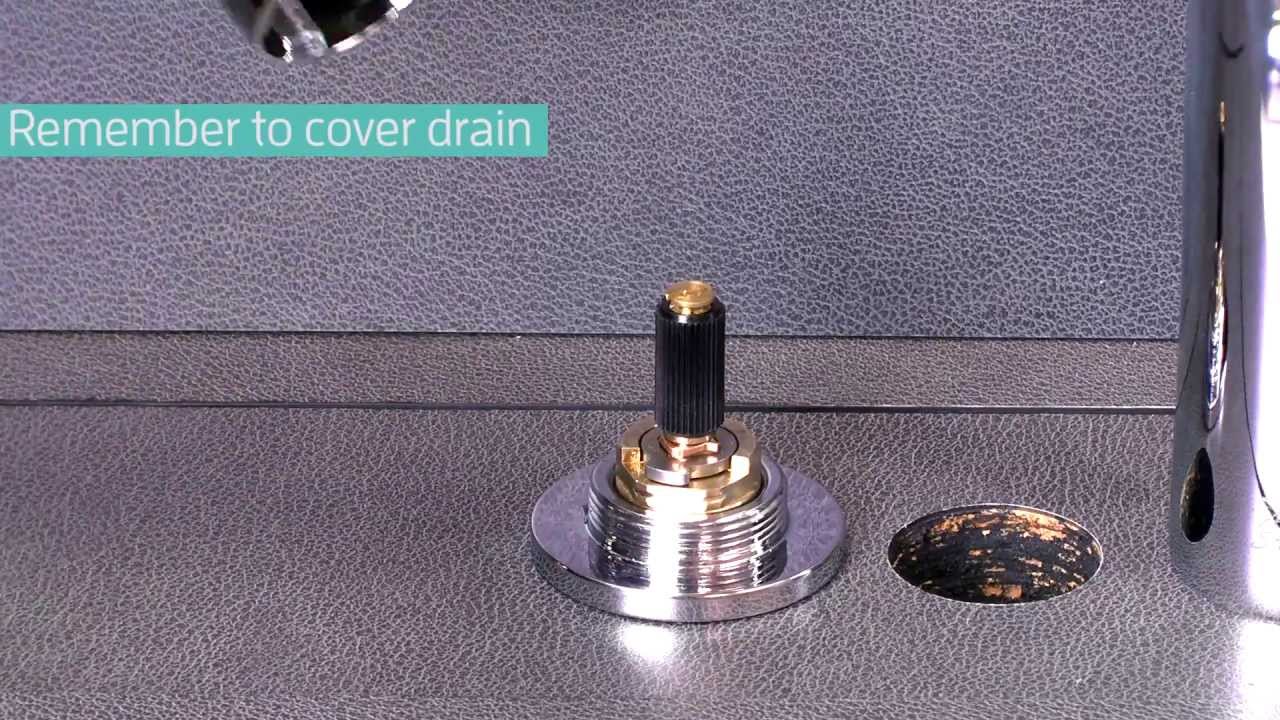
Repair AMERICAN STANDARD Shower Faucet
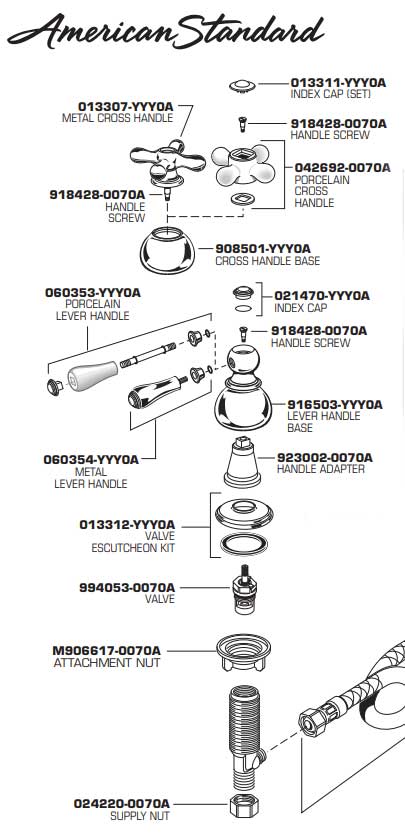
Bathroom sink faucet American Standard heritage
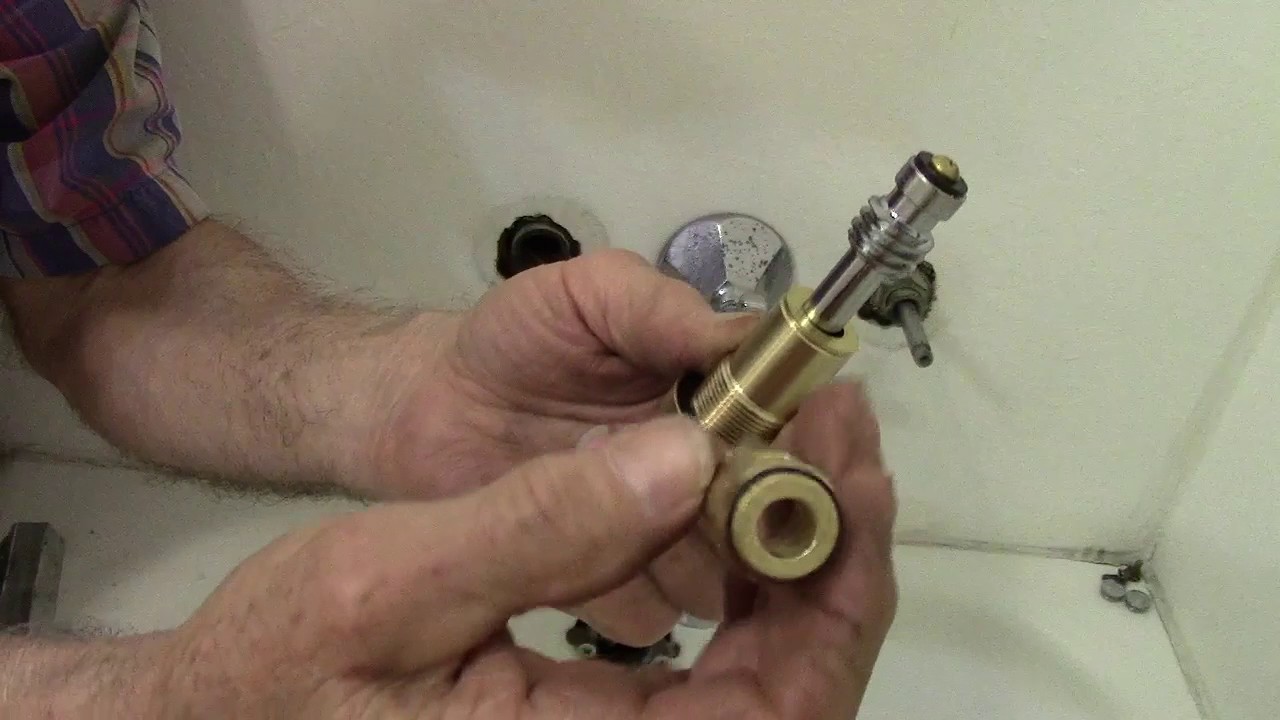
Canu0027t disassemble american standard bathroom faucet to change the
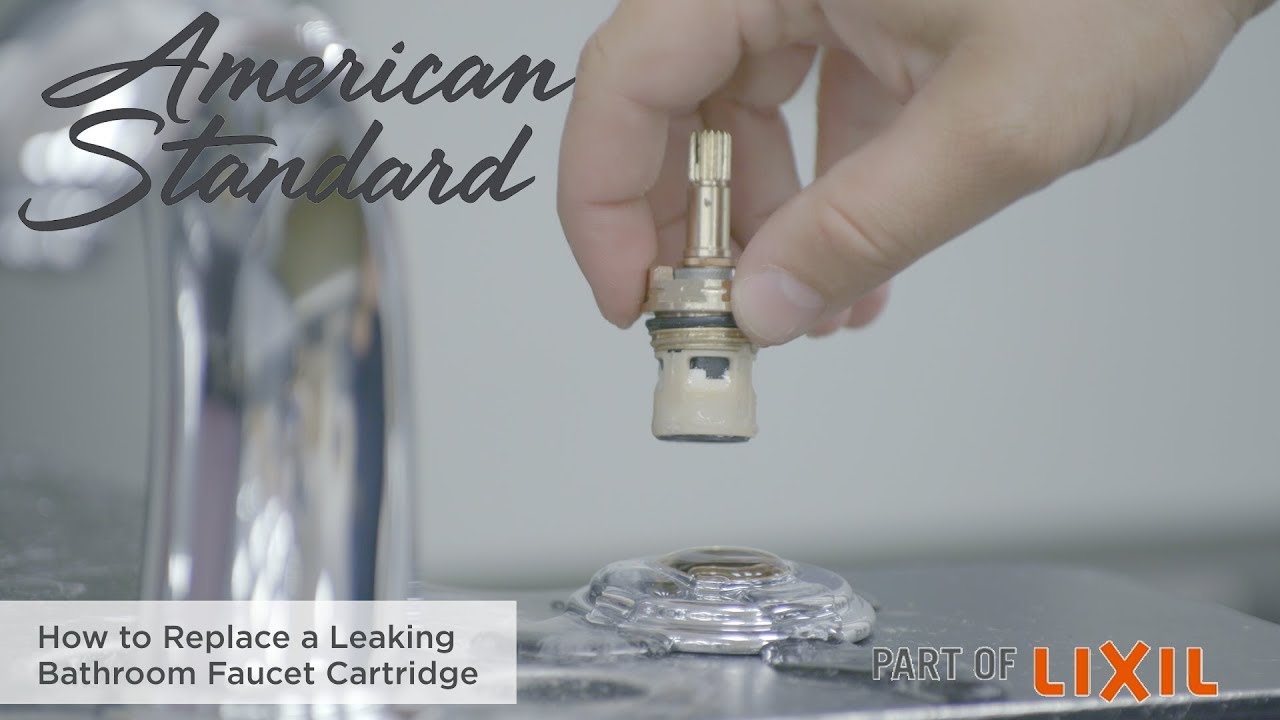
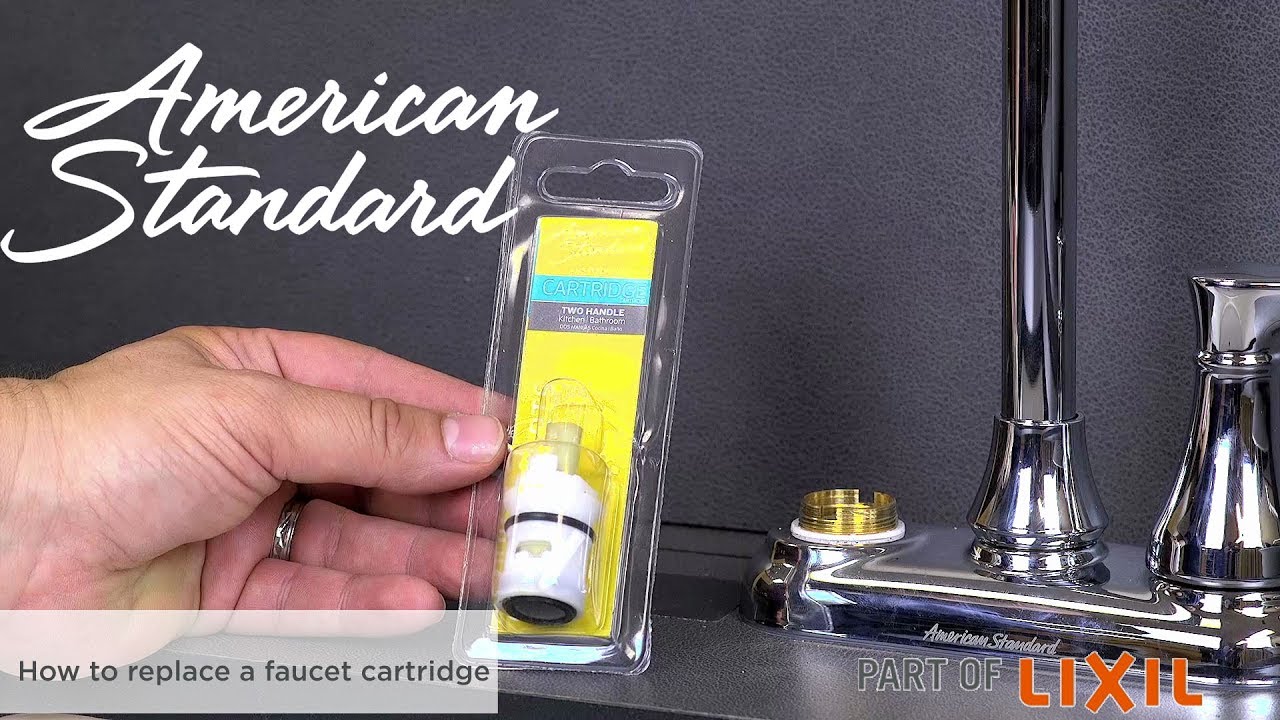
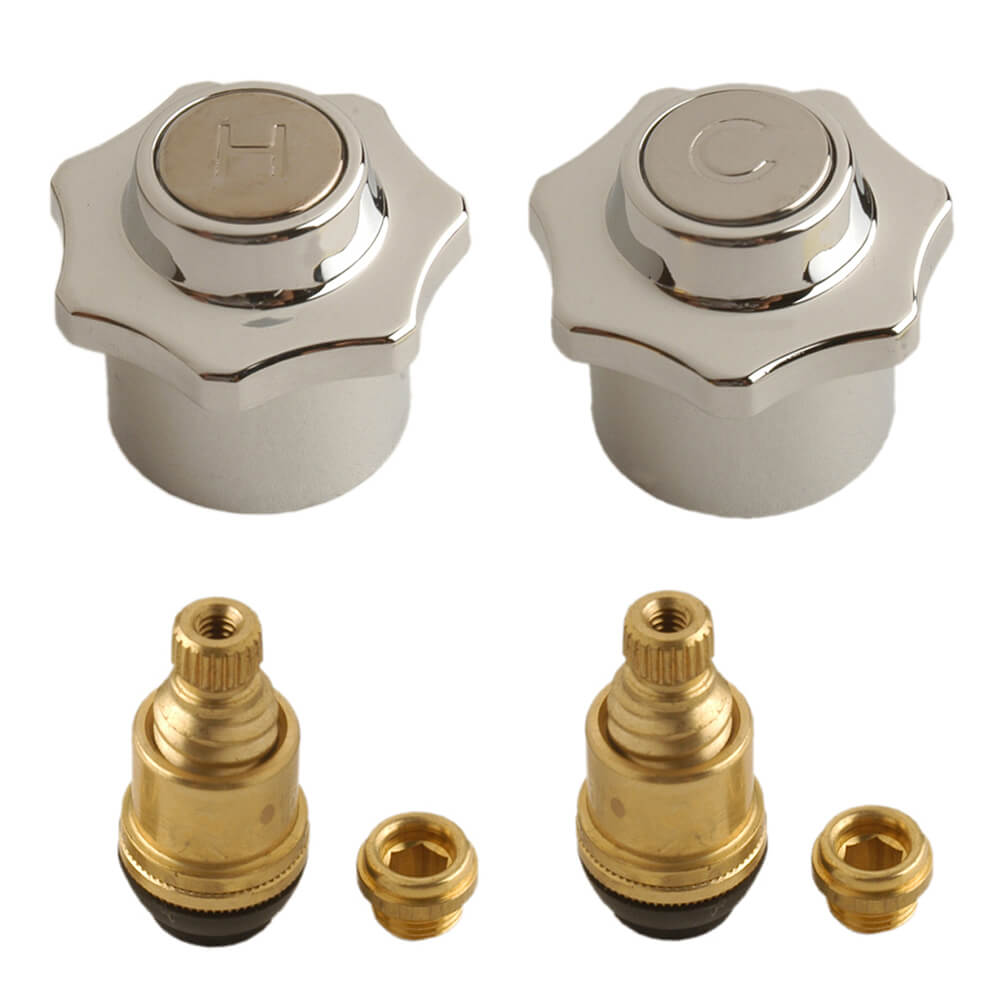
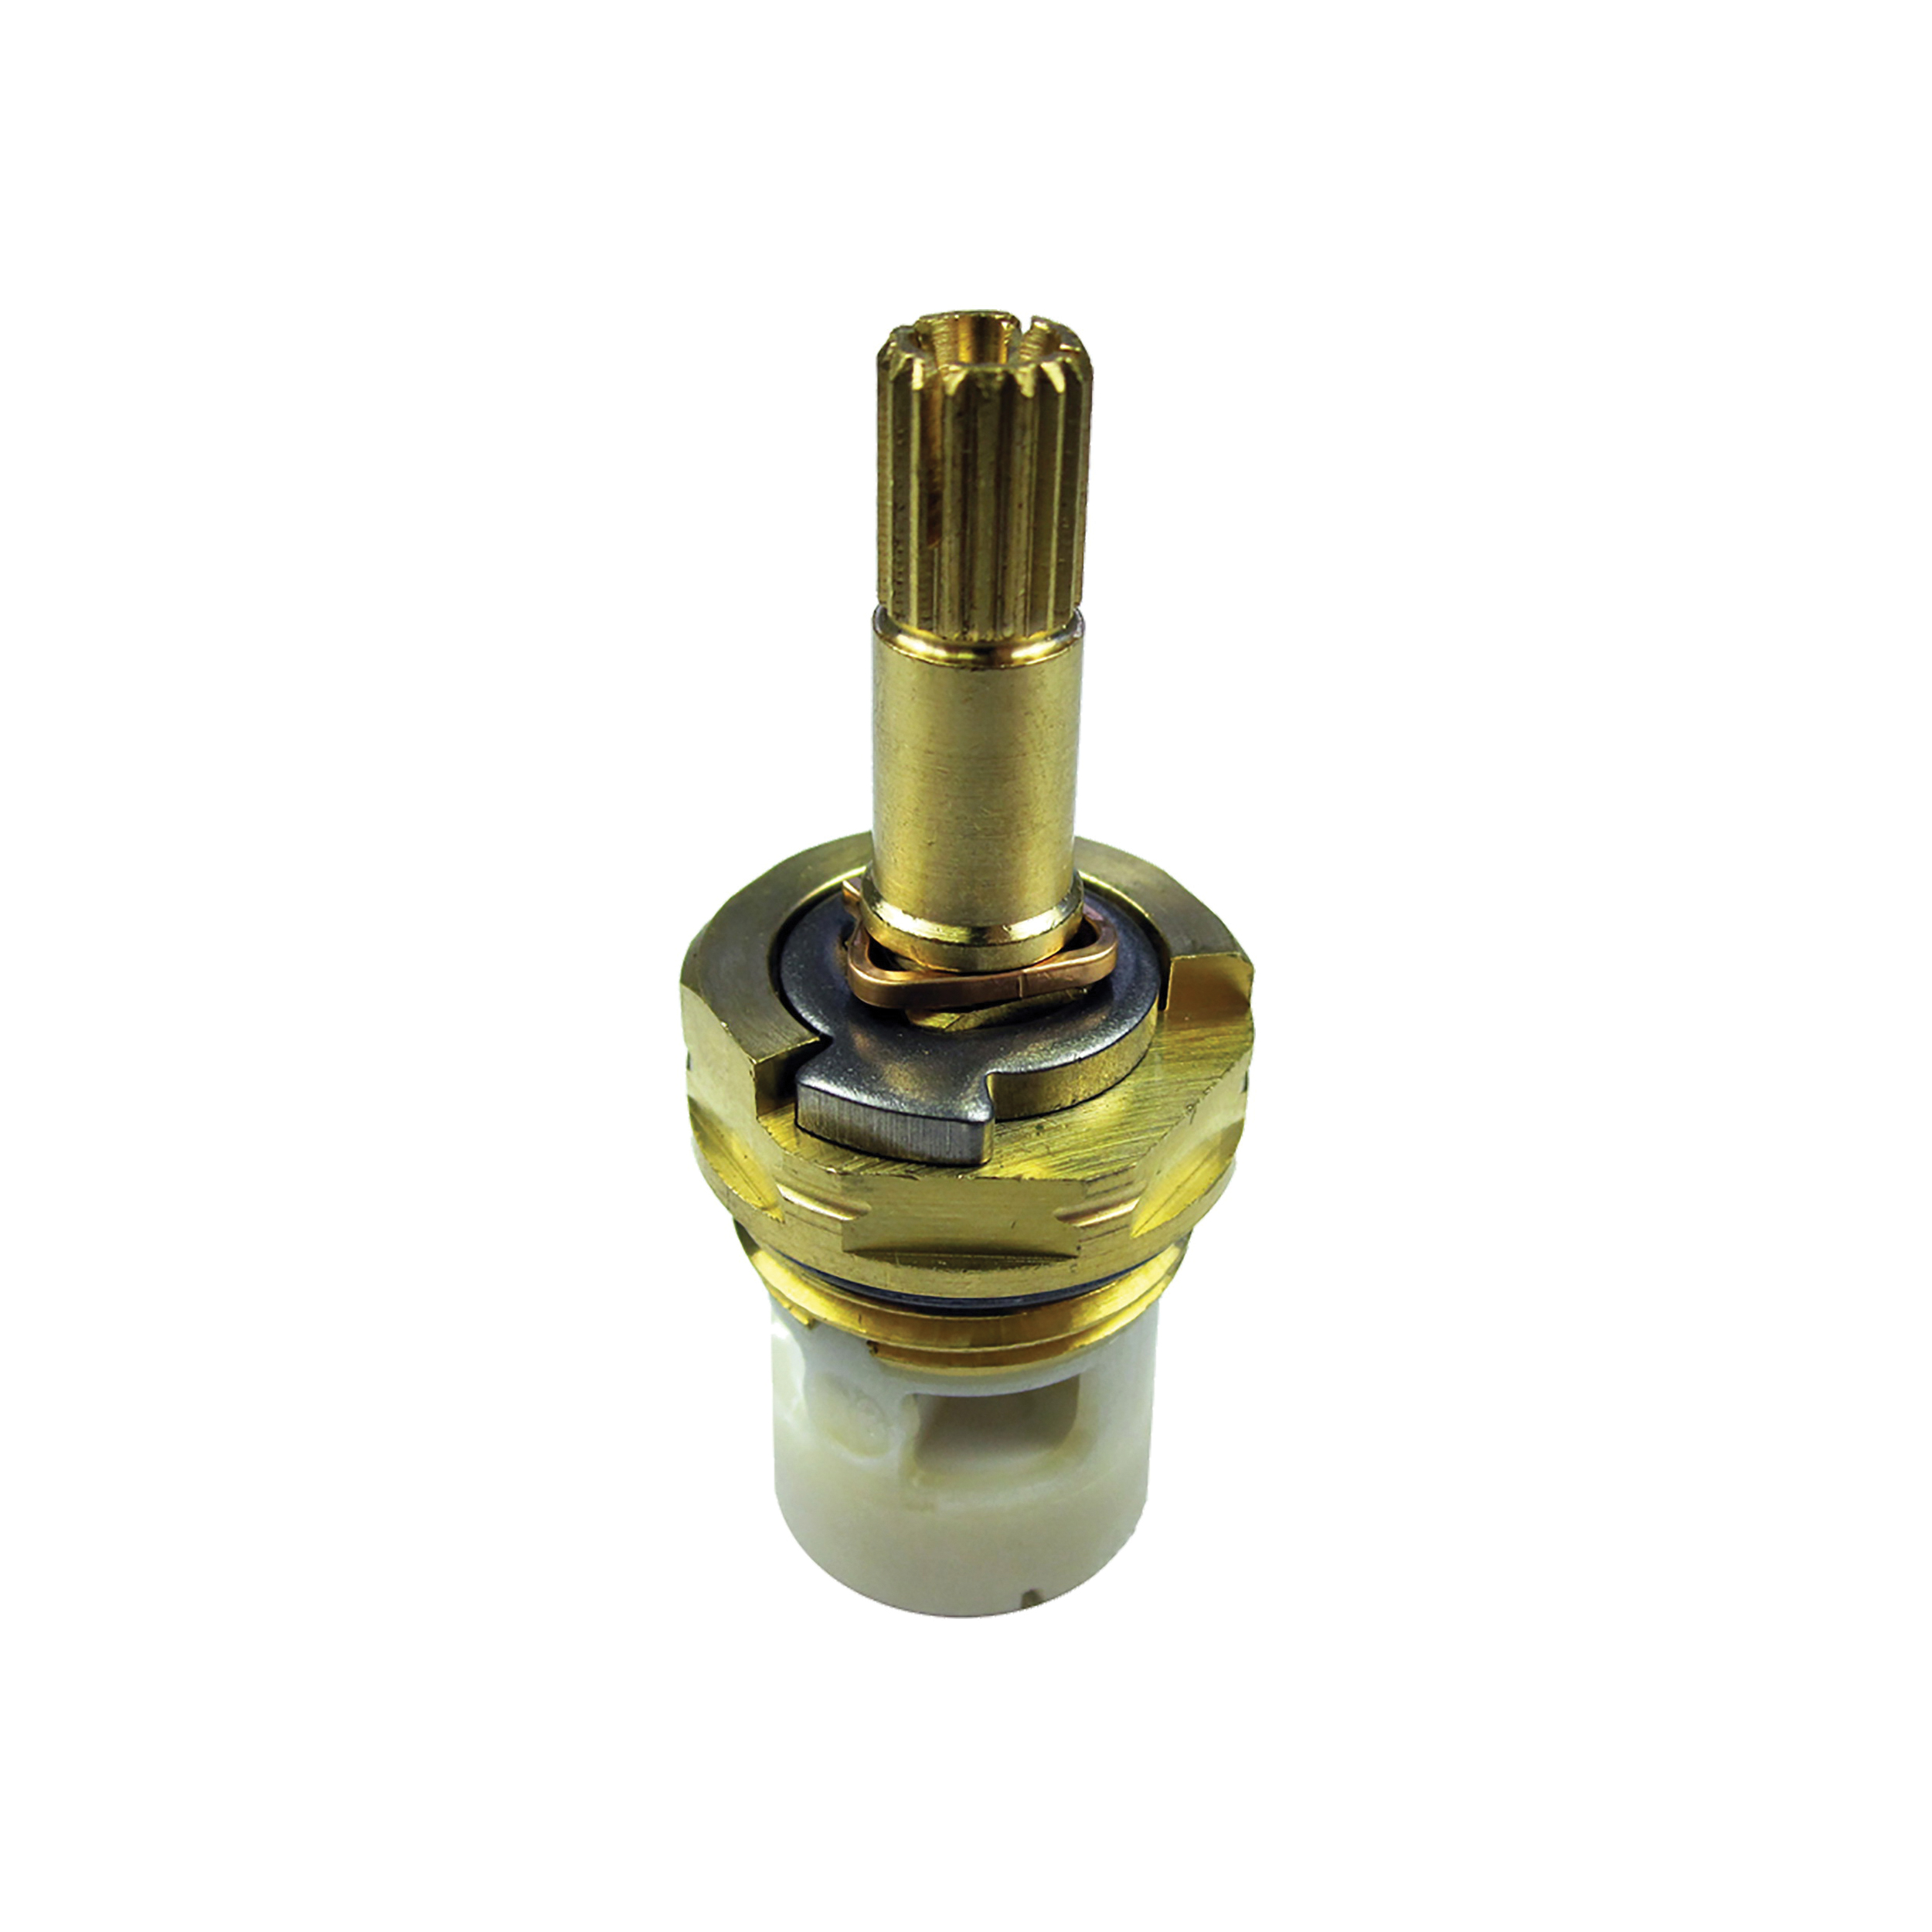
How to Replace a Faucet Cartridge
How to Change the Handle Rotation on a Faucet
Faucet Replacement Valve Cartridge for 2-Hanlde Faucets
AM-10 Repair Kit for American Standard Tub/Shower Faucets
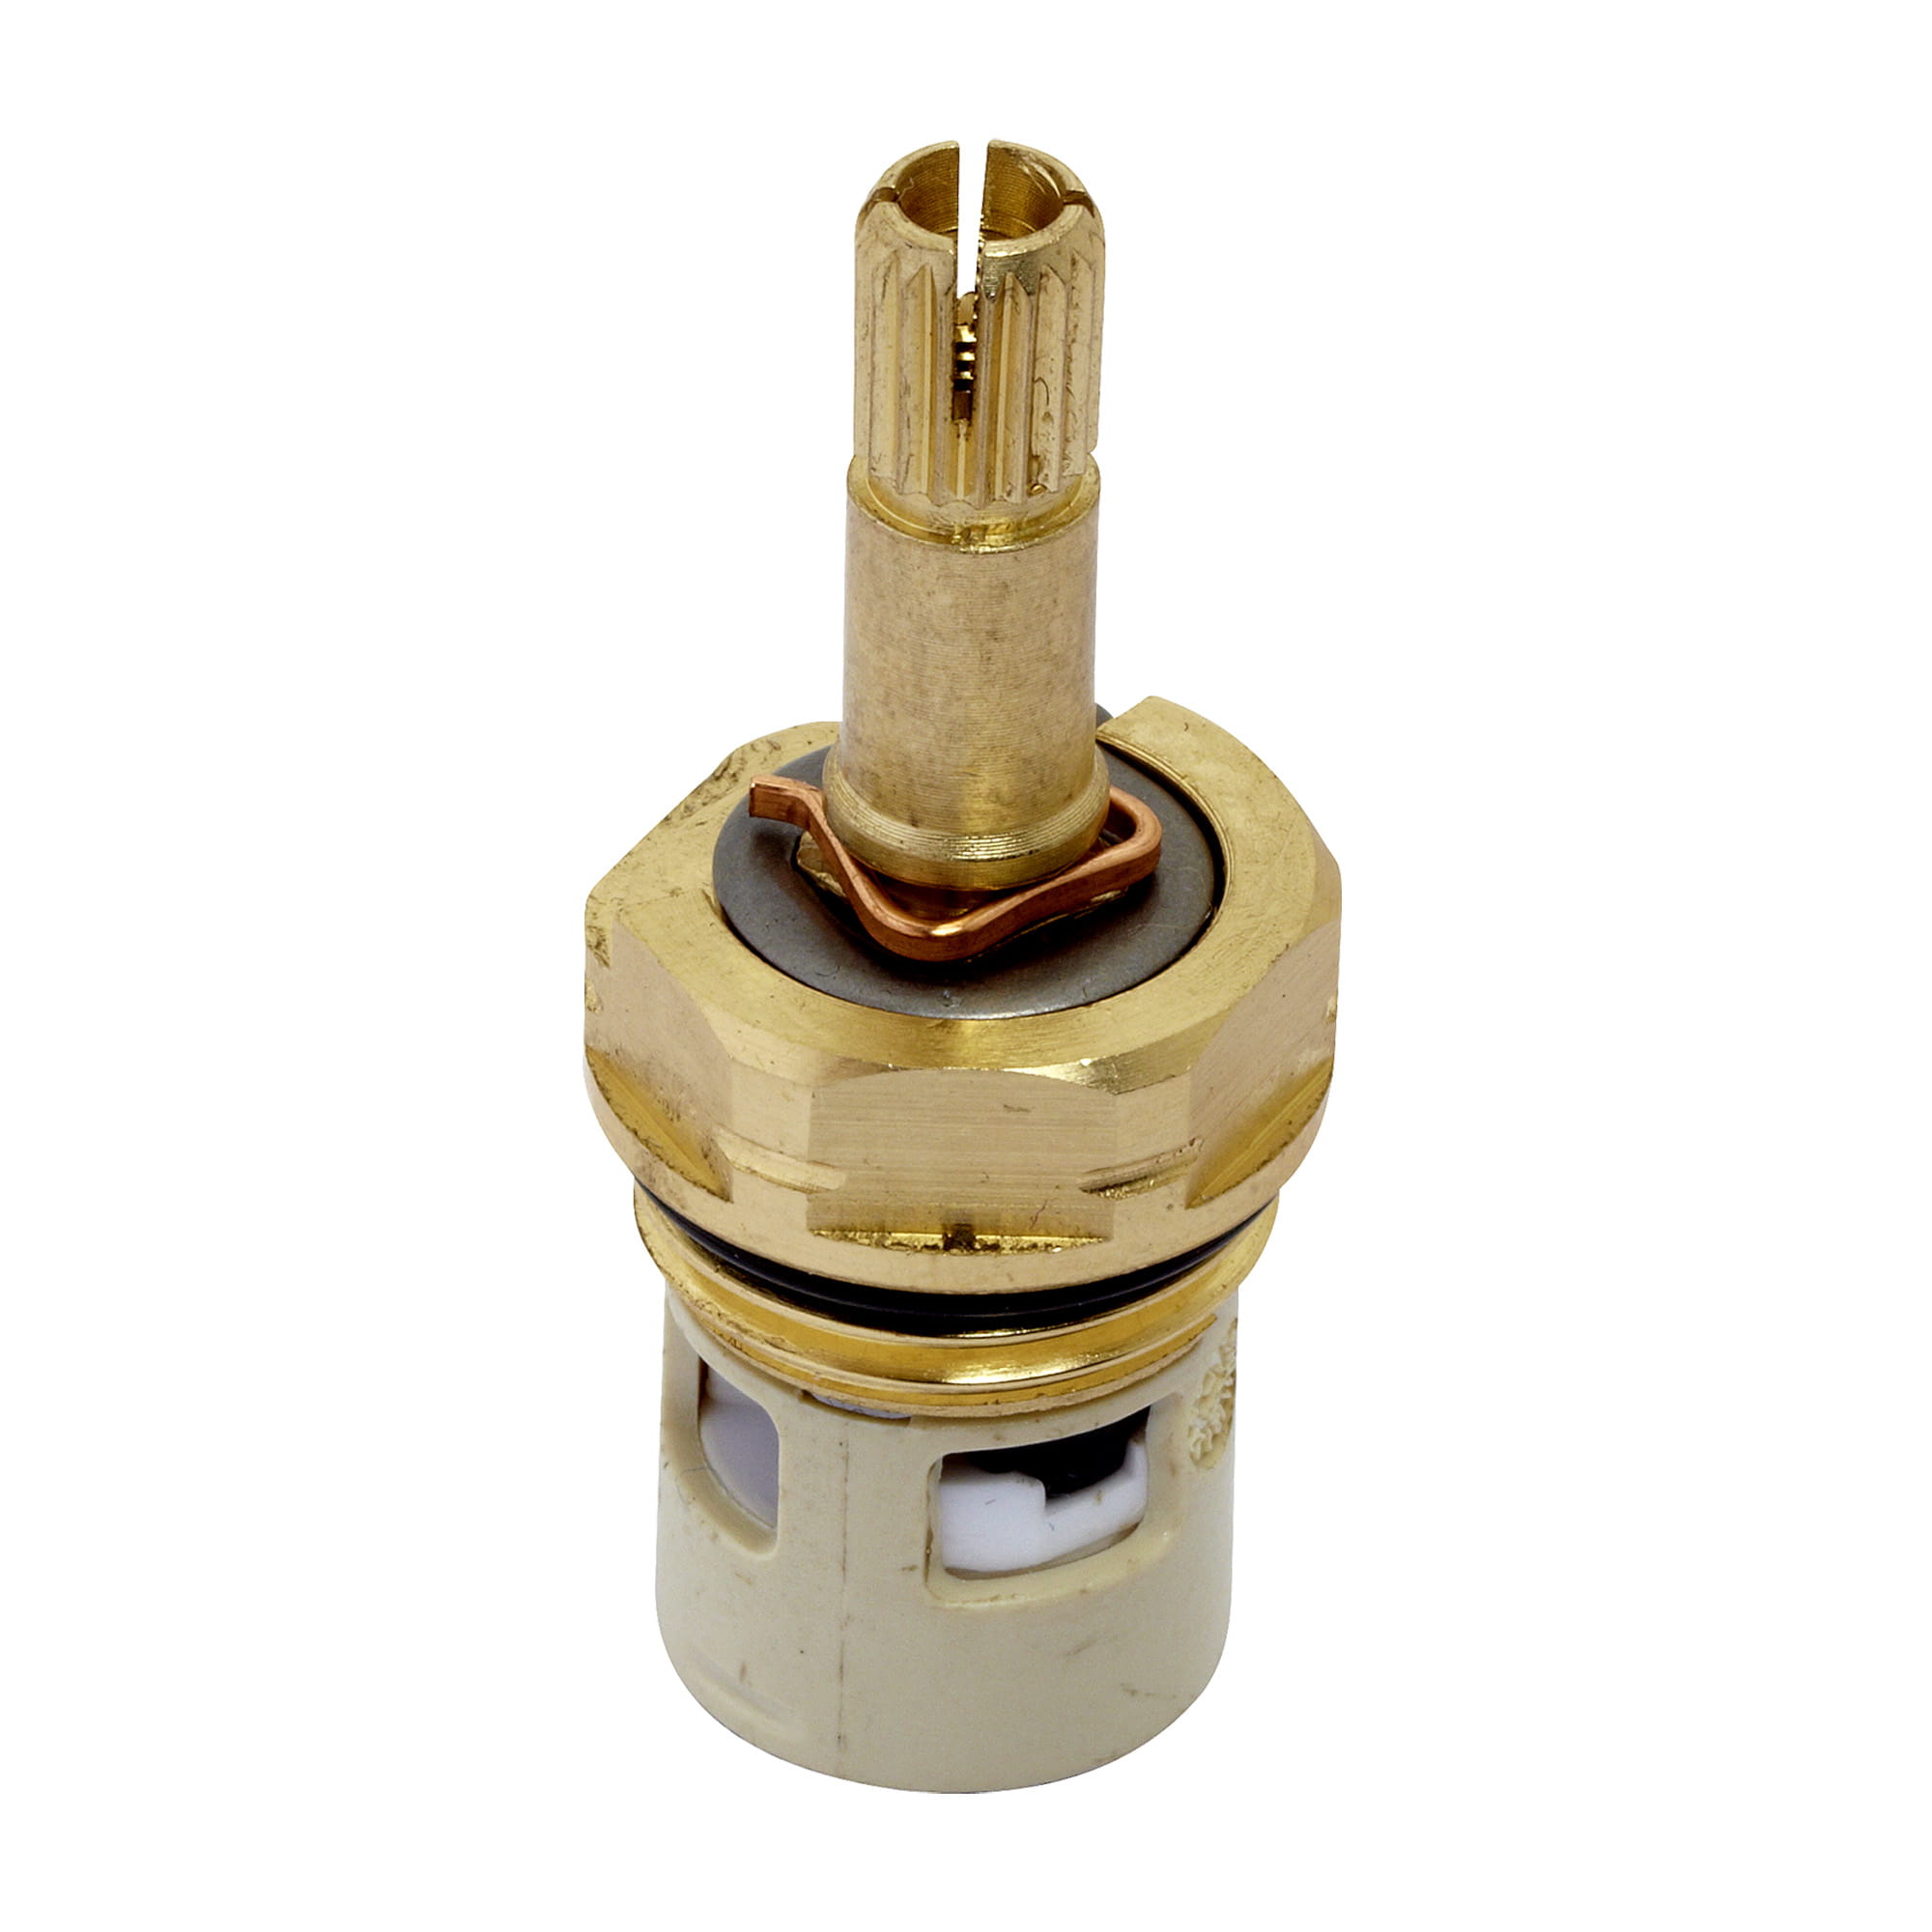
American Standard 994053-0070A Bath u0026 Kitchen Faucet Replacement Valve Cartridge
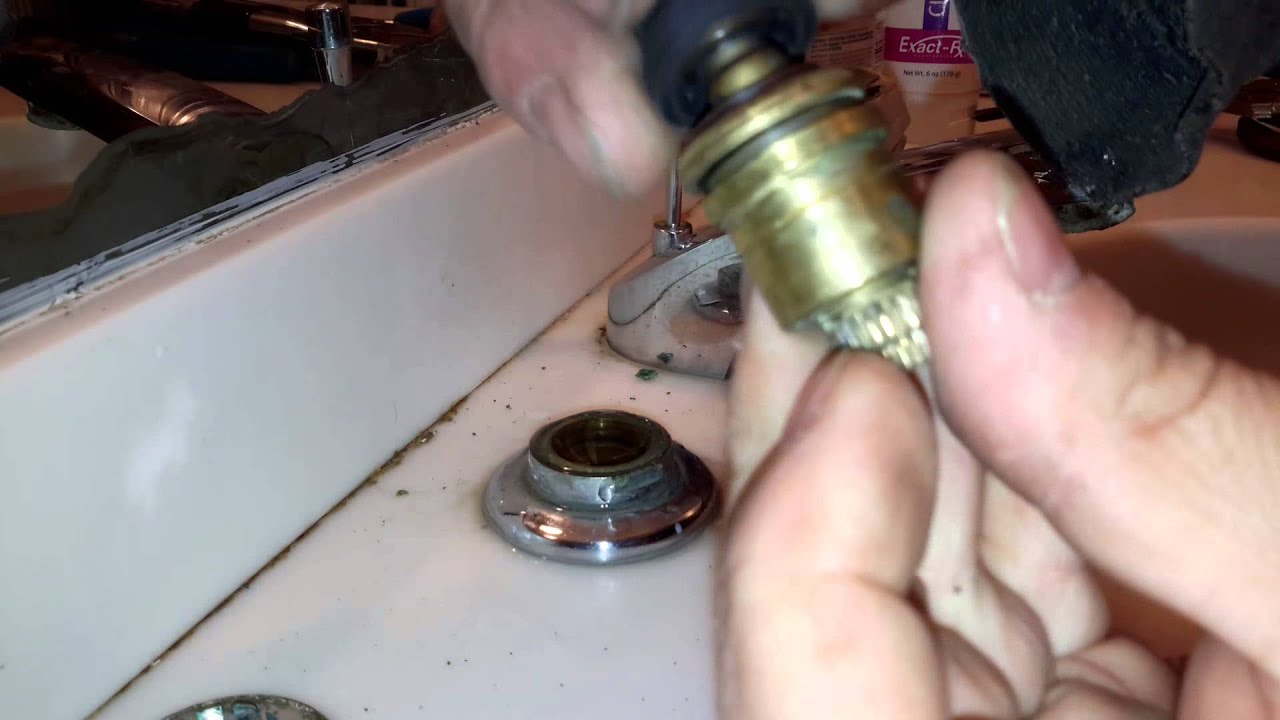
How To Replace Shower Cartridge – American Standard
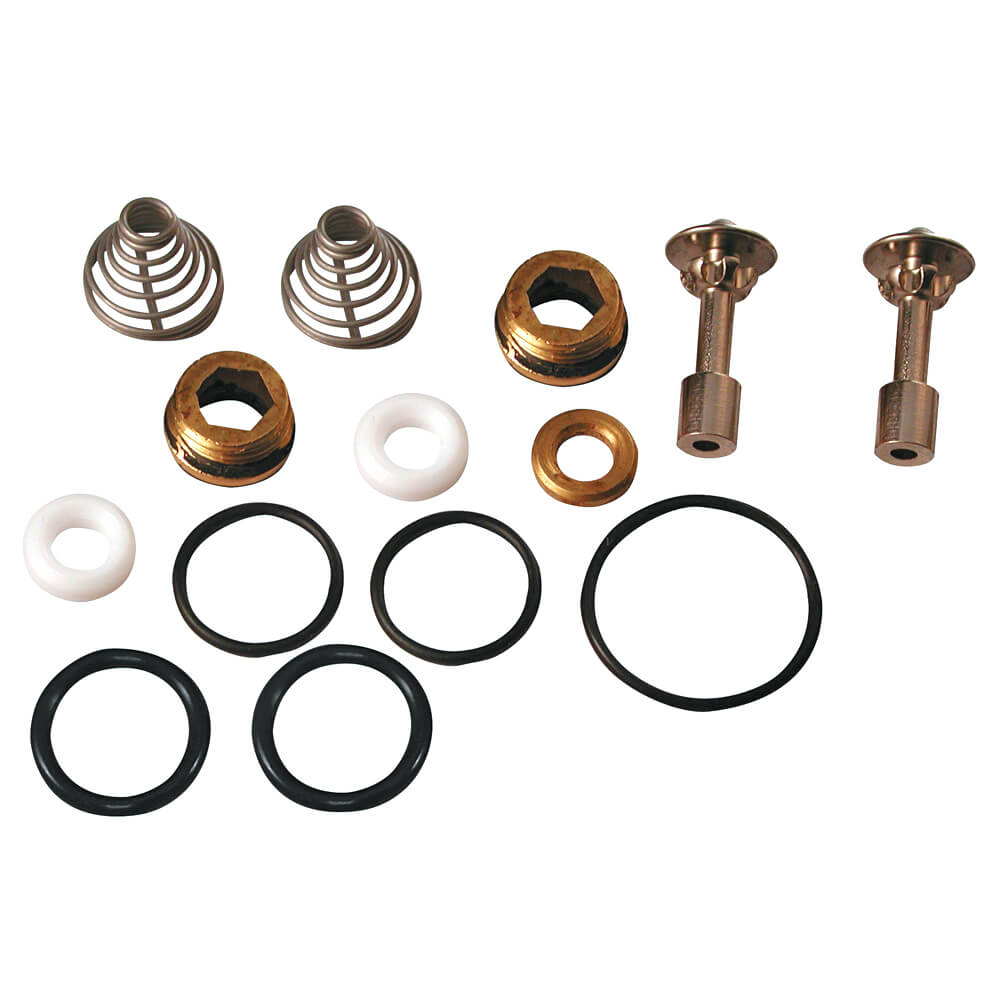
Complete Faucet Rebuild Trim Kit for American Standard Faucets
Products B3306, American Standard, American Standard 994053
We use cookies on our website to give you the most relevant experience by remembering your preferences and repeat visits. By clicking “Accept All”, you consent to the use of ALL the cookies. However, you may visit "Cookie Settings" to provide a controlled consent.
This website uses cookies to improve your experience while you navigate through the website. Out of these, the cookies that are categorized as necessary are stored on your browser as they are essential for the working of basic functionalities of the website. We also use third-party cookies that help us analyze and understand how you use this website. These cookies will be stored in your browser only with your consent. You also have the option to opt-out of these cookies. But opting out of some of these cookies may affect your browsing experience.
Necessary cookies are absolutely essential for the website to function properly. These cookies ensure basic functionalities and security features of the website, anonymously.
Cookie
Duration
Description
cookielawinfo-checkbox-analytics
11 months
This cookie is set by GDPR Cookie Consent plugin. The cookie is used to store the user consent for the cookies in the category "Analytics".
cookielawinfo-checkbox-functional
11 months
The cookie is set by GDPR cookie consent to record the user consent for the cookies in the category "Functional".
cookielawinfo-checkbox-necessary
11 months
This cookie is set by GDPR Cookie Consent plugin. The cookies is used to store the user consent for the cookies in the category "Necessary".
cookielawinfo-checkbox-others
11 months
This cookie is set by GDPR Cookie Consent plugin. The cookie is used to store the user consent for the cookies in the category "Other.
cookielawinfo-checkbox-performance
11 months
This cookie is set by GDPR Cookie Consent plugin. The cookie is used to store the user consent for the cookies in the category "Performance".
viewed_cookie_policy
11 months
The cookie is set by the GDPR Cookie Consent plugin and is used to store whether or not user has consented to the use of cookies. It does not store any personal data.
Functional cookies help to perform certain functionalities like sharing the content of the website on social media platforms, collect feedbacks, and other third-party features.
Performance cookies are used to understand and analyze the key performance indexes of the website which helps in delivering a better user experience for the visitors.
Analytical cookies are used to understand how visitors interact with the website. These cookies help provide information on metrics the number of visitors, bounce rate, traffic source, etc.
Advertisement cookies are used to provide visitors with relevant ads and marketing campaigns. These cookies track visitors across websites and collect information to provide customized ads.


 Related Posts:


