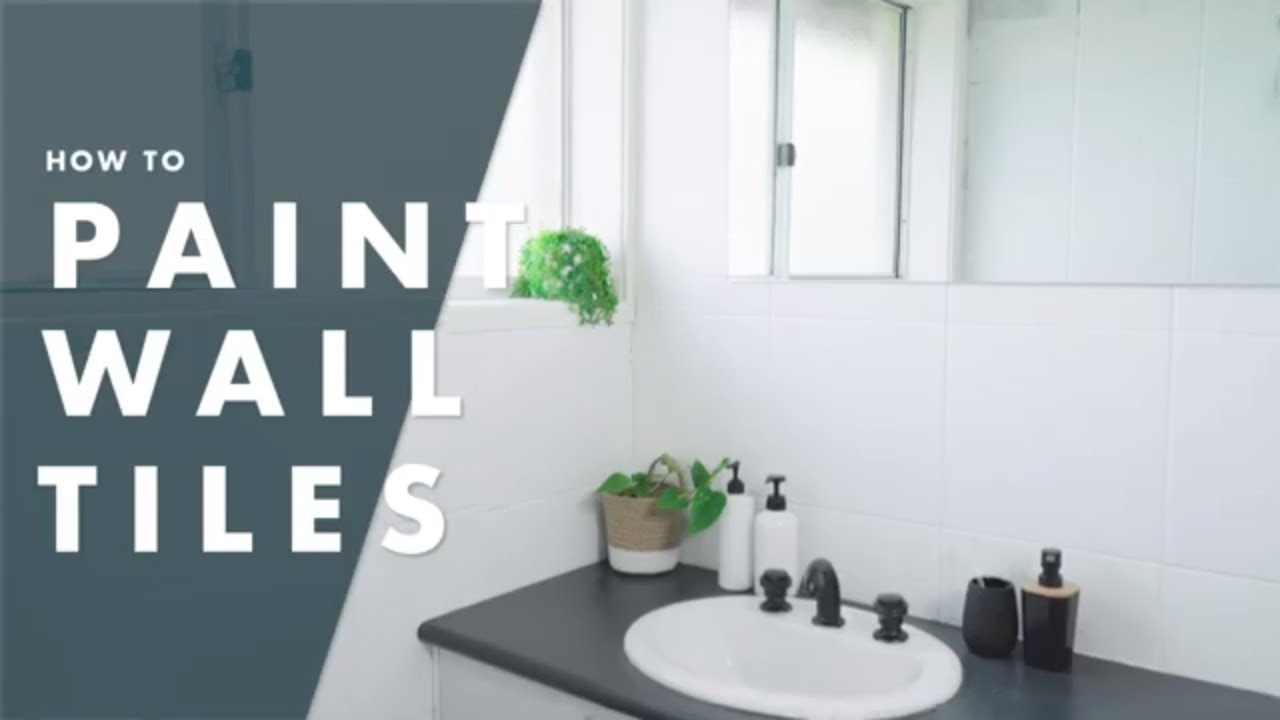
Painting over old bathroom tiles can give your bathroom a fresh and updated look without the high cost and hassle of replacing them. However, it’s important to do it correctly to ensure the paint adheres properly and lasts for a long time. We’ll provide a comprehensive guide on how to paint over old bathroom tiles.
Materials You’ll Need:
- Trisodium phosphate (TSP) cleaner
- Sandpaper (220 grit)
- Tile and grout cleaner
- Painters tape
- Primer
- Epoxy paint for tiles
- Paintbrushes
- Paint roller
- Paint tray
- Protective gear (gloves, goggles, mask)
Step 1: Clean the Tiles
The first step in painting old bathroom tiles is to clean them thoroughly. Begin by wiping down the tiles with a Trisodium phosphate (TSP) cleaner to remove dirt, grease, or soap residue. TSP is a powerful cleaner that can effectively remove surface stains and buildup. Be sure to wear protective gloves and goggles when handling TSP. Rinse the tiles with water and let them dry completely.
Step 2: Sand the Tiles
The next step is to sand the tiles lightly to create a rough surface for the primer to adhere to. Use sandpaper with a grit of 220 and sand the tiles in a circular motion. Be careful not to sand too hard, which can damage the tiles. Wipe away dust or debris with a damp cloth and let the tiles dry completely.
Step 3: Clean the Grout
Now it’s time to clean the grout between the tiles. Use a tile, grout cleaner, and a small brush to scrub the grout lines. Rinse with water and let the grout dry completely.
Step 4: Tape Off Areas
Before applying primer, it’s important to tape off any areas you don’t want to be painted, such as the edges of the tiles or the fixtures. Use painter’s tape to cover these areas and ensure a clean and neat finish.
Step 5: Apply Primer
Once the tiles are clean and dry, it’s time to apply primer. Use a primer specifically designed for tiles and apply it evenly with a paint roller or brush. Work in small sections and smooth out any drips or bubbles. Let the primer dry completely before moving on to the next step.
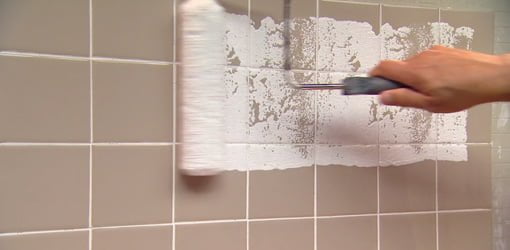
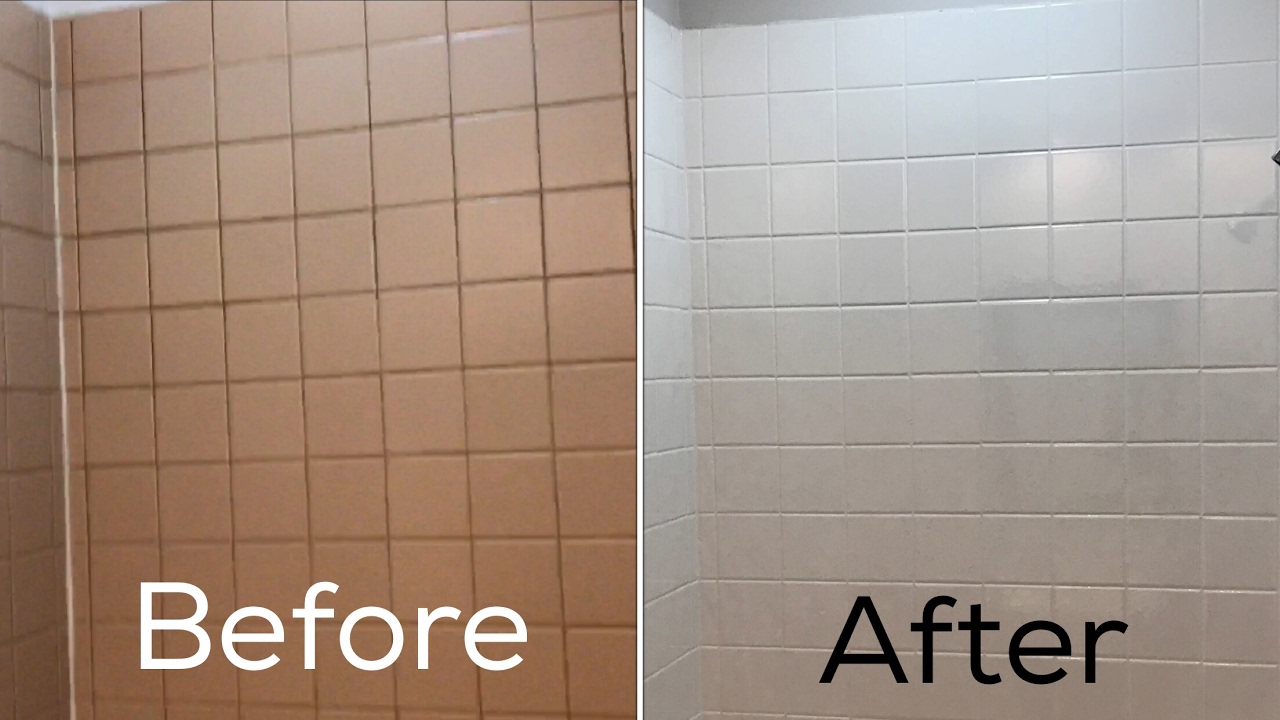
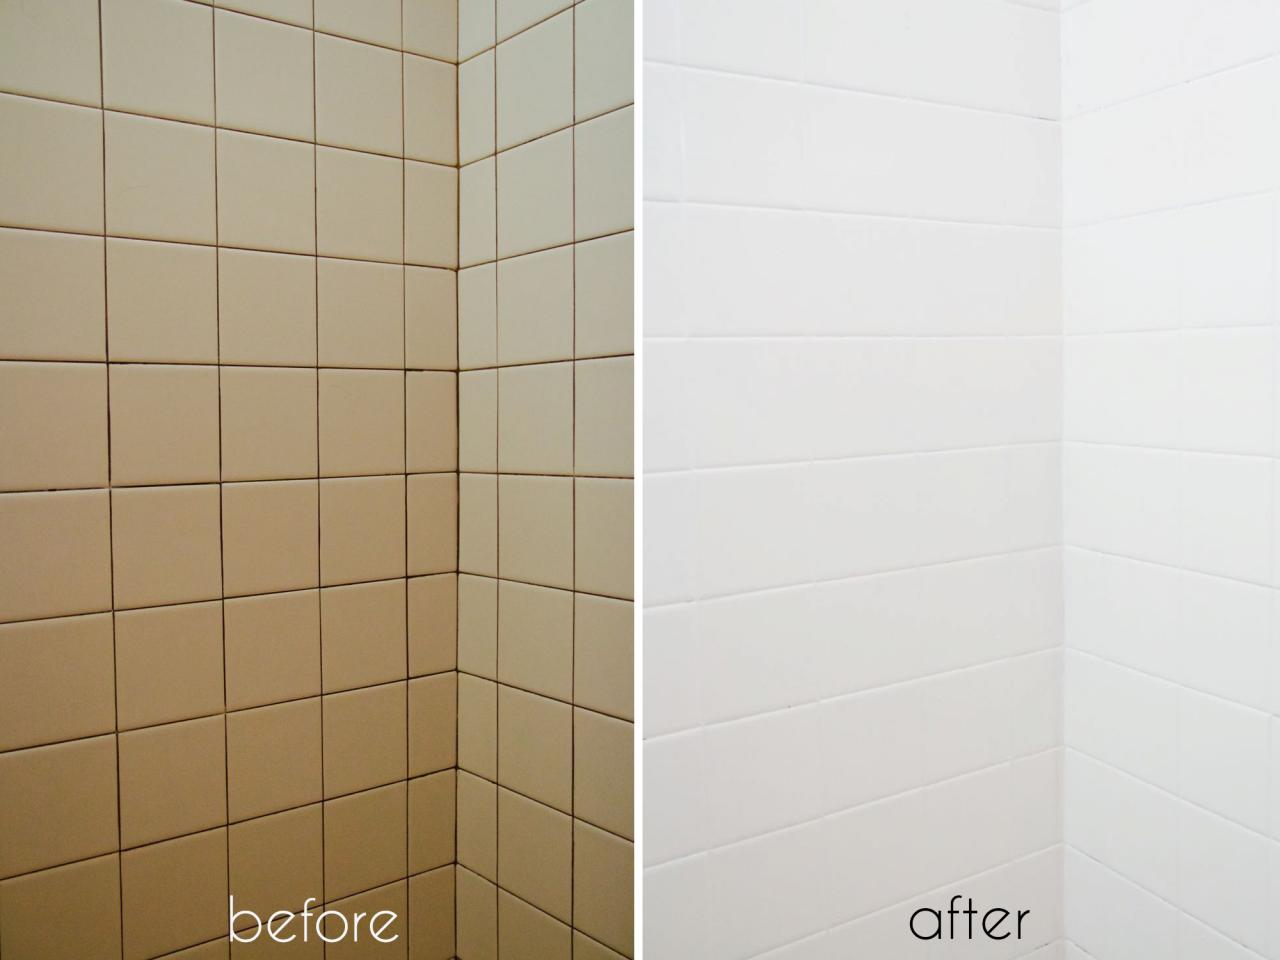
Step 6: Apply Epoxy Paint
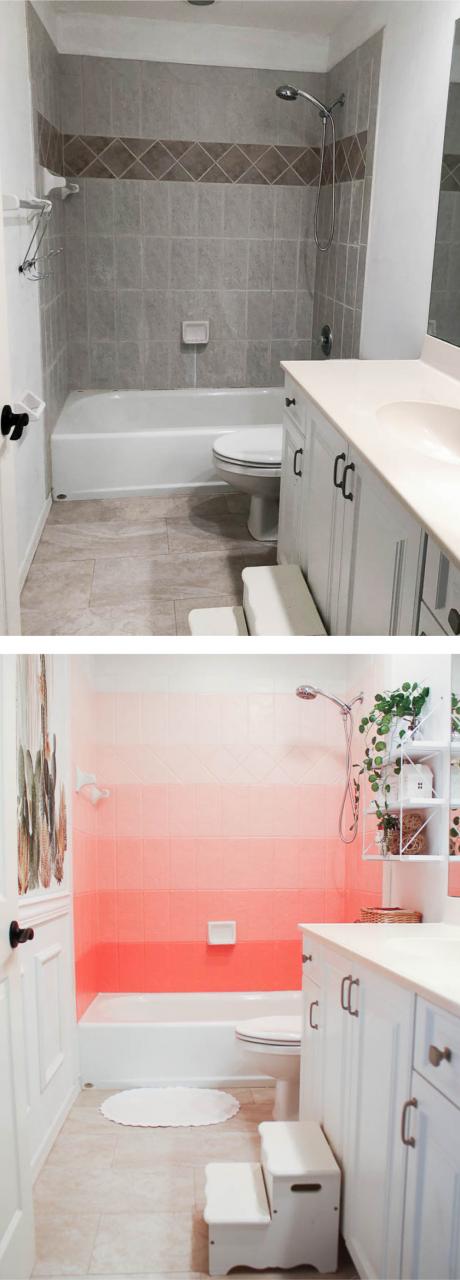
The final step is to apply the epoxy paint to the tiles. Epoxy paint is durable, long-lasting, and can withstand moisture and wear. Choose a color that matches your bathroom decor and apply the paint evenly with a paint roller or brush. Again, work in small sections and smooth out any drips or bubbles. Let the first coat dry completely before applying a second coat. Depending on the brand, you may also need to apply a third coat. Let the paint dry completely before removing the painter’s tape.
Additional Tips:
- If you’re painting over tiles in the shower or tub area, using paint specifically designed for high-moisture areas is important.
- If your tiles are heavily damaged or chipped, replacing them before attempting to paint over them is best.
- Be sure to ventilate the bathroom well while painting and allow the paint to dry completely before using the bathroom.
- Use stencils to create a pattern or design on your painted tiles for added interest.
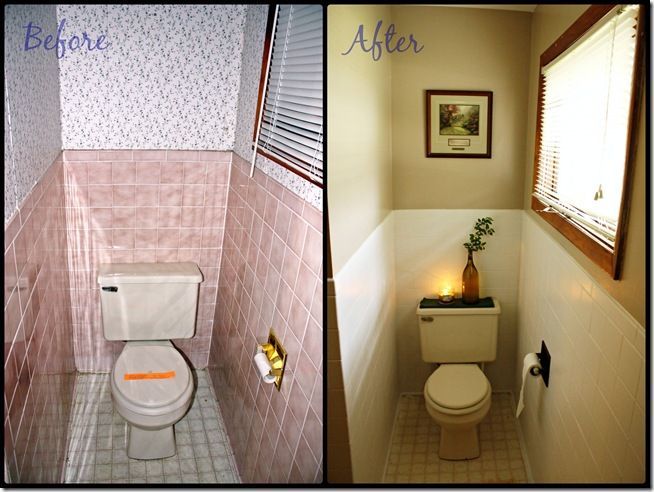
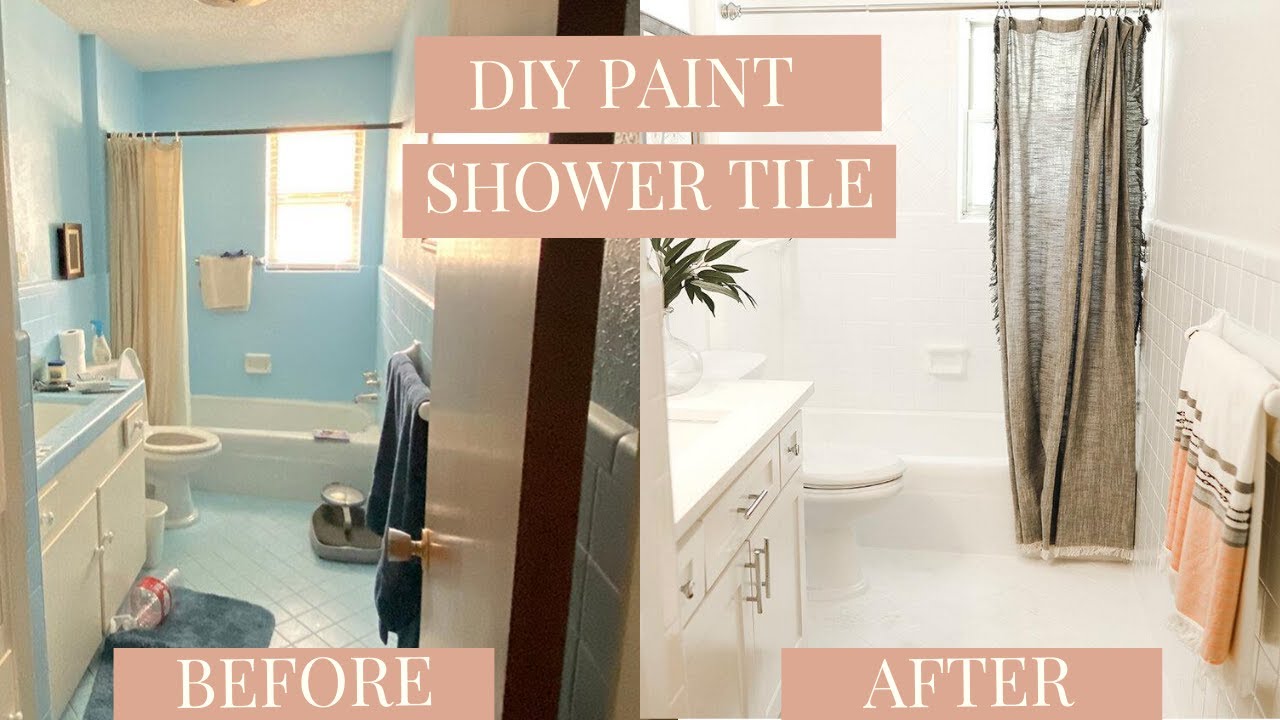
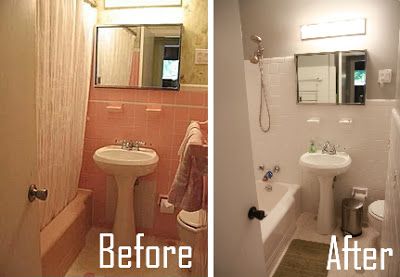
Painting over old bathroom tiles can be a great way to give your bathroom a fresh and updated look. By following these steps and using the right materials, you can achieve a professional-looking finish that will last for years. Happy painting!
How to DIY Paint Shower Tile – One Year Later Review – Rust-Oleum Tub u0026 Tile Refinishing Kit
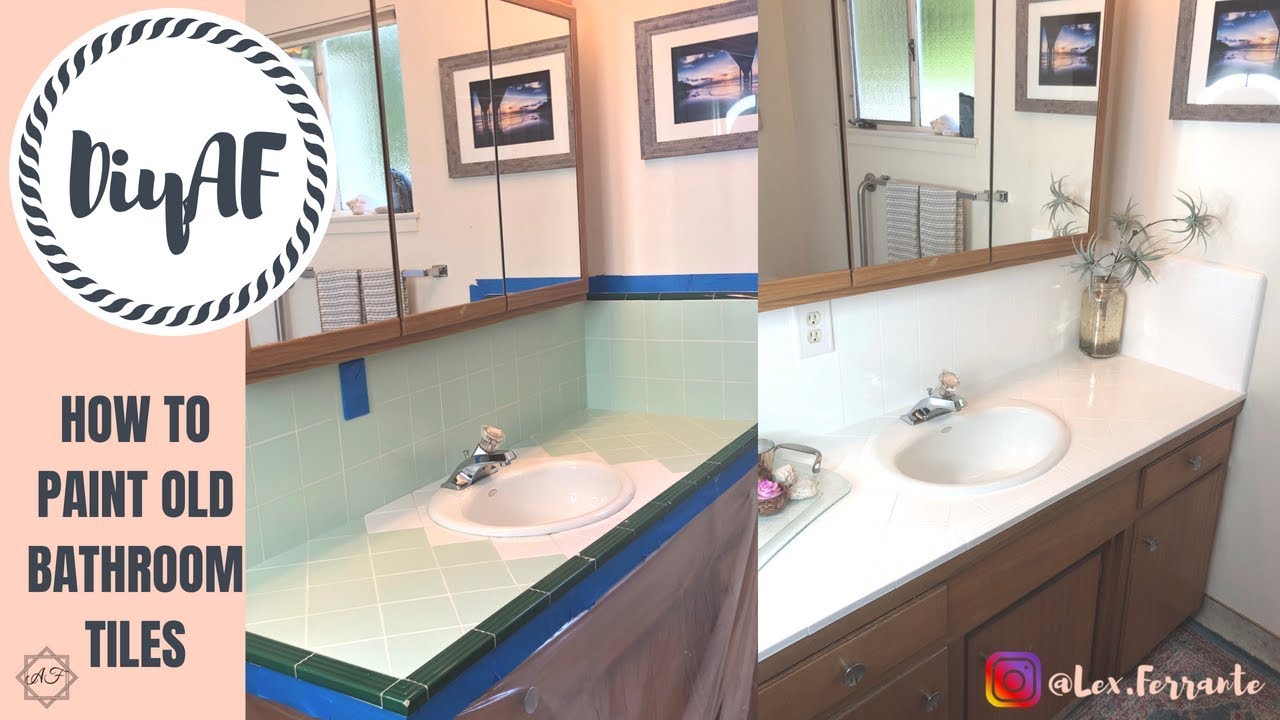
How To Paint Bathroom Tiles
How to Paint Over Ceramic Tile in a Bathroom – Todayu0027s Homeowner
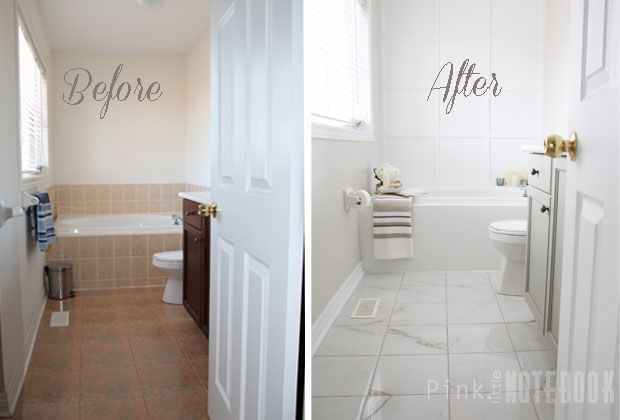
Pin on Home
Refinishing ceramic tile in my bathroom (before and after)
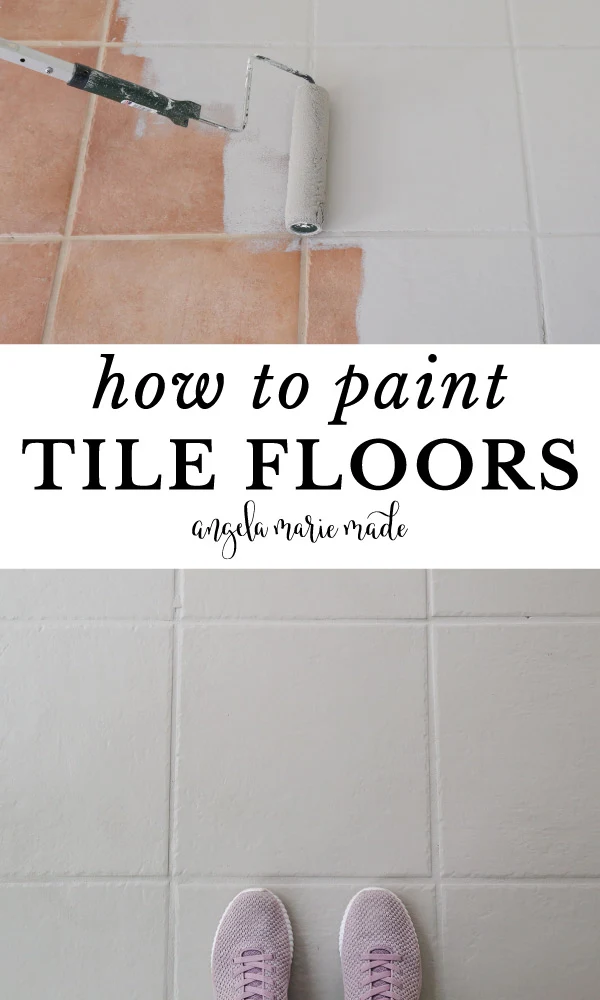
How to Paint Tile Floor – Angela Marie Made
A Bathroom Tile MakeoverWith Paint u2013 Ramshackle Glam
Question: How To Paint Ceramic Bathroom Countertops – SeniorCare2Share
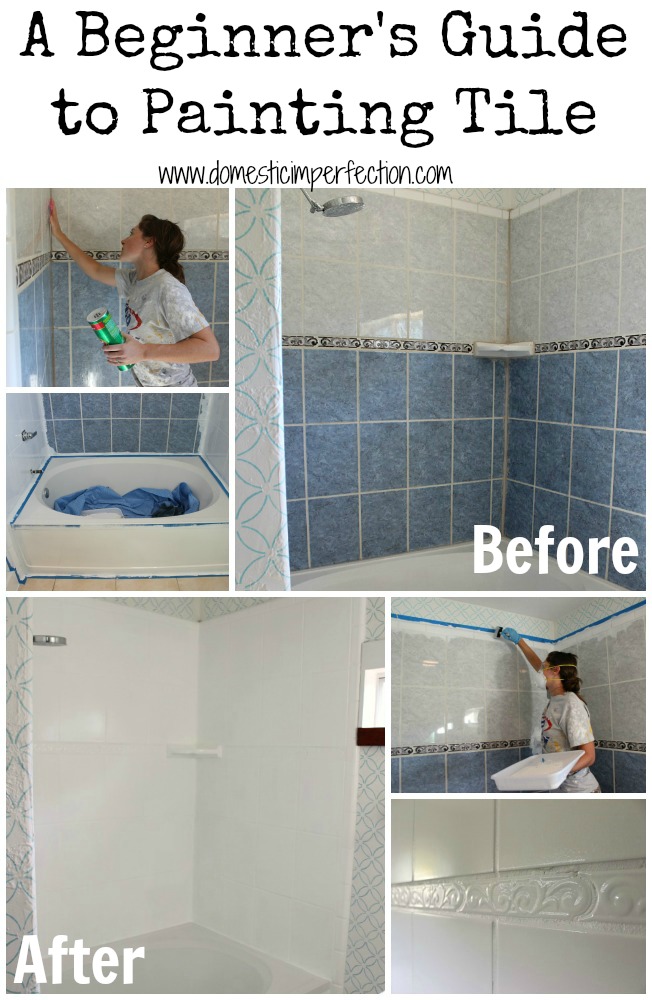
How to Refinish Outdated Tile (yes, I painted my shower
Yes! You Really Can Paint Tiles: Rust-Oleum Tile Transformations
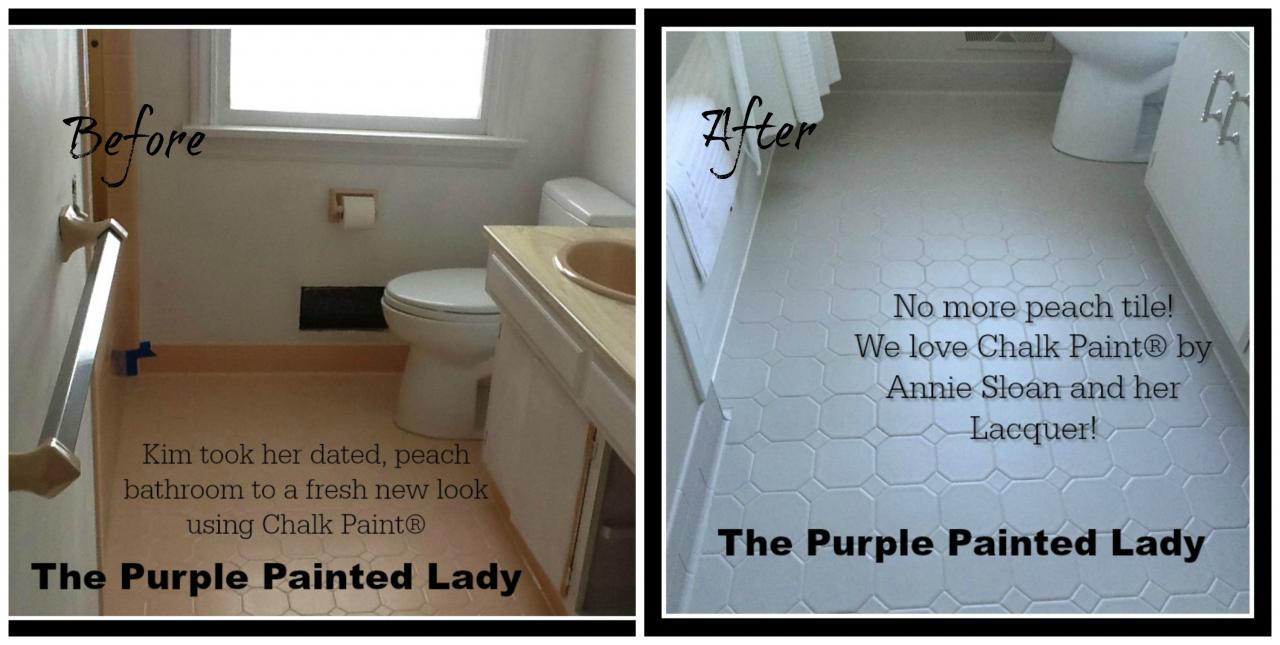
Painting Tile in the Bathroom with Chalk Paint® The Purple
How to paint bathroom tile: floor, shower, backsplash u2013 House Mix
How I Painted Our Bathroomu0027s Ceramic Tile Floors: A Simple (and
Related Posts:
- Natural Stone Bathroom Tile Ideas
- Bathroom Tile Removal Tools
- Cheap Bathroom Tiles Adelaide
- How To Clean Grout Between Bathroom Tiles
- Bathroom Tiles For Sale In Sri Lanka
- Large Beige Bathroom Tiles
- Bathroom Tile Vanity Ideas
- Vintage Pink Bathroom Tiles For Sale
- Sweet Home 3d Bathroom Tiles
- Bathroom Tile Hexagon Black And White


