Gathering the Materials and Tools: A Step-by-Step Guide
Installing a glass shelf in your bathroom can add a touch of elegance and functionality to the space. Before you begin, it’s important to gather all the necessary materials and tools. This step-by-step guide will help you ensure a smooth installation process.
- Measure and mark the desired location: Start by measuring the area where you want to install the glass shelf. Use a measuring tape to determine the width and height of the space. Once you have the measurements, mark the location on the wall using a pencil or masking tape. This will serve as a guide during the installation process.
- Select the right glass shelf: When choosing a glass shelf, consider the style and design of your bathroom. Opt for a shelf that complements the existing decor. Additionally, make sure the shelf is made of tempered glass, as it is stronger and safer than regular glass.
- Gather the necessary tools: To install the glass shelf, you’ll need a few tools. Make sure you have a drill, drill bits, screws, a level, a measuring tape, a pencil, a screwdriver, and wall anchors. Having all the tools ready beforehand will save you time and frustration during the installation process.
- Purchase the required materials: Apart from the tools, you’ll also need a few materials such as wall anchors and screws. Make sure to choose the right size and type of wall anchors based on the weight and size of the glass shelf. Consult with a hardware store professional if you’re unsure about the appropriate materials for your specific shelf.
- Prepare a safe working environment: Before you start the installation process, ensure that the bathroom is clean and free from any obstacles that could hinder your work. Clear the area around the installation site, and cover the floor with a drop cloth or old towel to protect it from any potential damage.

Measuring and Marking the Perfect Location for Your Glass Shelf
Properly measuring and marking the location of your glass shelf is crucial to ensure a visually appealing and functional installation. We will guide you through the process of measuring and marking the perfect location for your glass shelf.
Consider the height and accessibility: When determining the height of your glass shelf, consider the items you plan to place on it. Aim for a height that is convenient and easily accessible. Consider the height of family members who will be using the shelf regularly, ensuring it is within their reach.
Use a level and measuring tape: To ensure a straight and level installation, use a level and measuring tape. Place the level horizontally on the wall and adjust the position until the bubble is centered. Use the measuring tape to mark the desired height and ensure the shelf will be level.
Mark the location: Using a pencil or masking tape, mark the location of the shelf on the wall. Double-check the measurements to ensure accuracy. Take into account any existing fixtures or obstructions that may affect the installation, such as light switches or towel racks.
Consider stud placement: If possible, try to install the glass shelf on a wall stud for added stability. Use a stud finder to locate the studs and mark them on the wall. Adjust the position of the shelf accordingly, ensuring that it aligns with the studs for secure installation.
Make additional markings: Apart from marking the height and location of the shelf, consider making additional markings for the drilling points. Measure the width of the shelf and mark the corresponding points on the wall. This will guide you during the installation process and ensure accurate placement.

Preparing the Wall for Installation: Tips and Tricks
Properly preparing the wall before installing a glass shelf is essential to ensure a secure and long-lasting installation. Below we provide you with valuable tips and tricks to prepare the wall and create a solid foundation for your glass shelf.
Check the wall condition: Before starting the installation process, carefully inspect the wall for any damages or imperfections. Repair any cracks, holes, or uneven surfaces using spackling paste or putty. Smooth out the patched areas and allow them to dry completely before proceeding.
Clean the wall surface: Ensure that the wall surface is clean and free from any dust, grease, or debris. Use a mild detergent or wall cleaner to remove any dirt or stains. Wipe the wall with a clean cloth or sponge and allow it to dry thoroughly.
Use a stud finder: If possible, locate the wall studs using a stud finder. Installing the glass shelf directly onto the studs will provide added stability and support. Mark the stud locations on the wall for reference during the installation process.
Consider using wall anchors: If you’re unable to install the glass shelf directly onto a stud, use wall anchors for added support. Choose the appropriate size and type of wall anchors based on the weight and size of the glass shelf. Follow the manufacturer’s instructions for installation.
Apply painter’s tape: To prevent the wall from chipping or cracking during the drilling process, apply painter’s tape over the marked locations. This will help protect the wall surface and ensure clean and precise holes for the installation.

Installing the Glass Shelf: A Detailed Walkthrough
With the proper preparation and measurements in place, it’s time to install your glass shelf. This detailed walkthrough will guide you through the installation process, ensuring a secure and visually pleasing result.
Gather the necessary tools and materials: Before starting the installation, ensure that you have all the required tools and materials. Refer to the previous section on gathering materials and tools for a comprehensive list. Having everything ready will make the installation process smoother.
Start with the wall anchors: If you’re using wall anchors, begin by drilling pilot holes at the marked locations. Follow the manufacturer’s instructions for the specific type of wall anchors you’re using. Once the pilot holes are drilled, insert the wall anchors into the holes.
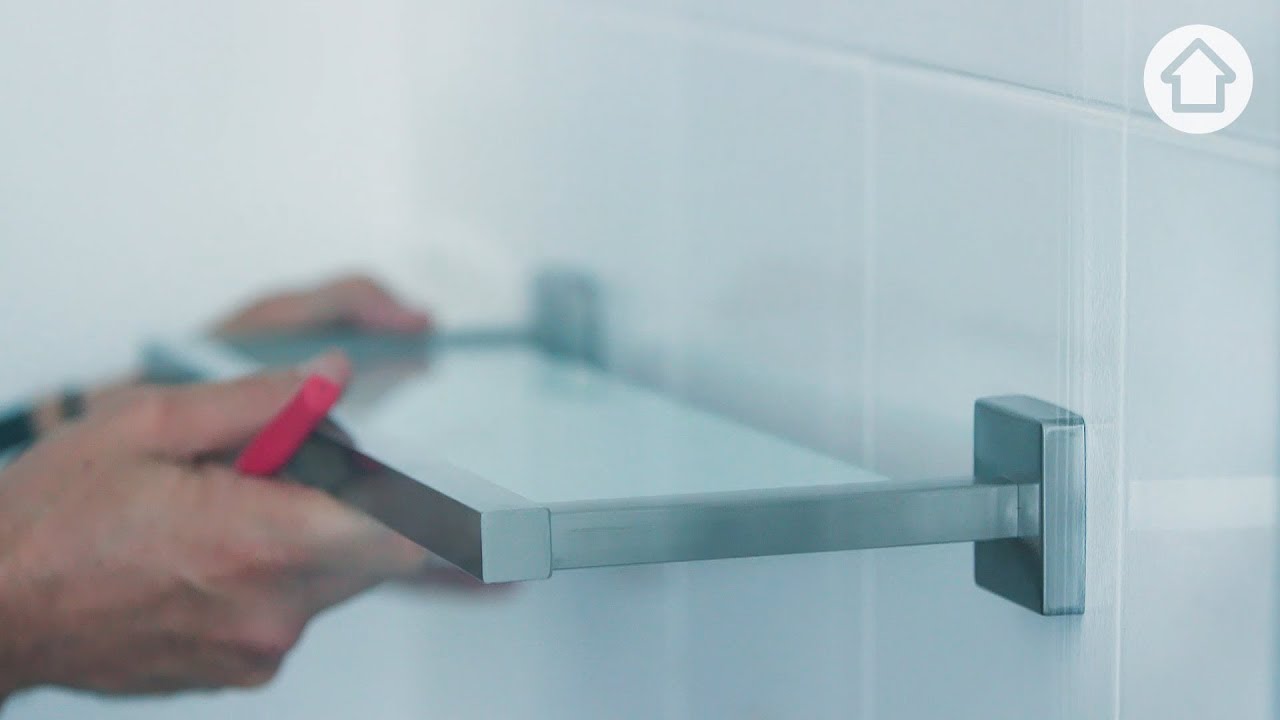
Mount the shelf brackets: Attach the shelf brackets to the wall using screws or the appropriate mounting hardware. Make sure the brackets are securely fastened to the wall. Use a level to ensure they are straight and aligned.
Attach the glass shelf: With the brackets securely in place, carefully place the glass shelf onto the brackets. Ensure that it sits evenly and securely on the brackets. Double-check the level of the shelf and make any necessary adjustments.
Secure the shelf: Once the glass shelf is properly positioned, use screws or other secure fasteners to attach it to the brackets. Follow the manufacturer’s instructions for the specific shelf you’re installing. Ensure that the shelf is firmly attached and can support the intended weight.
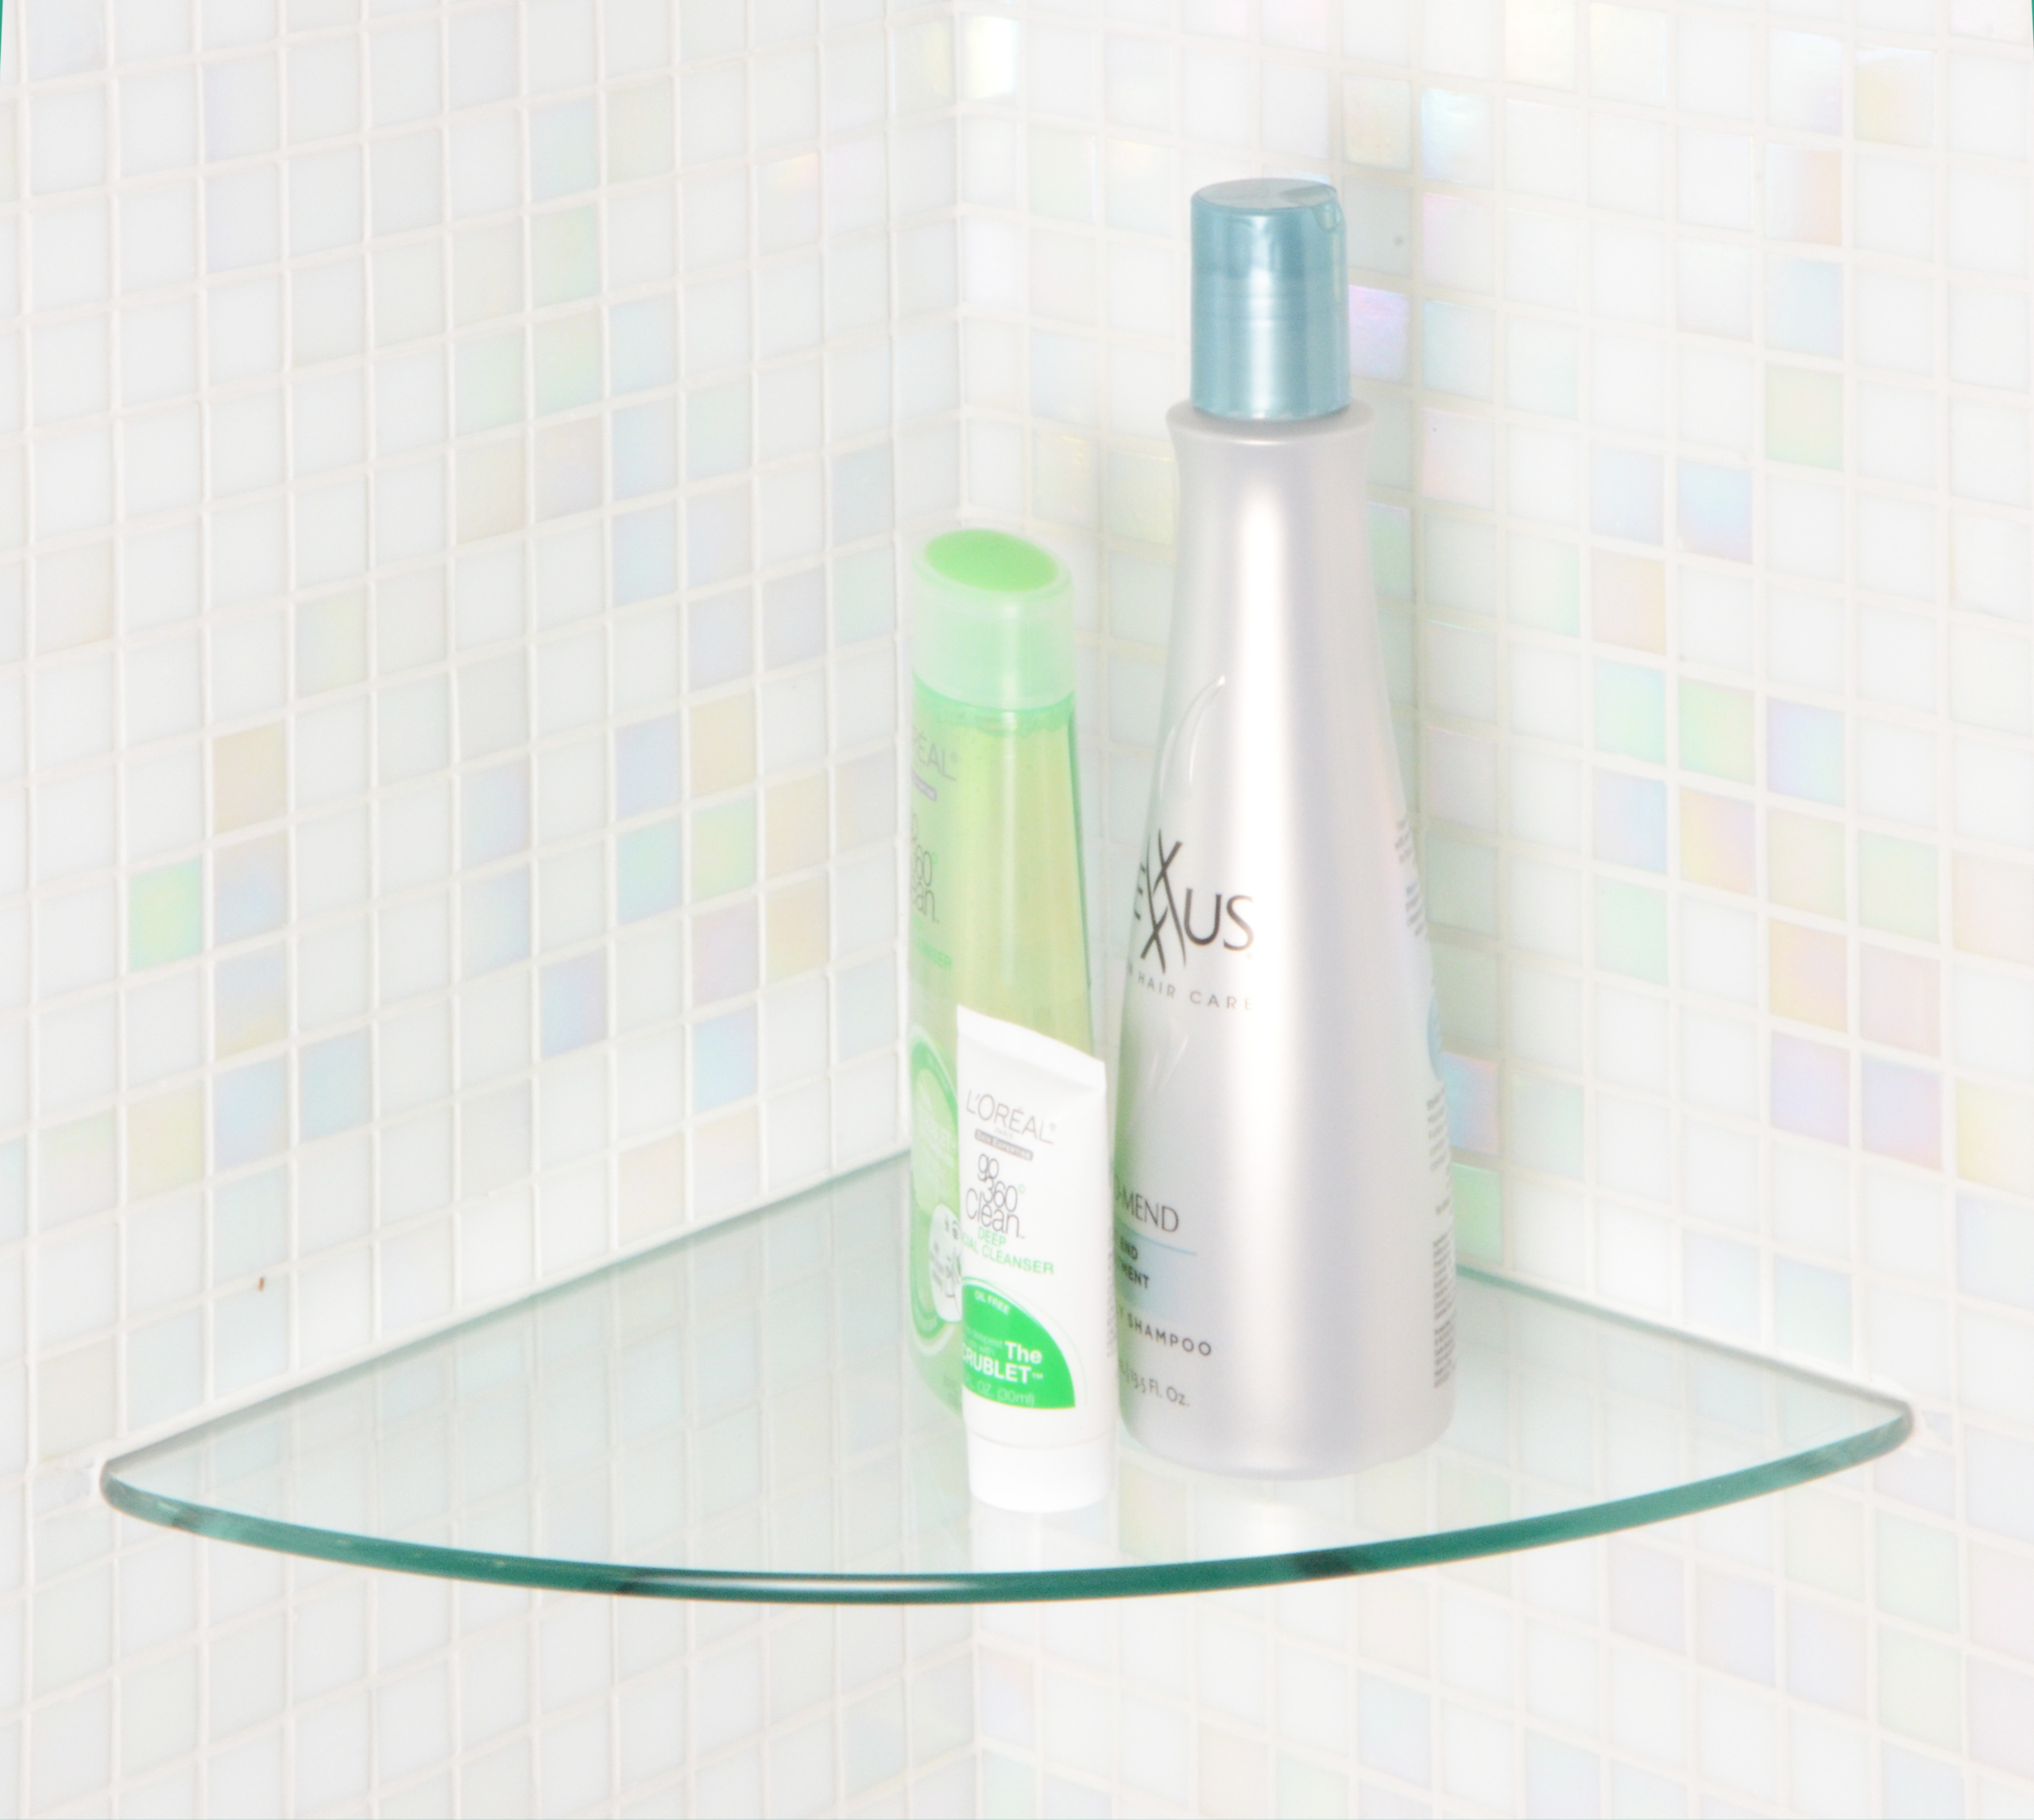
Styling and Organizing Your Glass Shelf
Now that your glass shelf is installed, it’s time to add the finishing touches to enhance its aesthetic appeal and functionality. Here are some tips and ideas for styling and organizing your glass shelf.
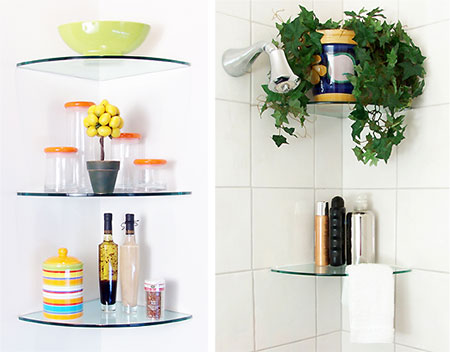
Display decorative items: Utilize your glass shelf to showcase decorative items that complement the bathroom’s overall style. Consider placing a small potted plant, scented candles, or decorative glass bottles on the shelf. This will add a touch of personality and visual interest to the space.
Organize toiletries and essentials: Maximize the functionality of your glass shelf by organizing essential bathroom items. Use decorative baskets or clear containers to store toiletries such as hand soap, lotion, and cotton balls. Keep frequently used items within easy reach for convenience.
Utilize storage containers: If you have limited space, consider using storage containers or trays to keep smaller items organized. This will prevent clutter and make it easier to find and access your belongings. Choose containers that match the style of your bathroom for a cohesive look.
Incorporate towel storage: If space permits, consider placing folded towels or hanging towel racks near the glass shelf. This will provide additional storage for towels and keep them within reach. Coordinate the towel colors with the overall bathroom color scheme for a polished look.
Personalize with artwork or mirrors: Enhance the visual appeal of your glass shelf by incorporating artwork or mirrors on the wall above it. Choose pieces that complement the bathroom’s style and add a touch of elegance. This will create a cohesive and visually pleasing arrangement.

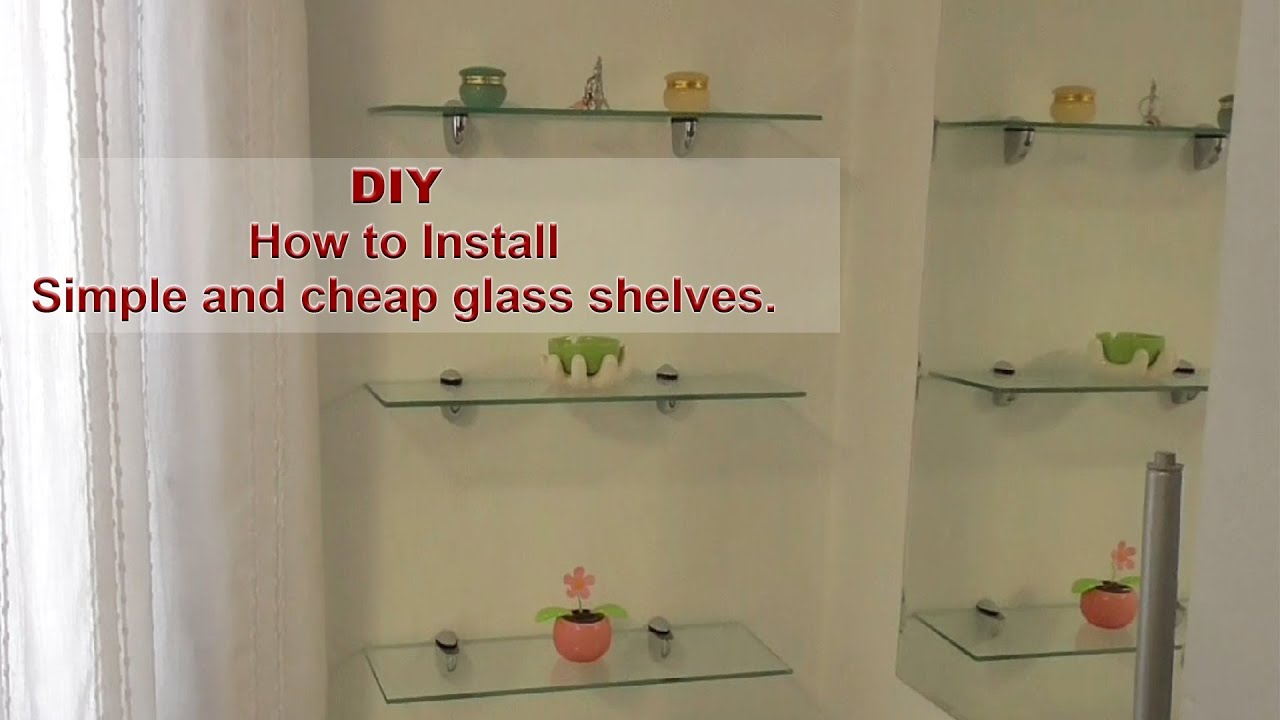
Against The Grain – DIY Bathroom Shelf
Glass Shelf – Assembly and Installation in an AquaLusso Shower

GeekDigg 2 Sets Bathroom Glass Shelf, No Drilling Shower Caddy Wall Mounted Rectangular Tempered Glass Bathroom Storage Organizer Shelf with Aluminum
How to hang glass shelves using bingo brackets Bathroom

HOME DZINE Bathrooms Easy DIY Installation Steps of Glass
Floating Glass Shelves For Bathroom – Ideas on Foter
How to create a shelf in a niche

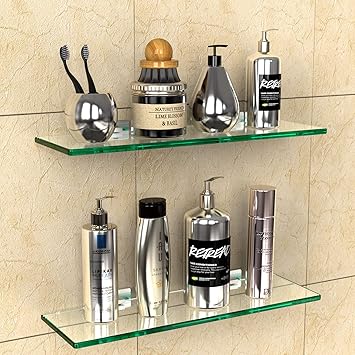
KES Glass Shelf for Bathroom, 15.8-Inch Bathroom Wall Shelf with Rectangle Tempered Glass and Brushed Nickel Bracket 2 Pack, BGS3201S40-2-P2

Glass Shelves Senhong Glass

Related Posts:
- Small Bathroom Shelf with Hooks
- Bathroom Shelf Unit Hanging
- Ginger Bathroom Glass Shelf
- Wayfair Bathroom Shelf with Towel Bar
- Bathroom Suction Shelf Dunelm
- Bathroom Wood Hanging Shelf
- Wicker Bathroom Shelf with Towel Bar
- Bathroom Extendable Corner Shelves
- Bathroom Ladder Shelf DIY
- Why Do Some Toilets Have a Shelf


