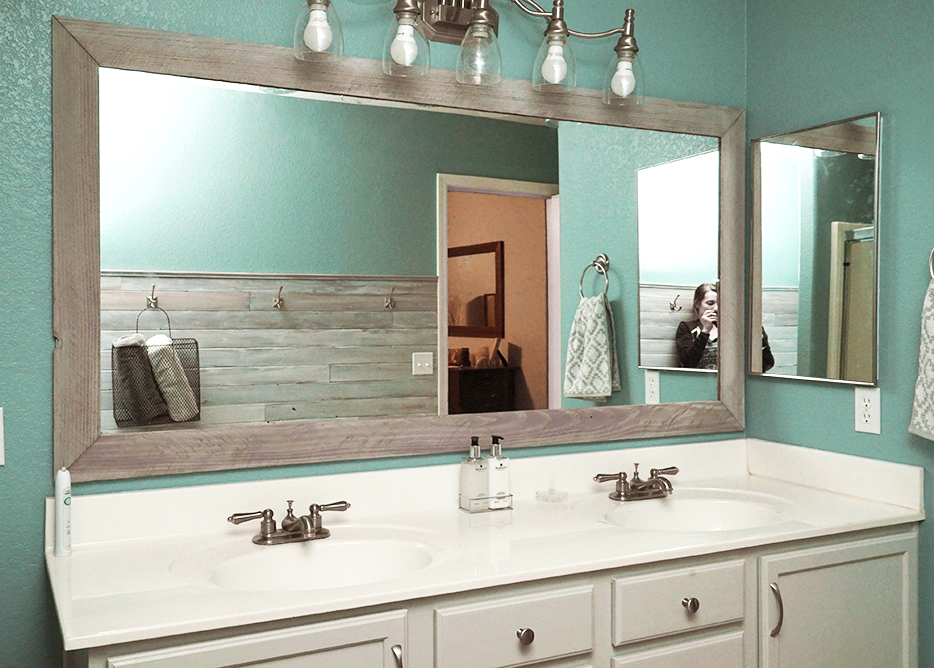
If you’re looking for an easy and affordable way to upgrade your bathroom decor, installing a frame around your bathroom mirror can make a significant difference. Not only does it enhance the aesthetics of your bathroom, but it also adds value to your home. We will provide a step-by-step guide on installing a bathroom mirror frame.
Tools and Materials Required
Before starting the installation process, gather all the necessary tools and materials to complete the job. These include:
- Miter saw, or miter box and hand saw
- Measuring tape
- Sandpaper or sanding sponge
- Adhesive glue or double-sided tape
- Painter’s tape
- Paint or stain and brush
- Decorative trim or molding
- Safety glasses
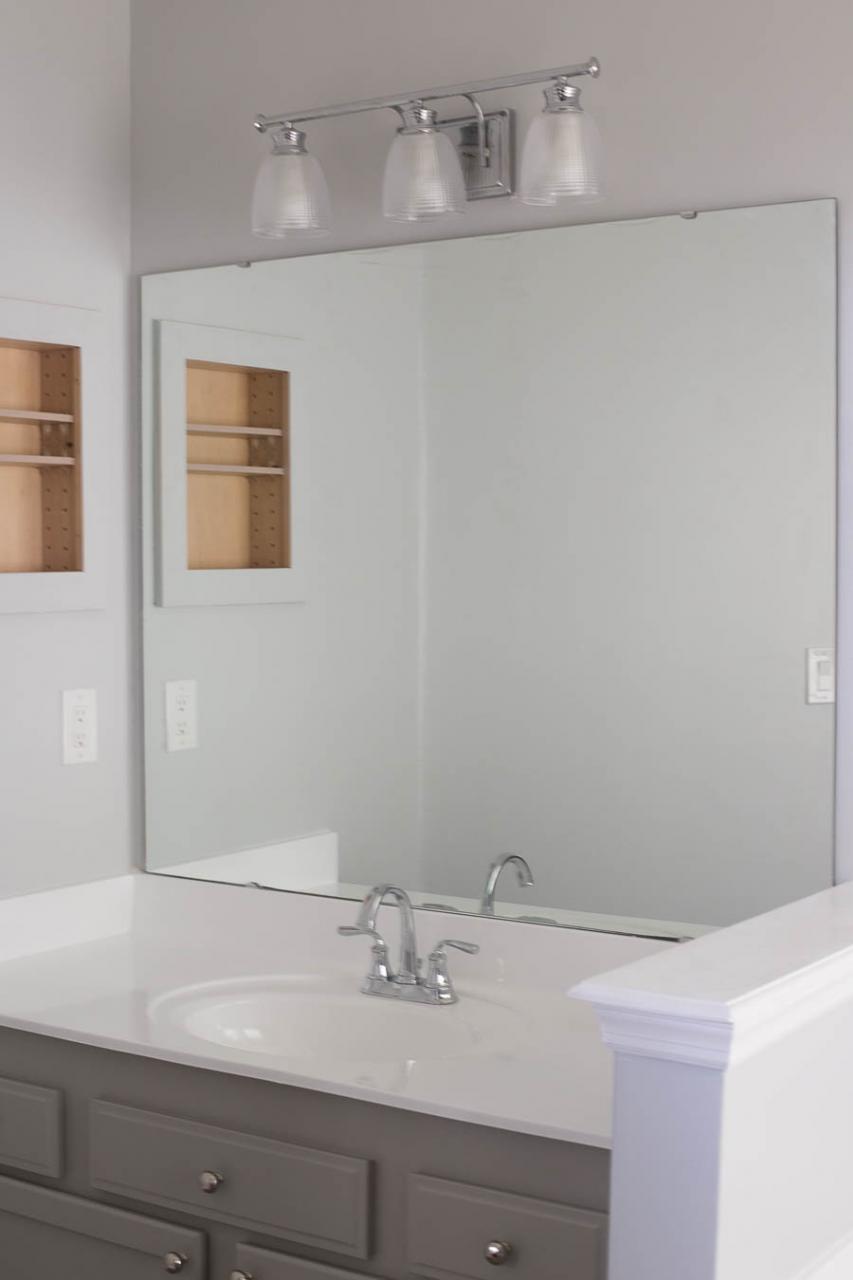
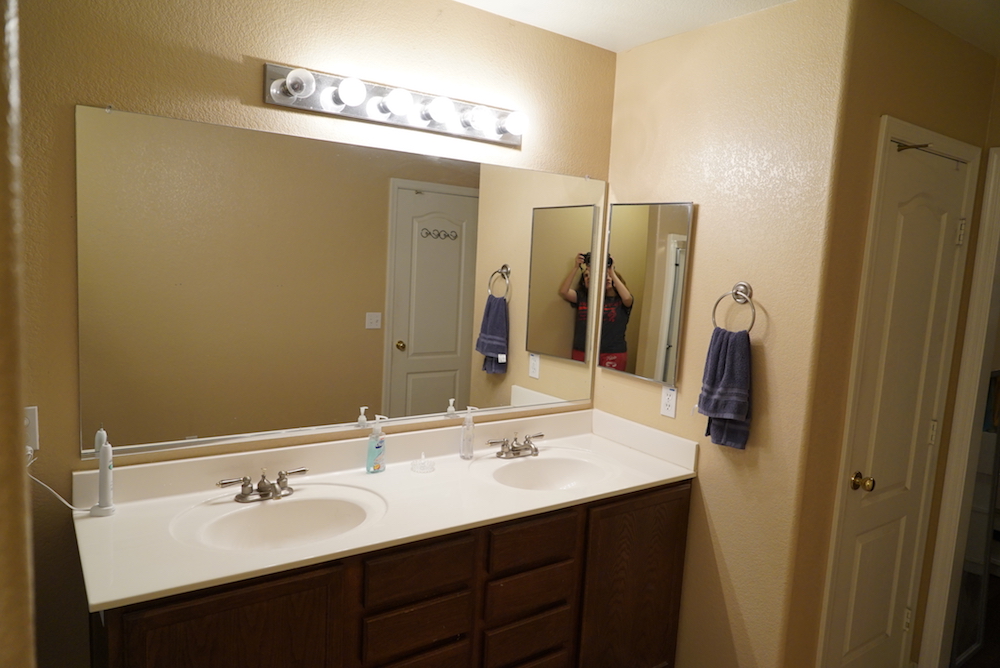
Step 1: Measure Your Mirror
Start by measuring the dimensions of your bathroom mirror. Measure the width and height of your mirror, and write down the measurements on paper. These measurements will be used to determine the length of your frame material.
Step 2: Cut the Frame Material
Using a miter saw or miter box and hand saw, cut the frame material at 45-degree angles to create four pieces. Ensure that the frame pieces’ lengths are accurate and that they fit tightly against the mirror.
Step 3: Sand the Frame Material
Using sandpaper or a sanding sponge, sand the edges and surfaces of the frame material to remove any roughness or splinters. This will also help the paint or stain to adhere better to the wood.
Step 4: Paint or Stain the Frame Material
If you want to paint or stain the frame material, do so before attaching it to the mirror. Apply painter’s tape around the mirror’s edges to protect it from any excess paint or stain.
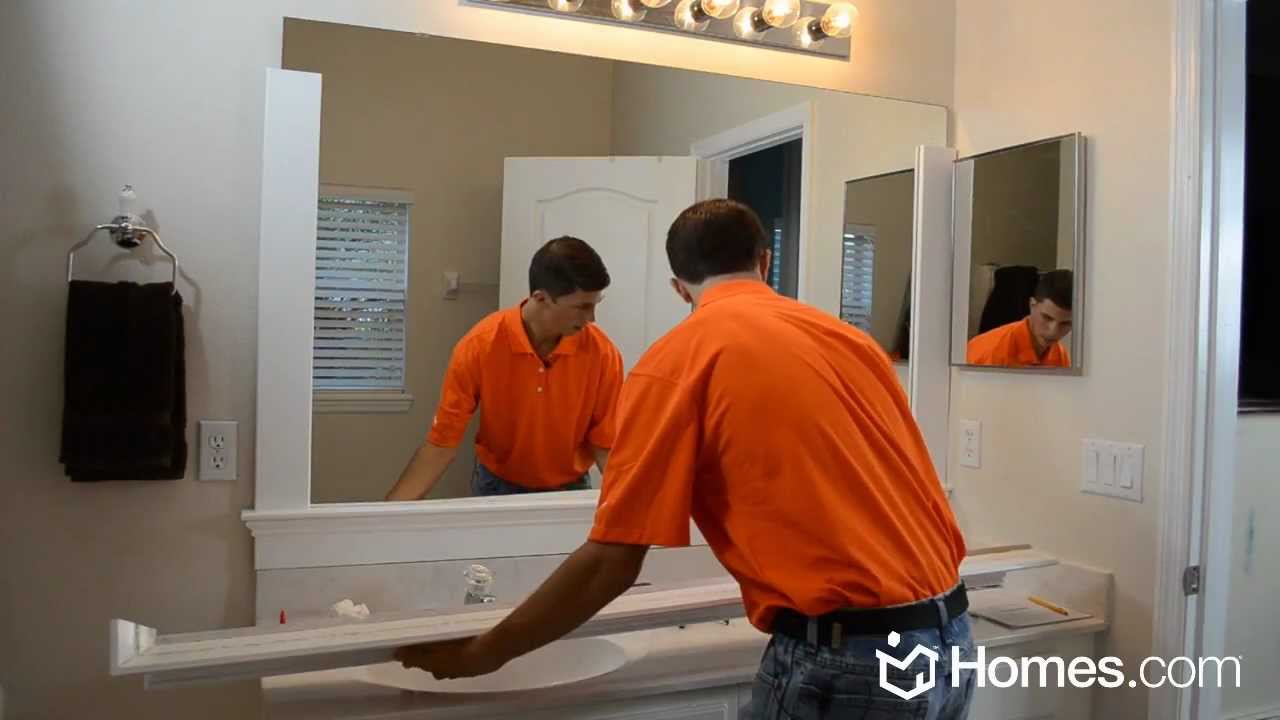
Step 5: Attach the Frame to the Mirror
Once the paint or stain has dried, apply adhesive glue or double-sided tape to the back of each frame piece. Carefully align the frame with the mirror and press it firmly against the surface.
Step 6: Secure the Frame
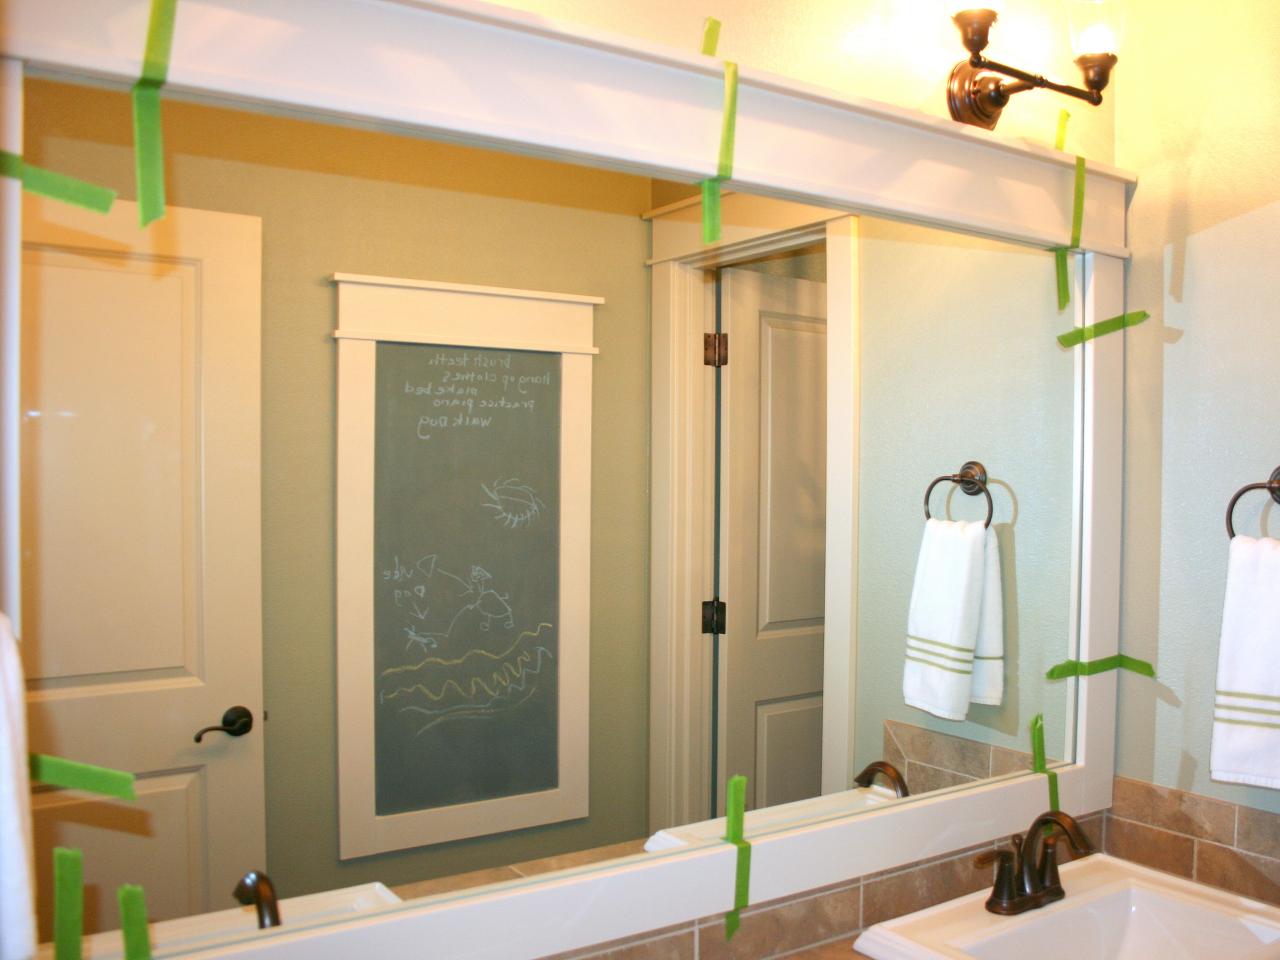
Use painter’s tape to secure the frame while the adhesive glue or double-sided tape sets. Leave the tape in place for at least 24 hours before removing it.
Step 7: Finishing Touches
After the adhesive glue or double-sided tape has been set, remove the painter’s tape and inspect the frame for any gaps or imperfections. Use wood filler or caulk to fill in gaps and sand the surfaces again if necessary. Finally, paint or stain the frame to match your bathroom decor.
Adding a frame to your bathroom mirror is an easy and cost-effective way to upgrade your bathroom decor. With the right tools and materials, anyone can easily install a bathroom mirror frame. Follow the above steps and give your bathroom a fresh, new look!
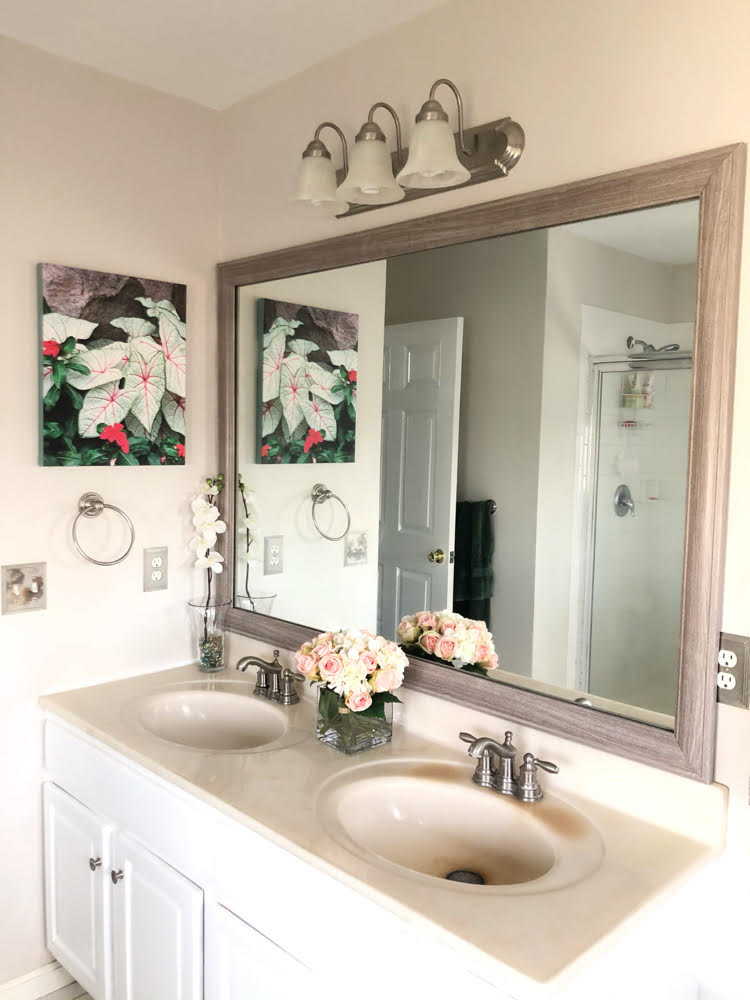
How to Install a MirrorChic Bathroom Mirror Frame – momhomeguide.com
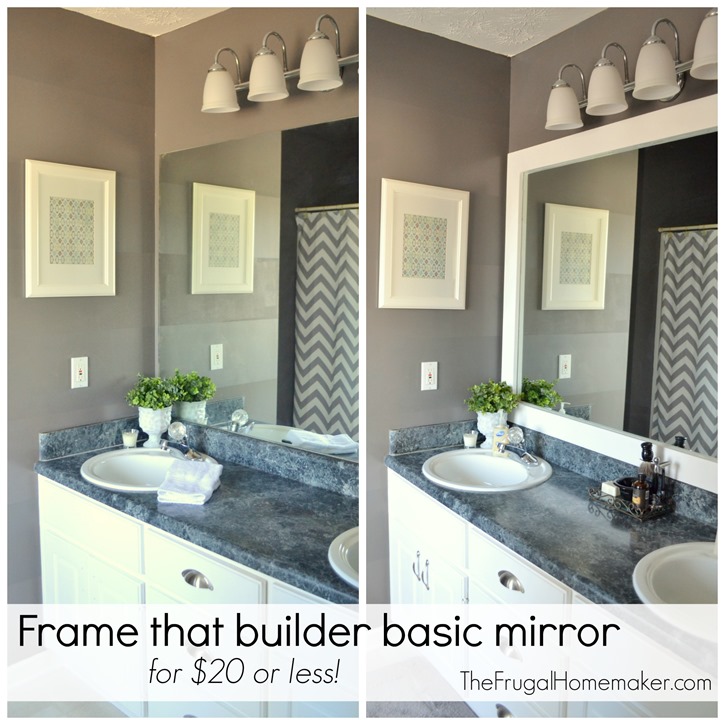
How to frame out that builder basic bathroom mirror (for $20 or less!)
Bathroom mirror frames – 2 easy-to-install sources + a DIY
DIY Bathroom Mirror Frame for Under $10, Hello Hayley Blog
How to Frame a Bathroom Mirror – Budget Friendly DIY Project
DIY Bathroom Mirror Frame for Under $10, Hello Hayley Blog
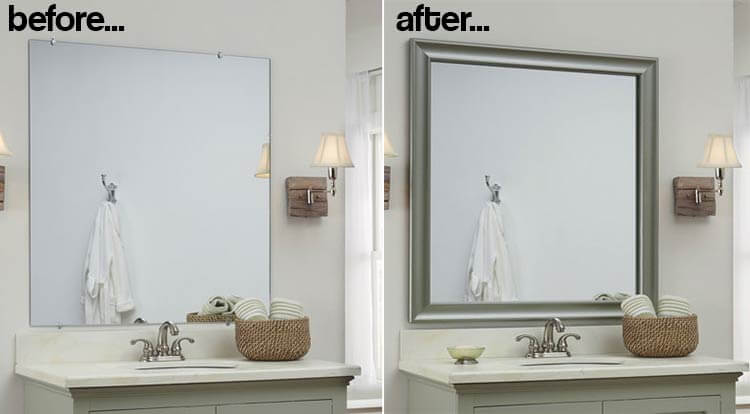
Homes.com DIY Experts Share How-to Frame a “Builder Grade” Mirror
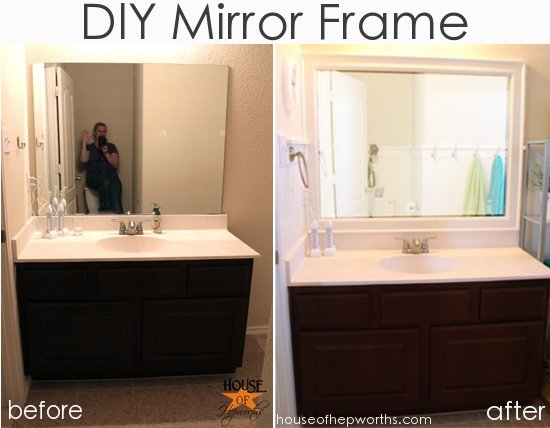
The kidsu0027 bathroom mirror gets framed – House of Hepworths
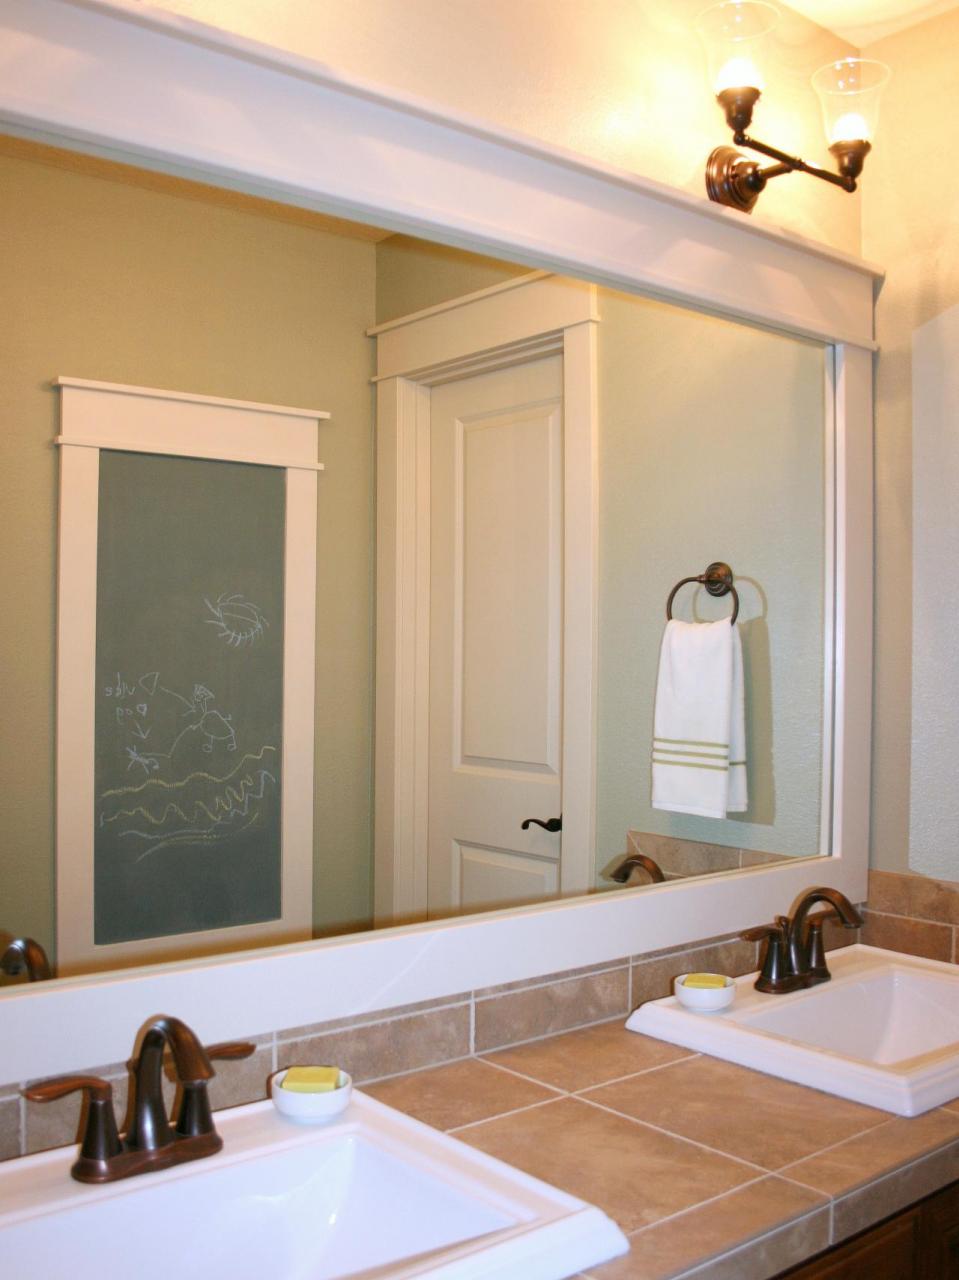
How to Frame a Mirror HGTV
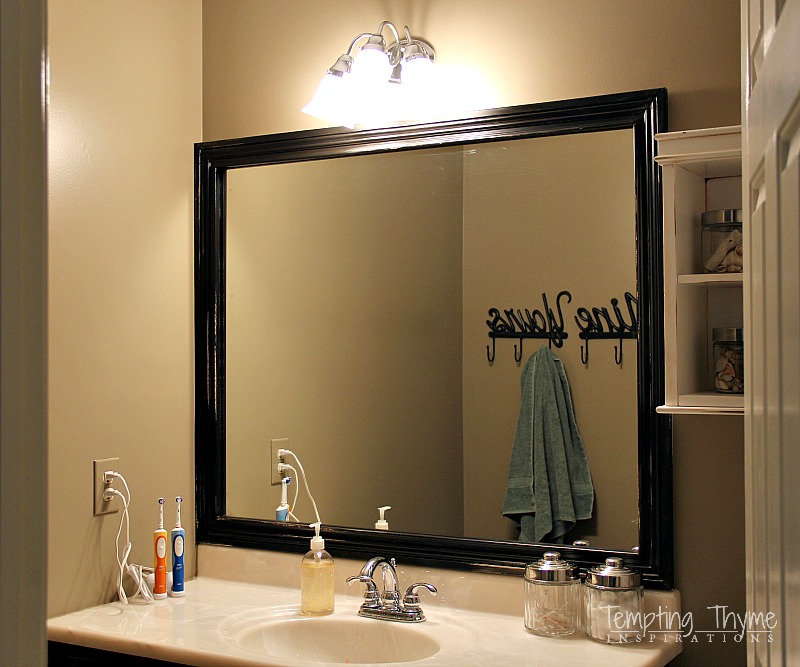
Framing a Bathroom Mirror tempting thyme
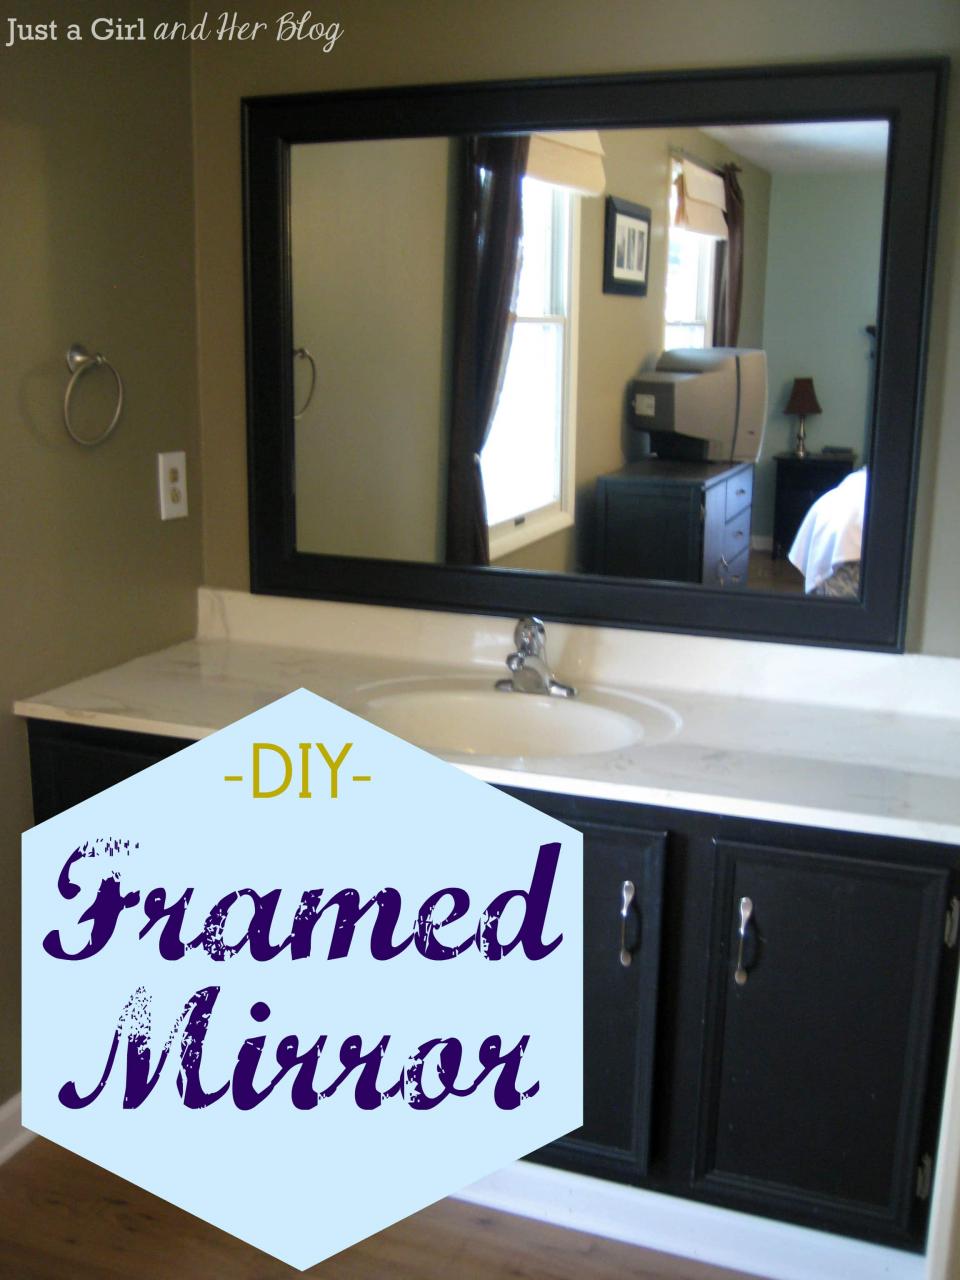
DIY Framed Mirror
DIY: How to Frame A Builder-Grade Bathroom Mirror – Home and Hallow

Products Bathroom mirror frame, Large bathroom mirrors, Mirror
Related Posts:
- Bathroom Mirror Frameless Rectangular
- Bathroom Mirrors 60 X 30
- Circular Bathroom Mirrors With Lights
- Bathroom Mirror With Sensor Lights
- Bathroom Mirror Strip Lights
- Bathroom Mirror Trim Kit
- Jaquar Bathroom Mirrors
- Led Bluetooth Bathroom Mirrors
- Bathroom Mirrors In Bangalore
- White Distressed Bathroom Mirrors


