The Importance of Proper Grouting Techniques in Bathroom Tile Installation
Grouting is an essential step in bathroom tile installation that often gets overlooked. However, it plays a crucial role in ensuring the longevity and durability of your bathroom floor. Proper grouting techniques not only enhance the aesthetic appeal of your tiles but also provide a protective barrier against moisture, dirt, and stains. Let’s discuss the importance of using proper grouting techniques and how they can make a significant difference in the overall quality of your bathroom tile floor.
Ensuring Structural Integrity: Proper grouting techniques help to maintain the structural integrity of your bathroom tile floor. Grout acts as a bonding agent, filling the gaps between tiles and providing stability. When applied correctly, grout prevents tiles from shifting, cracking, or coming loose, ensuring a solid and long-lasting tile installation.
Preventing Water Damage: Bathrooms are prone to high levels of moisture and water exposure. Improper grouting techniques can lead to water seepage, causing damage to the subfloor and promoting the growth of mold and mildew. By using proper grouting techniques, such as applying a waterproof grout and sealing it adequately, you can create a protective barrier that prevents water from seeping through and damaging your bathroom floor.
Enhancing Aesthetics: Grout plays a significant role in enhancing the overall appearance of your bathroom tile floor. Choosing the right grout color can complement your tile choice and bring out the desired aesthetic appeal. Additionally, using proper grouting techniques, such as ensuring consistent grout lines and neat application, can give your bathroom floor a polished and professional finish.
Ease of Maintenance: Properly grouted tile floors are easier to clean and maintain. The grout acts as a barrier, preventing dirt, grime, and stains from seeping into the gaps between the tiles. This makes regular cleaning and maintenance a breeze, keeping your bathroom floor looking fresh and hygienic.
Step-by-Step Guide: How to Prepare the Surface for Grouting
Proper surface preparation is crucial for achieving a successful grouting job in your bathroom tile installation project. Preparing the surface before grouting ensures a clean and even base for applying the grout, leading to a polished and professional finish. Below we provide a step-by-step guide on how to prepare the surface for grouting, ensuring optimal results for your bathroom tile floor.
Clean the Tile Surface: Before starting the grouting process, it is essential to thoroughly clean the tile surface. Remove any dirt, dust, or debris by sweeping or vacuuming the area. Use a mild detergent and warm water to scrub away any stubborn stains or residues. Ensure that the surface is completely dry before proceeding to the next step.
Remove Excess Adhesive: Inspect the tile surface for any excess adhesive or mortar. Use a putty knife or a grout float to scrape away any protruding adhesive, ensuring a smooth and even surface. Pay extra attention to the edges and corners of the tiles.
Check Tile Alignment: Check the alignment of the tiles to ensure they are level and evenly spaced. Make any necessary adjustments by gently tapping the tiles with a rubber mallet. Use tile spacers to maintain consistent grout lines and to ensure the tiles are evenly placed.
Seal Tile Joints (Optional): Consider sealing the tile joints before grouting, especially if you are using porous tiles or tiles in high-moisture areas. Apply a tile sealer to the joints, following the manufacturer’s instructions. Allow the sealer to dry completely before starting the grouting process.
Protect Adjacent Surfaces: To avoid accidental grout stains, protect adjacent surfaces such as walls, countertops, or fixtures. Use painter’s tape or plastic sheeting to cover these areas and ensure easy cleanup later.
Mastering the Art of Grout Mixing and Consistency
Achieving the right grout consistency is crucial for a successful bathroom tile floor installation. The mixing process determines the strength, workability, and overall quality of the grout. Let’s talk about the art of grout mixing and consistency, providing tips and techniques to help you master this important step in your bathroom tile project.
Gather the Necessary Materials: Before you begin mixing the grout, gather all the necessary materials, including the grout powder, a clean bucket, water, and a mixing tool (such as a grout paddle or a drill with a mixing attachment). Read the instructions on the grout packaging to determine the correct water-to-grout ratio.
Start with Small Batches: Mix the grout in small batches to ensure better control over the consistency. This will also prevent the grout from drying out before you can apply it. Follow the recommended water-to-grout ratio and gradually add the grout powder to the water while stirring continuously.
Consistency Check: The ideal consistency of grout should be similar to peanut butter or cake frosting. It should be thick enough to hold its shape but not too dry or too runny. To check the consistency, scoop a small amount of mixed grout with the edge of your grout float or a putty knife. The grout should stick to the tool without sagging or dripping excessively.
Adjusting the Consistency: If the grout is too dry, gradually add small amounts of water while mixing until you achieve the desired consistency. If the grout is too wet or runny, add more grout powder and mix thoroughly. Always make adjustments in small increments to avoid overcompensating.
Resting the Grout: After mixing the grout, allow it to rest for a few minutes as recommended by the manufacturer. This resting period allows the grout powder to fully absorb the water and ensures a more homogeneous mixture.
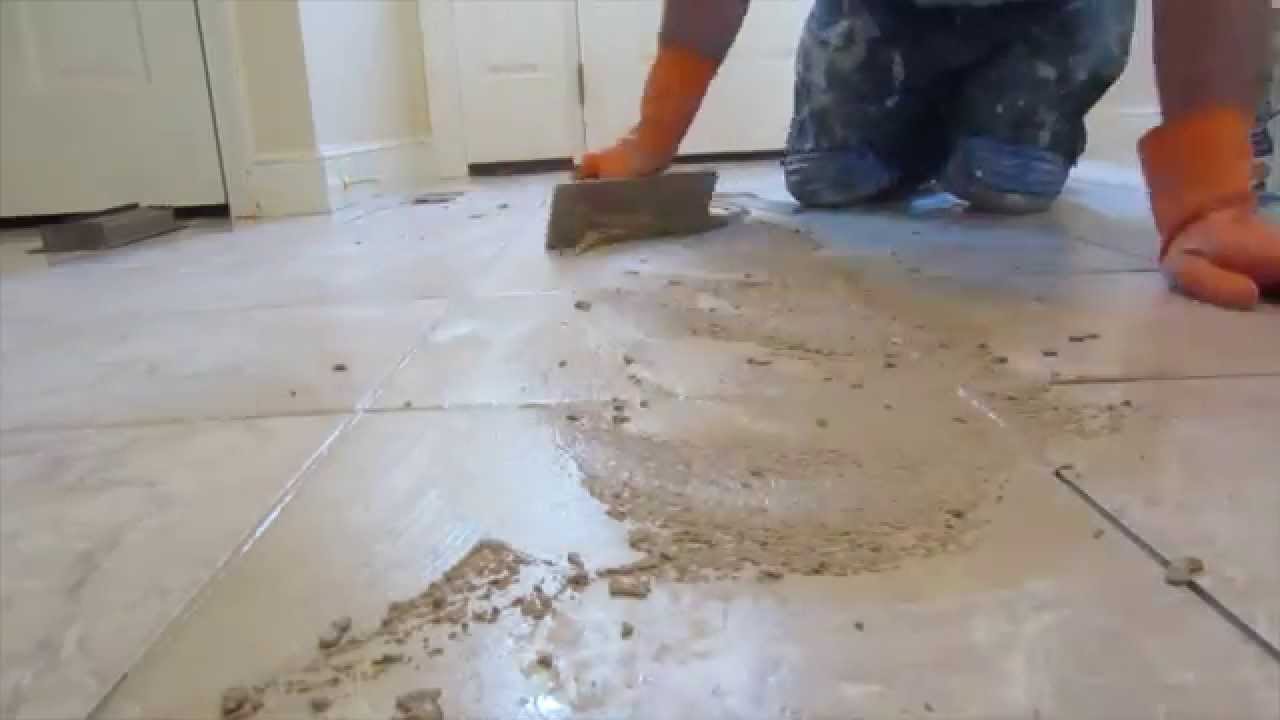
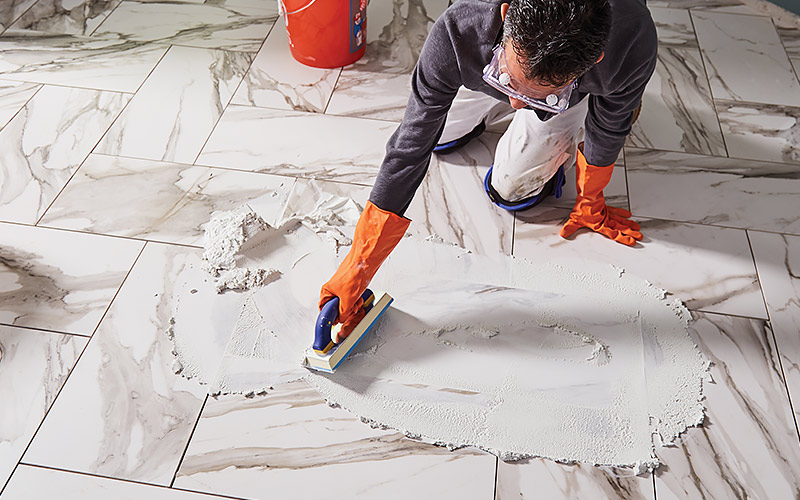
Applying Grout: Tips and Tricks for a Flawless Bathroom Tile Floor
Applying grout is the final step in your bathroom tile floor installation, and it requires precision and attention to detail to achieve a flawless result. Below are some essential tips and tricks to help you apply grout like a pro, ensuring a beautiful and long-lasting bathroom tile floor.
Use the Right Tools: Invest in high-quality grout tools to ensure a smooth and efficient application. These may include a grout float, a grout sponge, a joint brush, and a bucket of clean water. The grout float helps to spread the grout evenly, while the sponge and brush are essential for cleaning excess grout and shaping the grout lines.
Work in Small Sections: To prevent the grout from drying out before you can clean it, work in small sections of the tile floor. Apply the grout diagonally across the tiles, pressing it into the joints with the grout float at a 45-degree angle. Fill the joints completely without leaving any gaps.
Clean Excess Grout Immediately: After applying the grout to a small section, immediately clean the excess grout from the tile surface using a damp grout sponge. Rinse the sponge frequently in clean water to avoid spreading grout residue. Be gentle while cleaning to avoid dislodging the grout from the joints.
Shape and Finish Grout Lines: After cleaning the excess grout, use a joint brush or a toothbrush to shape and smooth the grout lines. Gently run the brush along the joints to create a neat and consistent appearance. Pay attention to any uneven grout lines and adjust as needed.
Allow the Grout to Cure: Follow the manufacturer’s instructions regarding the curing time for the grout. Avoid walking on the freshly grouted floor until it has fully cured. This will ensure that the grout sets properly and achieves its maximum strength.
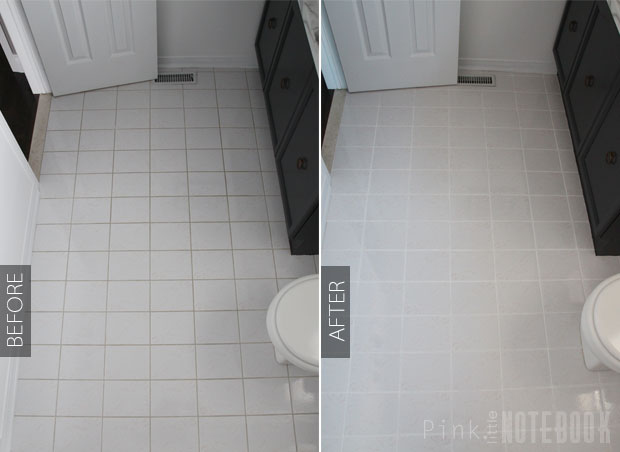
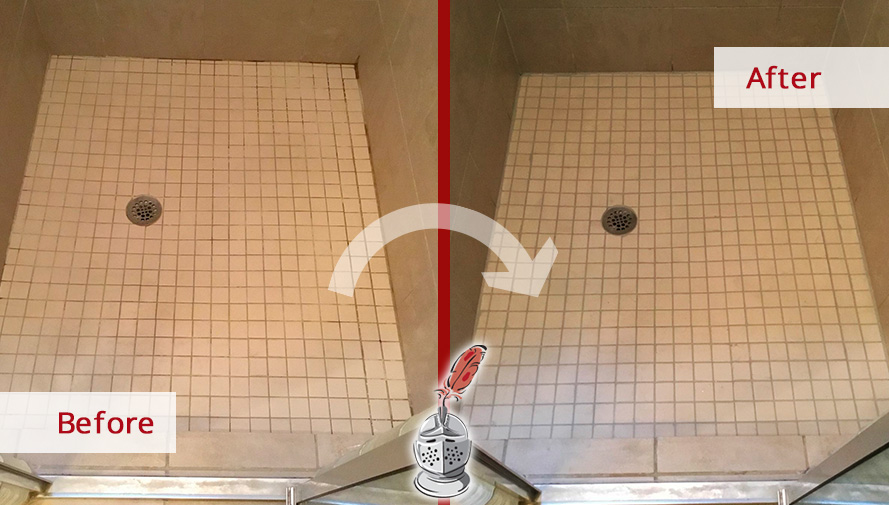
Finishing Touches: Cleaning and Sealing Grout for Long-lasting Results
Cleaning and sealing the grout is a crucial step in maintaining the appearance and longevity of your bathroom tile floor. Over time, grout can become dirty, discolored, or prone to stains. Let’s explore the importance of cleaning and sealing grout and provide you with tips for achieving long-lasting results.
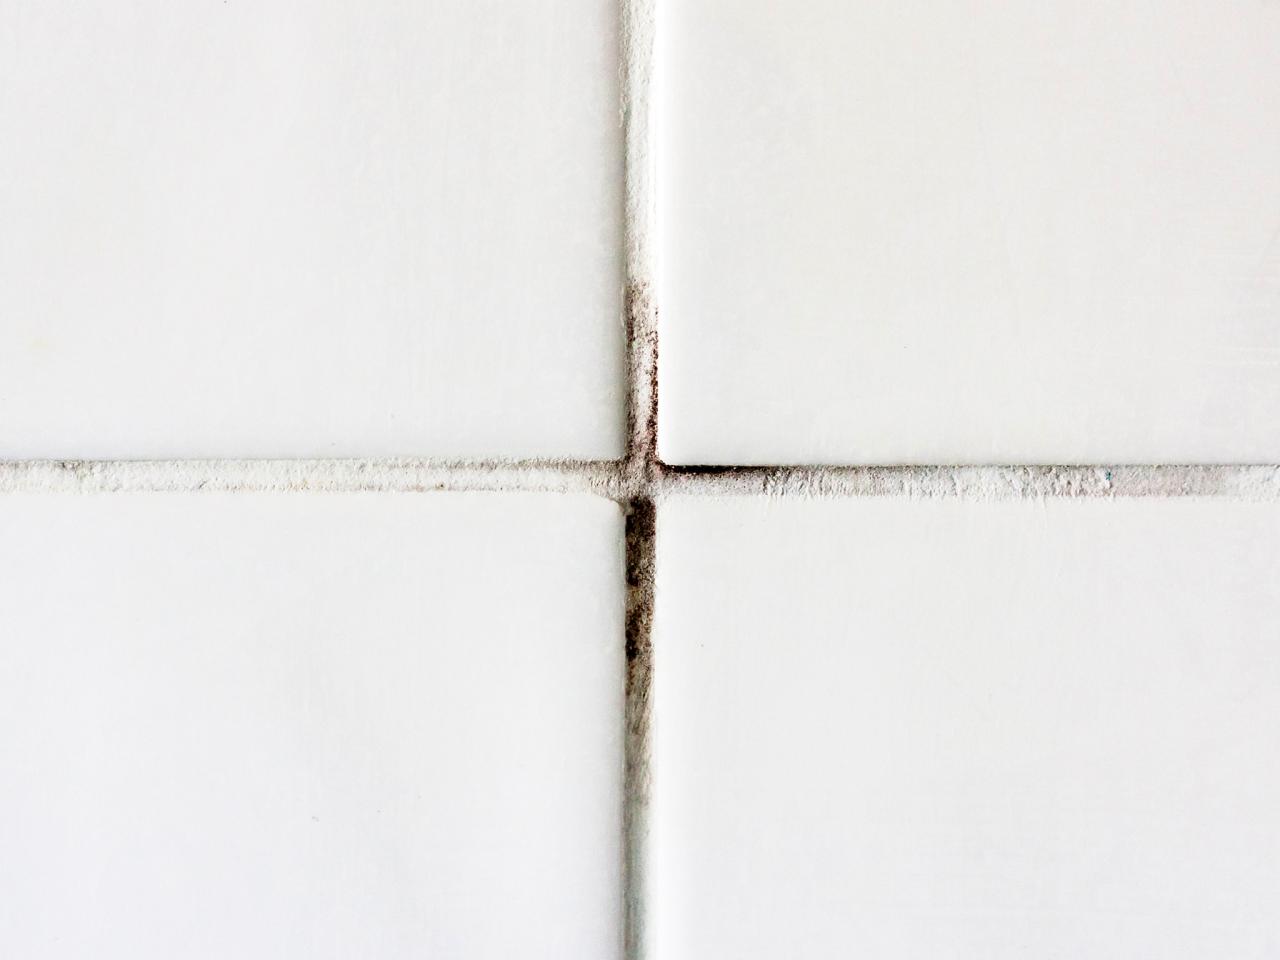
Cleaning the Grout: Regular cleaning of the grout helps to remove dirt, grime, and stains, keeping your bathroom tile floor looking fresh and hygienic. Use a grout cleaner or a mixture of baking soda and water to scrub the grout lines with a toothbrush or a grout brush. Rinse the area with clean water and wipe away any residue.
Avoid Harsh Cleaners: While it’s important to clean the grout regularly, avoid using harsh chemical cleaners that can damage or discolor the grout over time. Opt for mild, pH-neutral cleaners that are safe for both the tiles and the grout. Test any cleaner on a small inconspicuous area before applying it to the entire floor.
Sealing the Grout: Sealing the grout provides an additional layer of protection against dirt, stains, and moisture. Apply a grout sealer using a small brush or a roller, following the manufacturer’s instructions. Allow the sealer to penetrate the grout lines and wipe away any excess sealer from the tile surface.
Regular Maintenance: After cleaning and sealing the grout, establish a regular maintenance routine to keep your bathroom tile floor in optimal condition. Sweep or vacuum the floor regularly to remove dirt and debris. Wipe up spills promptly to prevent staining. Periodically check the grout for any signs of damage or deterioration and make necessary repairs.
Re-sealing as Needed: Over time, the grout sealer may wear off, especially in high-traffic areas. Monitor the condition of the grout and reapply the sealer as needed. This will help to maintain the grout’s protective barrier and prolong the life of your bathroom tile floor.
How to Grout Tile in 6 Simple DIY Steps Architectural Digest
How to Freshen up your Grout Lines (for $2 or less)
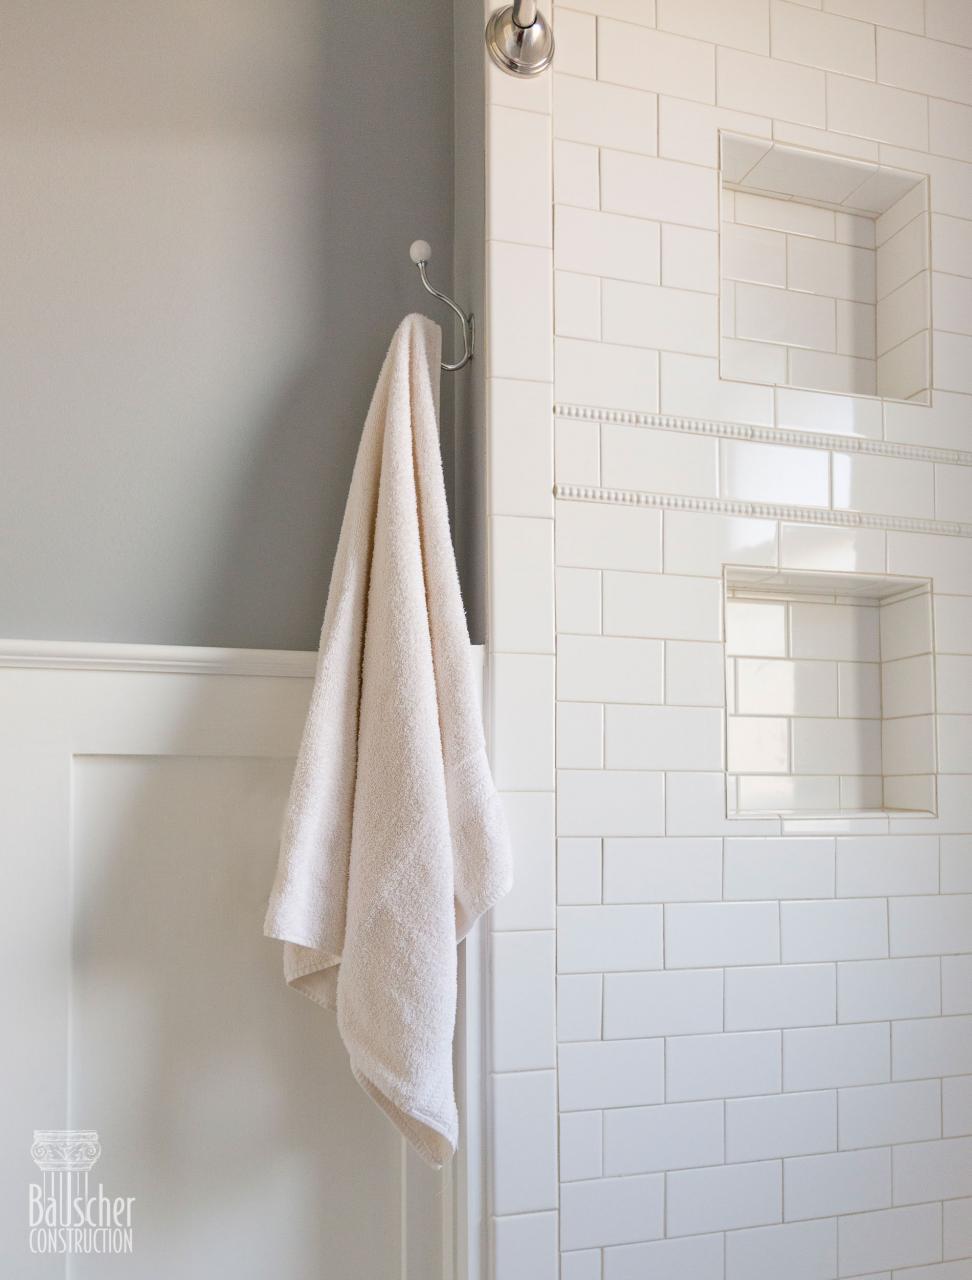
See How a Grout Cleaning Saved This Ceramic Tile Shower
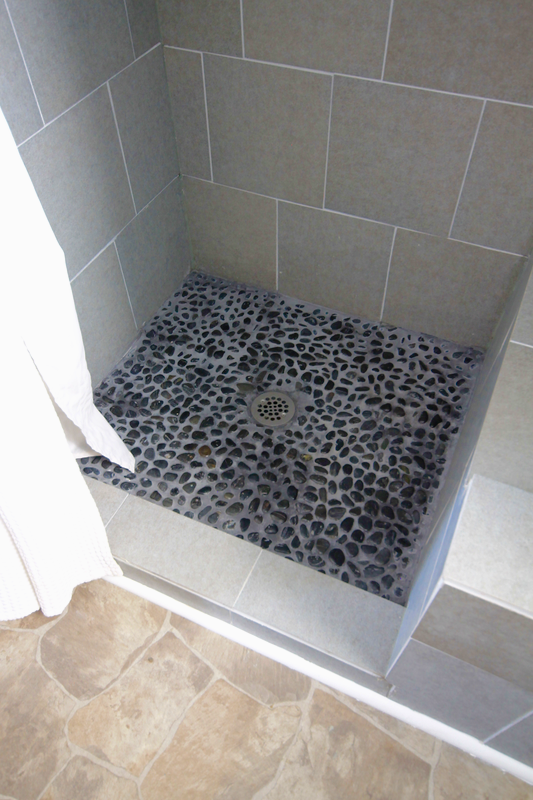
How to Grout Pebble Tile » Decor Adventures
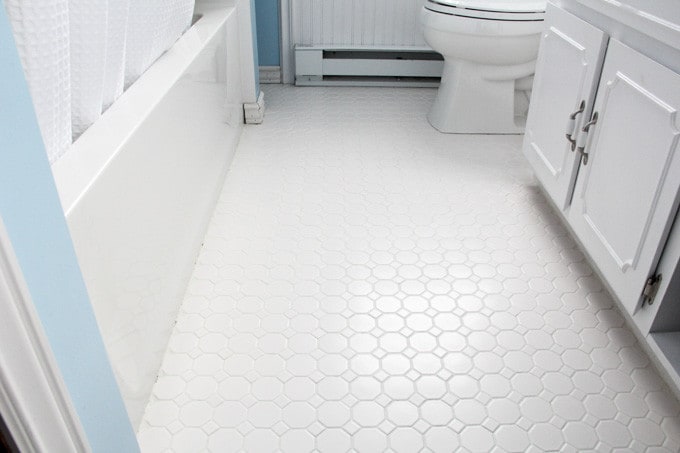
How to Refresh White Grout on Tile Floors, Clean White Grout
How to Clean Grout Cleaning Grout Stains
Choosing the Right Bathroom Floor Tile Grout
The pros and cons of choosing black grout
How to Lay a Tile Floor: My Bathroom Renovation True Value
We use cookies on our website to give you the most relevant experience by remembering your preferences and repeat visits. By clicking “Accept All”, you consent to the use of ALL the cookies. However, you may visit "Cookie Settings" to provide a controlled consent.
This website uses cookies to improve your experience while you navigate through the website. Out of these, the cookies that are categorized as necessary are stored on your browser as they are essential for the working of basic functionalities of the website. We also use third-party cookies that help us analyze and understand how you use this website. These cookies will be stored in your browser only with your consent. You also have the option to opt-out of these cookies. But opting out of some of these cookies may affect your browsing experience.
Necessary cookies are absolutely essential for the website to function properly. These cookies ensure basic functionalities and security features of the website, anonymously.
Cookie
Duration
Description
cookielawinfo-checkbox-analytics
11 months
This cookie is set by GDPR Cookie Consent plugin. The cookie is used to store the user consent for the cookies in the category "Analytics".
cookielawinfo-checkbox-functional
11 months
The cookie is set by GDPR cookie consent to record the user consent for the cookies in the category "Functional".
cookielawinfo-checkbox-necessary
11 months
This cookie is set by GDPR Cookie Consent plugin. The cookies is used to store the user consent for the cookies in the category "Necessary".
cookielawinfo-checkbox-others
11 months
This cookie is set by GDPR Cookie Consent plugin. The cookie is used to store the user consent for the cookies in the category "Other.
cookielawinfo-checkbox-performance
11 months
This cookie is set by GDPR Cookie Consent plugin. The cookie is used to store the user consent for the cookies in the category "Performance".
viewed_cookie_policy
11 months
The cookie is set by the GDPR Cookie Consent plugin and is used to store whether or not user has consented to the use of cookies. It does not store any personal data.
Functional cookies help to perform certain functionalities like sharing the content of the website on social media platforms, collect feedbacks, and other third-party features.
Performance cookies are used to understand and analyze the key performance indexes of the website which helps in delivering a better user experience for the visitors.
Analytical cookies are used to understand how visitors interact with the website. These cookies help provide information on metrics the number of visitors, bounce rate, traffic source, etc.
Advertisement cookies are used to provide visitors with relevant ads and marketing campaigns. These cookies track visitors across websites and collect information to provide customized ads.


 Related Posts:


