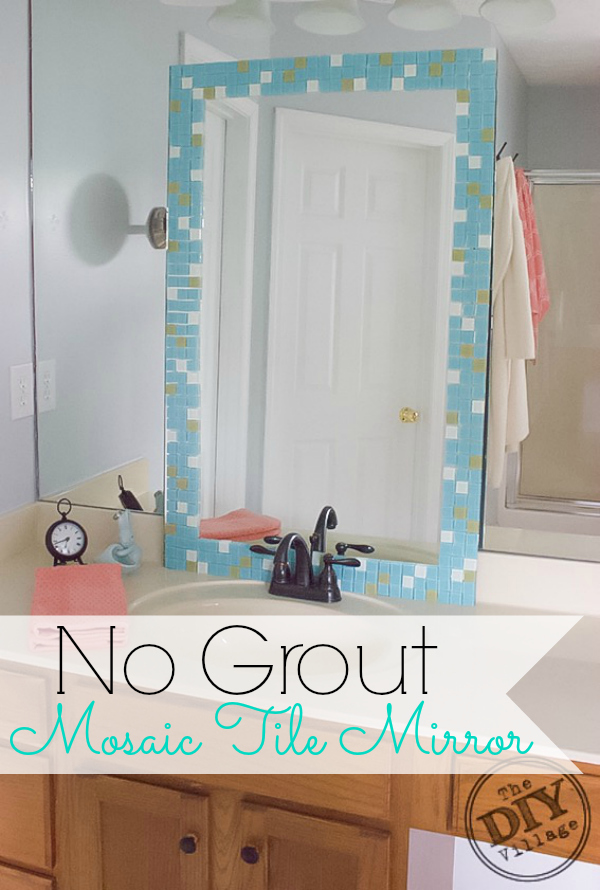
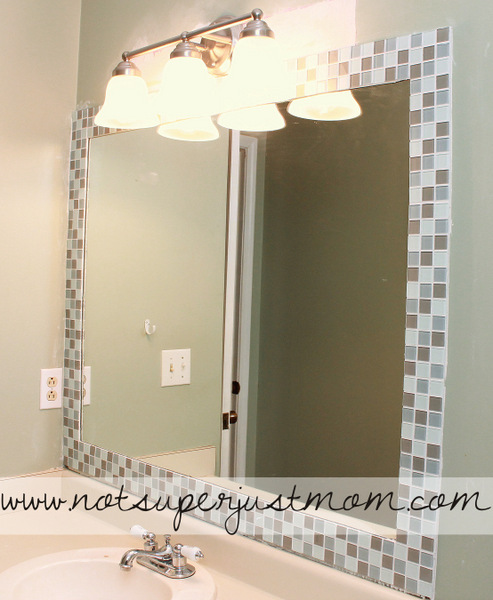
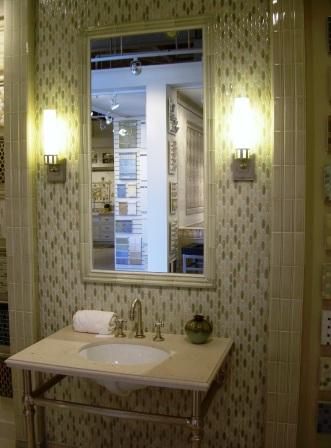
Creating a unique and stylish bathroom can be an exciting and fulfilling project. One of the ways to add a touch of elegance and personality to your bathroom is by framing your bathroom mirror with mosaic tiles. This DIY project is easy to execute and affordable, making it an excellent choice for anyone looking to add some glamour to their bathroom on a budget. We will walk you through the steps to frame a bathroom mirror with mosaic tiles.
Step 1: Gather Your Supplies
Before you begin, you will need to gather your supplies. Here is a list of the essential tools and materials you will need to complete this project:
- Mosaic tiles
- Tile cutter
- Tile adhesive
- Grout
- Mirror
- Measuring tape
- Pencil
- Level
- Gloves
- Safety glasses
- Sponge
- Bucket
- Trowel
Step 2: Measure and Mark Your Mirror
The first step in framing your bathroom mirror with mosaic tiles is to measure and mark your mirror. Use a measuring tape to measure the height and width of your mirror, then transfer those measurements to your work surface. Place the mirror on the work surface and mark the dimensions with a pencil.
Step 3: Cut Your Tiles
Now that you have the measurements for your mirror, it is time to cut your tiles. Use a tile cutter to cut the mosaic tiles to the desired size. Be sure to wear gloves and safety glasses when cutting the tiles.
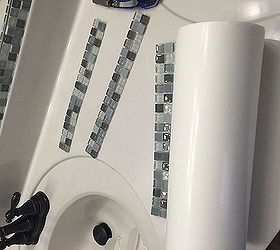
Step 4: Apply Tile Adhesive
Once you have cut your tiles, it is time to apply the tile adhesive. Use a trowel to spread the adhesive evenly on the back of the tiles. Be sure to cover the entire back of the tile with adhesive to ensure that it will stick to the mirror.
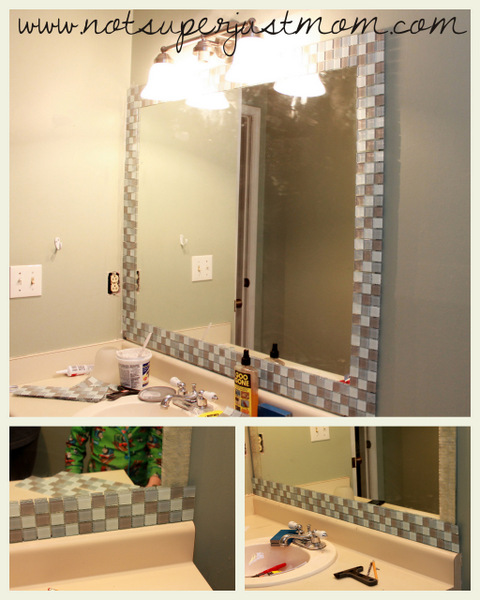
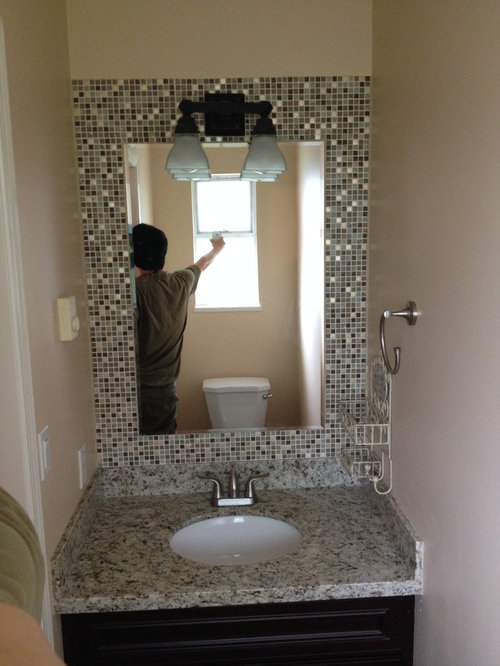
Step 5: Place the Tiles
Carefully place the tiles onto the mirror, starting at one corner and working your way around. Use a level to ensure that the tiles are straight and even. Continue placing the tiles until the entire mirror is covered.
Step 6: Allow Adhesive to Dry
After you have placed all the tiles, allow the adhesive to dry for 24 hours.
Step 7: Apply Grout
Once the adhesive has dried, it is time to apply the grout. Mix the grout according to the manufacturer’s instructions, then spread it over the tiles with a sponge. Be sure to work the grout into the gaps between the tiles.
Step 8: Clean the Tiles
After you have applied the grout, use a damp sponge to clean the tiles. Be sure to wipe away any excess grout from the surface of the tiles.
Step 9: Allow Grout to Dry
Allow the grout to dry for 24 hours, then use a clean cloth to buff the tiles.
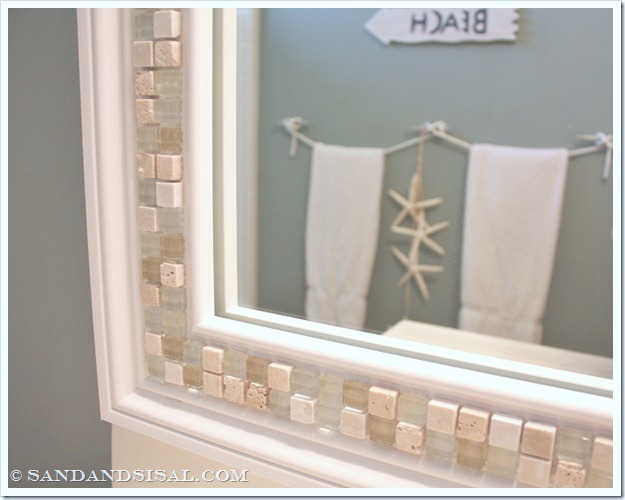
Framing your bathroom mirror with mosaic tiles is an excellent DIY project that can add style and elegance to your bathroom. By following the above steps and taking the necessary precautions, you can create a beautiful and unique mirror frame that will be the envy of all your friends and family.
How To Frame A Bathroom Mirror With Mosaic Tiles
Do It Herself: How to Mosaic Tile A Mirror – Caffeine and Cabernet
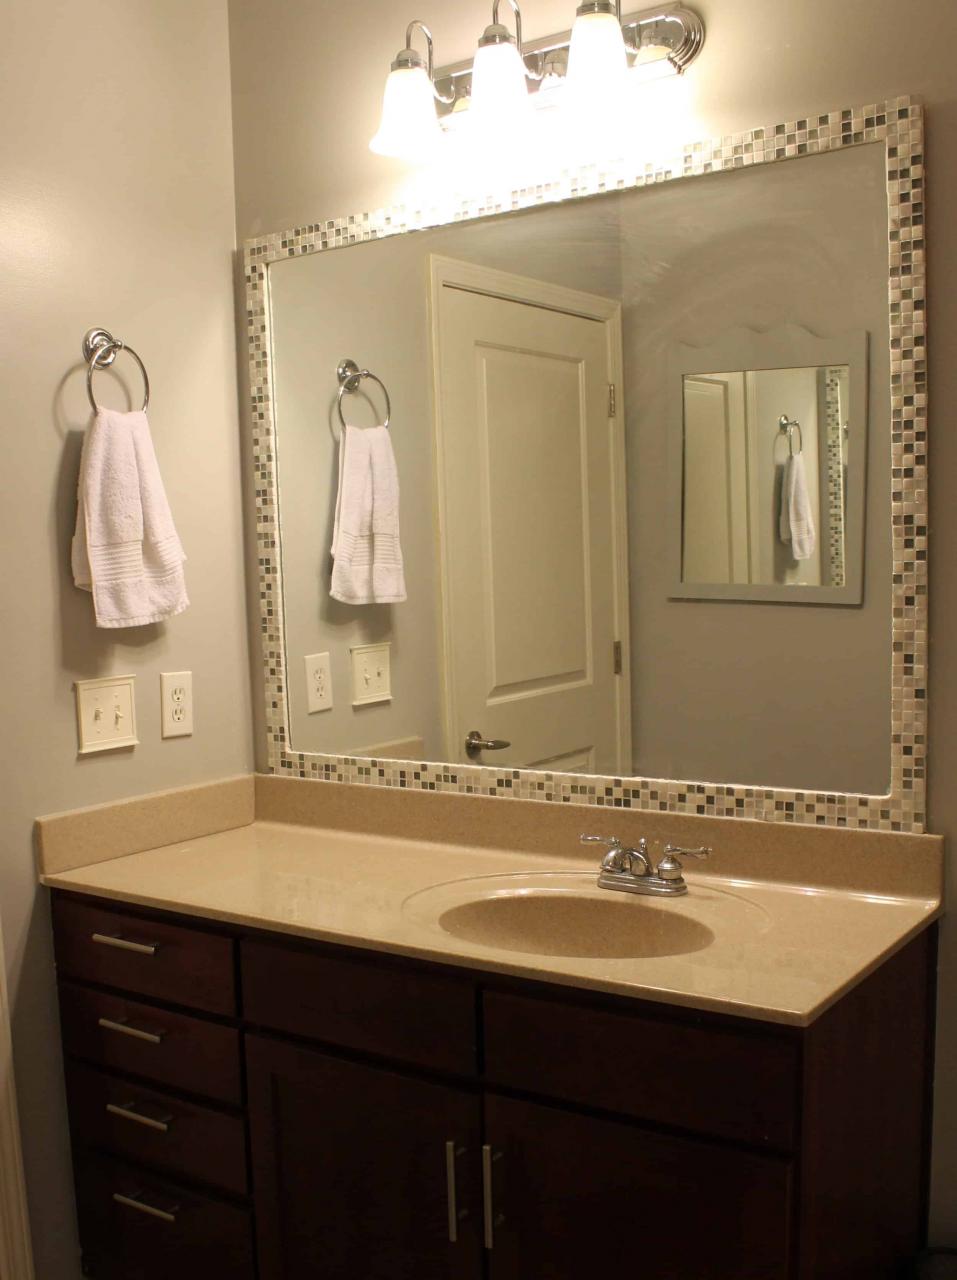
How to Frame a Bathroom Mirror With Mosaic Tile Hometalk
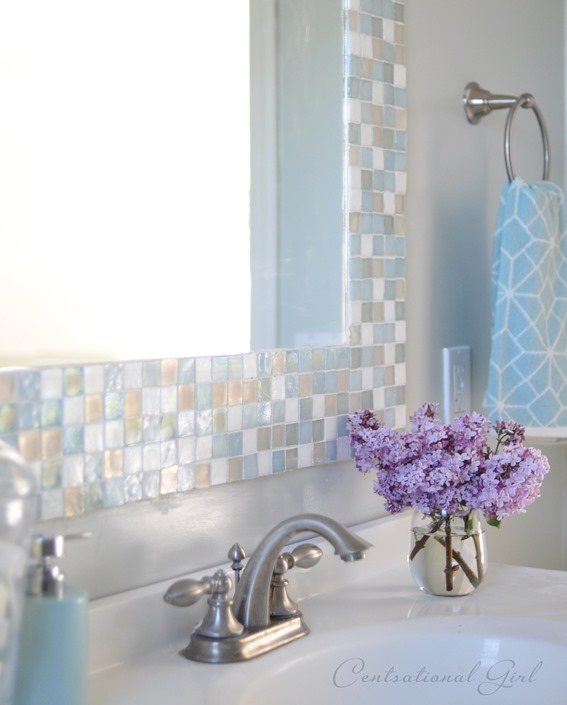
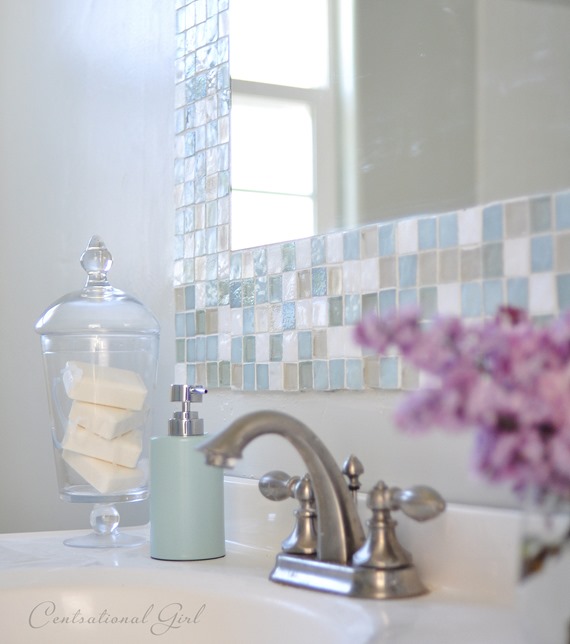
DIY: Mosaic Tile Bathroom Mirror Centsational Style
How to Decorate a Mirror with Tile – Sand and Sisal

Do It Herself: How to Mosaic Tile A Mirror – Caffeine and Cabernet
How to Decorate a Mirror with Tile – Sand and Sisal
Build a mosaic tile mirror in the small bathroom. Good idea or not ?
How to Frame a Bathroom Mirror With Mosaic Tile Hometalk
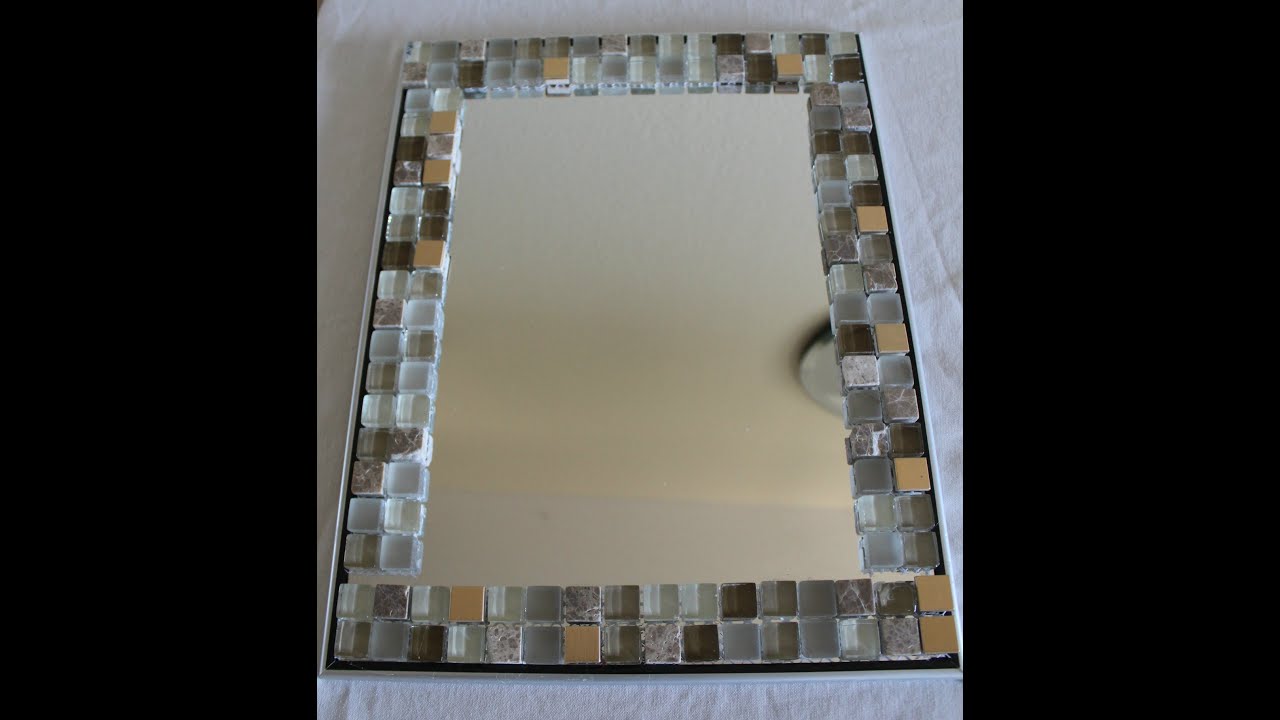
Easy Mirror Frame DIY with Mosaic Tiles DIY Power Couple

A Guide on How to Frame a Bathroom Mirror On Your Own LoveToKnow
DIY: Mosaic Tile Bathroom Mirror Centsational Style
How to frame a mirror with tile
DIY Home Decor – Glass tile Mirror frame – Yolanda Soto Lopez
Related Posts:
- Bathroom Mirror Height Above Sink
- Full Length Bathroom Mirror Cabinet
- Best Bathroom Mirror Lighting
- Battery Light Up Bathroom Mirror
- Next Bathroom Mirror Shelf
- Master Bathroom Mirror Designs
- White Distressed Bathroom Mirrors
- Bathroom Mirror And Cabinet Set
- Bathroom Mirror Ideas DIY
- Bathroom Mirror Cabinet Round


