If you’re looking to update the look of your bathroom, installing a new light fixture is an easy way to do it. However, installing a bathroom light fixture can be a little tricky, especially if you have no experience in electrical work. That’s why we’ve compiled this comprehensive guide to help you through the process.
Choose the Right Fixture
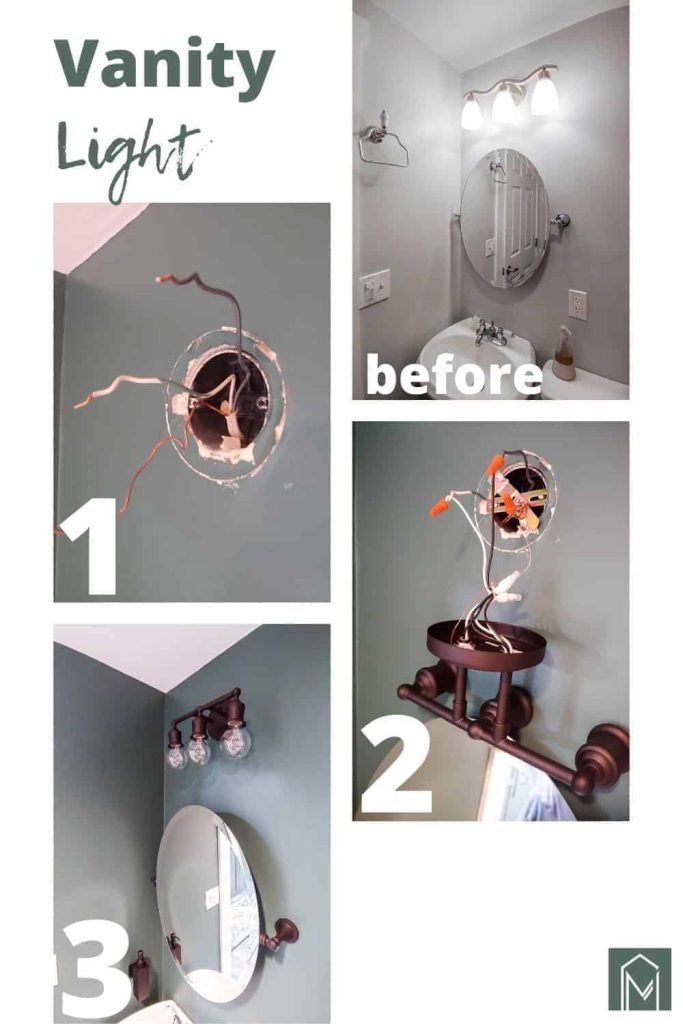
Before you begin the installation process, choose the right bathroom light fixture. Many options are available on the market, from wall-mounted fixtures to overhead lights, and each has its own installation requirements. Consider the size of your bathroom, the style you want to achieve, and the existing wiring when choosing your fixture.
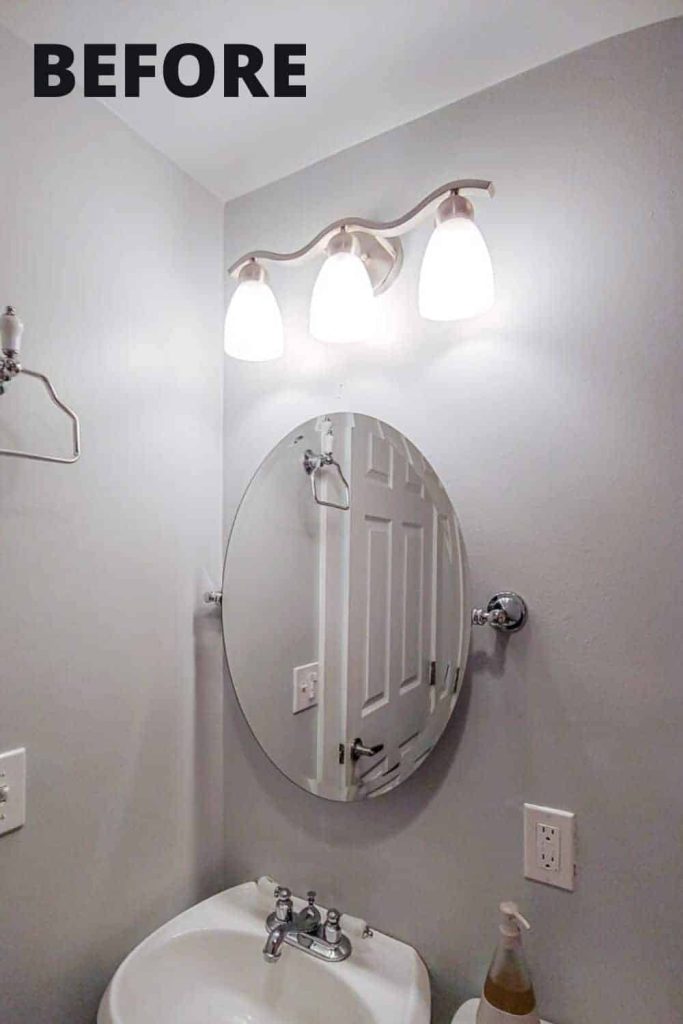
Turn Off the Power
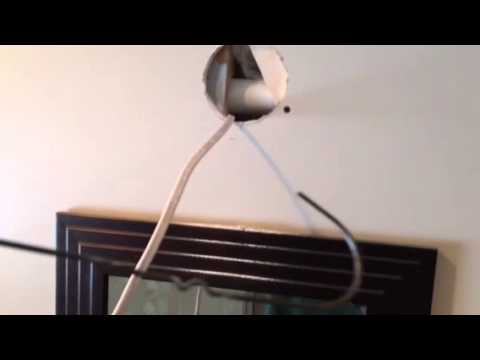
Safety is paramount when it comes to electrical work. Before you begin installing, turn off the power to your bathroom by switching off the circuit breaker in your electrical panel. Once you’re sure the power is off, remove the old light fixture.
Install the Mounting Bracket
With the old fixture removed, you’ll need to install the mounting bracket for your new light fixture. The mounting bracket will hold your new fixture in place, so it must be installed securely. Use screws to attach the bracket to the electrical box in the wall.
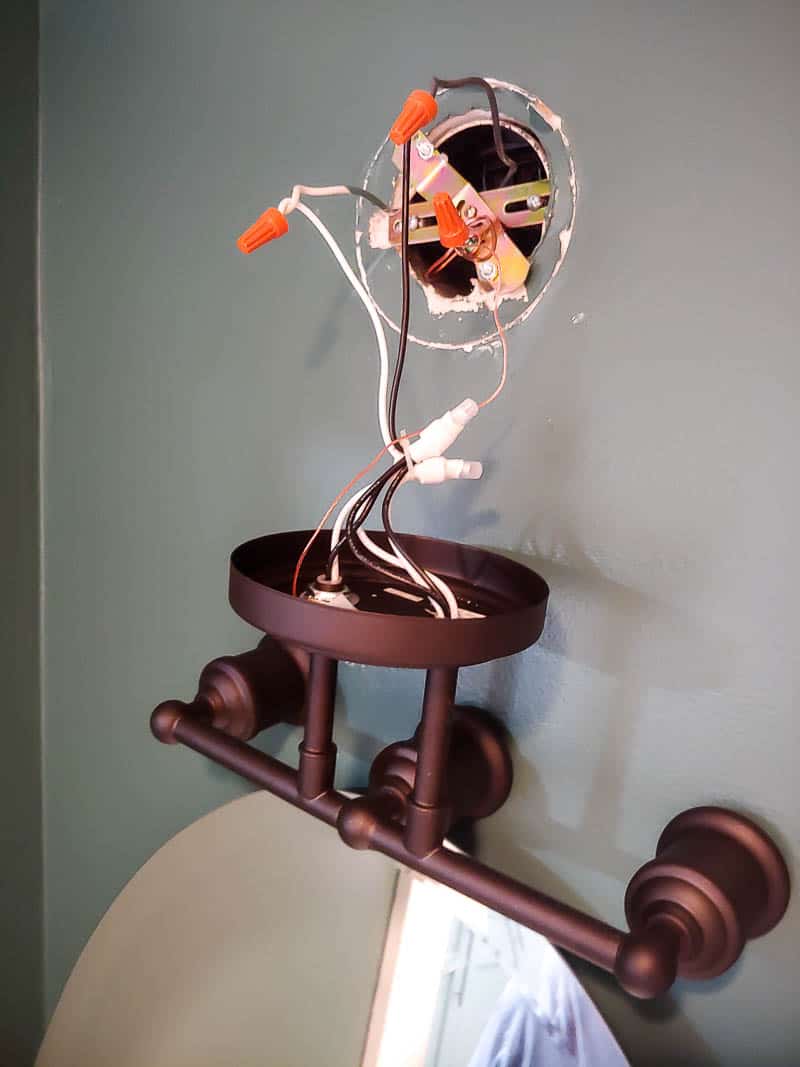
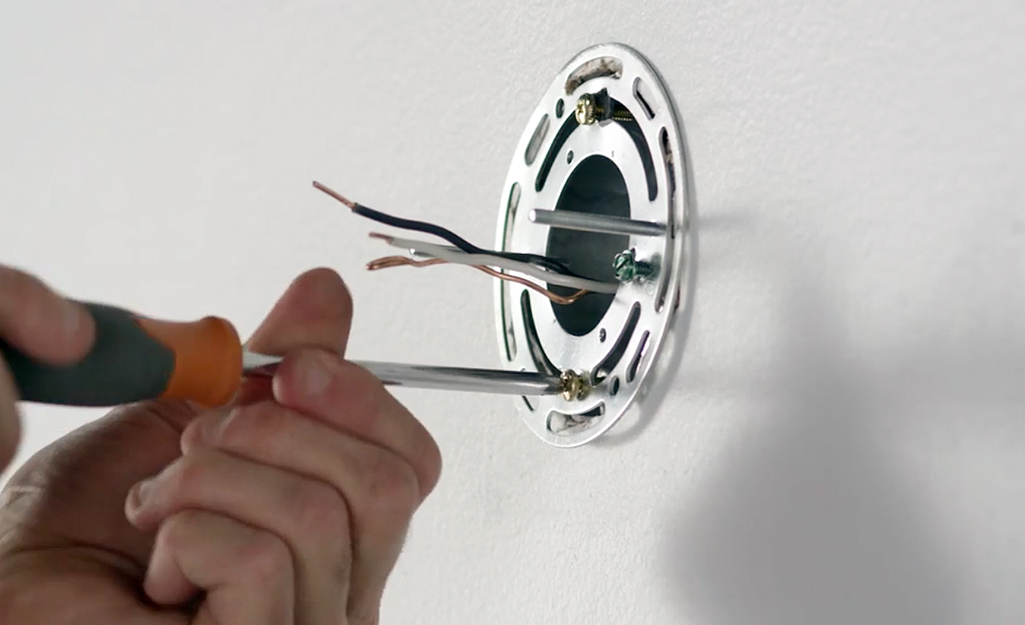
Connect the Wiring
Now it’s time to connect the wiring for your new light fixture. The wires on your new fixture should match the wires in your electrical box, so connecting them should be straightforward. Use wire nuts to secure the connections, and be sure to wrap the connections with electrical tape for added safety.
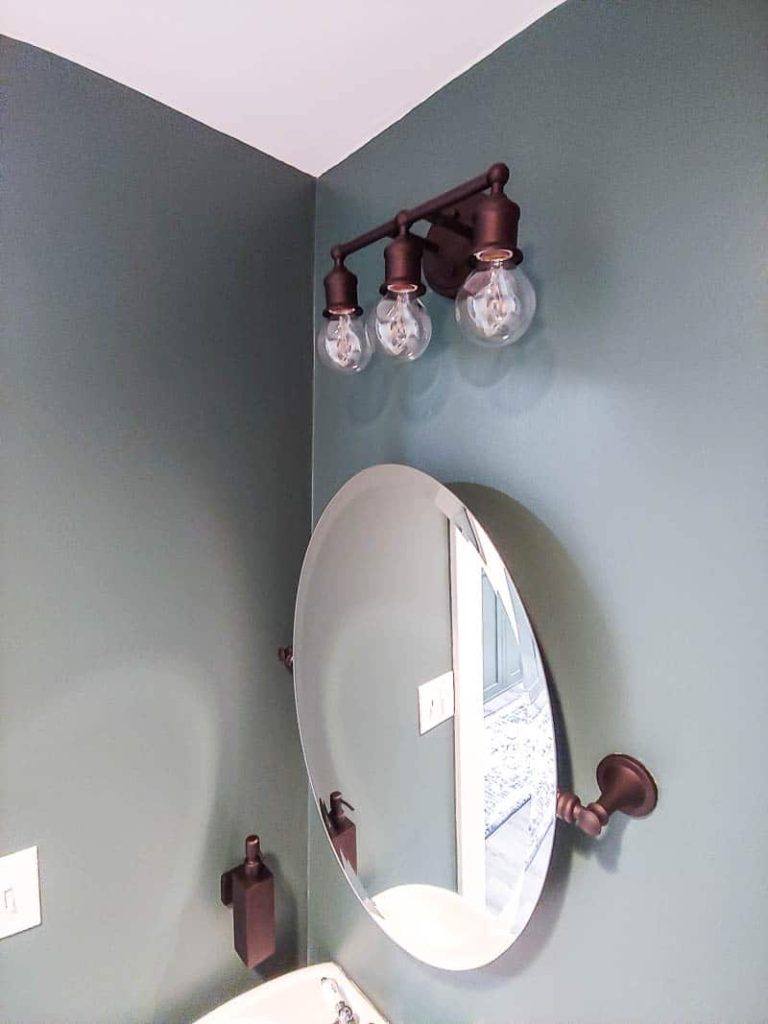
Attach the Fixture
Once the wiring is connected, you can attach your new light fixture to the mounting bracket. Follow the manufacturer’s instructions for your particular fixture, but generally, you’ll need to attach the fixture using screws.
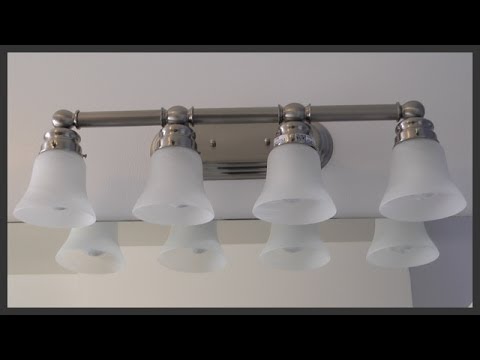
Install the Light Bulbs
With the fixture attached, it’s time to install the light bulbs. Be sure to choose the right bulbs for your fixture, and never exceed the maximum wattage recommended by the manufacturer. Screw the bulbs into place and test the fixture to ensure it’s working correctly.
Turn the Power Back On
With the installation complete, it’s time to turn the power back on. Head to your electrical panel and switch on the circuit breaker for your bathroom. Test your new light fixture to ensure it works correctly, and enjoy your updated bathroom!
Installing a bathroom light fixture may seem daunting, but it’s a simple process with the right tools and a little know-how. Just remember to choose the right fixture, turn off the power, install the mounting bracket securely, connect the wiring correctly, attach the fixture to the bracket, install the light bulbs, and turn the power back on. With these steps, you’ll install a new bathroom light fixture in no time, and your bathroom will have a fresh, updated look.
How to Change Your Bathroom Light Bulb
A well-lit bathroom is essential for both practical and aesthetic reasons, and a key component of a good lighting system is the light bulb. However, changing a bathroom light bulb can seem like a daunting task, especially for those who are not familiar with electrical work. Fortunately, it’s a simple process you can do independently with just a few tools and precautions.
Step 1: Choose the right replacement bulb
Before you begin, choosing the right replacement bulb for your bathroom light fixture is essential. There are many different types of light bulbs, including incandescent, LED, and CFL bulbs, each with different wattage, color temperature, and lifespan. Check your current bulb’s wattage and type and choose a replacement that matches those specifications. Also, consider the bulb’s color, temperature, and brightness, as they can affect the ambiance of your bathroom.
Step 2: Turn off the power supply
Before you start working on your bathroom light, turning off the power supply to the fixture is crucial. Turn off the light switch, go to your circuit breaker box, and turn off the circuit breaker that controls the bathroom lights. You can also use a non-contact voltage tester to ensure no power is running to the fixture.
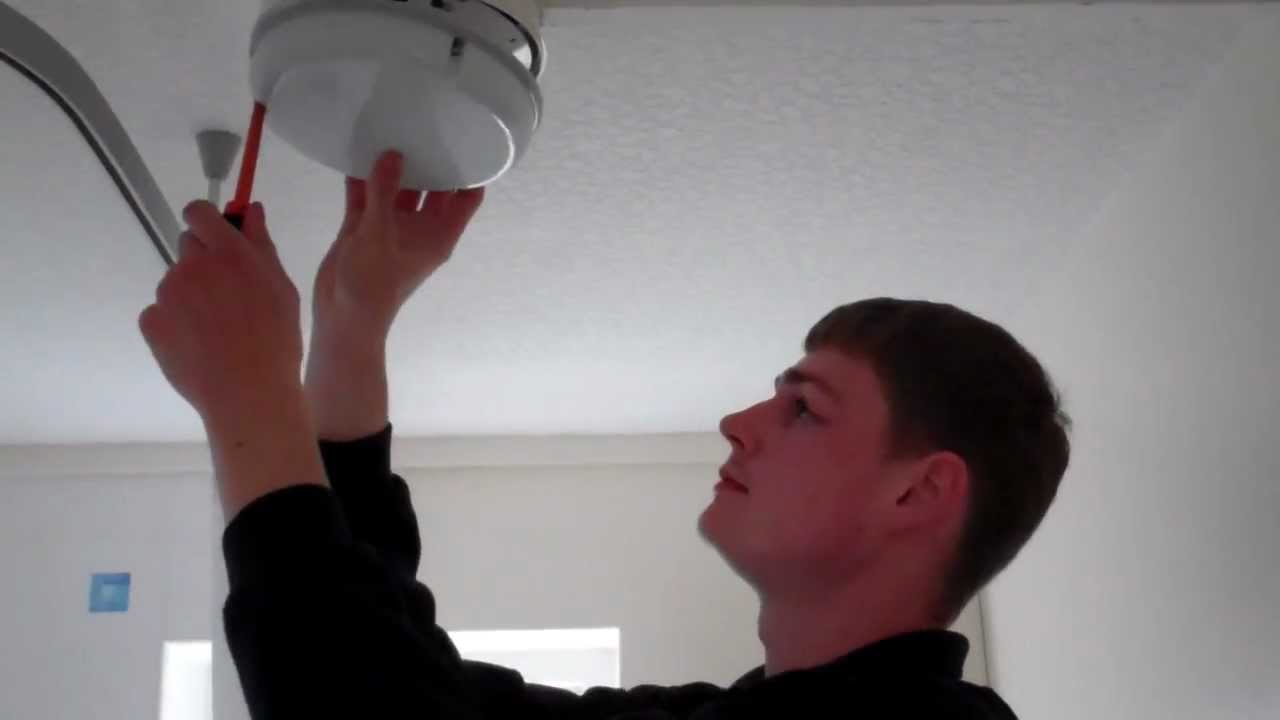
Step 3: Remove the old bulb
Once you’ve turned off the power supply, remove the old bulb by gently twisting it counterclockwise. If the bulb is stuck, try gently pushing it in and turning it again. Be careful not to force or break it, as broken glass can be a safety hazard.
Step 4: Clean the fixture and install the new bulb
After removing the old bulb, clean the fixture with a dry cloth or a small brush to remove any dirt or debris that may have accumulated. Then, insert the new bulb by gently pushing it into the socket and turning it clockwise until it is securely in place. Avoid touching the glass of the new bulb with your bare hands, as the oils from your skin can shorten the bulb’s lifespan.
Step 5: Turn on the power supply and test the light
Once you’ve installed the new bulb, turn the power supply back on by switching the circuit breaker or turning the light switch back on. Test the light to ensure it works correctly, and adjust the brightness or color temperature as needed.
Changing a bathroom light bulb may seem daunting, but with these simple steps, you can do it safely and easily on your own. Always remember to choose the right replacement bulb, turn off the power supply, and handle the bulb with care. Following these steps, you can enjoy a well-lit bathroom without the hassle of calling an electrician.
How To Install A Vanity Light (Video Tutorial) – Making Manzanita
How To Install A Vanity Light (Video Tutorial) – Making Manzanita
Bathroom Lighting How to Replace a Vanity Light The Home Depot

How To Install A Vanity Light (Video Tutorial) – Making Manzanita
How to wire and install a bathroom vanity light
How To Install A Vanity Light (Video Tutorial) – Making Manzanita
5 Types of Bathroom Lighting
:max_bytes(150000):strip_icc()/BathroomCeilingLight-29232d5114ad47d39f1adc91d084ae4f.jpg)
How to install a bathroom vanity light for a quick update Hunter Fan

Bathroom vanity light fixture installation
How to Install Vanity Lights
How to Light a Bathroom – Bathroom Lighting Ideas YLighting

Tips for the Best Bathroom Lighting Lumens.com

Related Posts:
- Bathroom Light Bar Makeover
- Oak Bathroom Light Bar
- Kashimo Over Mirror Bathroom Light
- Brushed Nickel Bathroom Light Bar
- Small Bathroom Lighting Fixtures
- John Lewis Bathroom Light Fittings
- Bathroom Light Fixtures Sconces
- Brushed Chrome Bathroom Lighting
- Contemporary Bathroom Lighting Fixtures Brushed Nickel
- Master Bathroom Lighting Tips


