Grouting is an essential part of any tile installation process, and it’s no different when it comes to bathroom tile walls. Not only does it provide a polished finish, but it also helps to keep the tiles in place and prevents moisture from seeping behind them. In this guide, we will go over the steps to grouting your bathroom tile walls and provide tips for achieving the best results.
Step 1: Gather Your Materials
Before you start grouting, you must ensure you have all the necessary materials. Here is a list of what you’ll need:
- Grout
- Grout float
- Grout sponge
- Bucket
- Water
- Painter’s tape
Step 2: Prep the Surface
Before applying the grout, you will need to ensure the tile surface is clean and debris-free. Use a damp cloth to wipe down the tiles and remove dirt or dust. Next, use painter’s tape to cover any areas that you don’t want to get grout on, such as the edges of your bathtub or shower.
Step 3: Mix the Grout
Follow the manufacturer’s instructions to mix the grout in a bucket. Use a grout float to mix the grout until it reaches a smooth consistency. Let it sit for 10 minutes to allow the chemicals to activate.
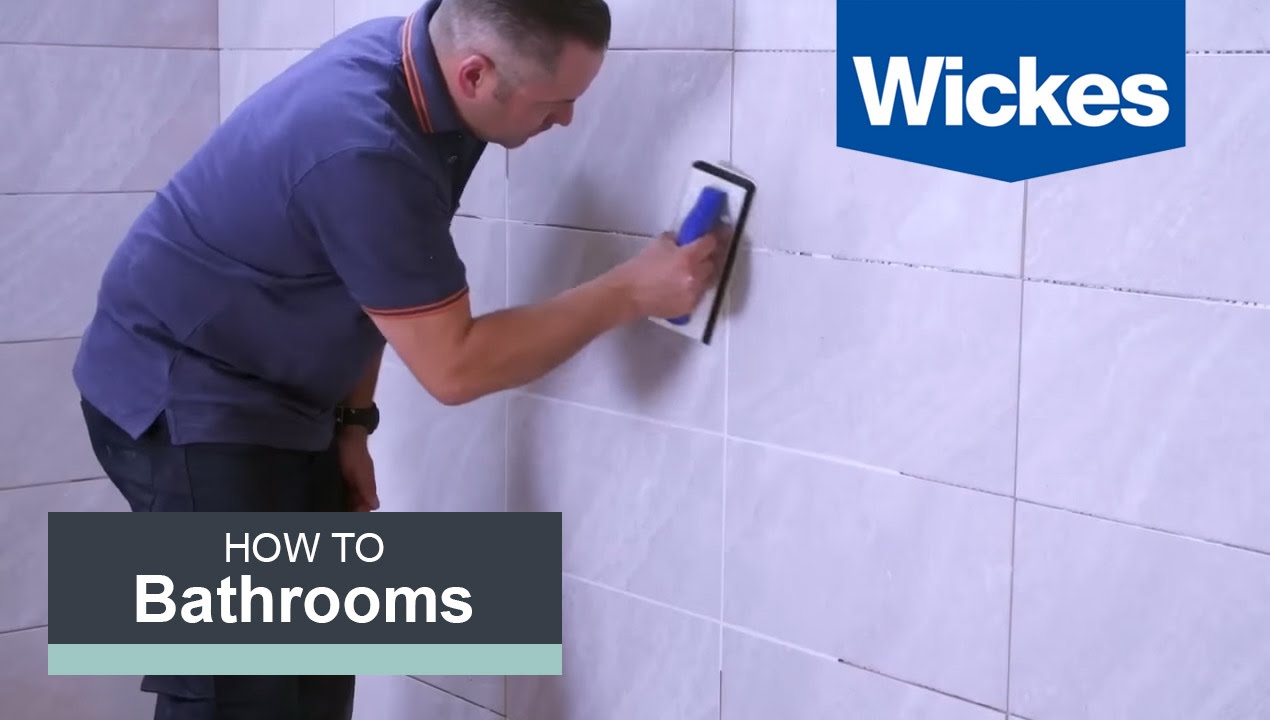
Step 4: Apply the Grout
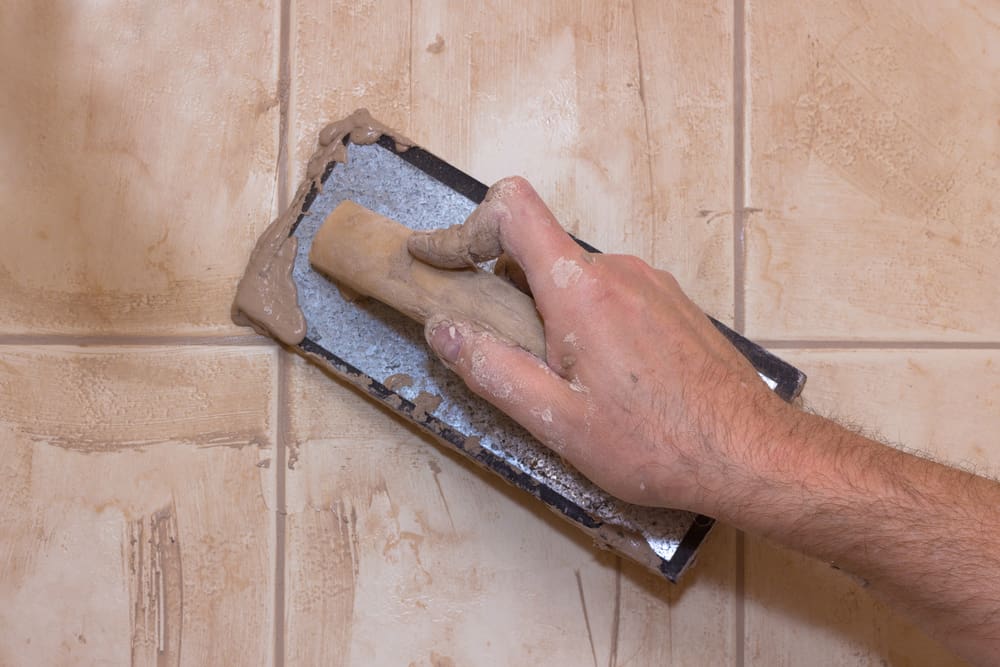
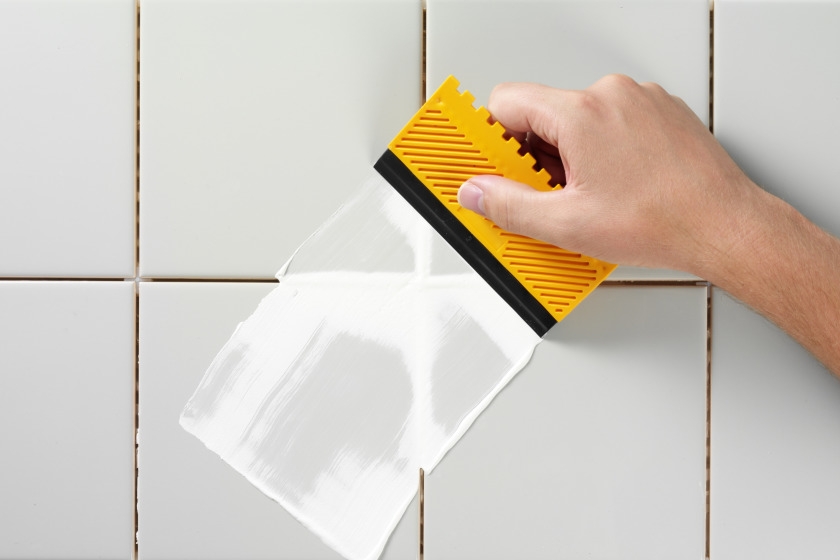
Using the grout float, apply the grout to the tile surface. Make sure to work in small sections to ensure the grout doesn’t dry out before you can smooth it out. Hold the float at a 45-degree angle and apply the grout diagonally to the tiles.
Step 5: Smooth Out the Grout
Once you have applied the grout, use the grout float to smooth it out. Hold the float at a 90-degree angle and move it sweepingly to smooth the grout into the spaces between the tiles.
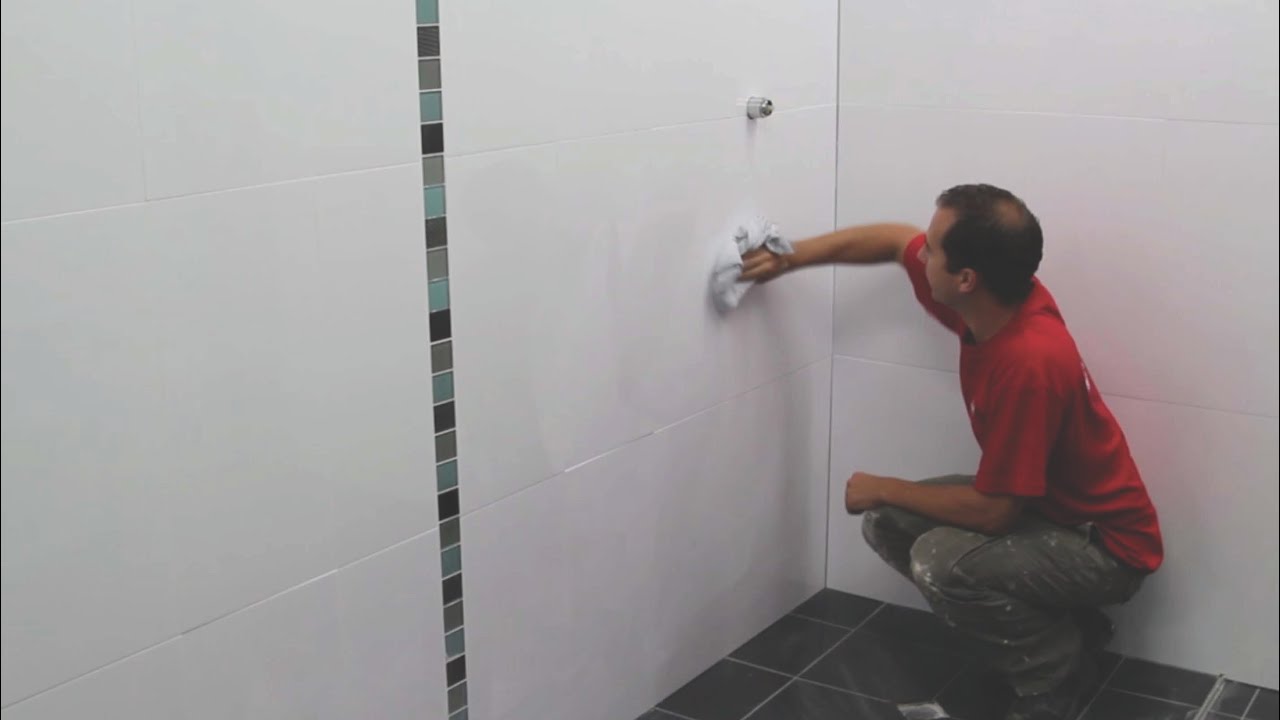
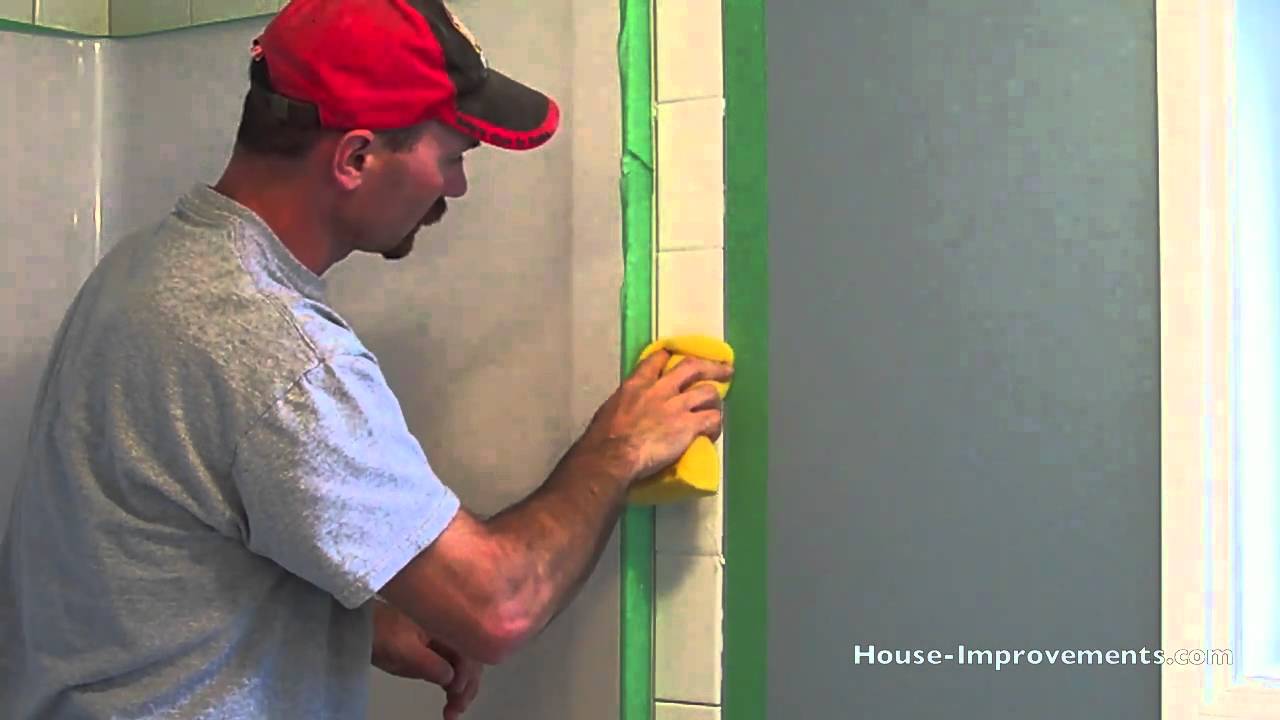
Step 6: Remove Excess Grout
After you have smoothed out the grout, use a damp grout sponge to remove any excess grout from the tile surface. Make sure to rinse the sponge frequently and avoid using too much water, which can cause the grout to become too thin.
Step 7: Allow the Grout to Dry
Allow the grout to dry for 24-48 hours before exposing it to moisture. During this time, it’s important to avoid touching or cleaning the tiles to prevent the grout from dislodging.
Step 8: Seal the Grout
After the grout has dried completely, you can apply a grout sealer to help protect it from moisture and stains. Follow the manufacturer’s instructions to apply the sealer to the grout lines and allow it to dry completely before using your bathroom.
Grouting bathroom tile walls may seem daunting, but by following these steps, you can achieve great results. Take your time, work in small sections, and avoid using too much water when wiping away excess grout. With a little patience and attention to detail, your bathroom tile walls will look beautiful for years.
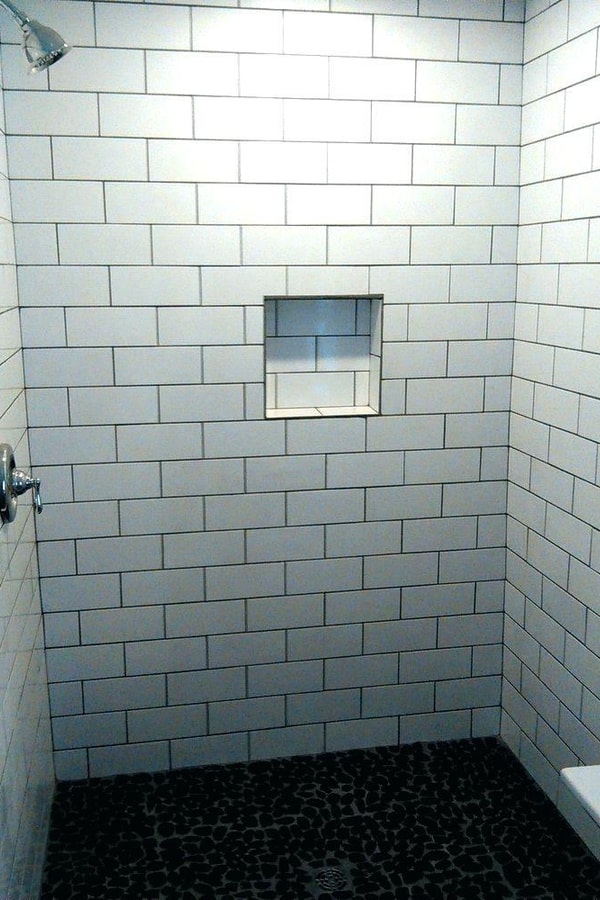
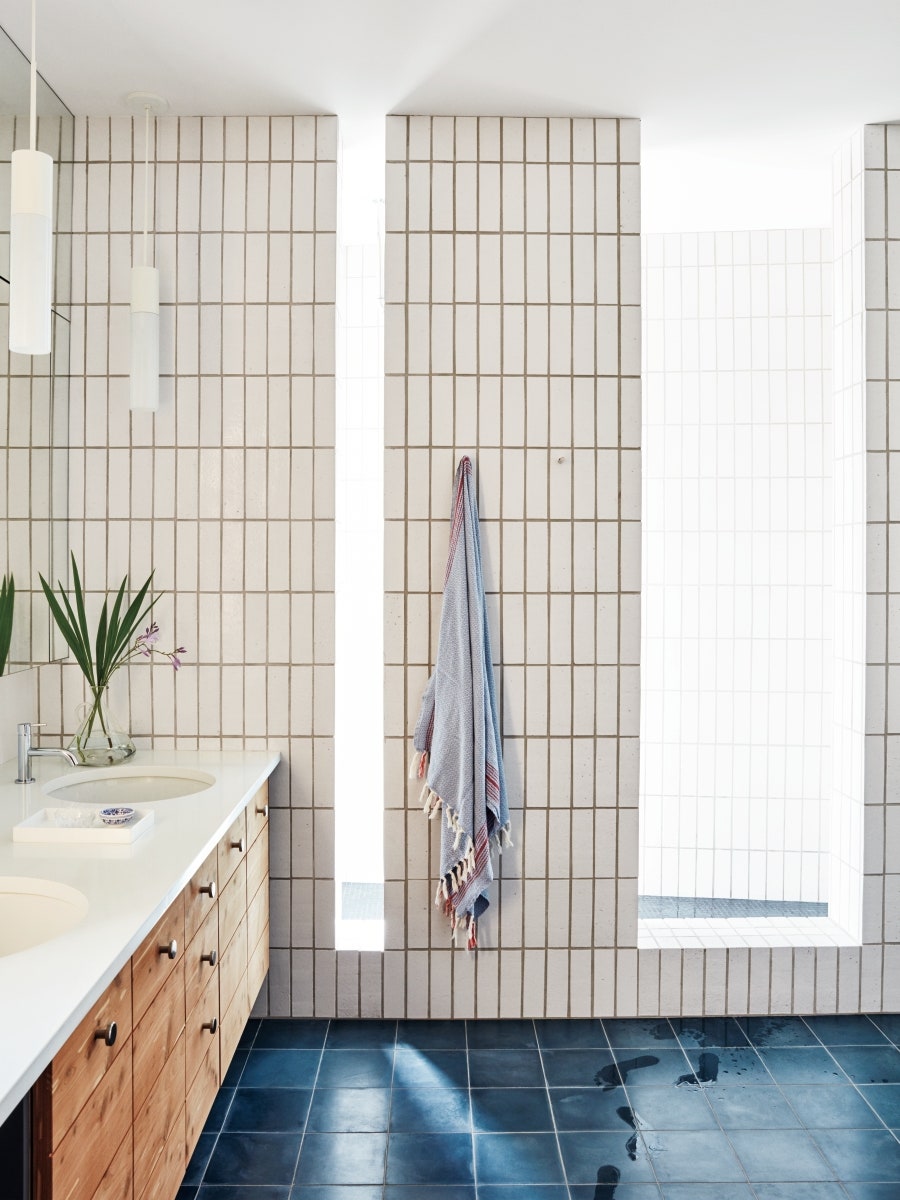
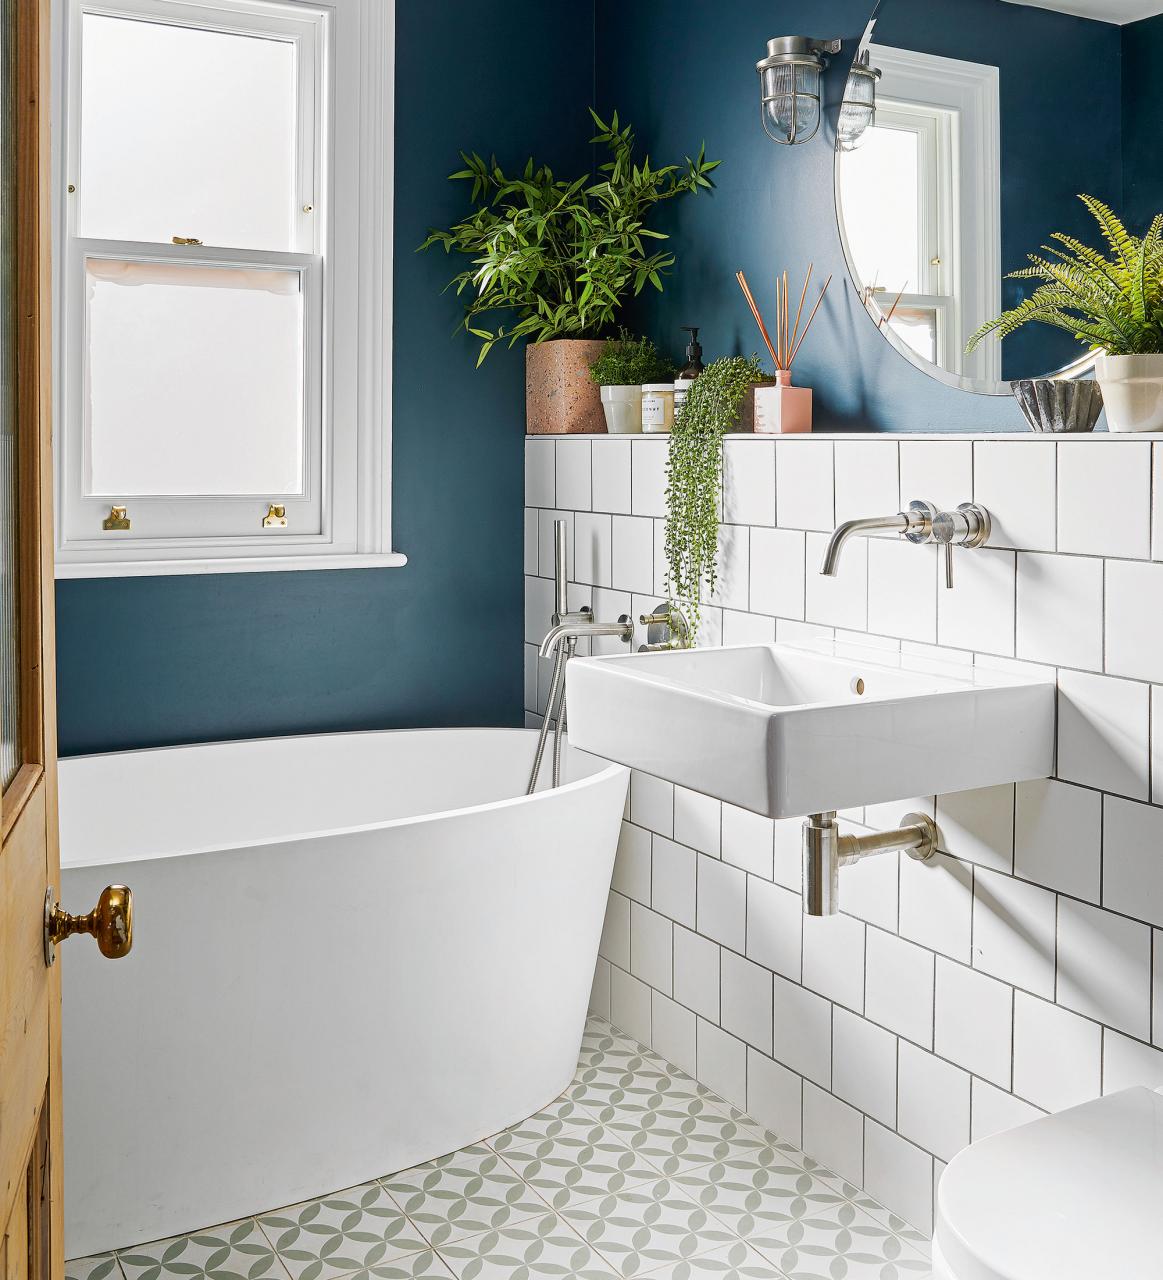
Grouting Bathroom Tile Walls
How to Grout Tile in 6 Simple DIY Steps Architectural Digest
Grouting Wall Tiles
How to Grout Tiles with Wickes
11 Tips to Grout Shower Tile
I Hate Grout Joints in the Shower u2013 Winning the Battle vs. Grout
How to Regrout Bathroom Tile: 5 Easy Steps True Value
Regrout Wall Tile (DIY)
How To Grout Shower Wall – Part 1 – Grout The Wall Tiles And Mosaic

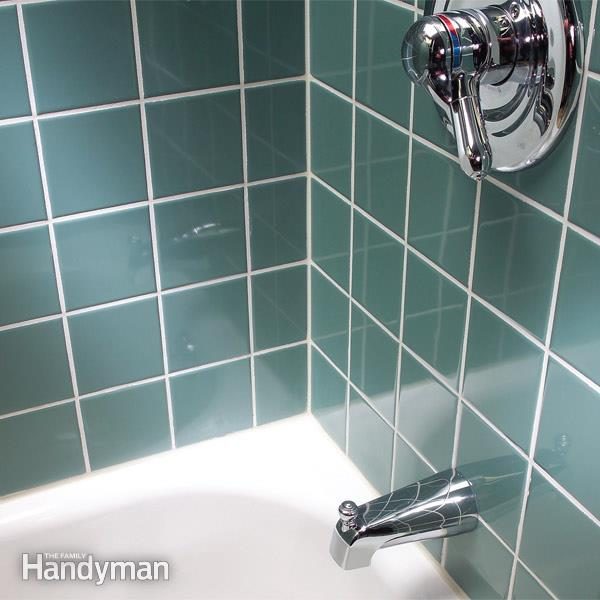
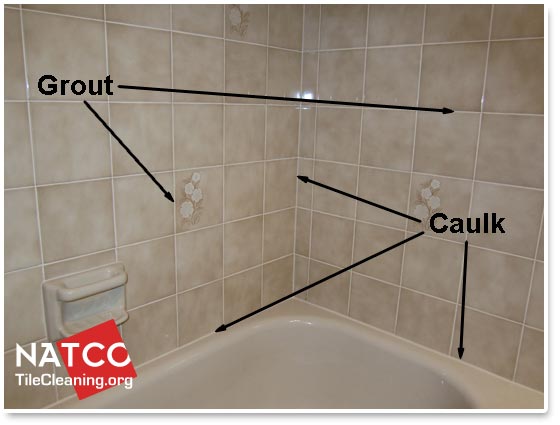
Where Should Grout and Caulk be Installed in a Tile Shower
How to grout tiles u2013 a step-by-step guide for kitchens and bathrooms
How To Grout Wall Tiles
Related Posts:
- How To Remove Mold From Bathroom Tile Grout
- Bathroom Tile Floor To Ceiling
- White Bathroom Tiles Texture
- Modern Bathroom Tile Texture
- Zen Bathroom Tile
- Bathroom Tiles And Borders
- Bathroom Tile Mosaic Ideas
- Bathroom Tile Floor Cost
- Bathroom Tile Wall Stickers
- New Modern Bathroom Tiles


