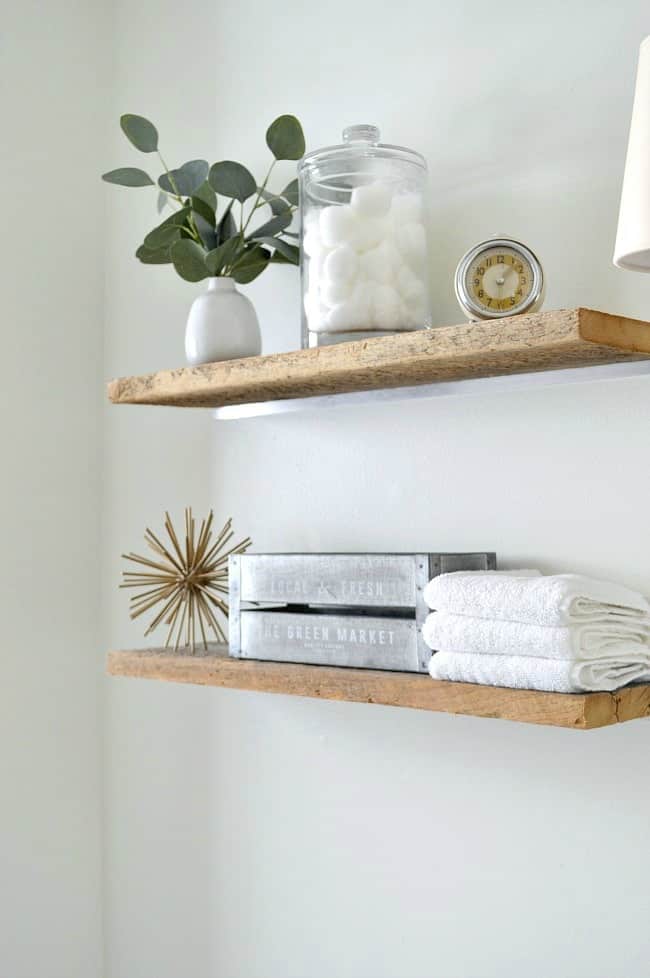
Choosing the Right Wood: Types and Considerations
Selecting the right wood for your DIY bathroom shelf is crucial to ensure durability, functionality, and aesthetics. The choice of wood affects not only the shelf’s appearance but also its ability to withstand the humid environment of a bathroom. Here are some key considerations and types of wood to choose from.
- Durability and Resistance to Moisture: Bathrooms are typically high-moisture environments, so it’s essential to choose wood that can withstand humidity without warping or rotting. Hardwoods like oak, maple, and cherry are durable and more resistant to moisture compared to softer woods like pine. However, even hardwoods should be properly sealed to protect against water damage.
- Aesthetic Appeal: The wood’s grain, color, and texture play a significant role in the overall look of your bathroom shelf. For a rustic or farmhouse style, consider woods with pronounced grains and natural knots, such as oak or reclaimed wood. For a modern or minimalist design, woods with a smooth, even grain, like maple or birch, can create a clean and sleek appearance.
- Budget Considerations: The cost of wood can vary widely based on the type and quality. Exotic hardwoods like teak or mahogany are beautiful and highly durable but can be quite expensive. More affordable options like pine or poplar are easier on the budget but may require more maintenance to prevent damage from moisture and wear.
- Environmental Impact: If sustainability is a priority for you, consider using reclaimed wood or wood from sustainable sources. Reclaimed wood adds character and a sense of history to your project, while certified sustainable woods ensure responsible forest management practices. Bamboo is another eco-friendly option, known for its rapid growth and renewability.
- Ease of Working: Some woods are easier to work with than others, especially if you’re new to DIY projects. Softwoods like pine and cedar are generally easier to cut, sand, and finish, making them good choices for beginners. Hardwoods, while more durable, can be more challenging to work with and may require specialized tools.
- Maintenance Requirements: The maintenance needs of different woods vary. Hardwoods are generally more durable and require less frequent maintenance, while softwoods may need regular sealing and protection. Consider the long-term upkeep when choosing the type of wood for your bathroom shelf, especially if the shelf will be exposed to high humidity or direct water contact.

Design Ideas: Styles and Configurations for Every Space
Designing a DIY wood bathroom shelf offers endless possibilities to suit your style and space needs. From sleek and modern to rustic and vintage, the design of your shelf can enhance the overall look of your bathroom while providing functional storage. Here are some design ideas and configurations to consider.
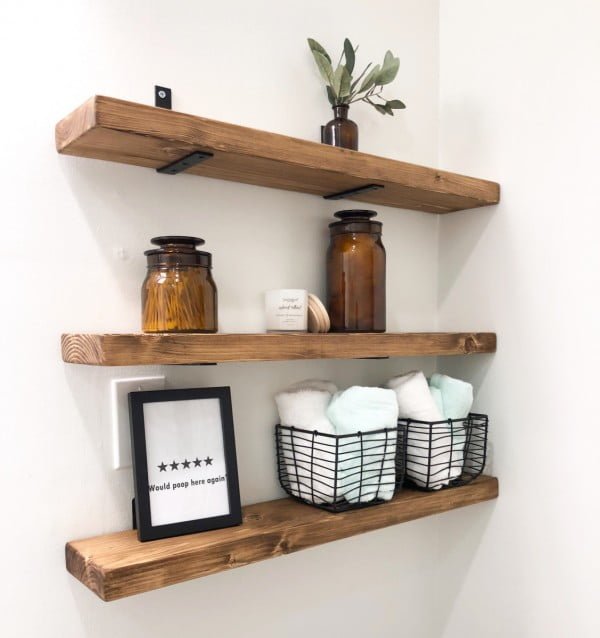
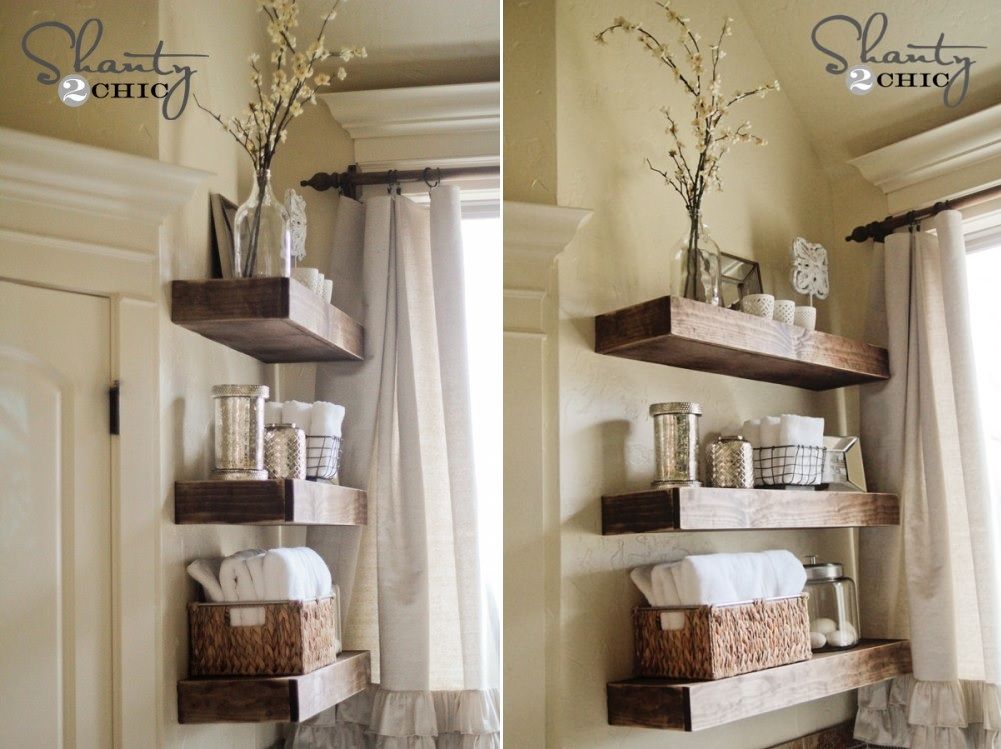
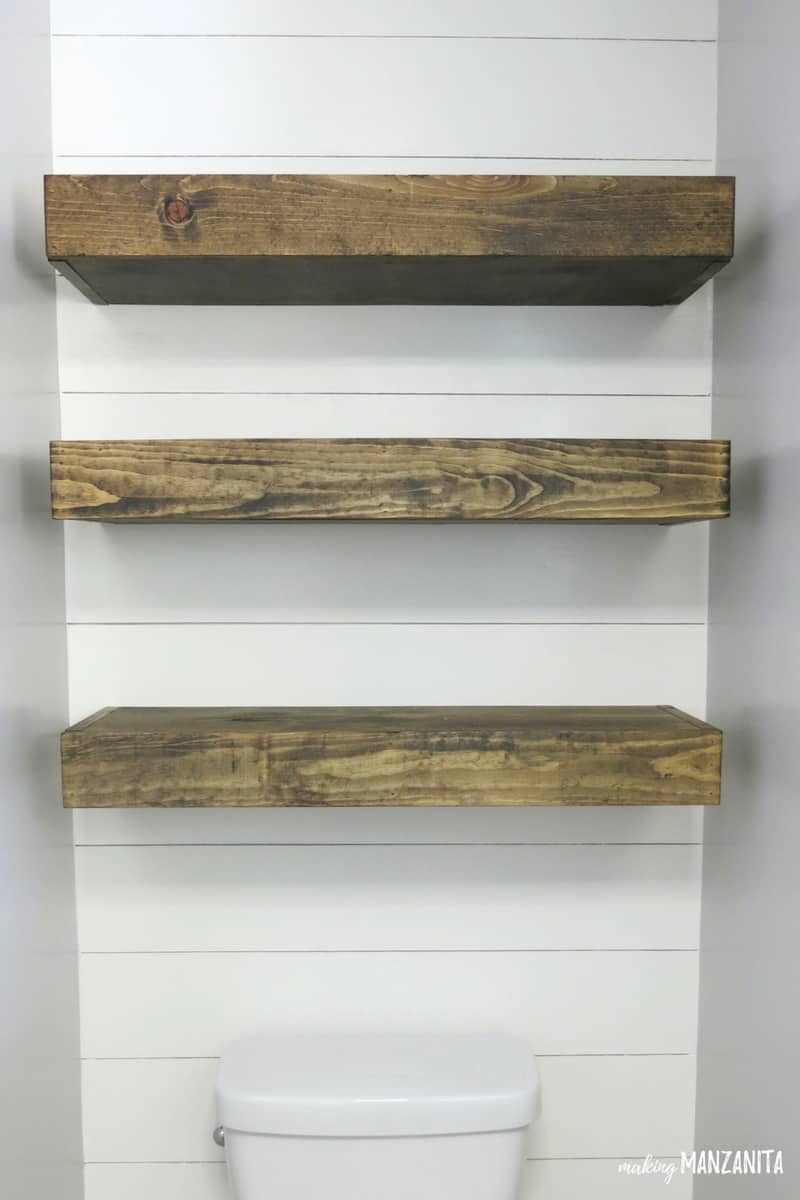
Floating Shelves: Floating shelves are a popular choice for bathrooms, offering a clean and modern look. These shelves are mounted without visible brackets, giving the illusion of floating on the wall. They are perfect for small bathrooms where space is limited, providing storage without taking up floor space. Floating shelves can be installed above the toilet, next to the vanity, or in the shower area.
Corner Shelves: Corner shelves are an excellent solution for utilizing often-overlooked spaces in the bathroom. They can be installed in the corner of the shower, above the bathtub, or in a corner near the sink. These shelves are ideal for storing toiletries, decorative items, or towels, making efficient use of available space.
Ladder Shelves: Ladder shelves offer a unique and versatile design option. These freestanding units lean against the wall and provide multiple tiers of storage. Ladder shelves are great for displaying towels, plants, or decorative accessories. They add a rustic charm to the bathroom and can easily be moved or repositioned as needed.
Built-In Shelves: For a more permanent and custom look, consider built-in shelves. These shelves are integrated into the bathroom wall, providing a seamless and cohesive appearance. Built-in shelves can be designed to fit your specific storage needs and are perfect for niches or recessed spaces. They are ideal for storing toiletries, towels, or decorative items.
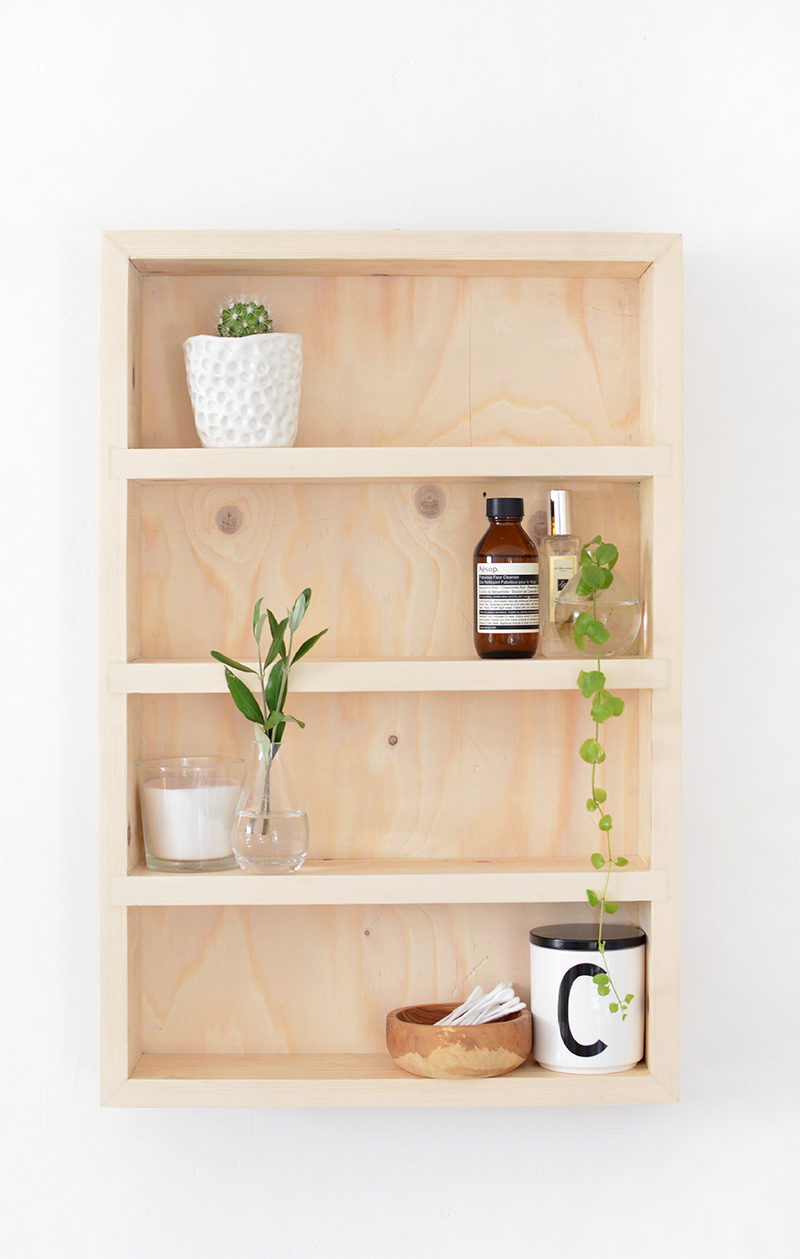
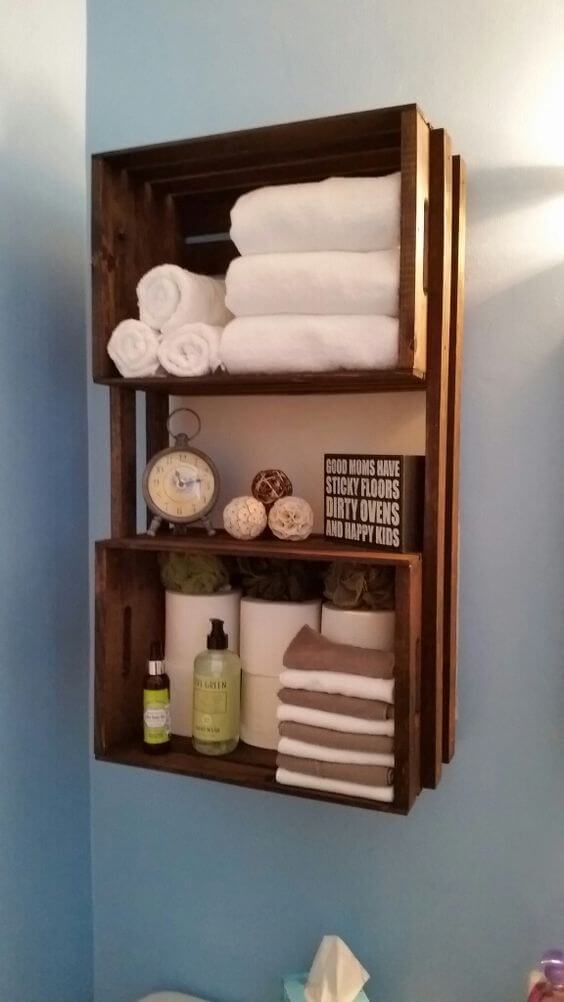
Box Shelves: Box shelves, also known as shadow box shelves, are a stylish and functional option. These shelves have a frame-like design and can be used to display decorative items, plants, or bathroom essentials. They can be installed individually or in a group to create a gallery-like display. Box shelves add depth and dimension to the bathroom wall.
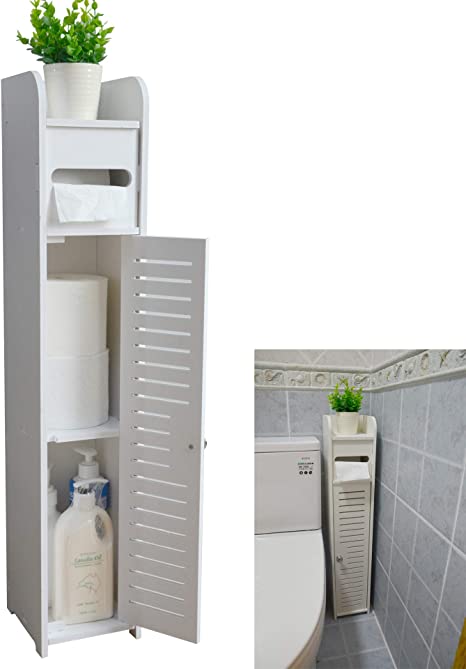
Over-the-Toilet Shelves: Maximizing vertical space, over-the-toilet shelves provide storage above the toilet area. These shelves can be freestanding or wall-mounted and are perfect for storing extra towels, toilet paper, or decorative items. Over-the-toilet shelves are a practical and stylish addition to any bathroom, especially in smaller spaces.
Essential Tools and Materials for Your DIY Project
Before starting your DIY wood bathroom shelf project, it’s important to gather all the necessary tools and materials. Having the right supplies on hand will make the process smoother and more efficient. Here’s a comprehensive list of essential tools and materials you’ll need for the project.
Wood Selection: Choose the type of wood based on your design preferences, budget, and the bathroom environment. Common choices include pine, oak, maple, and reclaimed wood. Make sure to select boards that are straight and free of major defects.
Measuring and Cutting Tools: Accurate measurements are crucial for a successful project. You’ll need a tape measure, a carpenter’s square, and a pencil for marking measurements. For cutting the wood, a circular saw, miter saw, or table saw can be used, depending on the complexity of your cuts.
Sanding Tools: Sanding is essential to smooth out the wood and prepare it for finishing. An electric sander, such as an orbital sander, is efficient for larger surfaces, while sandpaper in various grits (80, 120, 220) is useful for finer work and edges. Sanding blocks can also help with precision.
Assembly Tools: To assemble your shelf, you’ll need a drill or screwdriver for installing screws, a hammer for any nails, and wood glue for additional stability. Clamps are helpful for holding pieces together while the glue dries. If you’re using brackets for support, make sure you have the appropriate hardware.
Finishing Supplies: To protect and enhance the appearance of the wood, you’ll need finishing supplies. These include wood stain or paint, brushes or rags for application, and polyurethane or another sealant for protection. Finishing can highlight the wood’s natural beauty and provide a moisture-resistant barrier.
Mounting Hardware: Depending on the design of your shelf, you’ll need appropriate mounting hardware. This may include wall anchors, screws, brackets, or French cleats. Choose hardware that is suitable for the wall material (e.g., drywall, tile, concrete) and can support the weight of the shelf and its contents.
Step-by-Step Guide: Building Your Wood Bathroom Shelf
Building a DIY wood bathroom shelf is a rewarding project that can add both function and style to your space. Whether you’re a seasoned DIYer or a beginner, this step-by-step guide will walk you through the process of creating your shelf.
Planning and Measuring: Start by planning your design and taking measurements. Consider the available space in your bathroom and the items you want to store on the shelf. Determine the shelf’s dimensions, including the length, width, and depth. Sketch a design and make a list of the materials you’ll need.
Cutting the Wood: Once you have your measurements, it’s time to cut the wood. Use a circular saw, miter saw, or table saw to cut the boards to the desired length and width. For floating shelves, you’ll need a solid backboard and shelf panels. For other designs, cut the pieces according to your plan.
Sanding the Wood: Sand the cut pieces of wood to smooth out any rough edges and surfaces. Start with a lower-grit sandpaper (around 80) and gradually move to a finer grit (120 or 220) for a smooth finish. Sanding is essential to prepare the wood for staining or painting and to ensure a professional-looking result.
Assembling the Shelf: Begin assembling the shelf by attaching the pieces together. Use wood glue to secure the joints, and reinforce them with screws or nails. If you’re building a floating shelf, attach the backboard to the shelf panel securely. For other designs, follow your specific plan. Use clamps to hold the pieces together while the glue dries.
Finishing the Shelf: Once the shelf is assembled, it’s time to finish the wood. Apply a stain or paint of your choice to achieve the desired color. Use a brush or rag for even application. After the stain or paint has dried, apply a protective sealant, such as polyurethane, to protect the wood from moisture and wear. Allow the finish to cure fully before proceeding.
Installing the Shelf: Finally, install the shelf in your bathroom. If you’re using brackets, attach them to the wall at the desired height and secure the shelf on top. For floating shelves, use the appropriate mounting hardware, such as wall anchors and screws, to ensure stability. Make sure the shelf is level and securely fastened to the wall.
Finishing Touches: Sanding, Staining, and Sealing
The finishing touches are crucial in bringing your DIY wood bathroom shelf to life. Proper sanding, staining, and sealing not only enhance the appearance of the wood but also protect it from moisture and wear. Here’s how to achieve a professional finish on your bathroom shelf.
Sanding for a Smooth Surface: Before applying any finish, thoroughly sand the wood to remove rough spots and imperfections. Start with coarse sandpaper (around 80 grit) to smooth out any major flaws, then move to finer grits (120, 220) for a polished surface. Sand along the grain of the wood to avoid scratches. Use a sanding block or electric sander for consistent pressure and coverage.
Choosing the Right Stain or Paint: The choice between staining and painting depends on the desired look and the type of wood you’re using. Stains highlight the natural grain and beauty of the wood, making them ideal for woods with attractive patterns, like oak or walnut. Paint offers more color options and can be used to match the shelf with other elements in the bathroom. Test the stain or paint on a scrap piece of wood to ensure it achieves the desired effect.
Applying the Stain or Paint: When applying stain, use a brush or clean rag to work the stain into the wood, following the grain. Wipe off any excess stain with a clean cloth to prevent blotching. For paint, use a high-quality brush or roller to apply an even coat. Multiple coats may be needed to achieve the desired color and coverage. Allow each coat to dry completely before applying the next.
Sealing the Wood: Once the stain or paint has dried, it’s important to seal the wood to protect it from moisture and wear, especially in a bathroom environment. Polyurethane is a popular choice for sealing, offering a durable, water-resistant finish. Apply the sealer with a brush, following the grain of the wood, and allow it to dry according to the manufacturer’s instructions. Sand lightly between coats for a smooth finish.
Matte, Satin, or Gloss Finish: The choice of finish can affect both the appearance and durability of the shelf. A matte finish offers a natural look with minimal shine, while a satin finish provides a slight sheen and is easier to clean. A gloss finish is highly reflective and durable, making it a good choice for areas prone to water splashes. Consider the overall look you want to achieve and the practical needs of your bathroom when choosing a finish.
Final Touches and Inspection: After the final coat of sealer has dried, inspect the shelf for any imperfections. Touch up any areas that need attention and ensure that the shelf is completely dry before installing it in the bathroom. Proper finishing not only enhances the beauty of your shelf but also ensures its longevity and durability in a humid environment.
Styling and Organizing: Tips for Maximizing Functionality
Once your DIY wood bathroom shelf is built and installed, it’s time to style and organize it. Proper organization can maximize the functionality of your shelf while adding a touch of personality to your bathroom. Here are some tips for making the most of your new shelf.
Prioritize Essentials: Start by placing the most frequently used items on the shelf, such as toiletries, towels, and grooming products. Keep these essentials within easy reach, especially if the shelf is installed above the sink or near the shower. Use baskets or containers to keep smaller items organized and prevent clutter.
Decorative Elements: Incorporate decorative elements to enhance the aesthetic appeal of your shelf. Add items like candles, small potted plants, or decorative jars filled with cotton balls or bath salts. These touches can make your bathroom feel more inviting and cohesive. Consider a theme or color scheme that complements the rest of your bathroom decor.
Utilize Vertical Space: If you have multiple shelves or a tall unit, make use of vertical space by arranging items at different heights. Place taller items, like vases or lotion bottles, on the top shelf, and shorter items, like soap dishes or decorative figurines, on lower shelves. This not only maximizes storage but also creates visual interest.
Layering and Grouping: For a stylish and organized look, group similar items together and layer them in front of each other. For example, place a larger item at the back and smaller items in front, or group similar-colored items together. This technique helps create a sense of order and prevents the shelf from looking cluttered.
Rotating Seasonal Items: Keep your bathroom decor fresh and updated by rotating seasonal items on your shelf. In the summer, you might add fresh flowers or beach-themed decor, while in the winter, you could switch to cozy candles and warm tones. Rotating items helps to keep the bathroom’s look dynamic and engaging.
Practical Tips for Maintenance: To maintain the appearance and functionality of your shelf, clean it regularly to prevent dust and dirt buildup. Check for any signs of wear or damage, especially if the shelf is exposed to water. If you notice any issues, such as loose brackets or water damage, address them promptly to ensure the shelf’s longevity.
Bathroom Shelf Made of Pallet Wood
DIY bathroom storage shelf BURKATRON
DIY Bathroom Shelves To Increase Your Storage Space
How To Build Bathroom Floating Shelves for Extra Storage
Best DIY Bathroom Shelf Ideas and Designs
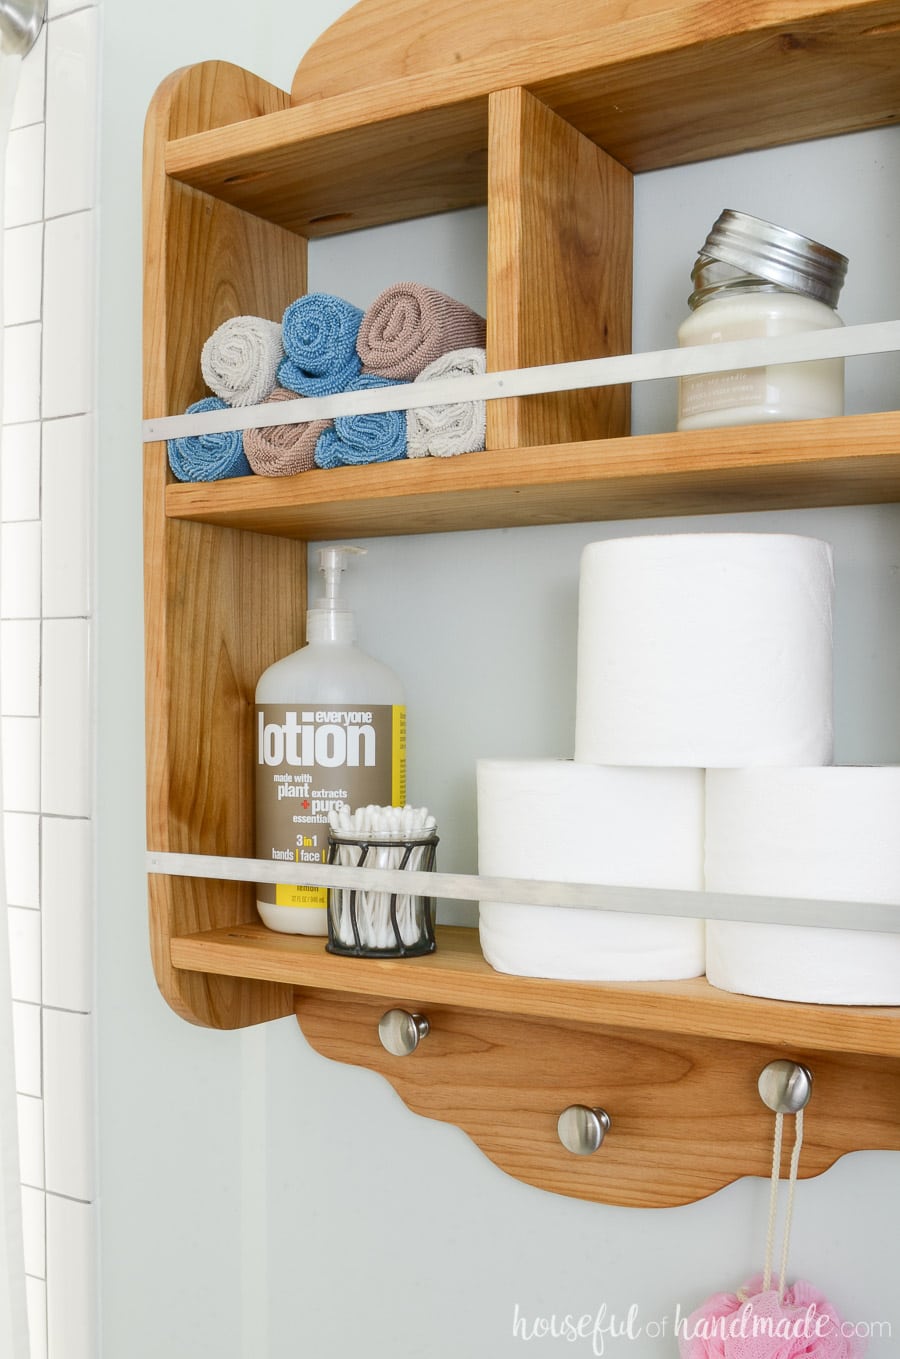
DIY Bathroom Storage Shelves – Houseful of Handmade
DIY Wooden Bathroom Shelves That You Can Make Just In One Day
Bathroom Bathroom wood shelves
Related Posts:


.jpg)
