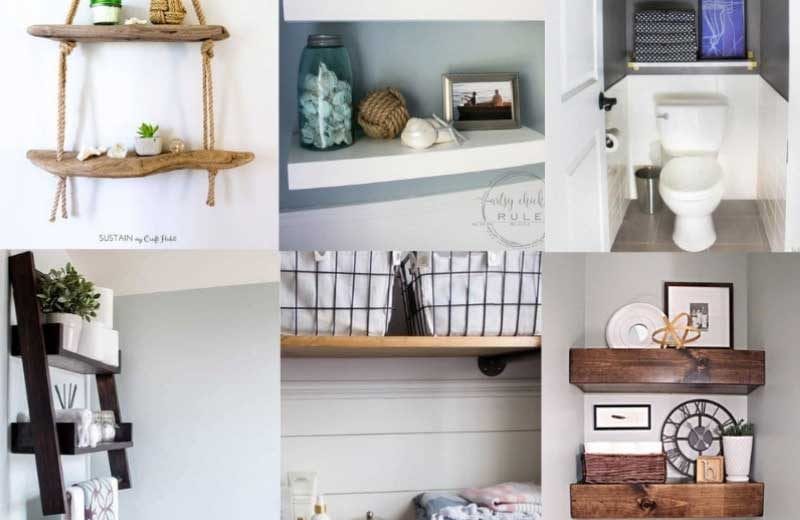
When maximizing storage space in your bathroom while adding a personal touch to your decor, a DIY bathroom shelf unit is an excellent solution. Building your shelf unit allows you to customize the design, size, and materials to suit your needs and style preferences. I will guide you through creating a DIY bathroom shelf unit, from planning and design to construction and installation. With a hands-on approach, you can create a unique and functional storage solution that enhances the organization and aesthetics of your bathroom.
Planning and Design
Before embarking on your DIY bathroom shelf unit project, take the time to assess your storage needs and the available space in your bathroom. Consider the items you want to store on the shelves, such as towels, toiletries, or decorative items. Determine the dimensions and number of shelves required to accommodate your belongings.
Measure the available wall space in your bathroom and note any fixtures or obstructions that need to be considered during the design process. This ensures that your DIY shelf unit fits perfectly and does not interfere with other elements in the bathroom.
Create a rough sketch or use design software to visualize your shelf unit. Consider your bathroom’s overall style and aesthetics, and choose a design that complements your existing decor. Whether you prefer a rustic, industrial, or modern look, tailor the design to reflect your style and preferences.
Choosing Materials and Tools
When it comes to a DIY bathroom shelf unit, choosing the right materials and tools is crucial for a successful project. Consider the durability and moisture resistance of the materials, as the bathroom is humid. Opt for moisture-resistant plywood or solid wood treated with a waterproof sealant.
Gather the necessary tools for the construction process, including a circular or miter saw for cutting the wood, a drill for making pilot holes and attaching screws, a level for ensuring straight and even installation, and a tape measure for accurate measurements. Additionally, have sandpaper or a sander on hand to smoothen the surfaces and a paintbrush or roller if you plan to paint or stain the shelves.
Preparing and Cutting the Wood
Once your design is finalized and materials and tools ready, it’s time to prepare and cut the wood for your DIY bathroom shelf unit. Begin by measuring and marking the dimensions of each shelf and any additional components, such as side panels or backings, on the wood. Use a straight edge or a guide to ensure clean and accurate cuts.
Carefully cut the wood according to your measurements using a circular saw or a miter saw. Take your time and wear appropriate safety gear, such as goggles and gloves, to protect yourself during the cutting process. Double-check the dimensions and make any necessary adjustments before proceeding to the next step.
After cutting the wood, use sandpaper or a sander to smooth the edges and surfaces of the shelves. This step ensures a polished and professional finish and helps prevent splinters or rough areas. Remove any dust or debris from the wood before moving to the assembly stage.
Assembly and Construction
With the wood pieces cut and smoothed, it’s time to assemble your DIY bathroom shelf unit. Start by laying out the components and following your design plan. Begin with the base or bottom shelf and attach the side panels using screws and a drill. Use a level to ensure that the unit is straight and plumb.
Continue assembling the shelves individually, securing them to the side panels with screws or brackets. If desired, add backings or dividers for added stability and organization. Take your time to ensure each piece is securely attached and aligned correctly.
Once the shelf unit is fully assembled, review all the connections and tighten any loose screws. Use a level again to double-check the alignment and adjust if necessary. Stand back and admire your progress before moving on to the next step.
Painting or Staining Your DIY Bathroom Shelf Unit
Now that your DIY bathroom shelf unit is constructed, you can add a finishing touch by painting or staining the wood. Choose a paint or stain color that complements your bathroom decor and style. Apply the paint or stain evenly using a brush or roller, following the manufacturer’s instructions for drying times and multiple coats if needed.
Allow the paint or stain to dry before fully handling or installing the shelf unit. This ensures a professional and polished finish that adds to the overall aesthetics of your bathroom. Consider applying a clear sealant or varnish to protect the wood and enhance its longevity, especially in a moist bathroom environment.
Installation: Mounting Your DIY Bathroom Shelf Unit
With your DIY bathroom shelf unit complete, it’s time to install it in your bathroom. Locate the studs in the wall using a stud finder and mark their positions. This is crucial for secure and stable installation. Position the shelf unit against the wall at the desired height and use a level to ensure it is straight.
Attach the shelf unit to the wall using a drill by screwing through the back or side panels into the studs. Use appropriate screws and anchors to ensure a sturdy and reliable installation. Double-check the alignment and stability before placing any items on the shelves.
Making Your DIY Bathroom Shelf Unit Functional
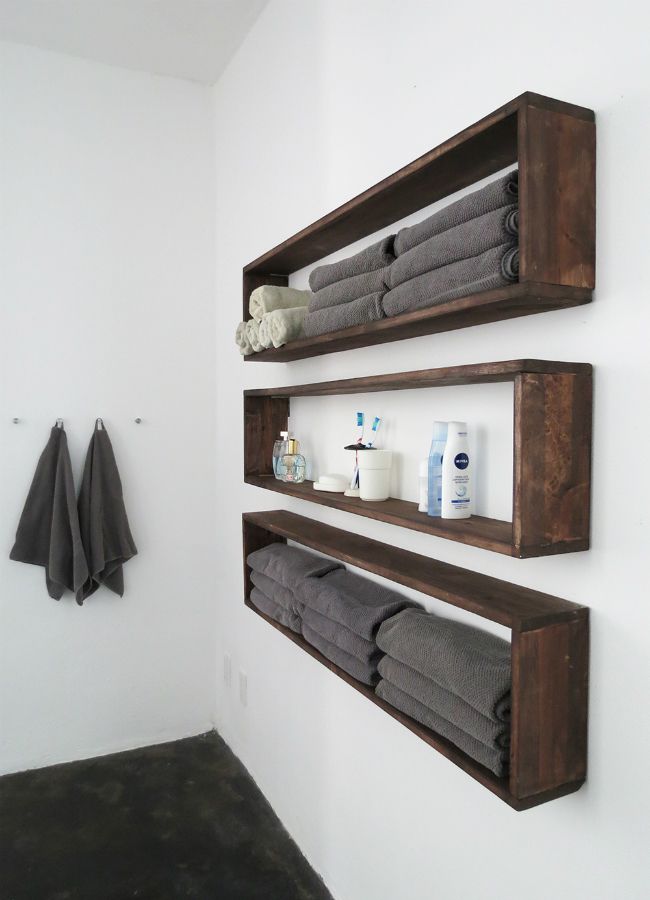
Now that your DIY bathroom shelf unit is securely installed, it’s time to organize and personalize it to suit your needs. Arrange your bathroom essentials on the shelves, considering the most efficient and visually pleasing configuration. Utilize baskets, jars, or containers to categorize items for a tidy and organized look.
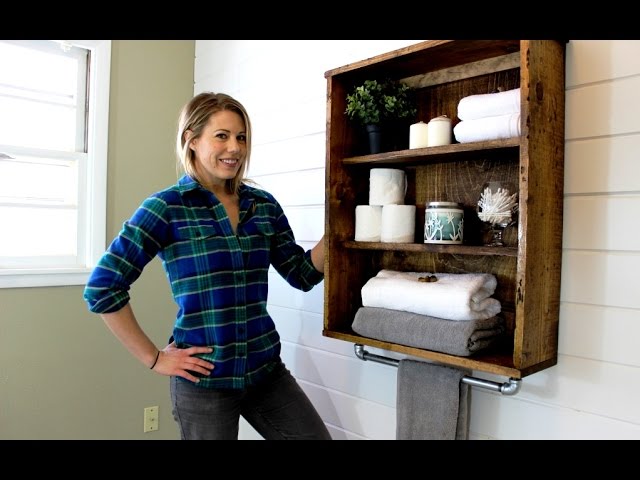
Add decorative elements such as potted plants, scented candles, or artwork to personalize the shelf unit and make it feel like a cohesive part of your bathroom decor. Consider incorporating hooks or towel bars onto the sides of the unit for added functionality and storage options.
A DIY bathroom shelf unit allows you to create a custom storage solution that perfectly fits your bathroom and personal style. By carefully planning and designing, selecting the right materials and tools, and following the steps of construction and installation, you can achieve a functional and aesthetically pleasing shelf unit. Personalize and organize the unit to meet your specific needs, and enjoy the satisfaction of creating a practical and stylish addition to your bathroom.
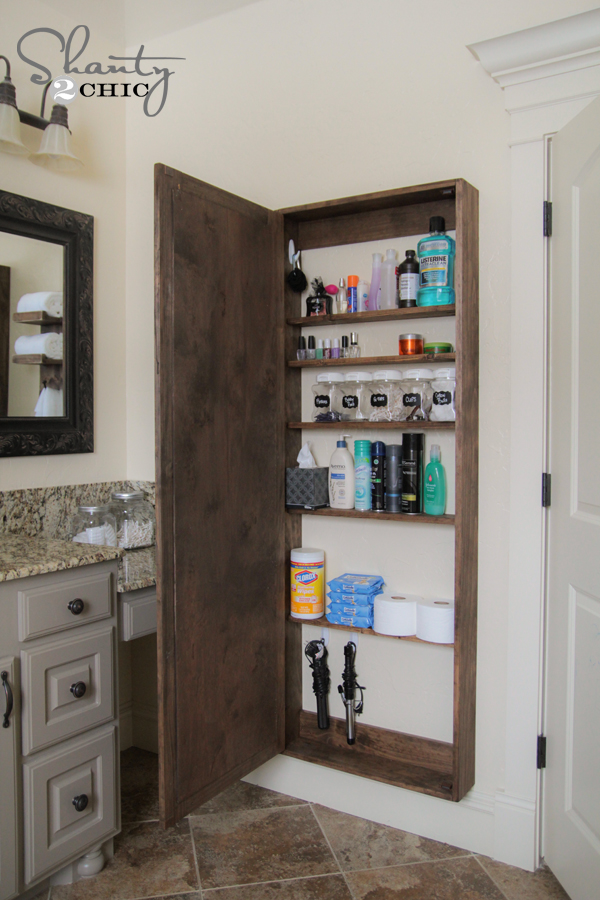
DIY Bathroom Cabinet – Liz Marie Blog
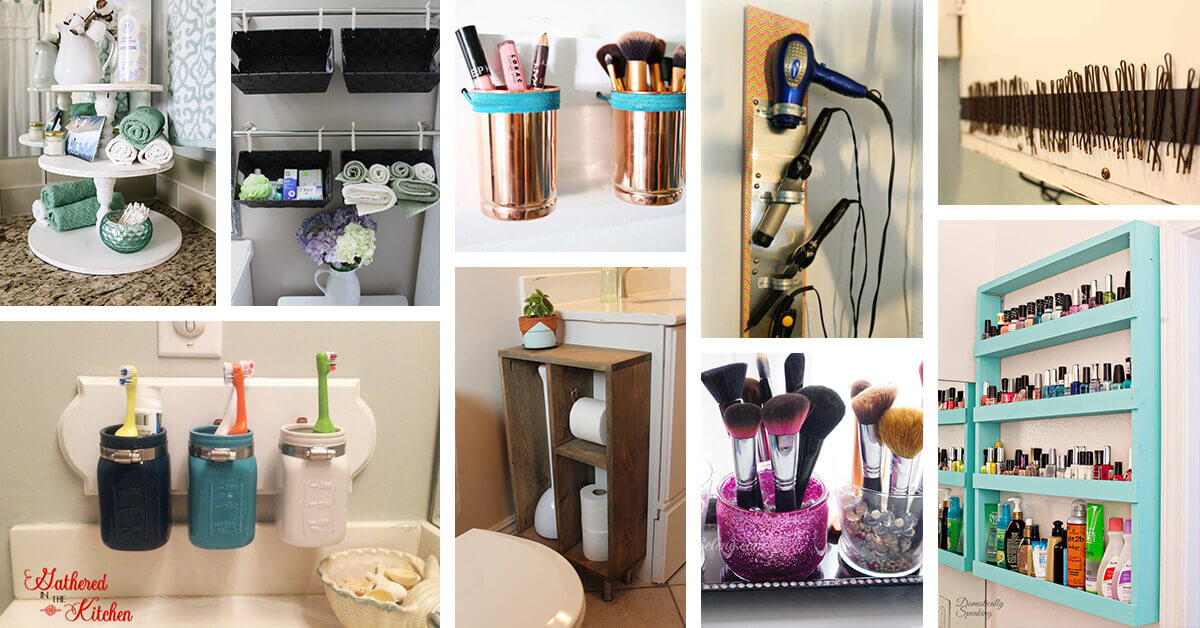
20 Genius Small Bathroom Storage Ideas
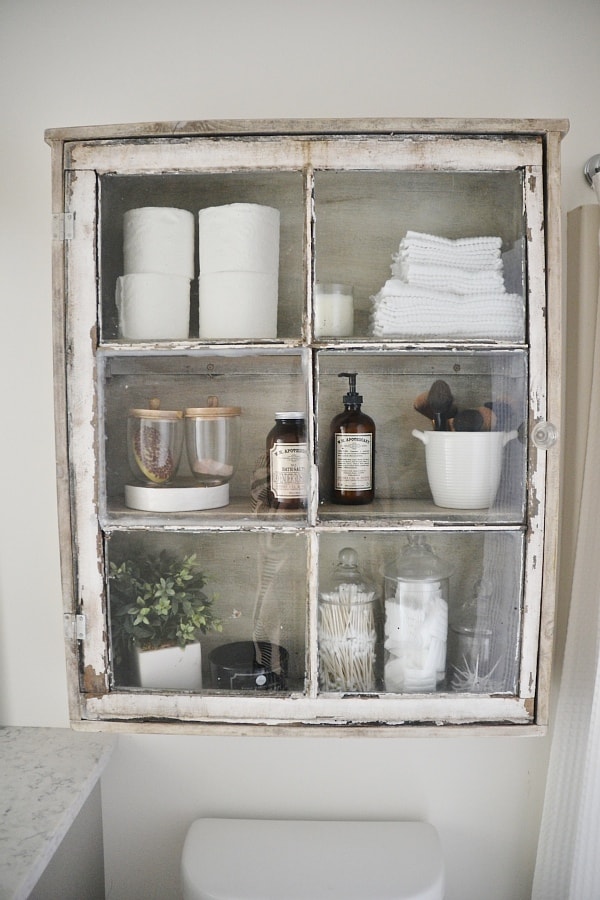
The $20 Rustic Bathroom Cabinet – Easy DIY Project – YouTube
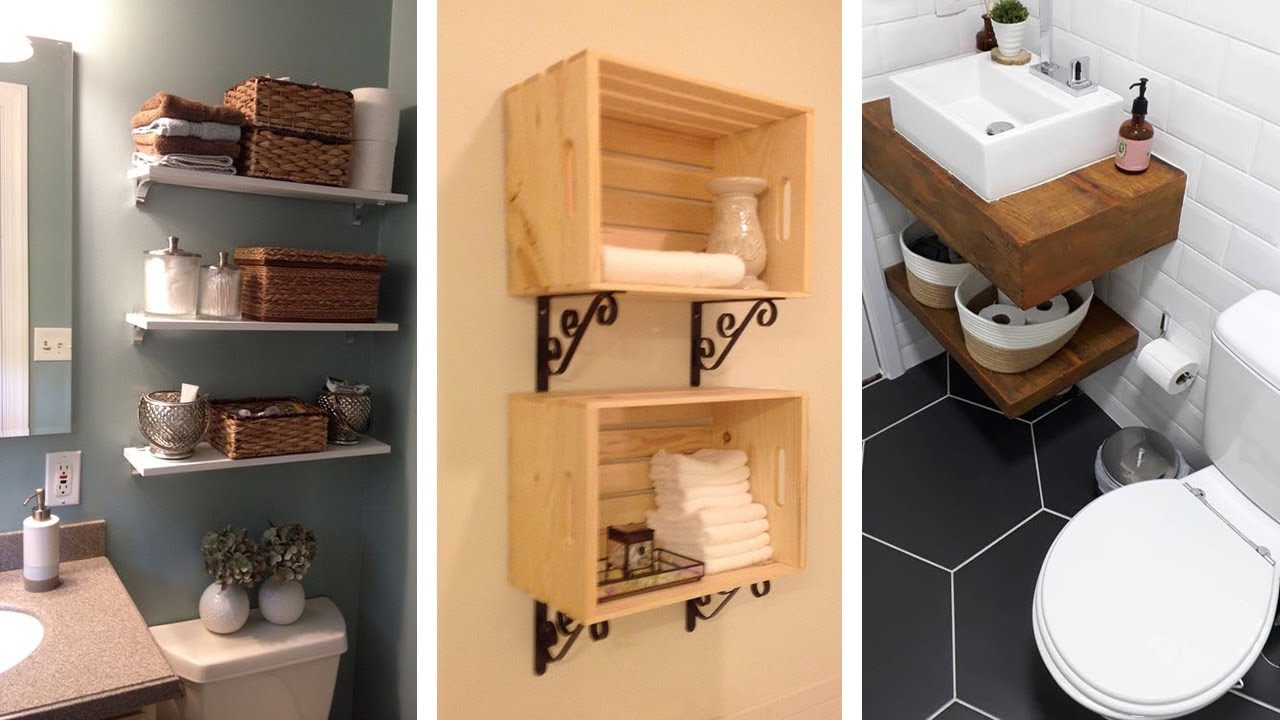
DIY Bathroom Shelves To Increase Your Storage Space
30 Brilliant DIY Bathroom Storage Ideas – Amazing DIY, Interior
DIY Bathroom Shelves To Increase Your Storage Space

34 Bathroom Storage Ideas To Get You Organized
30+ Tidy DIY Bathroom Organization Ideas
25 Creative DIY Bathroom Shelf Ideas – The Handymanu0027s Daughter
Bathroom Organizing DIY: Under Cabinet Bathroom Storage u2014 T. Moore
4 Tips to Creating More Bathroom Storage
Bathroom Shelf Ideas: 15 Clever DIY Bathroom Shelves for Bathroom
Related Posts:
- Best Adhesive Bathroom Shelf
- Bathroom Shelf Ideas DIY
- What Is the Best Wall Covering for a Bathroom
- Bath Racks at Dunelm
- Free Standing Bathroom Towel Shelf
- Driftwood Gray Bathroom Shelf
- Bathroom Shelf Wall Unit
- Bathroom Shelf Ideas Chrome
- Bathroom Shelf Towel Hooks
- 18 Inch Bathroom Shelf with Towel Bar


