A leaky bathroom faucet can be frustrating, wasteful, and costly. Fortunately, repairing a Delta bathroom faucet leak is a simple DIY project that anyone can do with the right tools and a little know-how. We will provide tips and tricks to help you fix that annoying bathroom faucet leak and save money on your water bill.
Identify the Problem
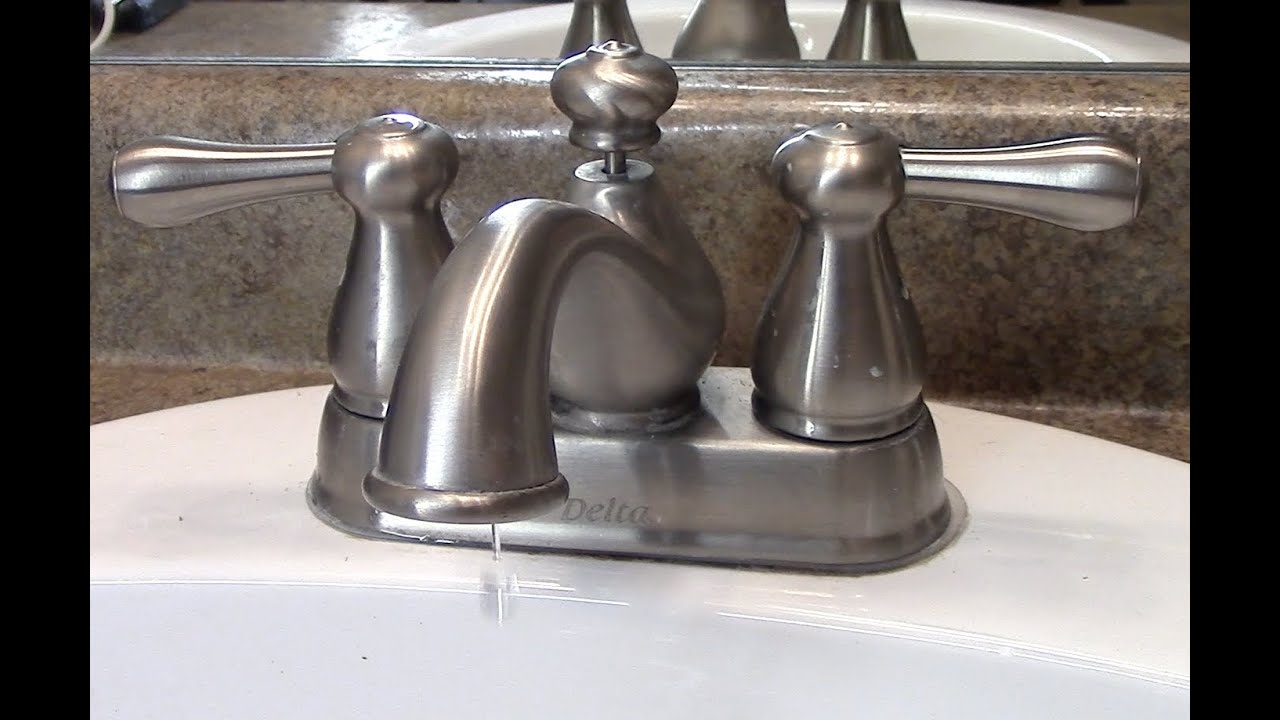
The first step in fixing a Delta bathroom faucet leak is to identify the problem. The problem is usually caused by worn-out or damaged parts, such as the O-ring, cartridge, or valve seat. You can usually tell which part is causing the problem by examining the faucet and looking for signs of wear and tear.
Gather the Necessary Tools
To repair your Delta bathroom faucet leak, you will need a few tools, including a set of Allen wrenches, a screwdriver, a pair of pliers, and a new cartridge, O-ring, or valve seat, depending on the problem. Turn off the water supply to the faucet before you begin working.
Remove the Handle and Escutcheon
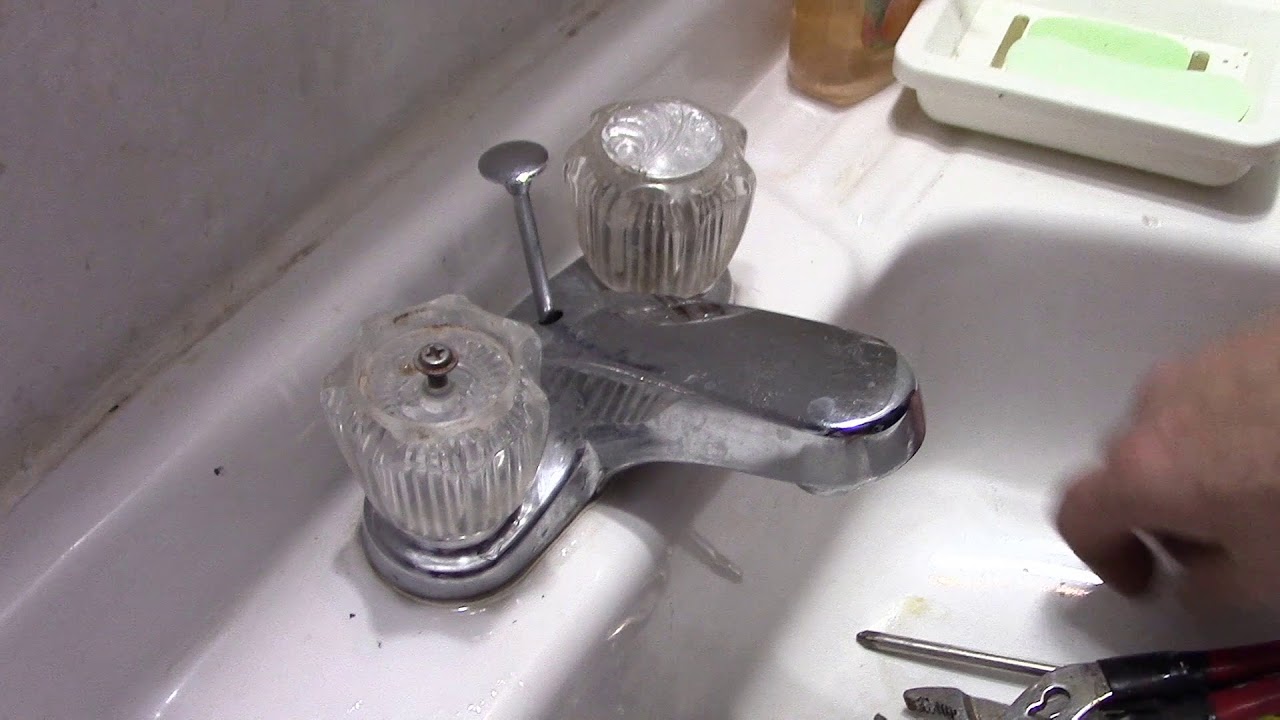
To access the faucet’s working parts, you must remove the handle and escutcheon. Use an Allen wrench to remove the screw holding the handle in place, and then gently pry off the handle with a flathead screwdriver. Next, remove the escutcheon plate by unscrewing the mounting screws.
Replace the Damaged Part
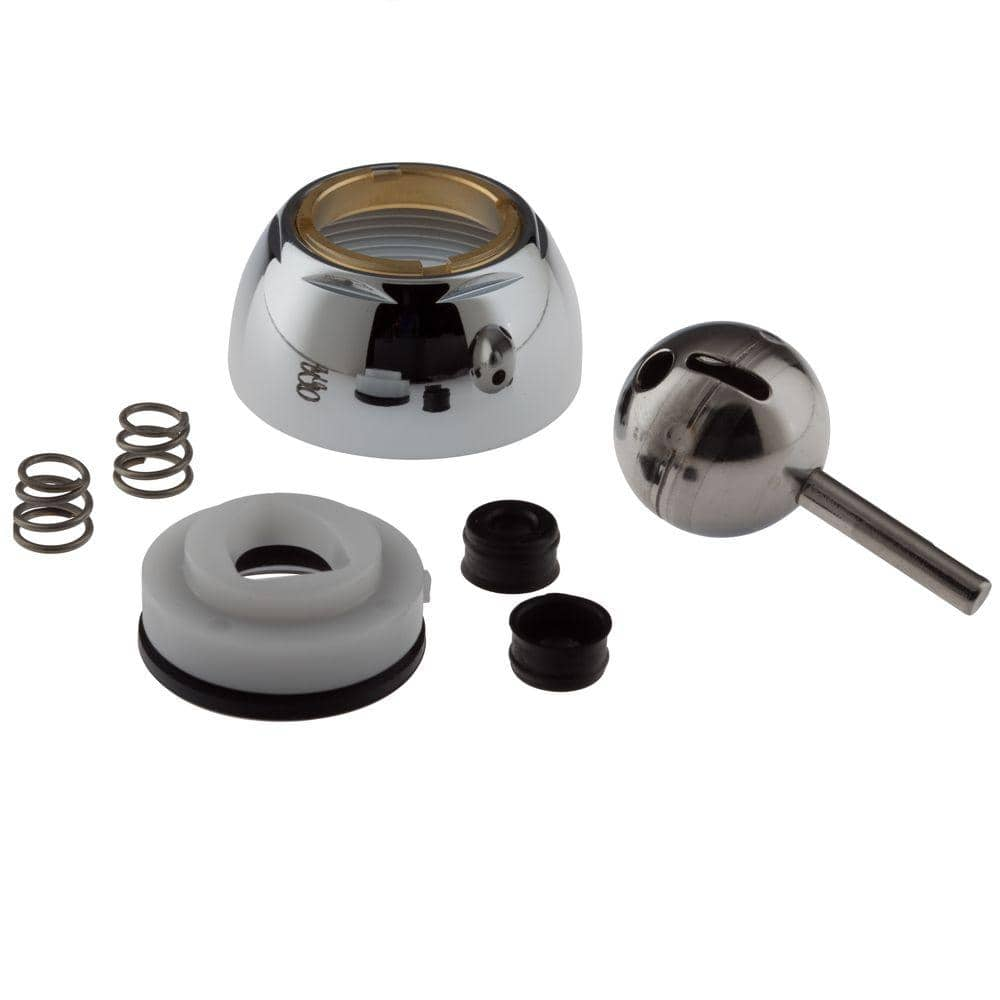
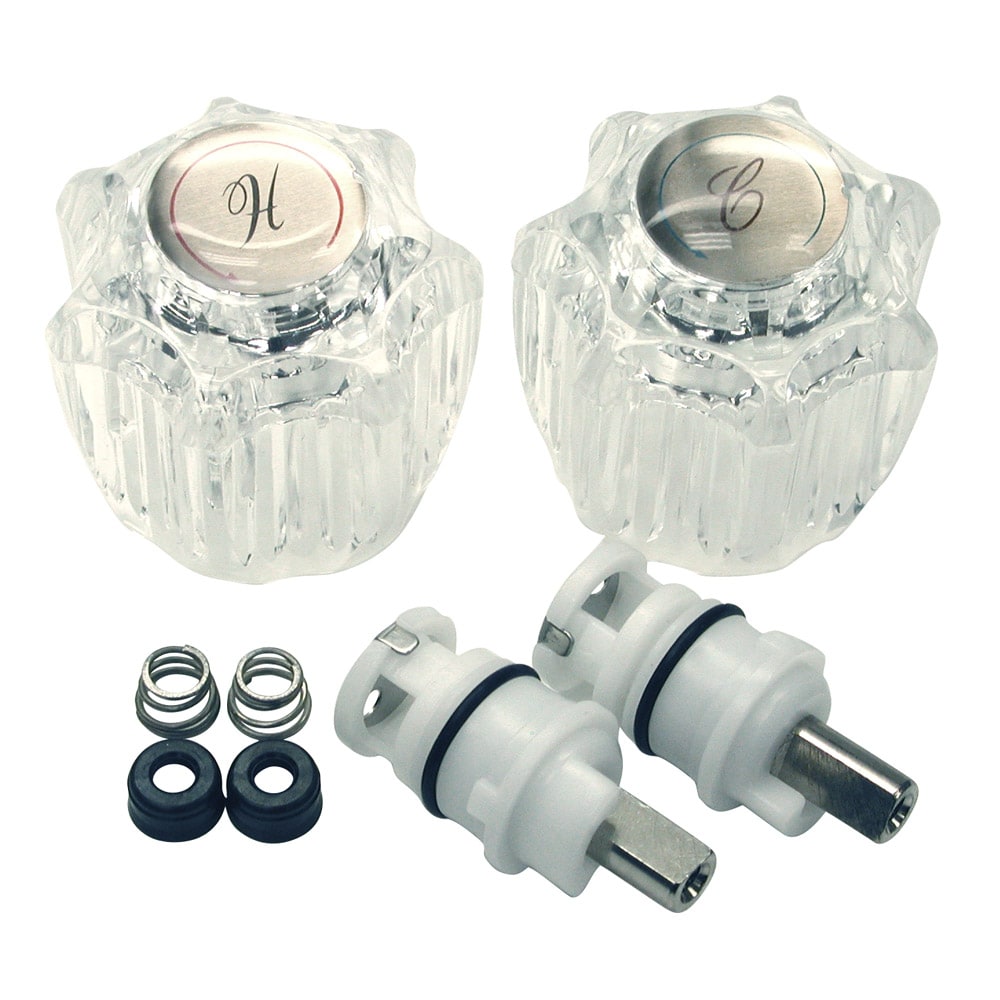
Once you have removed the handle and escutcheon, you can access the working parts of the faucet. If the problem is a worn-out O-ring, you can remove the old O-ring and replace it with a new one. If the problem is a damaged cartridge, you can remove the old cartridge and replace it with a new one. If the problem is a damaged valve seat, you can use a valve seat wrench to remove the old valve seat and replace it with a new one.
Reassemble the Faucet
After you have replaced the damaged part, you can reassemble the faucet. Tighten all screws and connections, and turn the water supply back on. Test the faucet to ensure that the leak has been fixed.
Prevent Future Leaks
To prevent future Delta bathroom faucet leaks, you should perform regular maintenance on your faucet, such as cleaning the aerator and checking for signs of wear and tear. If you notice any problems, such as a slow drip or reduced water pressure, you should address them immediately to prevent further damage.
Repairing a Delta bathroom faucet leak is a simple DIY project that can save money and prevent water waste. Following the tips and tricks outlined in this article, you can identify the problem, gather the necessary tools, replace the damaged part, and reassemble the faucet. Remember to regularly maintain your faucet to prevent future leaks and keep your bathroom running smoothly.
Delta Bathroom Faucet Leak Repair
Troubleshooting a Leaking Faucet : Delta Faucet
Troubleshooting a Leaking Faucet : Delta Faucet
Sink Faucet Repair, Delta Bathroom Sink Drips
Troubleshooting a Leaking Faucet : Delta Faucet
Delta Faucet Repair Kit RP44123
Danco Metal Faucet Repair Kit Delta/Delex
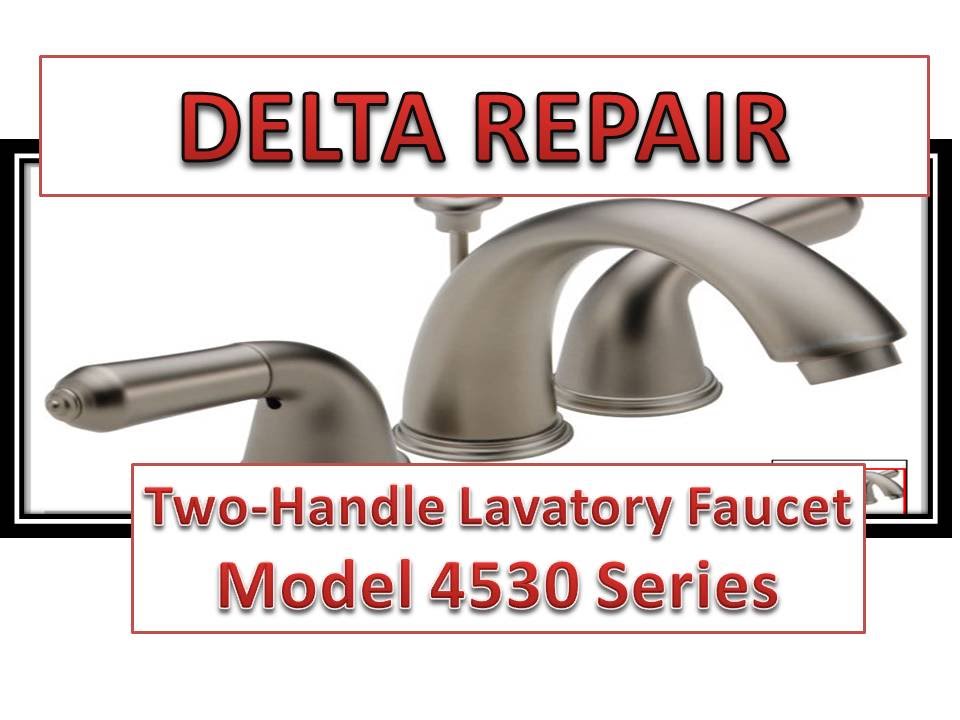
How To Fix Leaky Bathroom Handle Delta Faucet Model 4530 Series Hard Water
Troubleshooting a Leaking Faucet : Delta Faucet
Related Posts:
- Bathroom Faucet And Drain
- Delta Bathroom Faucet Leaking From Base
- Grohe Bathroom Faucet Handle Removal
- Gerber Bathroom Faucet Repair
- Best Widespread Bathroom Faucet
- Peerless Chrome Single Handle Bathroom Faucet
- Bathroom Faucets Satin Nickel Finish
- Delta Bathroom Faucet Gold
- Bathroom Faucet Accessories
- American Standard Wall Mount Bathroom Faucet


