Removing a single-handle bathroom faucet requires a few specific tools and materials to ensure a successful and efficient process. Before starting, gather the following items:
Adjustable wrench: This tool will be essential for loosening and removing the nuts that hold the faucet in place. Opt for an adjustable wrench that can fit the size of the nuts on your particular faucet.
Screwdriver: Depending on the design of your faucet, you may need either a flathead or Phillips screwdriver. This tool will be used to remove any screws or fasteners that hold the faucet handle or plate in place.
Plumber’s putty: Plumber’s putty is a moldable substance that helps create a watertight seal between the faucet and your countertop. It is used during the installation process, but it may need to be removed when removing the faucet.
Bucket or container: Place a bucket or container underneath the sink to catch any water or debris that may be released during the removal process. This will help prevent any mess or damage to your bathroom.
Towels or rags: Keep some towels or rags nearby to wipe up any spills or excess water that may occur during the removal process. This will help keep your work area clean and prevent any slips or accidents.
Penetrating oil: If your faucet has been in place for a long time, the nuts or screws may be difficult to loosen. Applying penetrating oil to these areas can help loosen any rust or corrosion and make the removal process easier.
Step-by-Step Guide
Removing a single handle bathroom faucet may seem like a daunting task, but with the right tools and guidance, it can be a relatively straightforward process. Whether you are replacing a broken faucet or simply updating your bathroom decor, here is a step-by-step guide to help you remove a single handle bathroom faucet.
Gather the necessary tools and materials:
Before you begin, make sure you have all the tools and materials you will need. These may include an adjustable wrench, pliers, a screwdriver (flathead or Phillips depending on your faucet), plumber’s tape, and a bucket or towel to catch any water.
Turn off the water supply:
To avoid any accidental leaks or water damage, it is crucial to turn off the water supply before proceeding. Locate the shut-off valves under the sink and turn them clockwise until the water flow stops. If there are no valves, you may need to shut off the main water supply to your home.
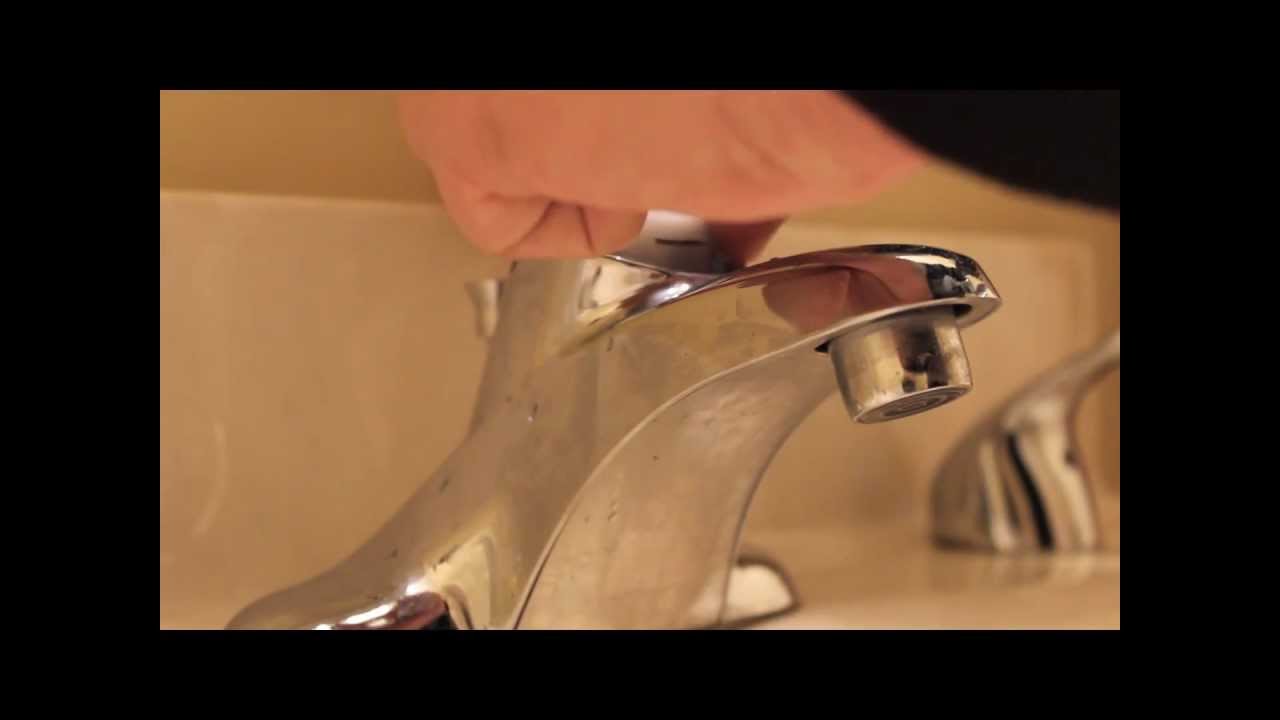
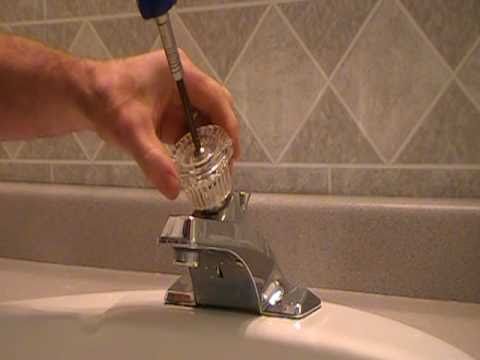
Remove the faucet handle:
Next, you will need to remove the handle of the faucet. This can usually be done by locating the small set screw on the underside of the handle. Use a screwdriver to loosen and remove the screw, then carefully lift off the handle. If the handle is stuck, you may need to use a wrench or pliers to gently twist and loosen it.
Disconnect the water supply lines:
Once the handle is removed, you will need to disconnect the water supply lines. Use an adjustable wrench to loosen the nuts connecting the supply lines to the faucet. Place a bucket or towel underneath to catch any excess water that may drain out.
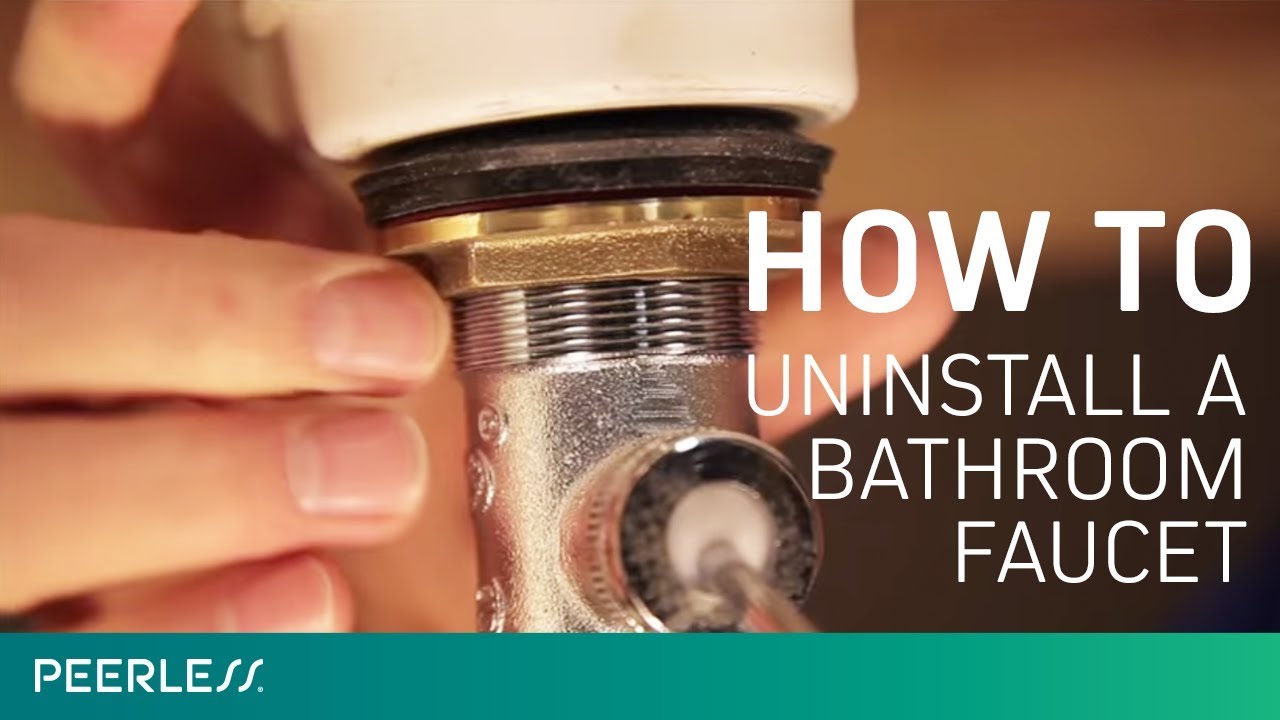
Remove the mounting nut:
With the water supply lines disconnected, you can now remove the mounting nut that holds the faucet in place. Use an adjustable wrench to loosen and unscrew the nut, turning it counterclockwise. You may need to use a bit of force, but be careful not to damage any surrounding fixtures or pipes.
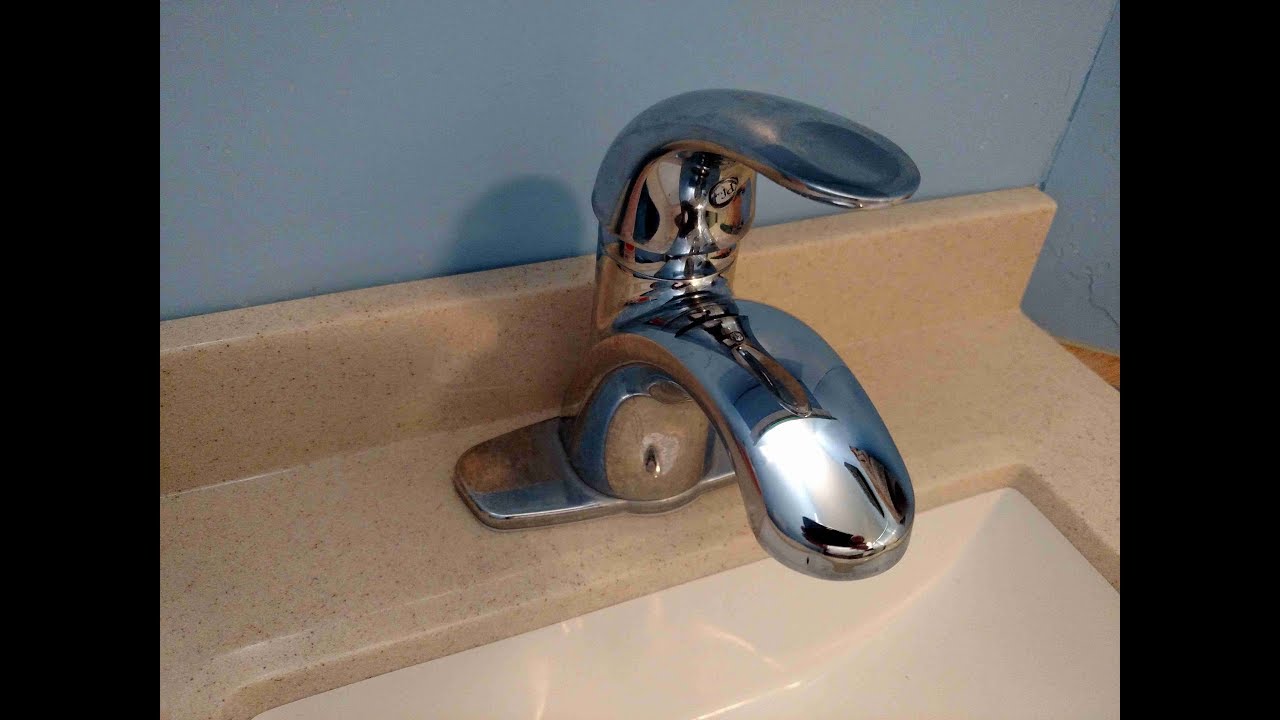
Lift out the faucet:
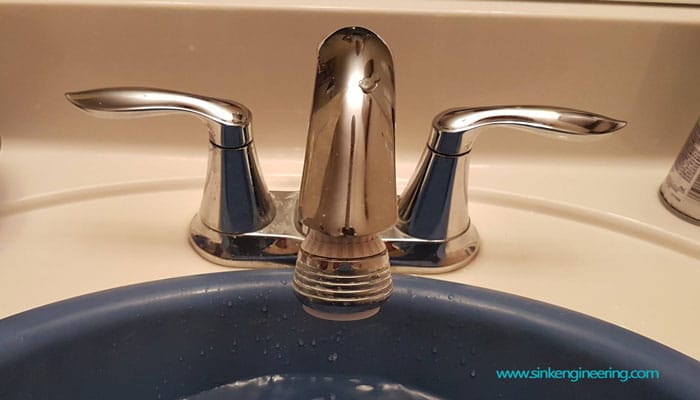
After removing the mounting nut, you should be able to lift out the faucet from the sink or countertop. If the faucet seems stuck, try gently wiggling it back and forth while lifting to loosen any remaining sealant or adhesive.
Clean the installation area:
Before installing a new faucet, it is essential to clean the installation area thoroughly. Remove any old sealant or adhesive using a scraper or putty knife.
Troubleshooting and Tips for Removing a Single Handle Bathroom Faucet
There may come a time when you need to remove a single-handle bathroom faucet, whether it’s because you’re upgrading to a new fixture or you need to make repairs. Here are some troubleshooting tips to help you with the process.
Gather the necessary tools: Before you begin, make sure you have all the tools you’ll need for the job. This may include a basin wrench, adjustable wrench, screwdriver, plumber’s putty, and a towel or rag.
Shut off the water supply: Before you start removing the faucet, it’s important to turn off the water supply. Locate the shut-off valves under the sink and turn them clockwise until they are fully closed. This will prevent any water from flowing while you work.
Drain any remaining water: Even after shutting off the water supply, there may still be some water left in the pipes. To prevent any leakage or mess, place a towel or rag under the sink and open the faucet to drain any remaining water.
Disconnect the supply lines: Using an adjustable wrench, loosen and disconnect the supply lines connected to the faucet. Be sure to have a bucket or towel handy to catch any water that may still be in the lines.
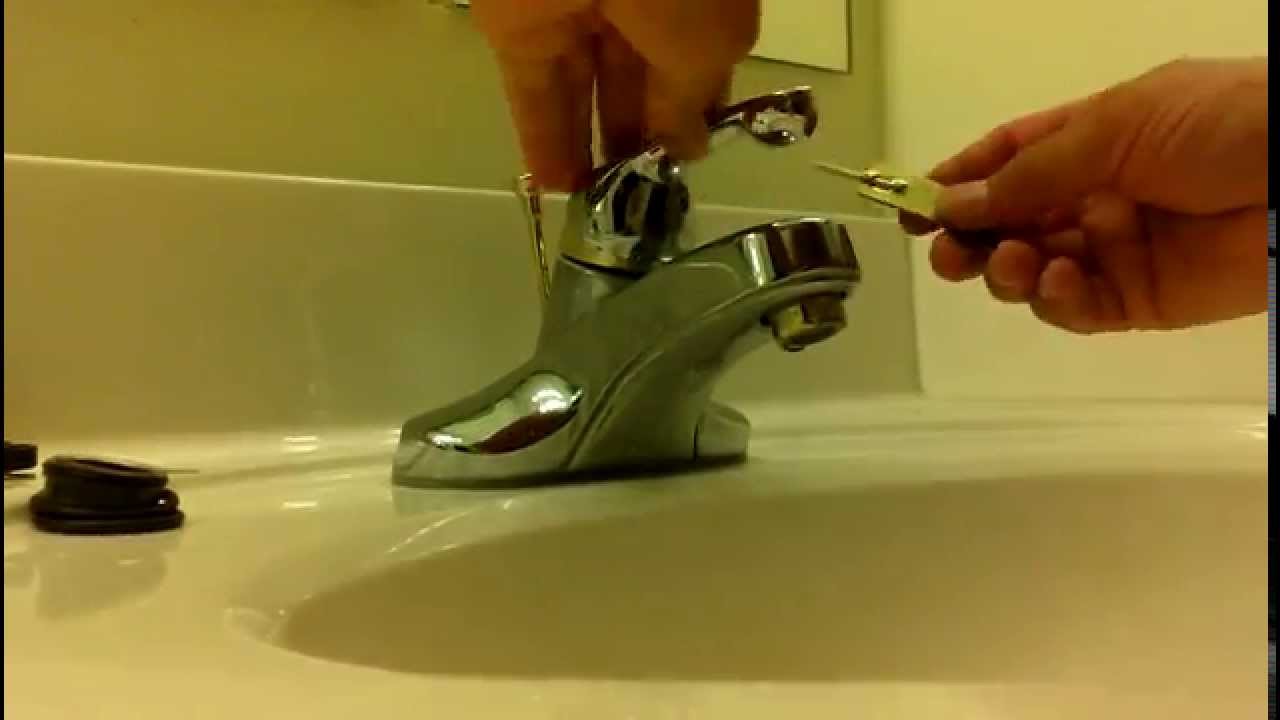
Remove the faucet handle: Most single-handle faucets have a small cap or cover on the handle that can be easily removed with a screwdriver or by hand. Once the cover is removed, you should see a screw or hex nut holding the handle in place. Use the appropriate tool to remove the screw or nut and gently pull off the handle.
Loosen the mounting nut: Underneath the handle, you’ll find a mounting nut that holds the faucet in place. Use a basin wrench or adjustable wrench to loosen and remove the nut. Be cautious not to damage any surrounding plumbing or fixtures during this step.
Remove the faucet: Once the mounting nut is removed, you should be able to lift the faucet assembly out of the sink. If it’s stuck, you may need to gently wiggle it or use a silicone lubricant to loosen any corrosion or buildup.
Clean the area: After removing the faucet, take the opportunity to clean the surrounding area. Use a mild cleaner and a soft cloth to remove any dirt, grime, or mineral deposits.
Delta Repair Kit For Single Handle Faucets
bathroom fixtures – How to remove the handles from this faucet
How to Remove a Bathroom Faucet
How to Remove Bathroom Sink Faucet Handle That has No Screw
leak – Leaky bathroom faucet – canu0027t find screw on handle – Home
How to Repair a Single-Handle Kitchen Faucet (DIY) Family Handyman
How to replace-repair a leaky moen cartridge in a bathroom set of faucets-single lever.Tips
Delta Peerless Bathroom Single Handle Faucet Repair
We use cookies on our website to give you the most relevant experience by remembering your preferences and repeat visits. By clicking “Accept All”, you consent to the use of ALL the cookies. However, you may visit "Cookie Settings" to provide a controlled consent.
This website uses cookies to improve your experience while you navigate through the website. Out of these, the cookies that are categorized as necessary are stored on your browser as they are essential for the working of basic functionalities of the website. We also use third-party cookies that help us analyze and understand how you use this website. These cookies will be stored in your browser only with your consent. You also have the option to opt-out of these cookies. But opting out of some of these cookies may affect your browsing experience.
Necessary cookies are absolutely essential for the website to function properly. These cookies ensure basic functionalities and security features of the website, anonymously.
Cookie
Duration
Description
cookielawinfo-checkbox-analytics
11 months
This cookie is set by GDPR Cookie Consent plugin. The cookie is used to store the user consent for the cookies in the category "Analytics".
cookielawinfo-checkbox-functional
11 months
The cookie is set by GDPR cookie consent to record the user consent for the cookies in the category "Functional".
cookielawinfo-checkbox-necessary
11 months
This cookie is set by GDPR Cookie Consent plugin. The cookies is used to store the user consent for the cookies in the category "Necessary".
cookielawinfo-checkbox-others
11 months
This cookie is set by GDPR Cookie Consent plugin. The cookie is used to store the user consent for the cookies in the category "Other.
cookielawinfo-checkbox-performance
11 months
This cookie is set by GDPR Cookie Consent plugin. The cookie is used to store the user consent for the cookies in the category "Performance".
viewed_cookie_policy
11 months
The cookie is set by the GDPR Cookie Consent plugin and is used to store whether or not user has consented to the use of cookies. It does not store any personal data.
Functional cookies help to perform certain functionalities like sharing the content of the website on social media platforms, collect feedbacks, and other third-party features.
Performance cookies are used to understand and analyze the key performance indexes of the website which helps in delivering a better user experience for the visitors.
Analytical cookies are used to understand how visitors interact with the website. These cookies help provide information on metrics the number of visitors, bounce rate, traffic source, etc.
Advertisement cookies are used to provide visitors with relevant ads and marketing campaigns. These cookies track visitors across websites and collect information to provide customized ads.


 Related Posts:


