Maximizing Space with a Compact Vanity
In small bathrooms, every inch counts, and a compact vanity can be the perfect solution for maximizing space without sacrificing style or functionality. Choosing the right compact vanity requires careful planning and consideration of your bathroom’s layout, storage needs, and overall aesthetic. Here are some key strategies for making the most out of a compact vanity in your bathroom.
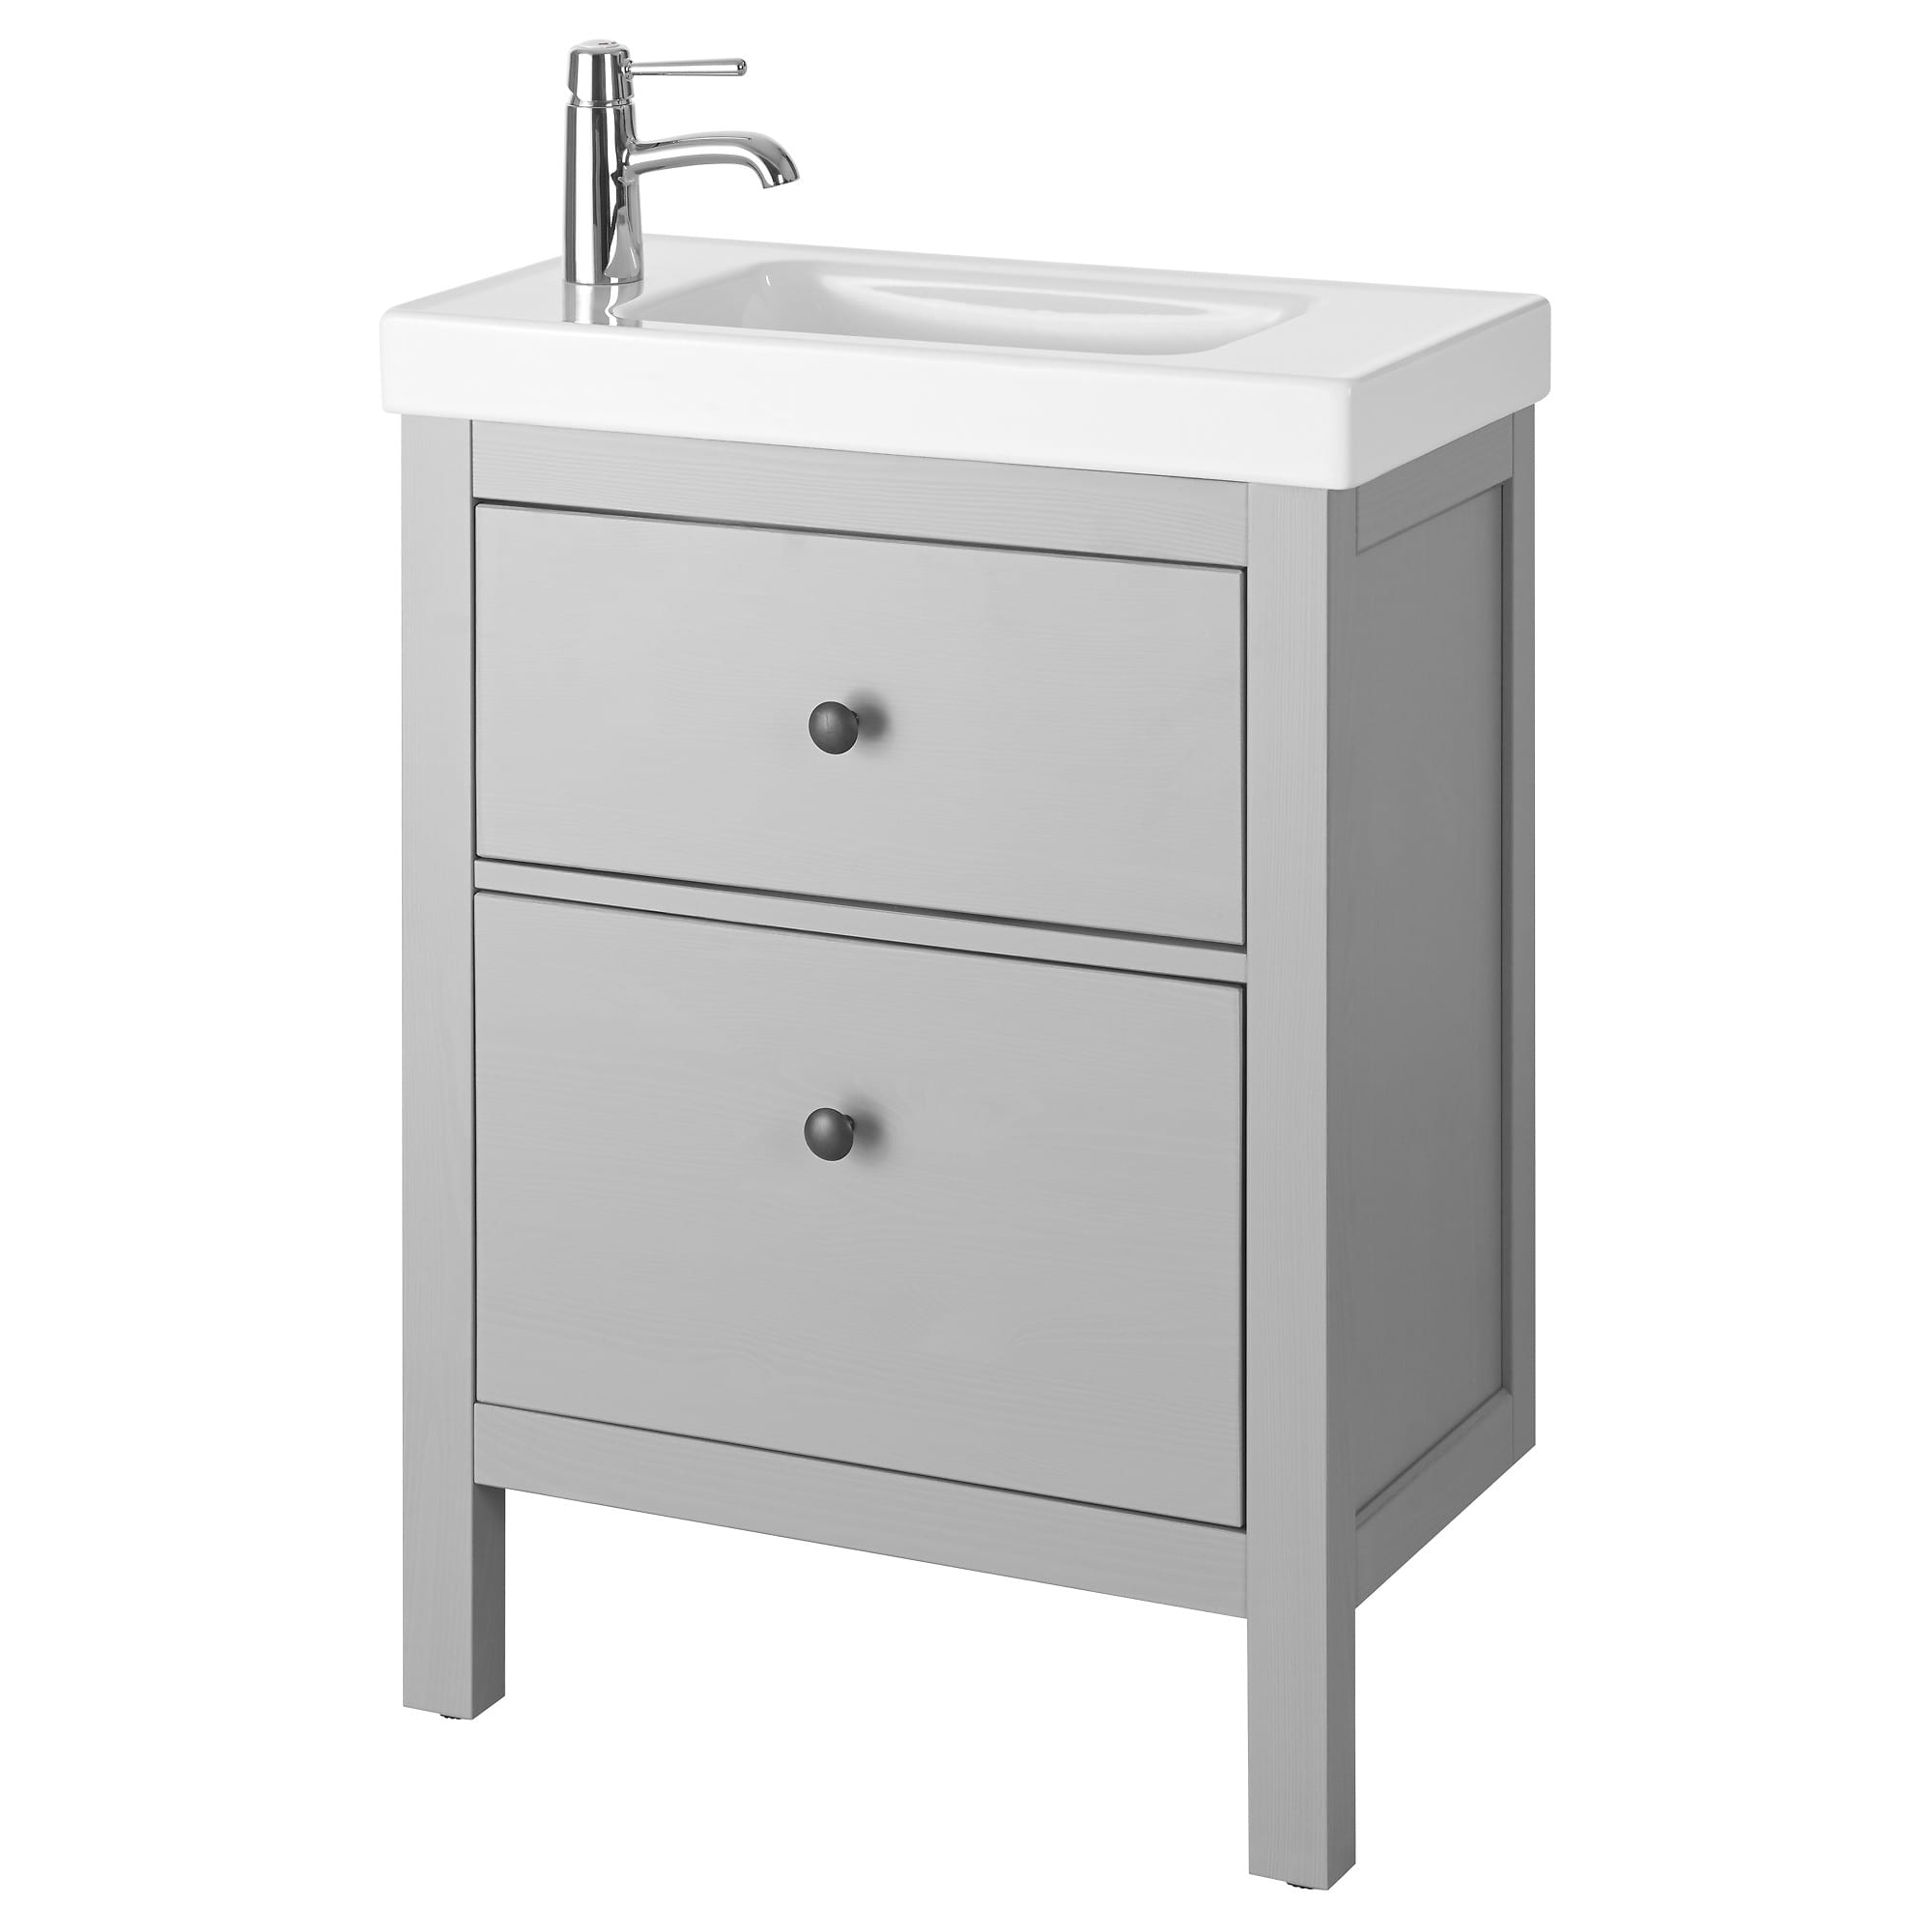
- Opt for Wall-Mounted Vanities: Wall-mounted or floating vanities free up floor space, creating the illusion of a larger room. Lifting the vanity off the floor allows you to open up the space underneath, making the bathroom feel less cluttered. This design also allows for easier cleaning beneath the vanity, a practical bonus.
- Choose a Slim Profile: Look for vanities with a slim profile to save on valuable floor space. Narrow-depth vanities can provide sufficient storage and countertop space without overwhelming the room. This is especially important in narrow bathrooms where every inch matters.
- Incorporate Integrated Sinks: Vanities with integrated sinks streamline the design, reducing the number of seams and joints where dirt and grime can accumulate. An integrated sink and countertop create a clean, minimalist look while also being easier to maintain. This design also maximizes counter space, as the sink is typically smaller and more compact.
- Consider Corner Vanities: If your bathroom layout permits, consider a corner vanity. These vanities are designed to fit snugly into corners, making use of an often-overlooked area. A corner vanity can free up more wall space for other fixtures or storage solutions, making the room feel more open and organized.
- Use Light Colors and Reflective Materials: Light colors and reflective surfaces can make a small space appear larger. Opt for a vanity in a light finish, such as white, light gray, or pastel tones. Additionally, choosing vanities with glossy or reflective surfaces can enhance the feeling of spaciousness by bouncing light around the room.
- Incorporate Mirrors and Lighting: A large mirror above the vanity can create the illusion of more space, reflecting light and visually expanding the room. Pairing your vanity with appropriate lighting, such as wall-mounted sconces or overhead lights, can also enhance the sense of space by eliminating shadows and brightening the area.
Choosing the Right Style for Your Compact Bathroom
Selecting the right style for your compact bathroom vanity is crucial to creating a cohesive and aesthetically pleasing space. The style of your vanity sets the tone for the entire bathroom, whether you prefer a modern, traditional, or transitional design. Here’s how to choose a style that complements your bathroom’s design and meets your functional needs.
Modern Minimalism: If you’re drawn to sleek, clean lines and a clutter-free aesthetic, a modern minimalist vanity might be the perfect choice. Look for vanities with simple, unadorned designs, often characterized by flat-panel doors, integrated handles, and a monochromatic color scheme. This style works well in compact spaces as it emphasizes functionality and simplicity.
Rustic Charm: For a cozy, welcoming bathroom, consider a vanity with a rustic style. These vanities often feature natural wood finishes, distressed paint, and vintage-inspired hardware. A rustic vanity can bring warmth and character to a compact bathroom, making it feel more inviting and comfortable.
Classic Elegance: A traditional vanity with classic detailing can add a touch of elegance to a small bathroom. Look for features like raised panel doors, ornate hardware, and rich wood finishes. While traditional vanities tend to be more detailed, choosing a compact version with subtle embellishments can maintain elegance without overwhelming the space.
Industrial Edge: If you prefer a more urban, edgy look, an industrial-style vanity might be the right fit. These vanities often incorporate metal elements, concrete surfaces, and dark, matte finishes. The combination of raw materials and sleek lines can create a bold statement in a compact bathroom.
Transitional Appeal: For those who can’t decide between modern and traditional, a transitional vanity offers the best of both worlds. This style blends contemporary and classic elements, resulting in a versatile design that can adapt to various bathroom styles. A transitional vanity often features clean lines with subtle decorative details, making it a great choice for a compact space.
Custom Creations: If none of the off-the-shelf styles meet your needs, consider a custom vanity. Custom vanities can be tailored to your specific design preferences, bathroom layout, and storage requirements. Whether you want a unique shape, a specific finish, or built-in features, a custom vanity ensures you get exactly what you need for your compact bathroom.

Material Options for Compact Vanities
The material you choose for your compact bathroom vanity plays a significant role in its durability, appearance, and maintenance requirements. Different materials offer varying levels of resistance to moisture, heat, and daily wear and tear. Here’s a closer look at the most popular materials for compact vanities and their pros and cons.
Solid Wood: Solid wood is a classic choice for vanities, known for its durability and natural beauty. It adds warmth and richness to a bathroom but requires proper sealing and maintenance to prevent damage from moisture. Solid wood can be expensive, but its longevity and timeless appeal make it a worthwhile investment.
Medium Density Fiberboard (MDF): MDF is a cost-effective alternative to solid wood, made from wood fibers compressed with resin. It’s smoother and more resistant to warping than solid wood, making it a good option for bathroom environments. However, MDF is susceptible to water damage, so it’s important to choose a vanity with a high-quality finish to protect it from moisture.
Plywood: Plywood is a strong and stable material made by layering thin sheets of wood veneer. It’s more water-resistant than MDF and less likely to warp than solid wood, making it a popular choice for bathroom vanities. Plywood is also lightweight and versatile, available in a range of finishes to suit different styles.
Particleboard: Particleboard is an affordable option made from wood chips and resin. It’s less durable and more prone to water damage than MDF or plywood, but it can be a good choice for budget-conscious buyers. Particleboard vanities are often finished with a laminate or veneer to improve their appearance and moisture resistance.
Laminate: Laminate is a synthetic material that’s often used as a finish for vanity surfaces. It’s durable, easy to clean, and available in a wide variety of colors and patterns. Laminate can mimic the look of wood, stone, or other materials at a fraction of the cost, making it a practical choice for a compact bathroom vanity.
Stone and Engineered Stone: Stone vanities, such as those made from marble or granite, add luxury and elegance to a bathroom. Engineered stone, like quartz, offers similar beauty with added durability and stain resistance. These materials are more expensive but are highly durable and resistant to water and stains, making them ideal for high-end vanities.
Incorporating Storage Solutions
Storage is a critical consideration when choosing a compact vanity, as small bathrooms often lack sufficient space for essentials. A well-designed vanity can provide much-needed storage without taking up too much room. Here are some effective ways to incorporate storage solutions into your compact bathroom vanity.
Drawers Over Doors: Drawers are generally more space-efficient than cabinets with doors, especially in a compact vanity. They provide easy access to the contents and allow you to maximize storage space by using the full depth of the vanity. Look for vanities with deep drawers, ideally with built-in dividers or organizers to keep items neat and accessible.
Pull-Out Shelves and Trays: Pull-out shelves and trays within the vanity can help you make the most of the available space. These features allow you to store items like toiletries, cleaning supplies, and towels in an organized manner, without having to dig through a cluttered cabinet. Pull-out shelves are particularly useful for storing taller items that might not fit in standard drawers.
Open Shelving: If you’re short on closed storage, consider a vanity with open shelving. Open shelves can be used to store towels, baskets, or decorative items while adding visual interest to the bathroom. This option can make the space feel more open and airy, but it requires careful organization to avoid a cluttered look.
Over-the-Vanity Storage: Utilize the space above your vanity by incorporating over-the-vanity storage solutions. Wall-mounted cabinets, shelves, or medicine cabinets can provide additional storage without taking up floor space. This is an excellent way to keep daily essentials within easy reach while maintaining a clean, uncluttered countertop.
Under-Sink Storage Solutions: The area beneath the sink is often underutilized but can be a valuable storage space with the right organization. Consider installing pull-out baskets, adjustable shelving, or stackable storage bins under the sink. These solutions can help you make the most of the space around plumbing fixtures and keep the area tidy.
Integrated Storage Features: Some compact vanities come with integrated storage features, such as built-in towel racks, hidden compartments, or tilt-out drawers. These features are designed to maximize storage in a small footprint and can be especially useful in compact bathrooms where space is at a premium.
Installation Tips for Compact Vanities
Installing a compact vanity in a small bathroom requires careful planning and attention to detail. Proper installation ensures that the vanity functions well, looks great, and lasts for years. Here are some essential tips for installing a compact bathroom vanity.
Measure Your Space: Before purchasing a vanity, accurately measure the available space in your bathroom. Consider the placement of plumbing fixtures, electrical outlets, and other obstacles that might affect the installation. Make sure to account for the door swing and clearance around the vanity to ensure it fits comfortably in the space.
Check Plumbing Compatibility: Ensure that your chosen vanity is compatible with the existing plumbing layout in your bathroom. This includes checking the location of the drain and water supply lines relative to the vanity. If the vanity’s design requires plumbing modifications, consider consulting a professional plumber to avoid potential issues during installation.
Level and Secure the Vanity: When installing the vanity, make sure it is level and securely anchored to the wall. Use a level to check that the vanity is even on all sides, and adjust the feet or shims if necessary. Secure the vanity to the wall studs using appropriate screws or anchors to prevent it from shifting or tipping over.
Install the Countertop and Sink: If your vanity comes with a separate countertop and sink, carefully install them according to the manufacturer’s instructions. Apply a bead of silicone sealant around the edge of the vanity before placing the countertop, and ensure the sink is properly seated and sealed. Allow the sealant to cure fully before using the vanity.
Connect the Plumbing: After the vanity and sink are installed, connect the plumbing fixtures. This includes attaching the faucet, drain, and water supply lines. Ensure all connections are tight and leak-free. It’s a good idea to turn on the water and check for leaks before finishing the installation.
Finish with Caulk and Trim: Once the vanity is installed and the plumbing is connected, finish the installation by applying caulk around the edges where the vanity meets the wall. This helps prevent water from seeping behind the vanity and causing damage. If your vanity has a backsplash, install it according to the manufacturer’s instructions and seal the edges with caulk.
Budget-Friendly Compact Vanity Ideas
Creating a stylish and functional bathroom doesn’t have to break the bank. With a bit of creativity and smart shopping, you can find or create a budget-friendly compact vanity that suits your needs and aesthetic. Here are some ideas for achieving a beautiful bathroom vanity on a budget.
Repurpose Furniture: One way to save money on a bathroom vanity is by repurposing an existing piece of furniture. A small dresser, console table, or vintage cabinet can be transformed into a unique vanity with a bit of DIY effort. Simply cut a hole for the sink and plumbing, add a countertop if needed, and finish with paint or stain.
Shop Discount and Outlet Stores: Look for vanities at discount home improvement stores, outlet centers, or clearance sections. These places often have great deals on overstock, discontinued, or slightly imperfect vanities that are still perfectly functional. You can find high-quality pieces at a fraction of the original cost.
Choose Laminate or MDF: Laminate and MDF are budget-friendly materials that can mimic the look of more expensive options like wood or stone. Vanities made from these materials are often more affordable while still offering a wide range of styles and finishes. They’re also easy to maintain, making them a practical choice for budget-conscious buyers.
Opt for a Pedestal Sink: If storage is not a primary concern, consider a pedestal sink instead of a traditional vanity. Pedestal sinks are typically more affordable and take up less space, making them ideal for small bathrooms. Pair the sink with a wall-mounted cabinet or shelves to provide additional storage without the bulk of a vanity.
DIY Vanity Updates: If you already have a vanity but want to give it a fresh look, consider some DIY updates. Painting or staining the vanity, replacing the hardware, or adding a new countertop can dramatically change the appearance without the cost of a new vanity. Adding decorative trim or molding can also enhance the look of a basic vanity.
Use Affordable Countertop Materials: The countertop is one of the most expensive parts of a vanity, but there are budget-friendly alternatives to high-end materials like granite or marble. Consider using laminate, butcher block, or tile for the countertop. These materials can be just as attractive and durable while keeping costs down.
Maintaining Your Compact Bathroom Vanity
Proper maintenance is essential to keep your compact bathroom vanity looking and functioning its best. Regular care and attention can extend the life of your vanity and prevent common issues like water damage, stains, and wear. Here are some tips for maintaining your compact bathroom vanity.
Clean Regularly: Regular cleaning is the first step in maintaining your vanity. Wipe down the surfaces with a soft, damp cloth and mild soap to remove dust, dirt, and grime. Avoid using harsh chemicals or abrasive cleaners, as they can damage the finish. Pay special attention to areas around the sink and faucet where water spots and soap scum can accumulate.
Protect Against Water Damage: Water is one of the biggest threats to bathroom vanities, especially those made of wood or MDF. To protect your vanity, wipe up any water spills immediately and avoid letting water sit on the surface. Use a waterproof sealant on the countertop and around the edges where water might seep in. Consider adding a backsplash to further protect the wall and vanity from water damage.
Avoid Excessive Humidity: Bathrooms are naturally humid environments, but excessive moisture can lead to problems like warping, mold, and mildew. Ensure your bathroom is well-ventilated by using an exhaust fan or opening a window during and after showers. If your vanity is near the shower, consider installing a shower curtain or glass door to prevent water from splashing onto the vanity.
Check for Leaks and Damage: Regularly inspect your vanity for signs of leaks or damage. Check under the sink for any drips or water stains, and make sure the faucet and plumbing connections are tight and leak-free. If you notice any damage, address it promptly to prevent further issues. Re-caulk the edges and seams if the sealant begins to deteriorate.
Polish Hardware and Fixtures: The hardware and fixtures on your vanity can lose their luster over time. To keep them looking new, regularly polish them with a metal or chrome cleaner, depending on the material. Tighten any loose handles, knobs, or hinges, and replace any hardware that shows signs of wear or corrosion.
Touch Up the Finish: Over time, the finish on your vanity may start to show signs of wear, such as scratches, chips, or fading. Touch up the finish as needed with paint, stain, or a protective topcoat. If the damage is extensive, consider refinishing the entire vanity to restore its original beauty. Regular maintenance of the finish will help keep your vanity looking fresh and new for years to come.
Small Powder Room Vanity Ideas
![]()
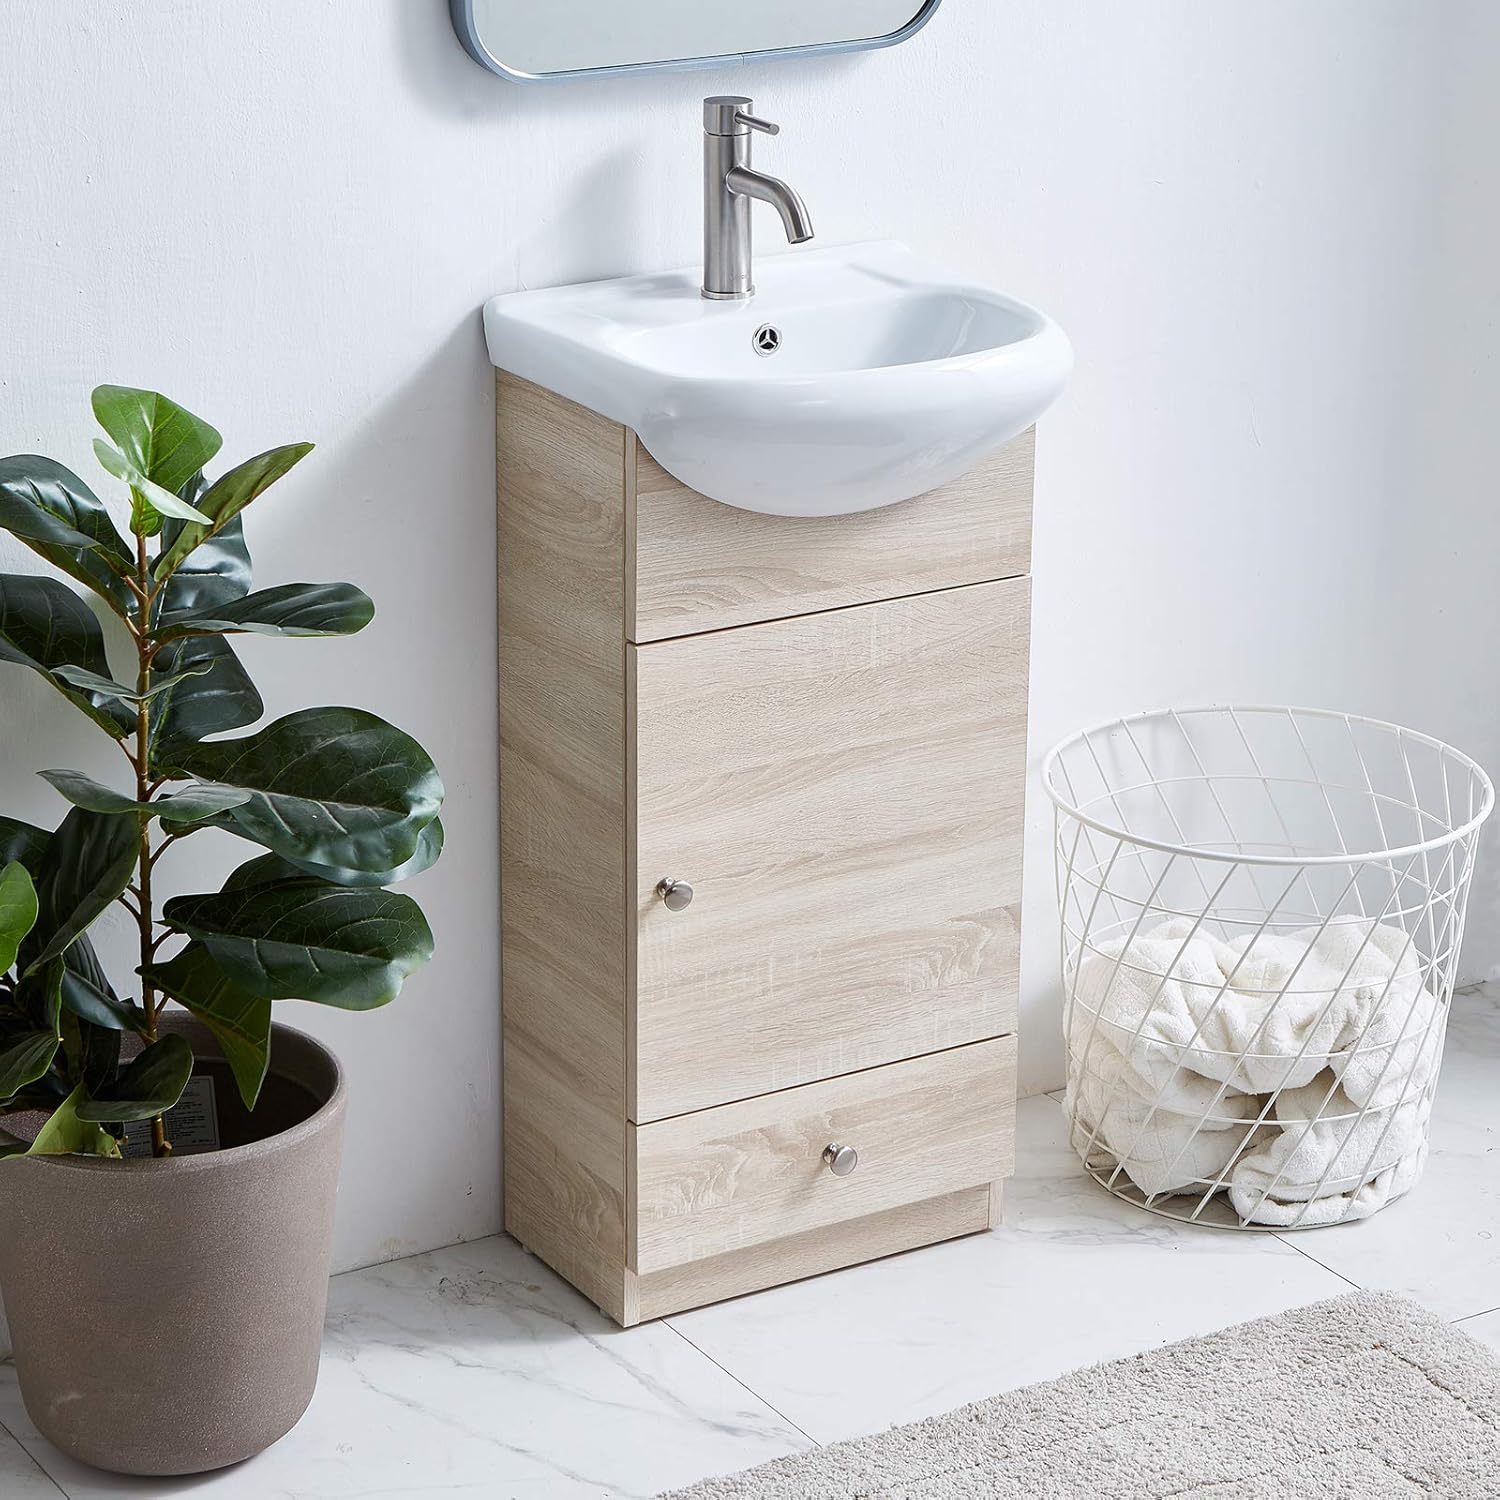
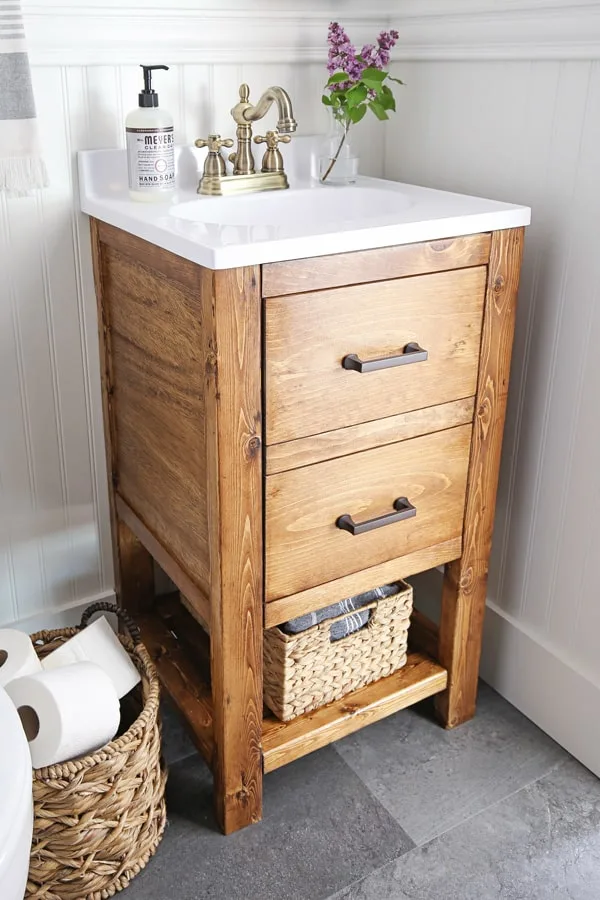
Small Bathroom Vanities 24 Inches

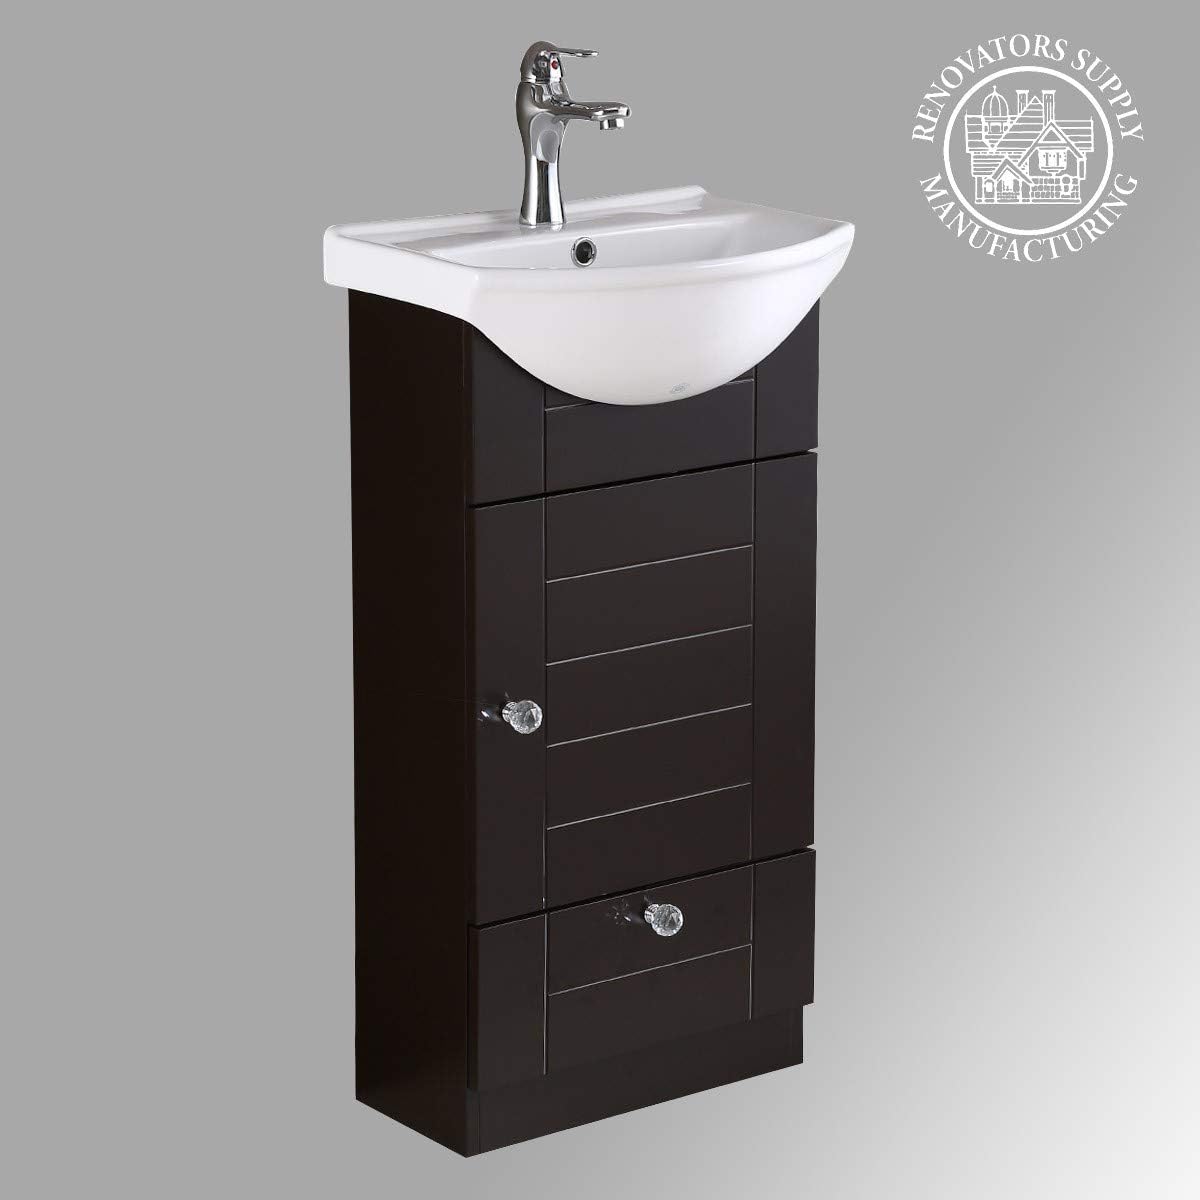
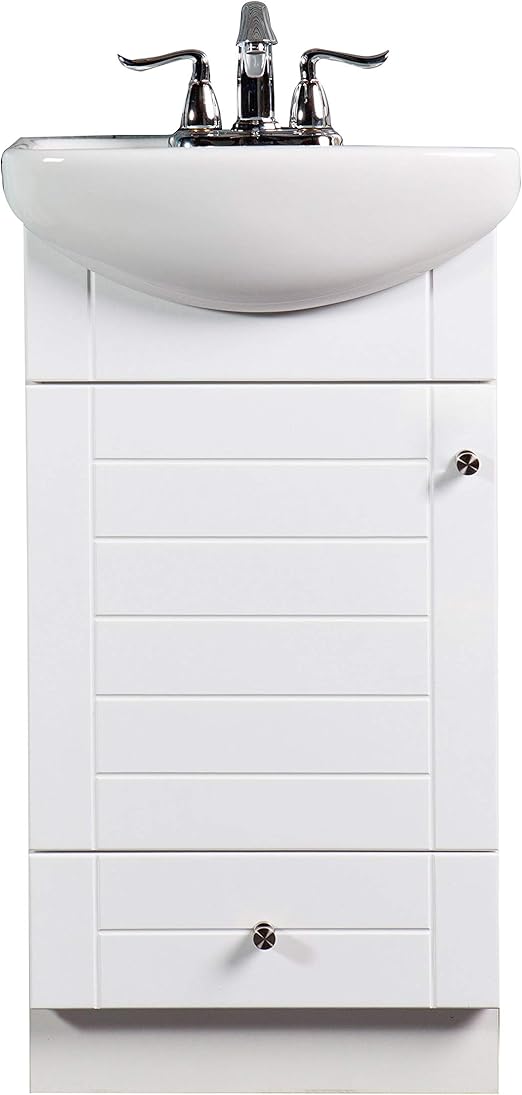
SMALL BATHROOM VANITY CABINET AND SINK WHITE
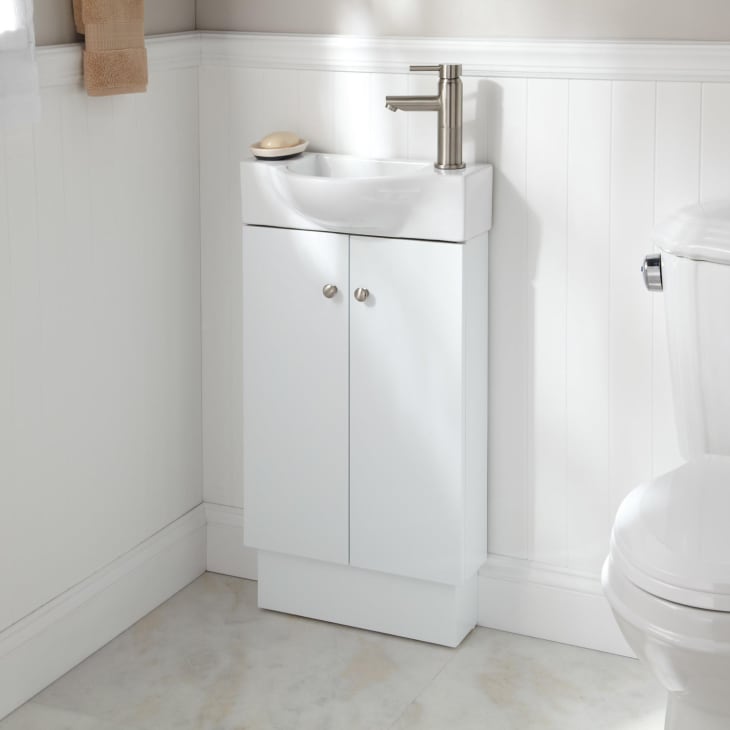
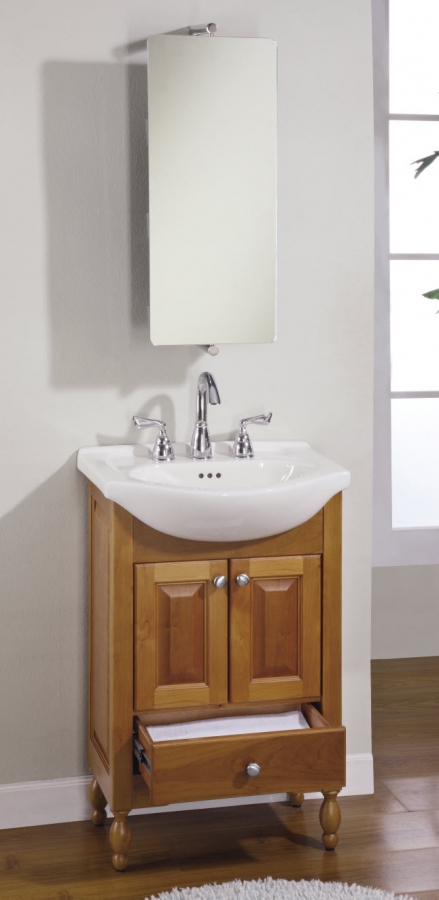
Small Bathroom Vanities For Glamorous Bathrooms
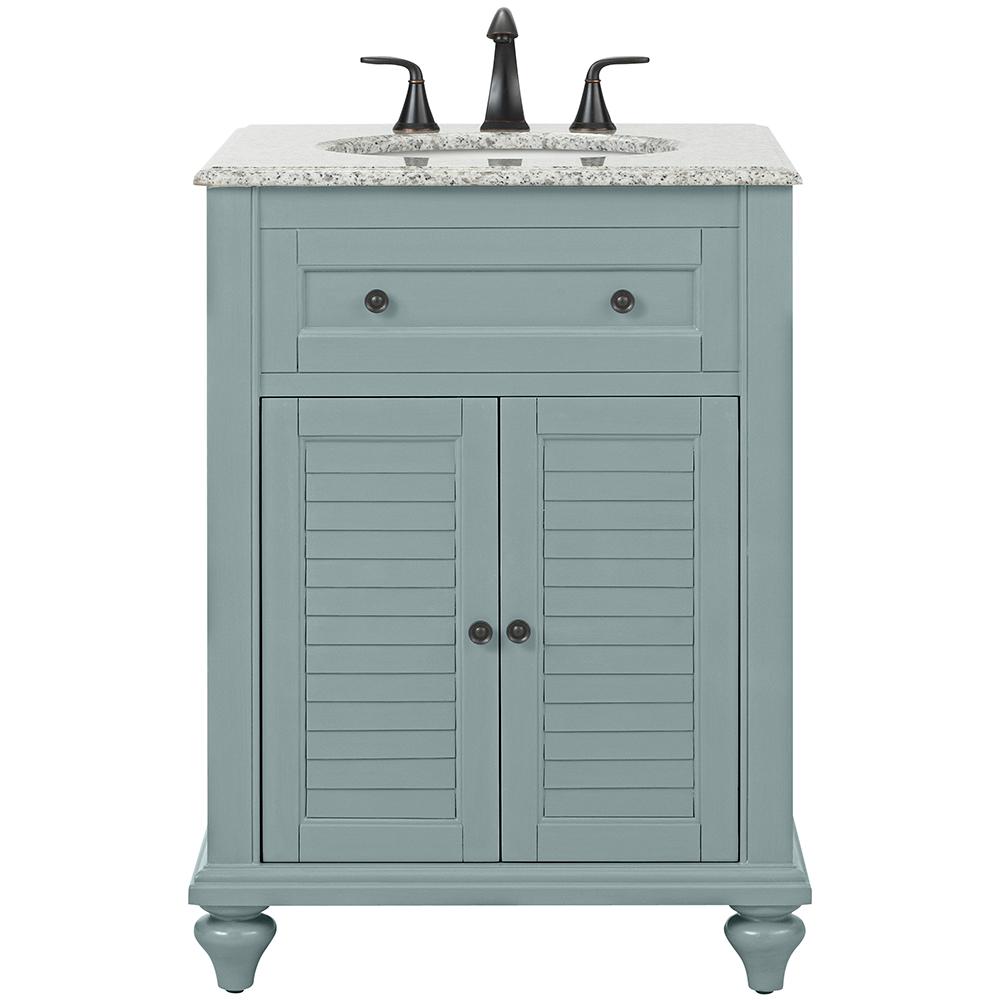
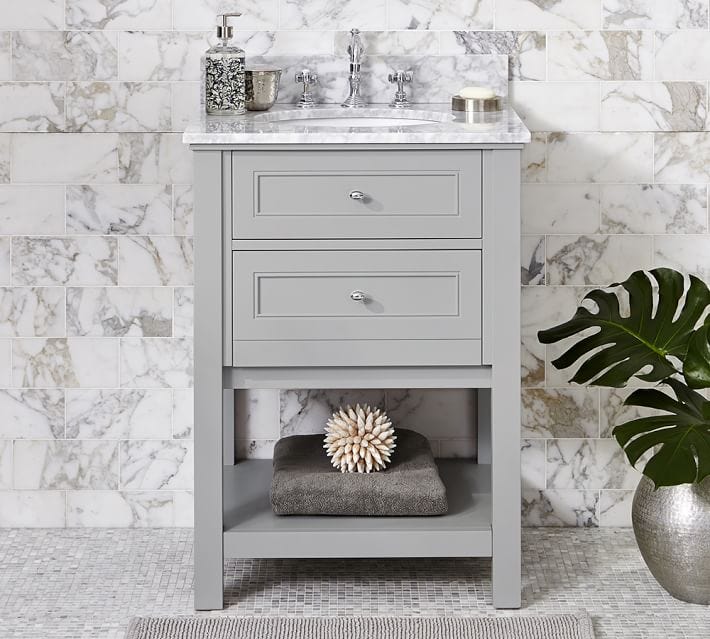
Small Bathroom Vanities and Sinks for Tiny Spaces Apartment Therapy
Related Posts:


