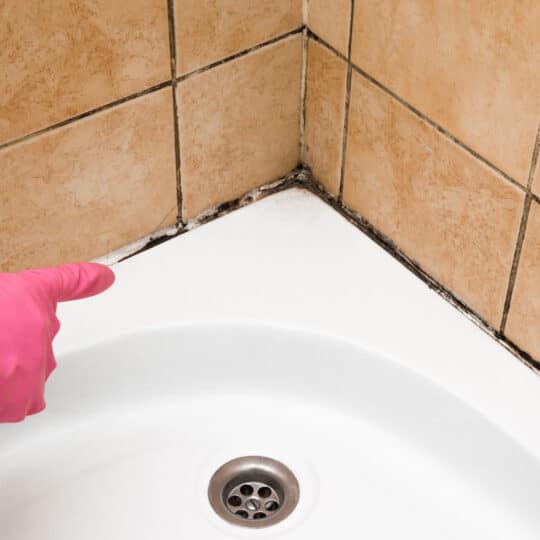
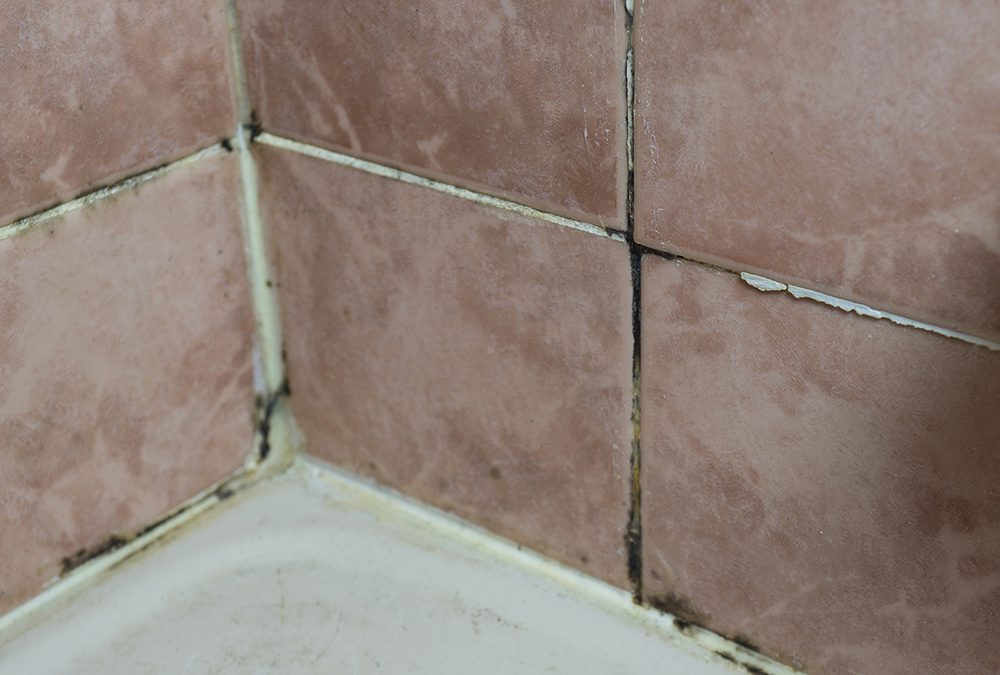
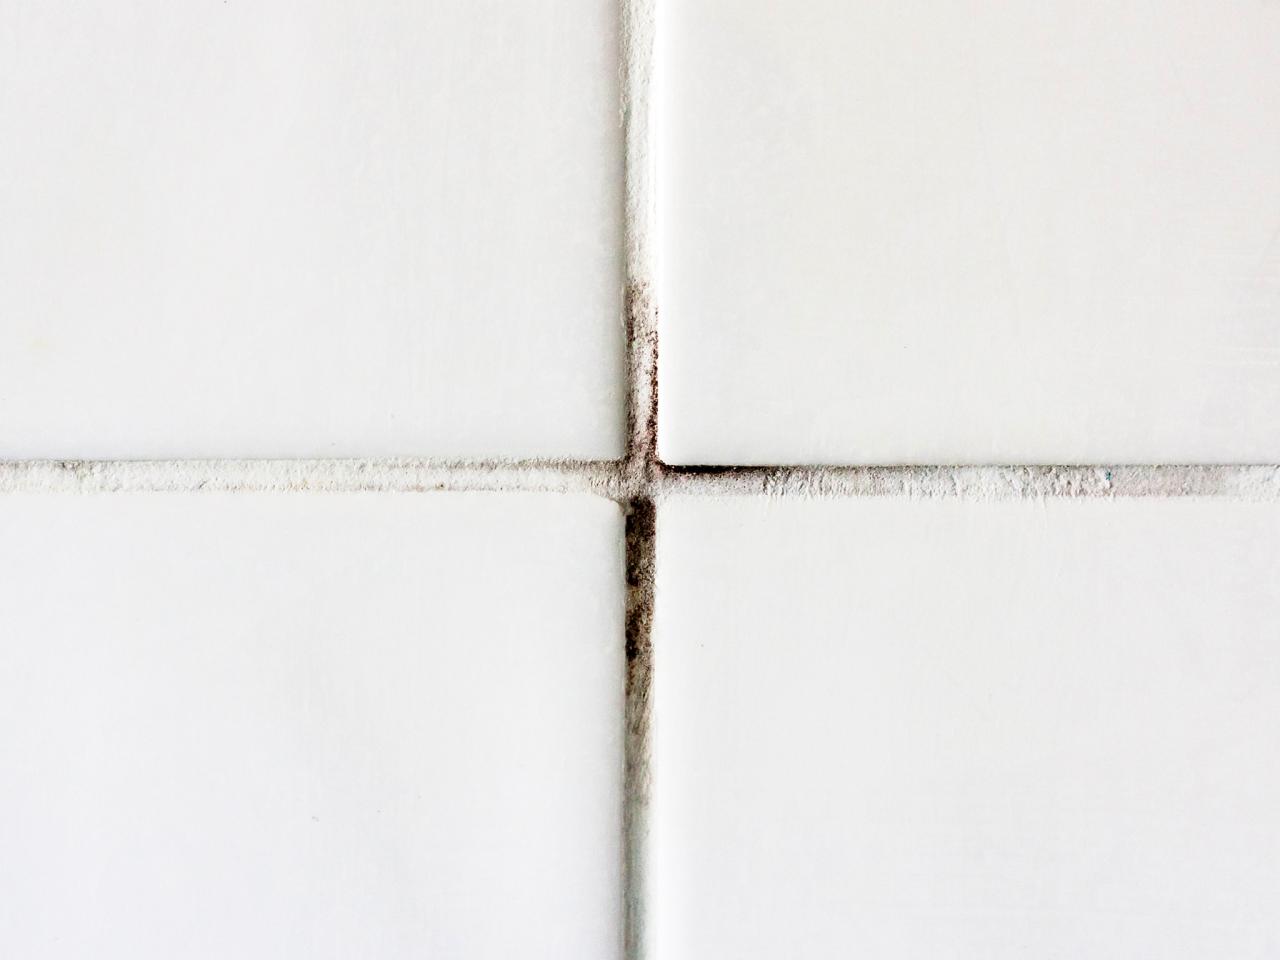
Dealing with mold in the bathroom can be an unsightly and potentially harmful problem. As someone who has encountered and successfully tackled bathroom tile mold, I understand the importance of a straightforward and effective cleaning method. I will share my experience and provide a no-fluff guide on cleaning bathroom tile mold.
Step 1: Gather the necessary supplies: Before starting the cleaning process, gather the following supplies:
- Protective gloves
- Safety goggles
- Face mask
- Scrub brush or toothbrush
- Bleach or hydrogen peroxide
- Water
- Spray bottle
Step 2: Prepare the area: Ensure the bathroom is well-ventilated by opening windows or using a fan. Proper ventilation helps minimize exposure to cleaning fumes and aids in drying the treated areas effectively.
Step 3: Put on protective gear: To protect yourself from mold spores and cleaning chemicals, put on your gloves, safety goggles, and a face mask.
Step 4: Create a cleaning solution: Mix bleach or hydrogen peroxide with water. Use a ratio of one part bleach to four parts water for bleach. For hydrogen peroxide, use a 3% solution.
Step 5: Apply the cleaning solution: Transfer the cleaning solution into a spray bottle for easy application. Spray the affected areas generously, ensuring the mold is thoroughly saturated. Take care to avoid spraying the solution onto adjacent surfaces to prevent damage.
Step 6: Let the solution sit: Allow the cleaning solution to sit on the moldy tiles for approximately 10-15 minutes. This dwell time ensures the solution penetrates the mold and helps loosen its grip on the surface.
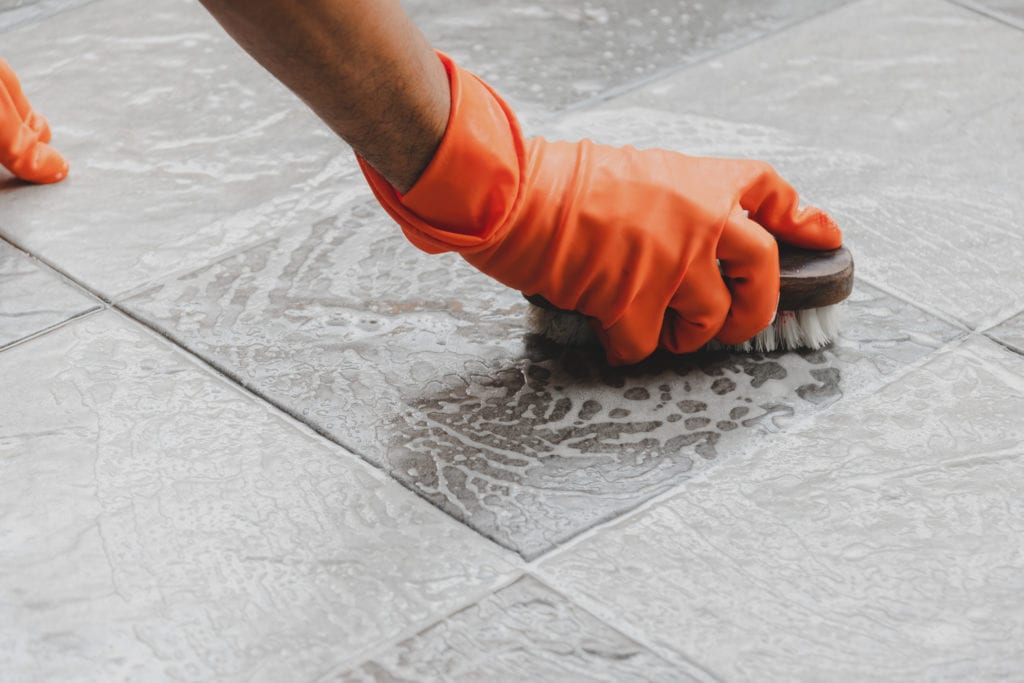
Step 7: Scrub the moldy areas:
Using a scrub brush or toothbrush, gently scrub the moldy areas in a circular motion. Apply firm but controlled pressure to remove the mold and any stubborn stains. Focus on each affected tile individually, ensuring you cover all moldy spots.
Step 8: Rinse and dry:
Thoroughly rinse the tiles with clean water to remove any residual cleaning solution and loosened mold particles. Use a clean cloth or towel to dry the tiles completely. Proper drying helps prevent the regrowth of mold.
Step 9: Dispose of cleaning materials:
Dispose of any contaminated materials, such as gloves or cleaning brushes, in a sealed bag. This prevents the spread of mold spores to other areas.
Step 10: Prevent future mold growth:
To prevent future mold growth, maintain good bathroom ventilation by using exhaust fans or opening windows after showering. Regularly clean and dry the bathroom surfaces to minimize moisture and create an inhospitable environment for mold.
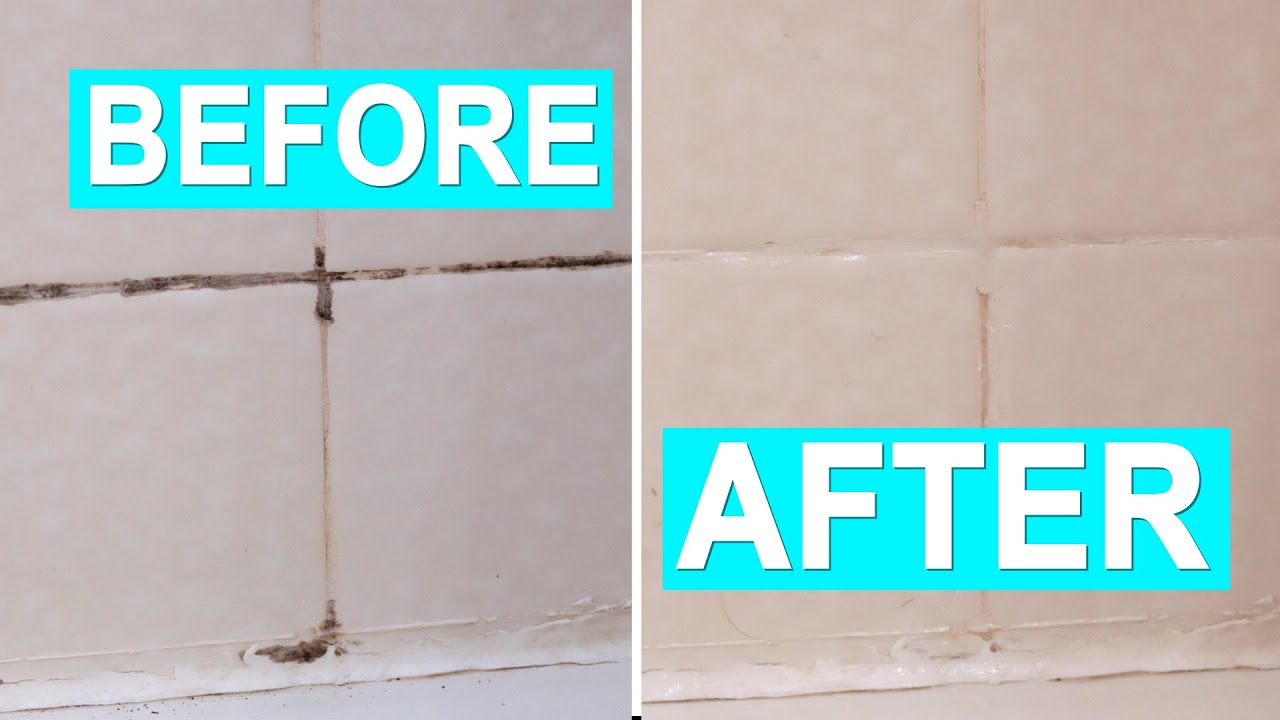
Cleaning bathroom tile mold doesn’t have to be a daunting task. I have successfully eliminated mold from my bathroom tiles by following these straightforward steps. Remember to gather your supplies, prepare the area, protect yourself with the proper gear, create a cleaning solution, apply it generously, let it sit, scrub the moldy areas, rinse and dry thoroughly, dispose of materials safely, and take preventive measures to discourage future mold growth. With these guidelines, you can maintain a clean and mold-free bathroom environment.
Do You Have Mold and Mildew in Your Shower?
How to clean the grout between your wall tiles and revamp mouldy mastic.
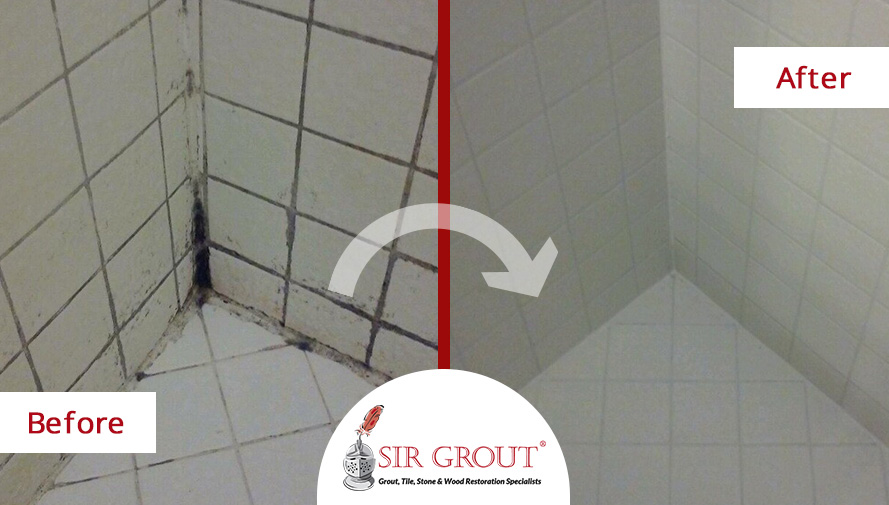
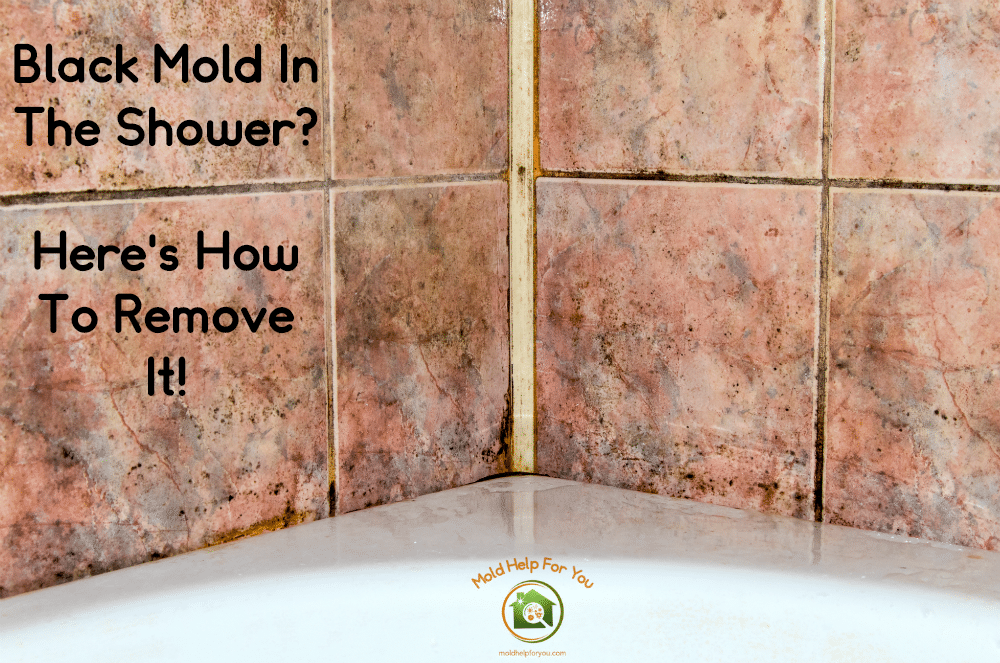
Black Mold In The Shower? Hereu0027s How To Remove It! Mold Help For You
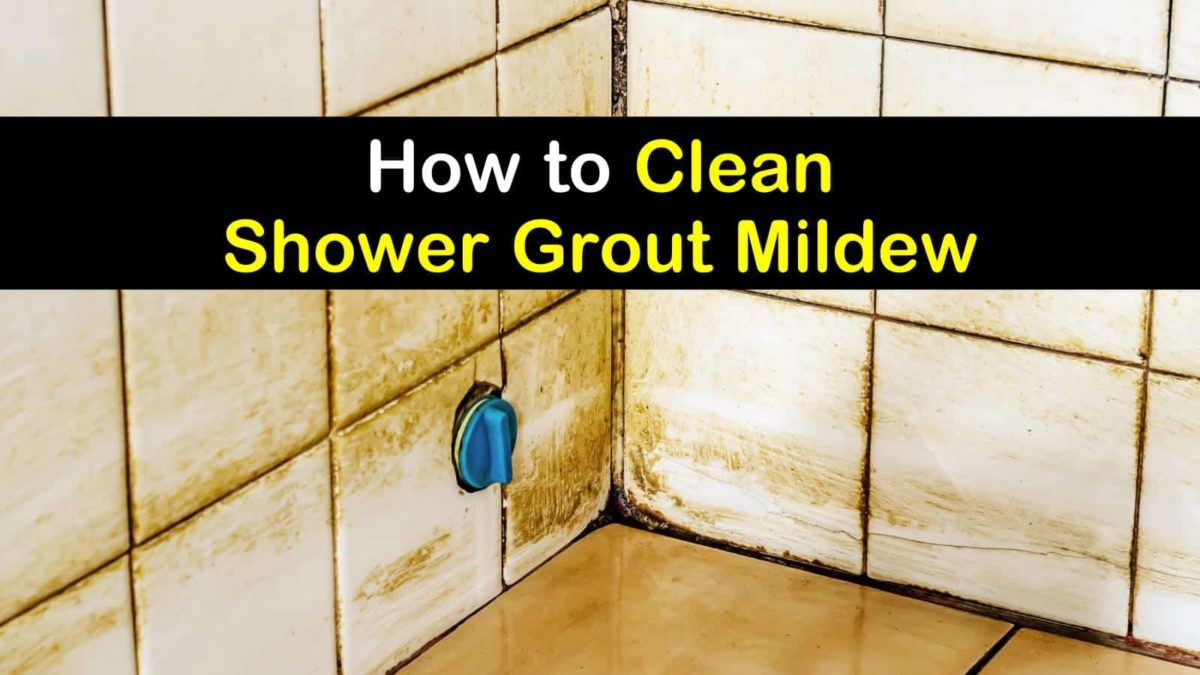
4 Brilliant Ways to Clean Shower Grout Mildew
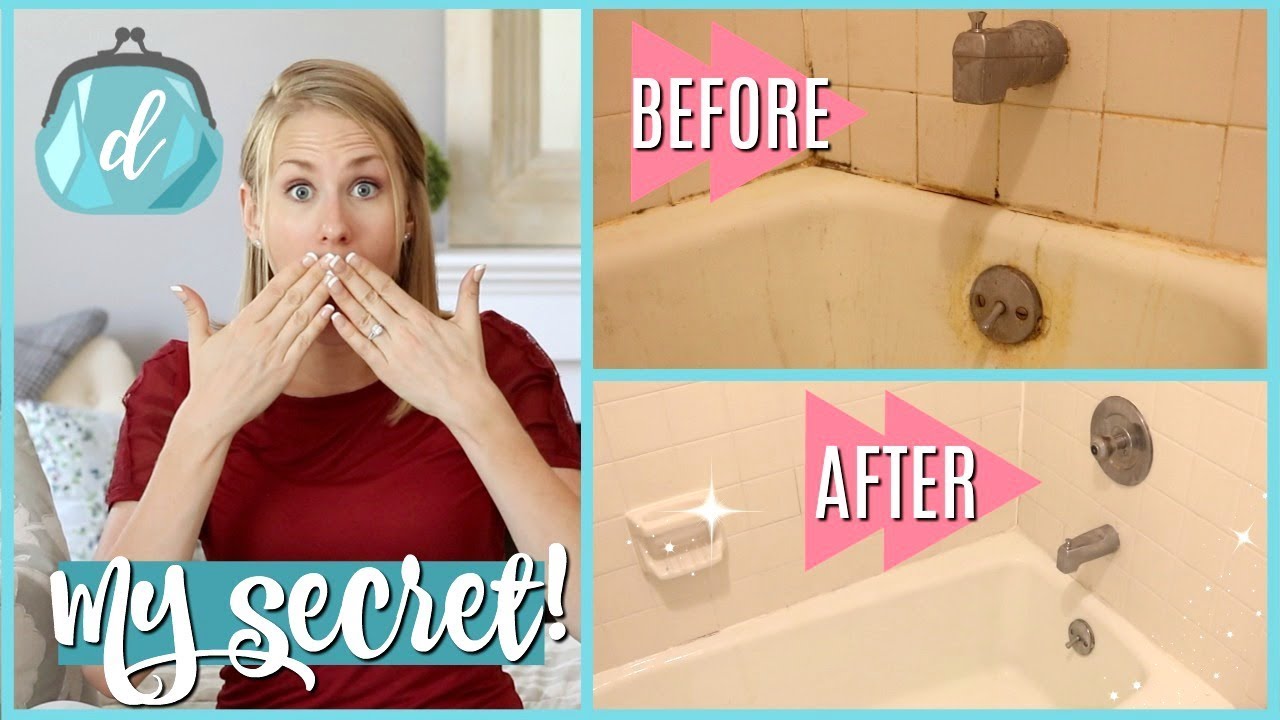
HOW TO CLEAN A MOLDY SHOWER (super satisfying clean with me!)
How to Clean and Safely Remove Bathroom Mold MYMOVE
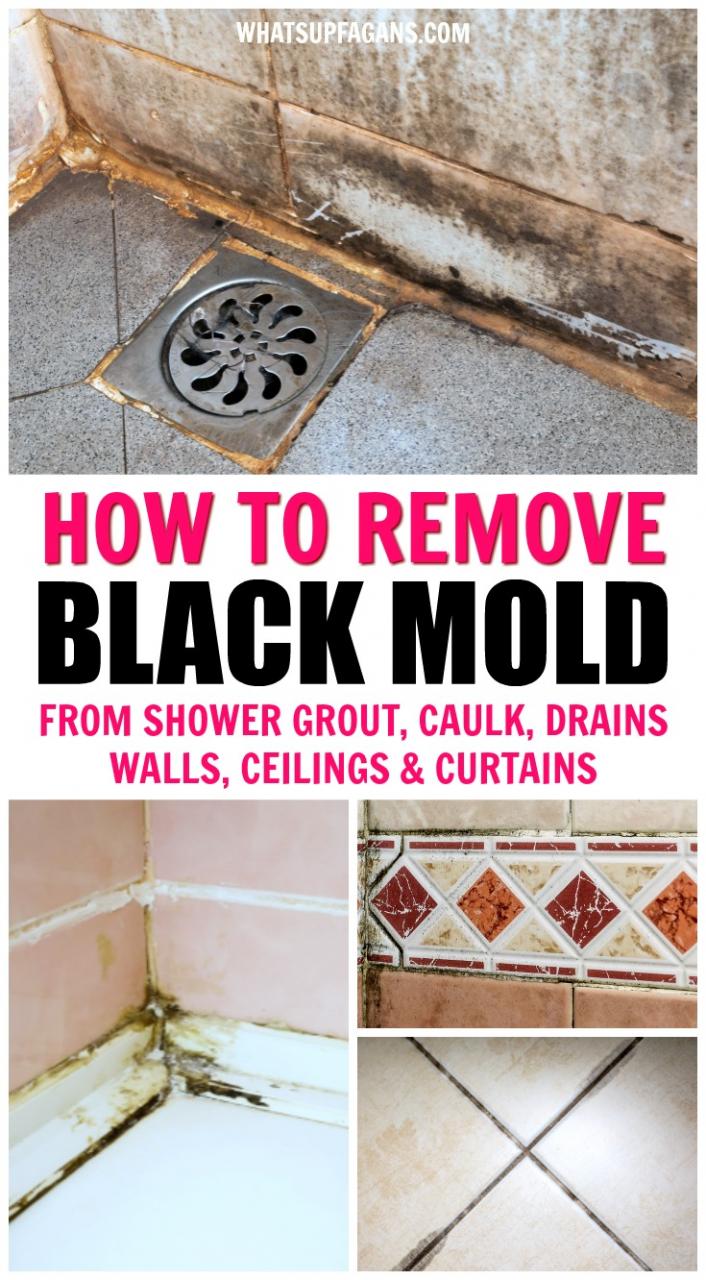
How to Get Rid of Black Mold Anywhere in Your Shower
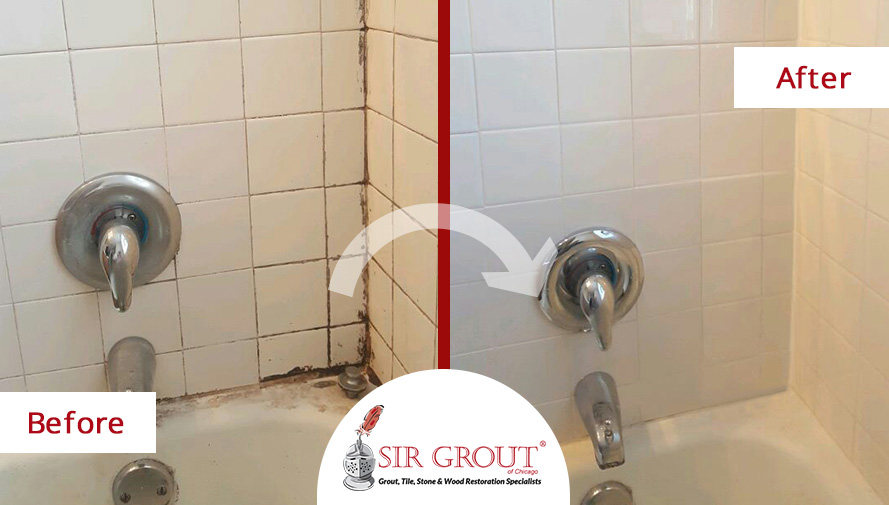
Our Grout Cleaning Experts in Lakeview Illinois Steamed Away All
How Can I Clean Mildew from Grout? – PuroClean HQ
How to Remove Mold from Grout ServiceMaster Clean
Black Mold In The Shower: How to Clean it In The Kitchen With Matt
How to Get Rid of Mildew The Maids
How to Clean Grout Cleaning Grout Stains HGTV
Related Posts:
- Bathroom Tile Photo Gallery
- How To Fix Grout In Bathroom Tile
- Bathroom Tile Backsplash Height
- Bathroom Tiles Kenya
- How To Clean Bathroom Tiles Without Chemicals
- Images Of Bathroom Tile Ideas
- Cheap Bathroom Tiles Perth
- Diy Bathroom Tile Ideas
- Home Remedies For Cleaning Bathroom Tile Grout
- Bathroom Tile Floor Border


