The Different Types of Tile Trim Pieces
When selecting tile trim pieces for a bathroom installation, there are a few main options to consider:
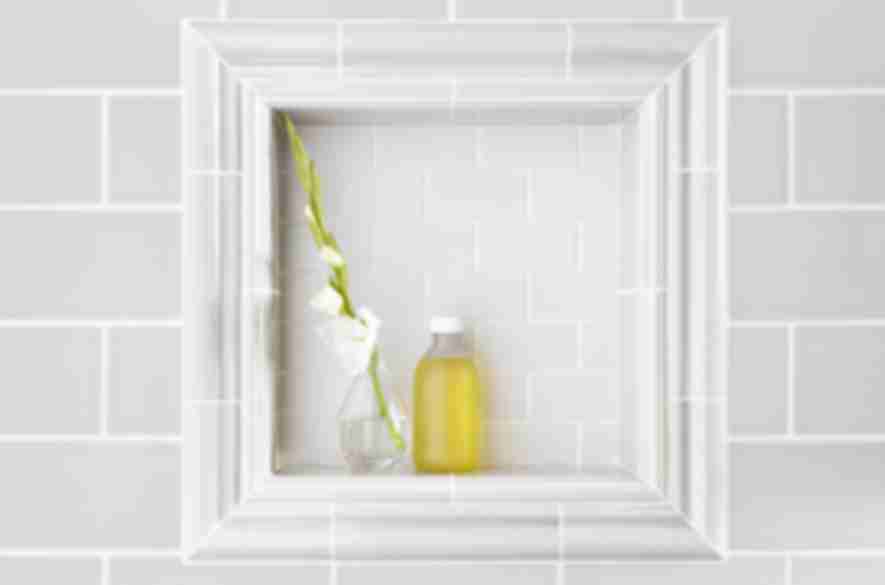
- Bullnose Tiles – Bullnose tiles have a rounded finished edge that provides a smooth transition between the tile and the wall. They are commonly used along countertops, niche shelves, and other areas needing a finished edge.
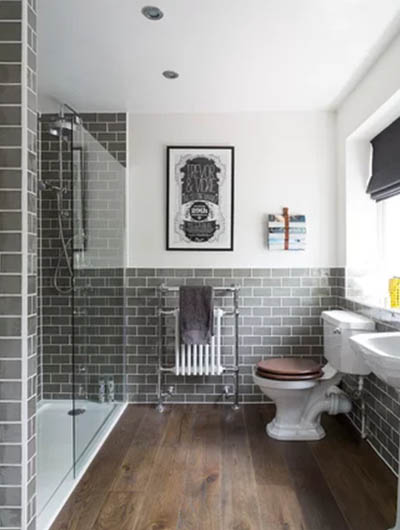
- Pencil Tiles – Pencil tiles are narrow rectangular tiles set vertically, often as an accent along the top of backsplashes or horizontally to create a chair-rail effect partway up the wall. Their slim shape lends a stylish detail.
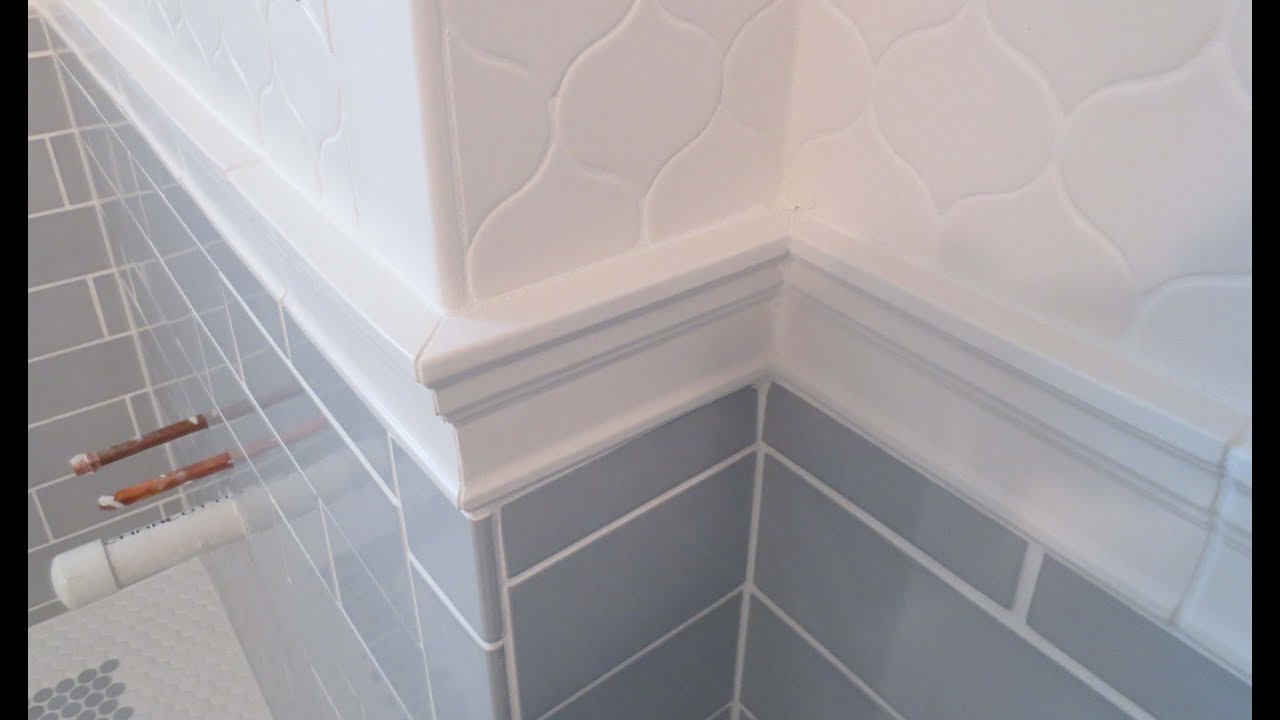
- Chair Rail Tiles – As the name suggests, chair rail tiles are installed horizontally at chair rail height to mimic the traditional wood trim piece. They form visually interesting lines across walls.
- Surface Bullnose Tiles – For inside corners where tiles from perpendicular walls meet, surface bullnose tiles have just one rounded finished edge to cover the sharp corner seam for a cohesive look.
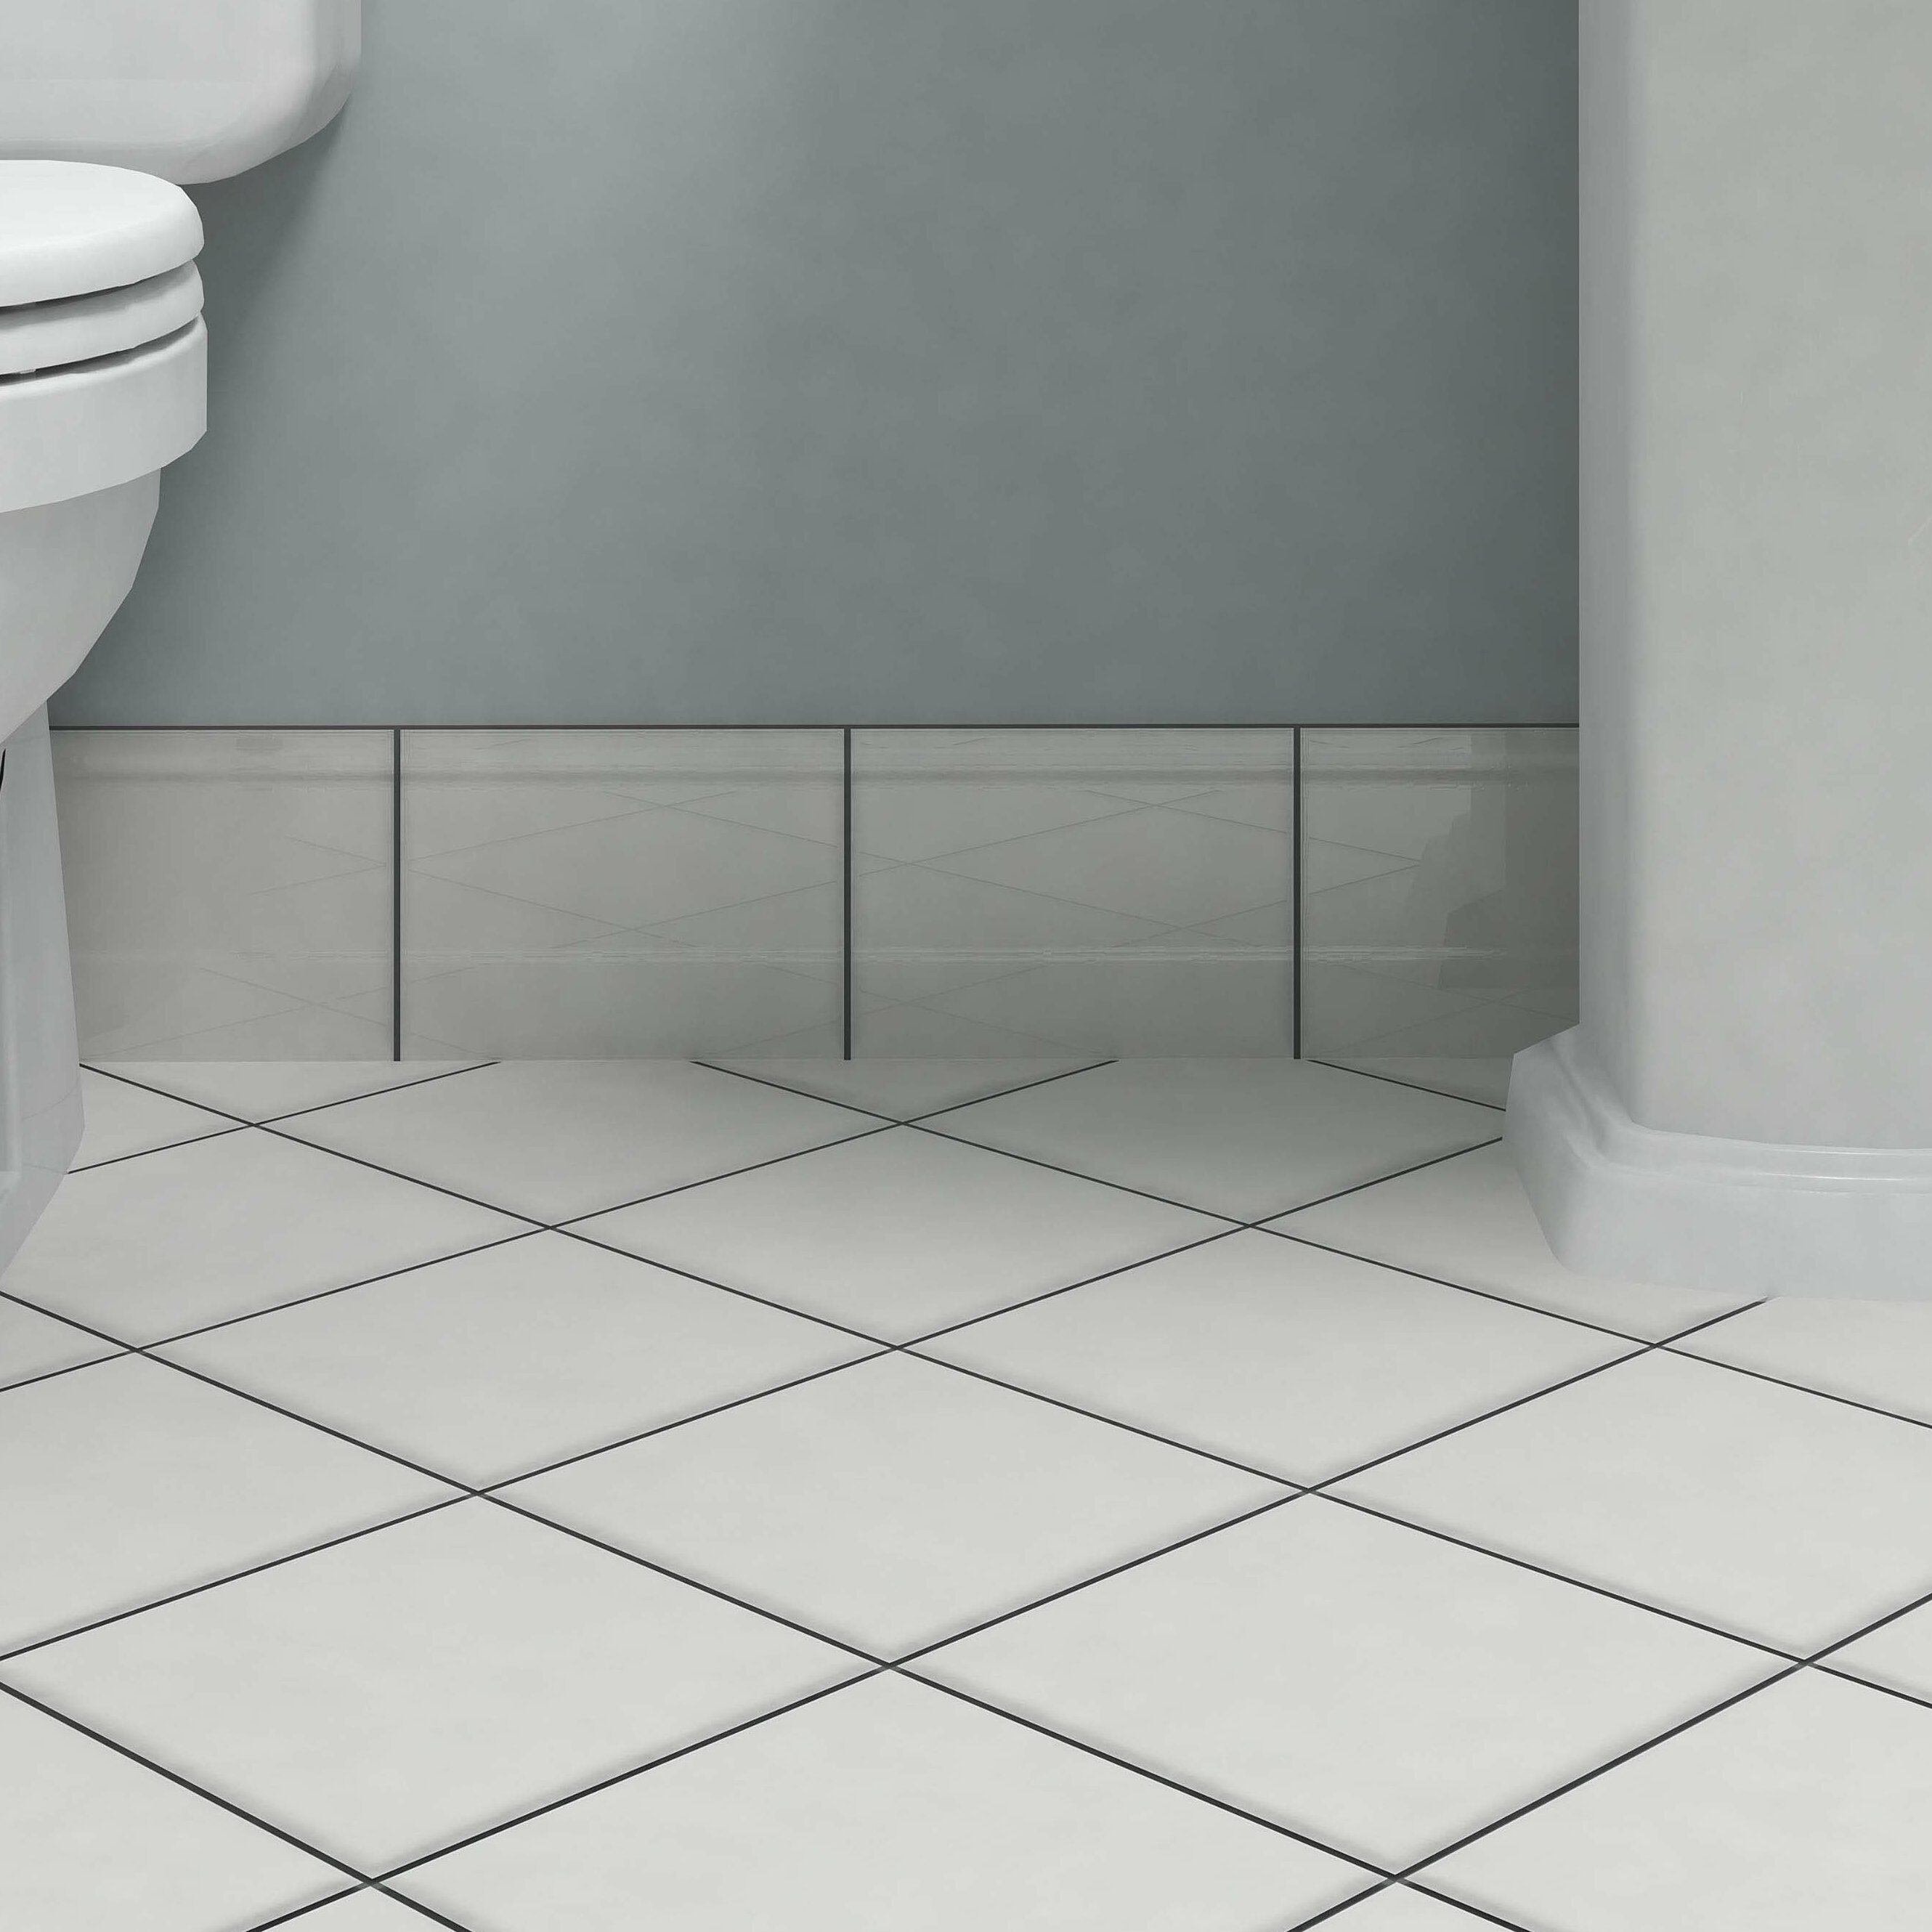
- Quarter Round Tiles – Finally, quarter round tiles have a rounded L-shaped profile to transition smoothly between floor tile up to the wall’s base trim.

Where to Use Each Type of Trim Tile
Knowing the best applications for each tile trim piece ensures proper placement:
- Bullnose Tiles – Use along any countertop edge, niche shelf edge, backsplash top edge, or anywhere a finished edge is needed between the tile and wall.
- Pencil Tiles – Ideal for vertical accents along the top of backsplashes or horizontal chair rail installation partway up walls to add detail.
- Chair Rail Tiles – Install horizontally about 30-36 inches up walls to mimic the look of classic chair rail molding in all or part of the bathroom.
- Surface Bullnose Tiles – Place in all inside corners where tiles from perpendicular walls meet to cover the sharp corner with a rounded finished edge.
- Quarter Round Tiles – Use to transition smoothly between newly installed floor tile edges and existing base trim at the bottom of walls.
Materials Bathroom Trim Tiles Are Made From
Bathroom tile trim pieces come in an array of materials to coordinate with the floor, wall, backsplash, or countertop tiles:
Ceramic – Glazed ceramic trim tiles provide a very smooth finished edge and come in endless color/pattern options to match other ceramic wall or floor tiles.
Porcelain – More durable than ceramic, porcelain trim tiles better resist moisture and stand up to higher traffic areas. Their sheen nicely matches porcelain tiles.
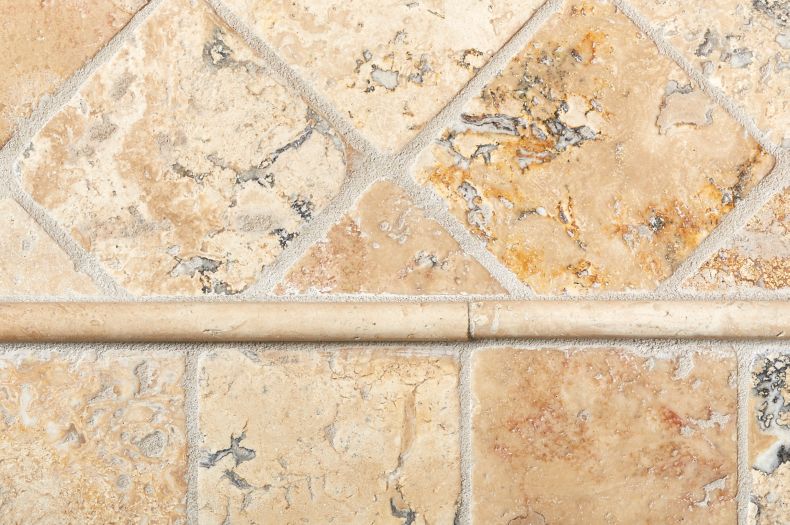
Marble – Elegant marble trim tiles complement marble backsplash or wall tiles, bringing beautiful veining and swirls throughout the bath.
Granite – Trim tiles made of polished granite coordinate with granite countertops and bring sophistication. Durability makes them suitable for floor edges.
Glass – For contemporary spaces, glass tile trim pieces add sheen and reflect light beautifully. Their transparency creates simple transitions between tile installations.

Factors to Consider When Selecting Trim Tiles
Choosing complimentary trim involves assessing:
Color/Style Coordination – Trim tile color and pattern should match or coordinate nicely with all other tile finishes they border for a cohesive look.
Finish – A trim tile’s matte or shiny finish should match the tile installation it transitions to. Glossy pencil trim atop a matte subway wall tile backsplash can make an interesting contrast.
Size/Dimensions – Measure areas getting trim tiles to calculate exactly how many are needed and if any specialty cuts will be required. Order accordingly.
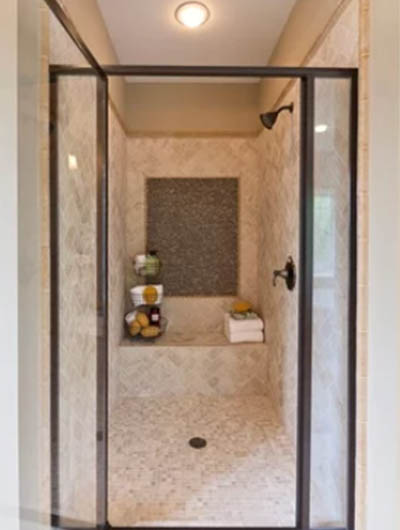
Traffic/Moisture – In high traffic wet areas like showers, select durable porcelain or granite trim tiles that withstand moisture and resist staining/discoloring.
Budget – Ceramic trim tiles provide the most affordable option. Glass or marble tiles add exponentially more per piece but also luxurious style.
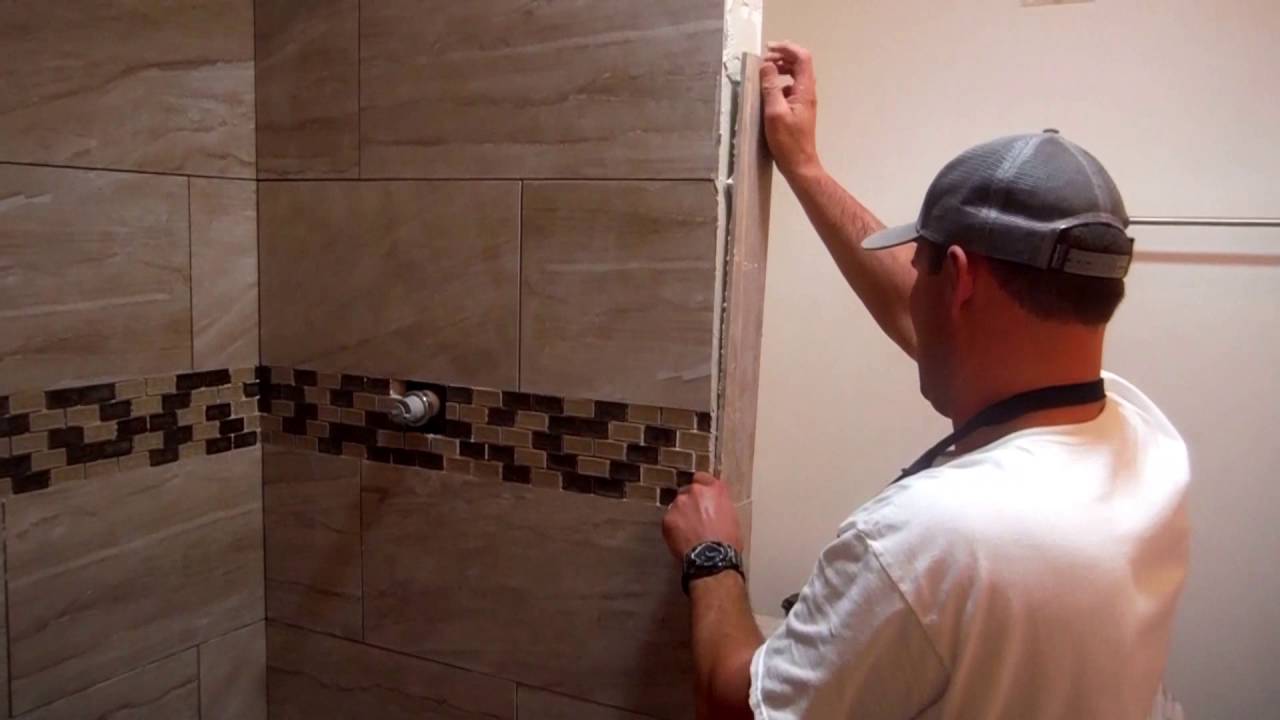
Installing Bathroom Tile Trim
Achieving a seamless installation requires:
Preparing the Surface – Ensure the surfaces getting trim first have any old caulk or grout removed. Clean thoroughly so trim tiles adhere properly using thinset mortar.
Applying Thinset Mortar – Spread a layer evenly where trim tile pieces will be placed according to product specifications using a notched trowel.
Setting the Tiles – Firmly press tiles into position within the thinset mortar’s open time, using spacers for uniform joints.
Grouting Properly – After a full cure, grout trim tile joints to match the rest of the tilework, wiping away excess grout with a damp sponge.
Caulking Edges/Corners – Lastly, use a flexible, moisture-proof caulk or silicone along edges/corners to allow for expansion and prevent cracking.
Tile Edge Trim Ideas – Sebring Design Build
Tile Edge Trim Ideas – Sebring Design Build
Santorini 7.9″ x 5.9″ Glossy Ceramic Bullnose Tile Trim in Blanco
Choosing the Right Tile Trim and Molding

Tile Trim & Edging Designs, Trends & Ideas for 2024
Complete bathroom Schluter systems products
Tile Trim – Tile – The Home Depot
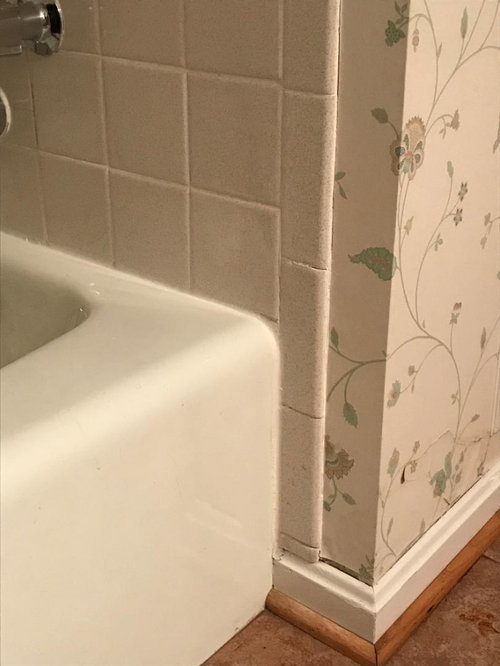
How to finish tile edge, at tub-shower?
All You Need to Know About Bullnose Tile – BELK Tile

Related Posts:


