Planning Your Bathroom Cabinet Redo
When I first decided to redo my bathroom cabinets, I realized that a successful project starts with a well-thought-out plan. Turning a vision into reality requires more than just a creative idea; it involves careful consideration of every detail. Here’s how I approached planning my bathroom cabinet redo, step by step.
- Define Your Goals: The first step in my planning process was to clearly define what I wanted to achieve with my cabinet redo. Was I looking to simply refresh the look, or did I need to address functionality issues as well? For me, it was a bit of both. I wanted a modern look with improved storage options. Having a clear goal helped me make informed decisions throughout the project.
- Set a Realistic Budget: Next, I set a budget. I knew that redoing cabinets could get expensive, so I made sure to outline a realistic budget that included everything from materials to labor (if I decided to hire help). This budget kept me on track and prevented any surprise expenses from derailing my project.
- Measure Your Space: Before diving into design choices, I measured my bathroom space carefully. Accurate measurements ensured that I could choose the right size cabinets and avoid any costly mistakes. I took into account not just the space where the cabinets would go, but also how the room’s layout might affect my design choices.
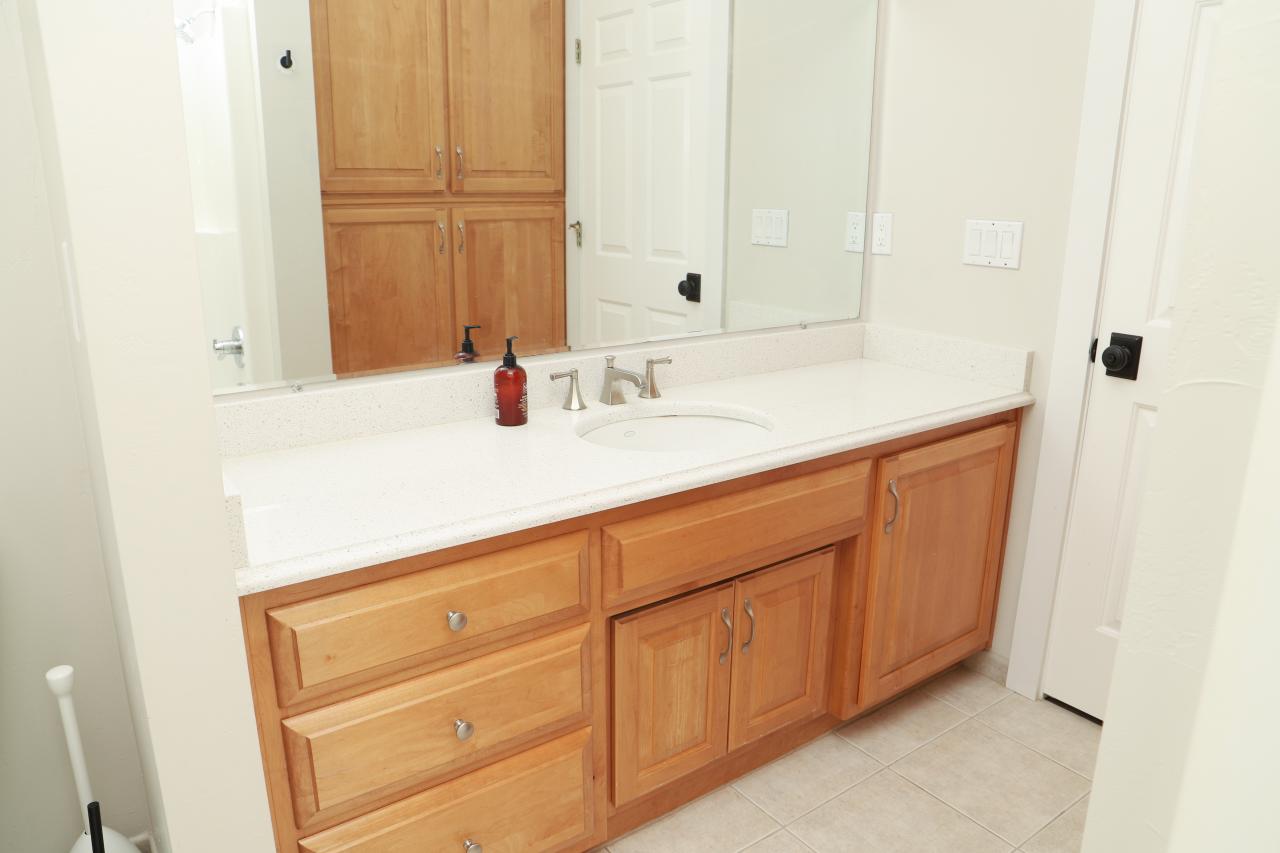
- Choose a Design Style: With measurements in hand, I moved on to the fun part: choosing a design style. Whether you prefer a sleek, modern look or something more traditional, it’s important to pick a style that complements the rest of your bathroom. I personally opted for a clean, minimalist design that would keep the space feeling open and uncluttered.
- Research and Gather Inspiration: I spent time researching different design ideas and gathering inspiration from various sources, including magazines, online galleries, and home improvement shows. This helped me visualize what I wanted and identify trends or features I might not have considered otherwise. Creating a mood board was particularly helpful in narrowing down my choices.
- Plan for the Unexpected: Lastly, I made sure to plan for unexpected issues. Whether it’s discovering damage behind the cabinets or realizing that certain materials aren’t available, having a contingency plan is crucial. I set aside a portion of my budget and time to deal with any surprises that might arise.
Choosing the Right Materials for a Durable and Stylish Cabinet Makeover
Once I had a solid plan in place, the next step was choosing the right materials for my bathroom cabinet makeover. The materials you select can make or break the durability and overall aesthetic of your cabinets. Here’s how I navigated the process.
Prioritize Durability Since the bathroom is a high-moisture environment, I knew that durability was key. I researched materials that could withstand humidity without warping or deteriorating over time. Solid wood, MDF (medium-density fiberboard), and plywood were top contenders, with solid wood ultimately winning out for its longevity and timeless appeal.
Consider the Finish The finish you choose plays a significant role in both protecting the material and achieving the desired look. I opted for a water-resistant, semi-gloss finish that would protect the wood from moisture while giving it a sleek, modern appearance. Matte finishes are another option, especially if you prefer a more understated look, but they may require more maintenance to stay looking clean.
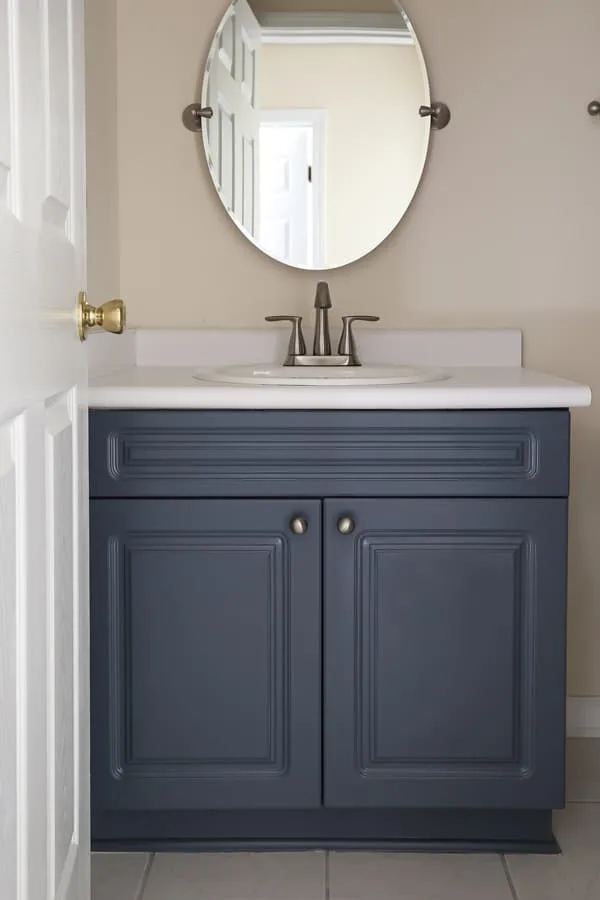
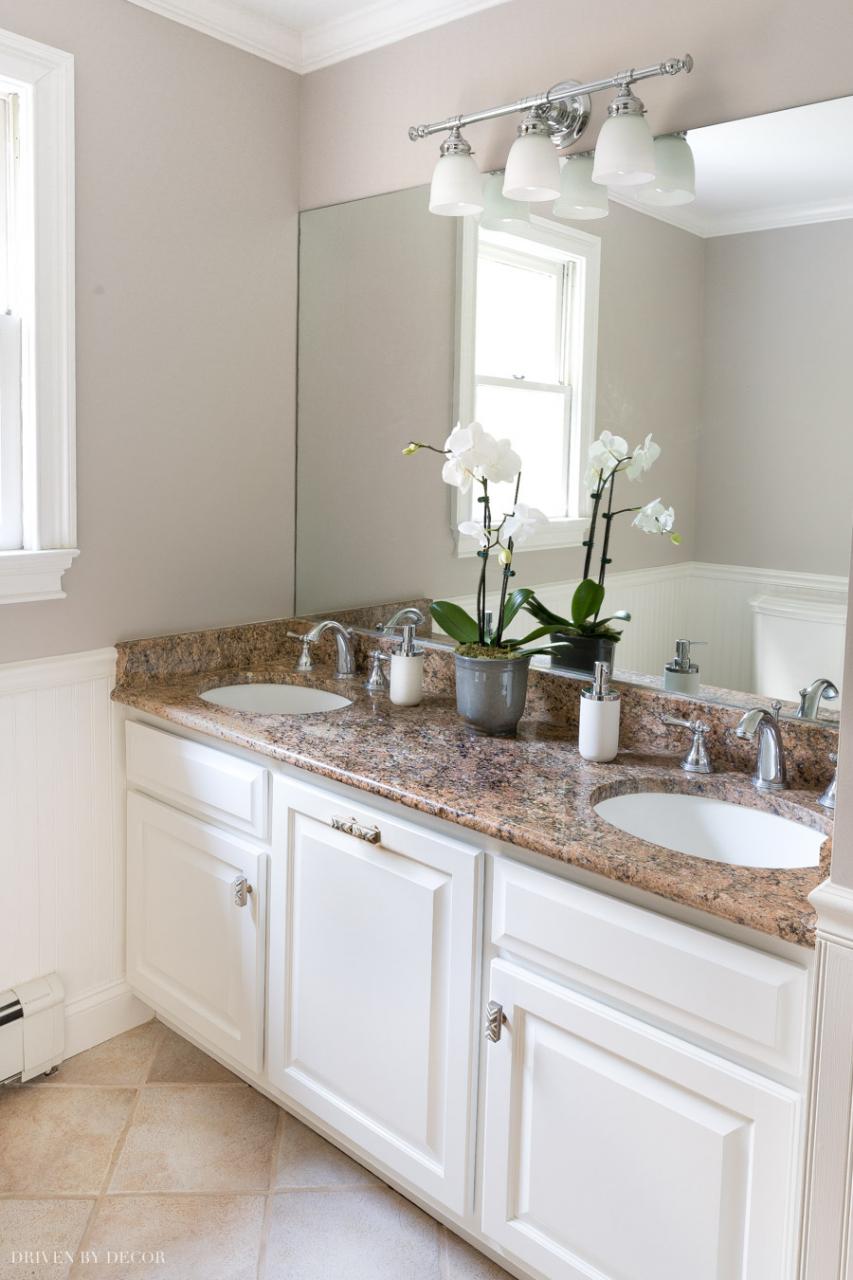
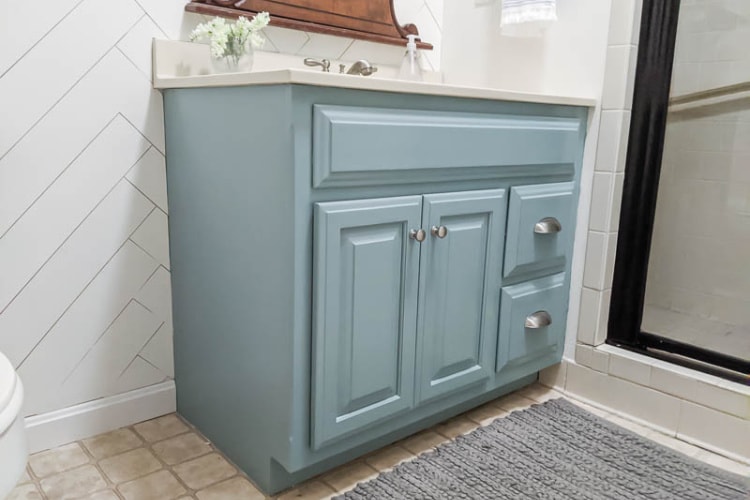
Think About Color Color was another major consideration in my material selection. I wanted a color that would not only complement my bathroom’s color scheme but also stand the test of time. Neutral tones like white, gray, or natural wood finishes are always safe bets, but I also considered adding a pop of color for a more personalized touch.
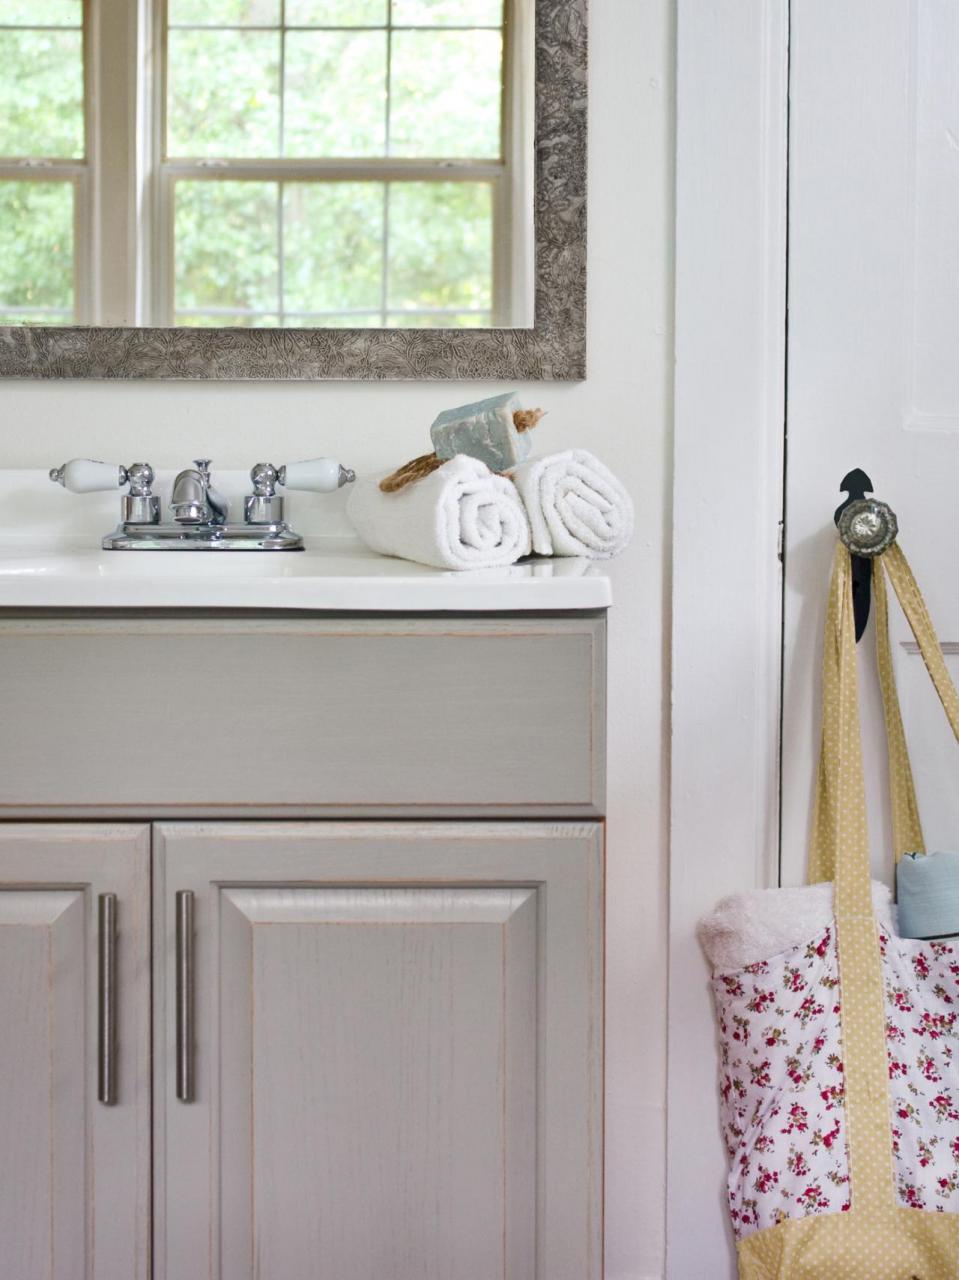
Don’t Forget the Hardware Choosing the right hardware is like picking out the perfect jewelry to complete an outfit. I explored different options, from sleek, modern handles to more ornate, vintage-inspired knobs. In the end, I chose hardware that not only complemented my cabinet’s design but was also durable enough to withstand daily use.
Weigh the Cost vs. Value While I wanted high-quality materials, I also needed to stick to my budget. I compared the costs of different materials and finishes, considering both their immediate price and their long-term value. Investing in quality materials upfront can save you money in the long run by reducing the need for repairs or replacements.
Sustainable Choices Lastly, I considered the environmental impact of my material choices. Opting for sustainably sourced wood or low-VOC (volatile organic compounds) finishes helped me create a cabinet makeover that was not only beautiful and durable but also eco-friendly.
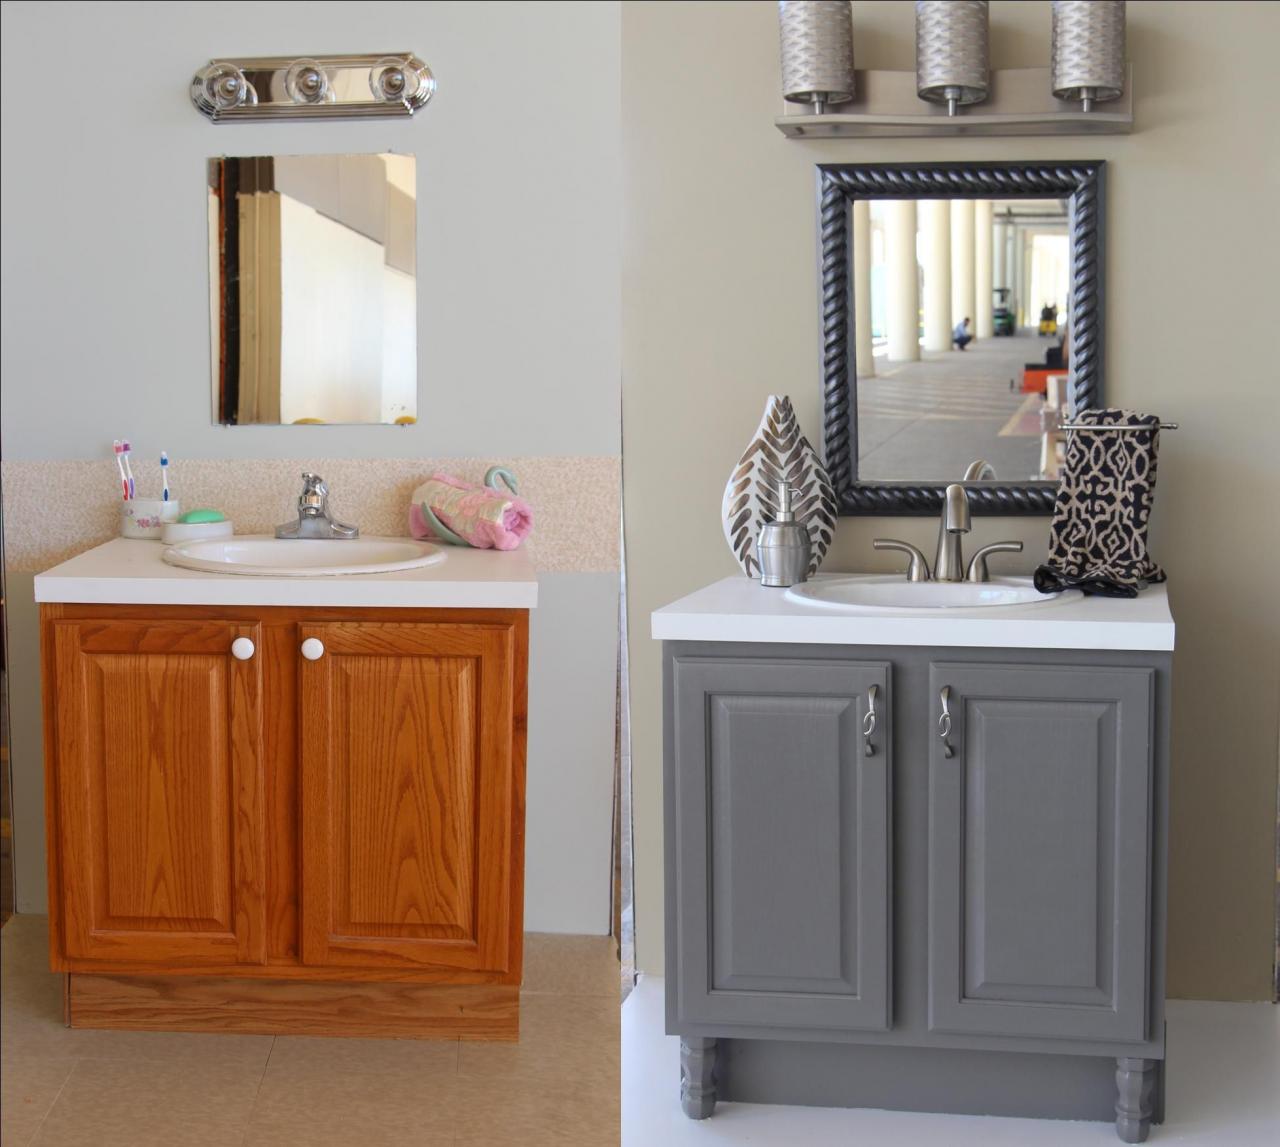
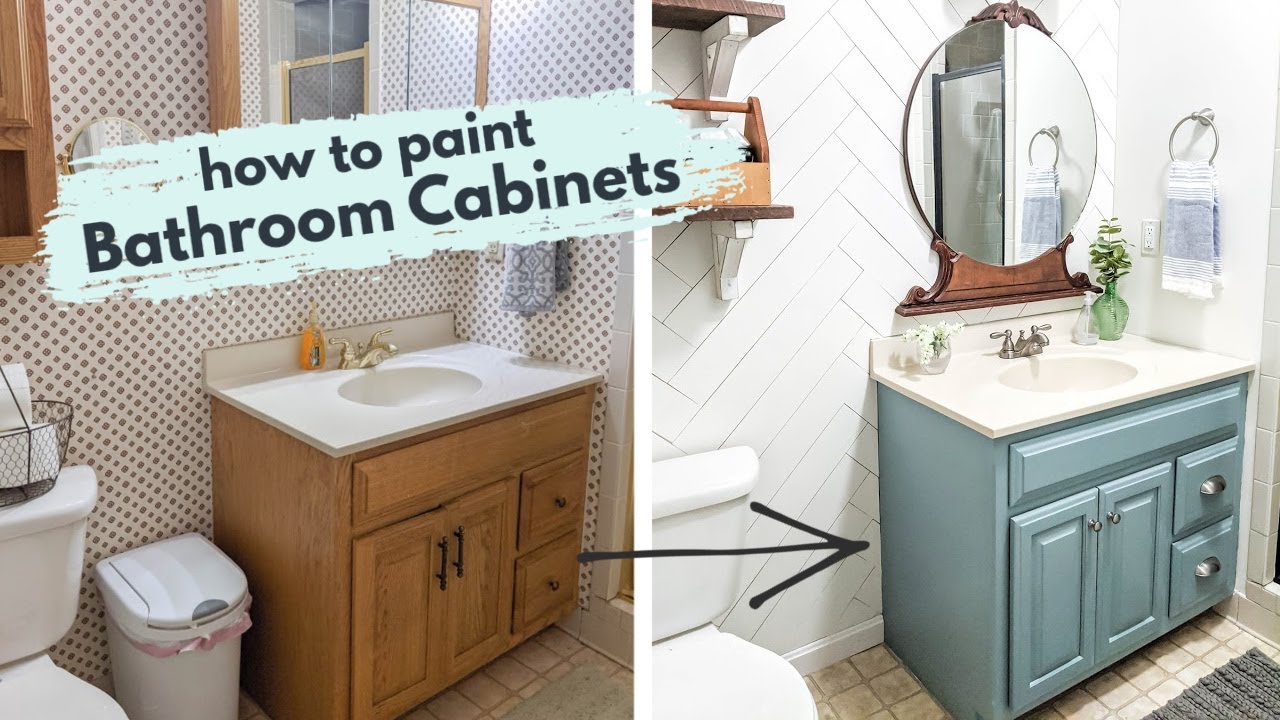
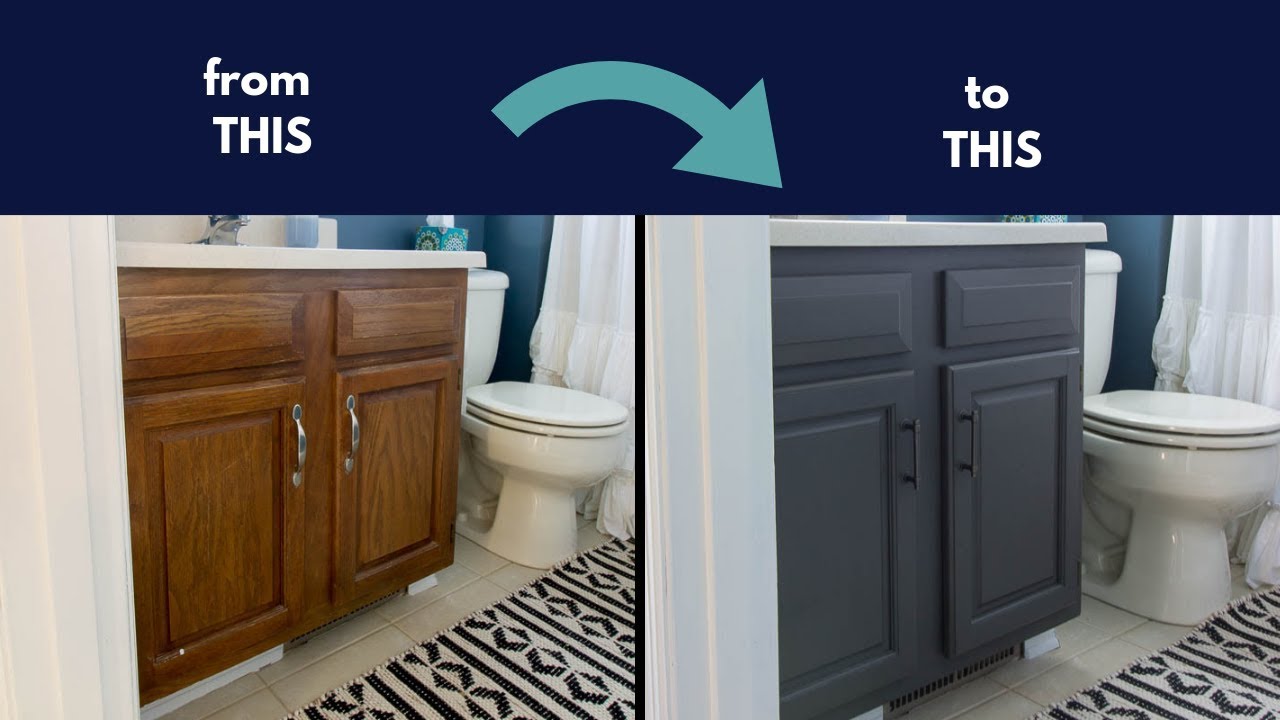
Step-by-Step Guide to Painting Your Bathroom Cabinets Like a Pro
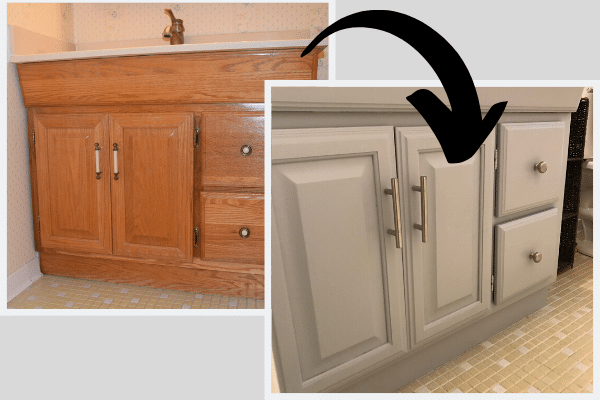
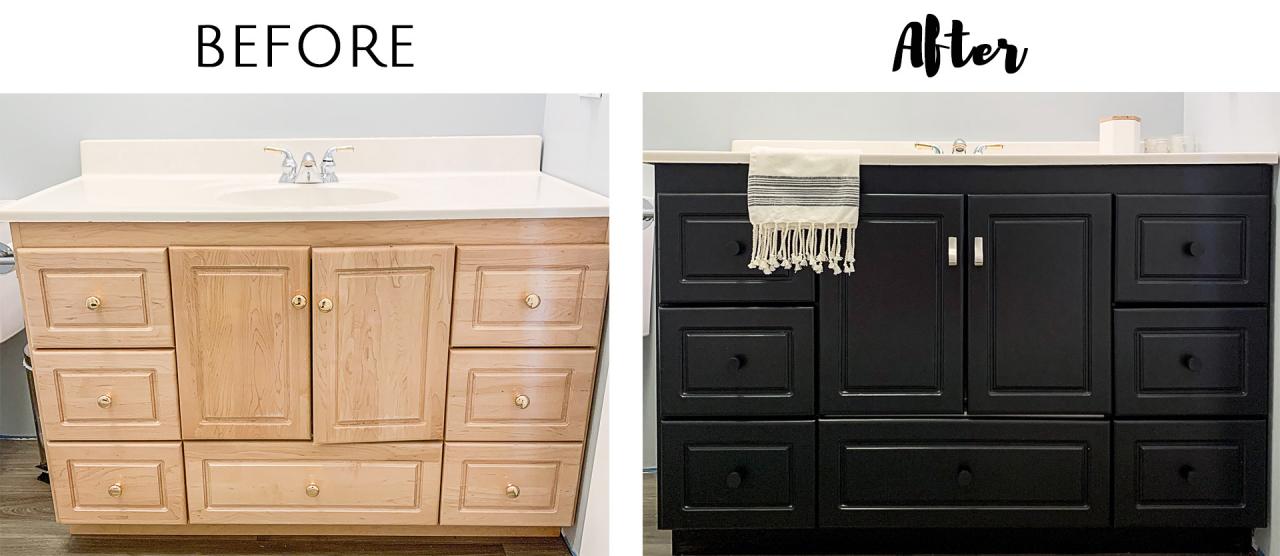
Painting my bathroom cabinets was one of the most transformative steps in the redo process. It’s amazing how a fresh coat of paint can breathe new life into old cabinets. Here’s how I tackled the project, step by step, to achieve a professional finish.
Prepare the Cabinets Preparation is key to a successful paint job. I started by removing all cabinet doors and hardware. This made it easier to paint each piece evenly. I then cleaned the cabinets thoroughly to remove any grease, dust, or grime that could interfere with the paint’s adhesion. Sanding the surface was the next crucial step; it helps the primer and paint stick better.
Choose the Right Paint Not all paints are created equal, especially when it comes to bathroom cabinets. I opted for a high-quality, water-resistant paint that would hold up in a humid environment. Semi-gloss or satin finishes are ideal for cabinets because they offer a good balance between durability and ease of cleaning.
Apply Primer Applying a primer is a must, especially if you’re painting over dark wood or previously painted surfaces. I used a stain-blocking primer to ensure the new paint would go on smoothly and evenly. The primer also helps to seal the wood and create a better surface for the paint to adhere to.
Paint with Precision With the primer dry, it was time to apply the paint. I used a high-quality brush for the detailed areas and a foam roller for the flat surfaces to avoid brush marks. Applying multiple thin coats rather than one thick coat made a big difference in achieving a smooth, even finish. I allowed each coat to dry thoroughly before applying the next.
Reassemble and Inspect Once the paint was fully dry, I reattached the doors and hardware. Before declaring the job complete, I carefully inspected each cabinet for any missed spots or imperfections. Touching up these areas ensured a flawless final result.
Protect Your Work Finally, I added a clear, protective topcoat to seal the paint and protect it from moisture, scratches, and daily wear and tear. This extra step made the finish more durable and extended the life of my freshly painted cabinets.
Incorporating New Hardware: The Finishing Touch for Your Cabinet Transformation
After painting, the next step in my cabinet redo was selecting and incorporating new hardware. This might seem like a small detail, but it truly is the finishing touch that can elevate the entire look of your cabinets. Here’s how I approached this important step.
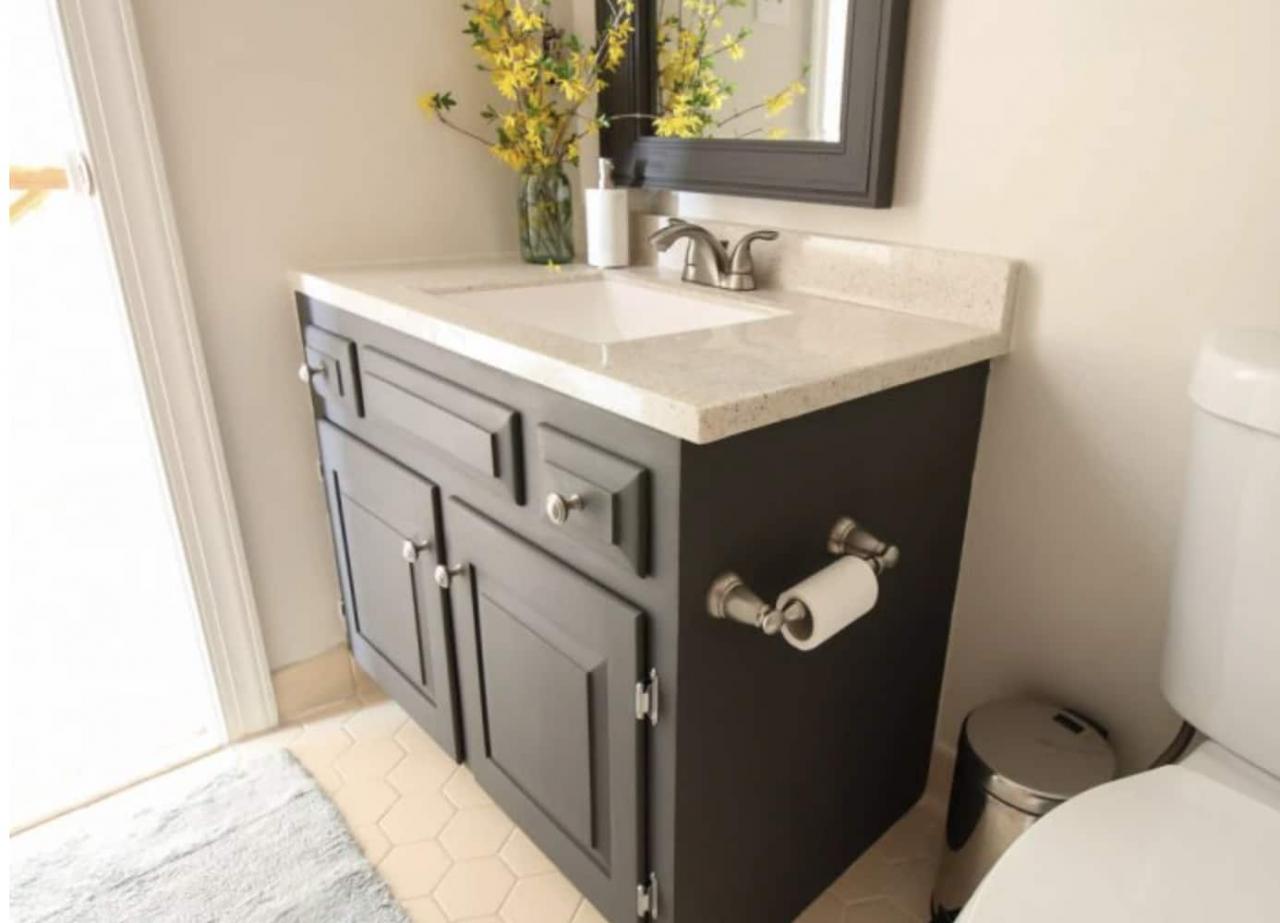
Match the Hardware to Your Design Style The first thing I did was make sure the hardware matched the overall design style of my bathroom. Whether you’re going for modern, rustic, or vintage, the right hardware can enhance your chosen aesthetic. I opted for sleek, minimalist handles that complemented the clean lines of my newly painted cabinets.
Consider Functionality While appearance is important, I also made sure to consider functionality. I chose handles that were comfortable to grip and easy to clean. For drawers, I selected pulls that allowed for easy access without requiring too much force. This small consideration made a big difference in the everyday use of the cabinets.
Mix and Match for Visual Interest To add a bit of visual interest, I decided to mix and match different types of hardware. For example, I used matching handles on all the doors but opted for different knobs on the drawers. This approach added a unique, custom touch to my cabinets without overwhelming the design.
Pay Attention to Scale Scale is another important factor in hardware selection. I made sure that the size of the handles and knobs was proportionate to the size of the cabinets. Oversized hardware can look clunky, while hardware that’s too small might get lost visually. I found that medium-sized hardware offered the perfect balance.
Installation Tips Installing the hardware was easier than I expected, but it required precision. I used a template to ensure each handle and knob was placed consistently across all the doors and drawers. This simple tool helped me avoid the frustration of crooked or unevenly spaced hardware.
Consider the Finish Lastly, I chose a finish that would stand out against the cabinet color while still fitting within the overall bathroom palette. I went with brushed nickel for a modern look, but other popular finishes include matte black, brass, and bronze. The finish not only affects the aesthetic but also the durability of the hardware, so it’s worth considering carefully.
Adding Functional Upgrades: Shelving, Drawers, and More
As I progressed with my cabinet redo, I realized that functionality was just as important as aesthetics. Adding functional upgrades like shelving and drawers can make a huge difference in how you use your bathroom. Here’s what I did to maximize storage and convenience.
Evaluate Your Storage Needs The first thing I did was evaluate my storage needs. What was lacking in the original cabinet setup? For me, it was a mix of more shelving and better organization. Taking the time to think about what I really needed helped me decide on the best upgrades to incorporate.
Install Adjustable Shelving One of the most practical upgrades I made was installing adjustable shelving. This allowed me to customize the storage space to fit different items, from tall shampoo bottles to smaller toiletries. Adjustable shelves offer the flexibility to change the configuration as your needs evolve.
Add Pull-Out Drawers Pull-out drawers were another game-changer. I added these to the lower cabinets, making it much easier to access items stored at the back. No more bending down and digging around to find what I need. These drawers glide smoothly and make use of every inch of space.
Incorporate Dividers and Organizers To keep things tidy, I incorporated dividers and organizers within the drawers. These were especially helpful for storing smaller items like makeup, brushes, and grooming tools. Keeping everything in its place not only looks neat but also saves time during busy mornings.
Maximize Vertical Space I also made sure to maximize vertical space by adding tall shelves and hooks inside the cabinet doors. This extra storage was perfect for items like hairdryers, brushes, and cleaning supplies. Utilizing vertical space helped me keep the countertops clear and clutter-free.
Consider Lighting Lastly, I considered adding lighting to the cabinets. While I ultimately decided against it for budget reasons, LED strip lights inside the cabinets can be a great upgrade. They make it easier to see inside, especially in deep or dark cabinets, and add a touch of luxury to the space.
Creative Design Ideas to Personalize Your Bathroom Cabinet Redo
A bathroom cabinet redo is the perfect opportunity to inject some personality into your space. While I kept the overall design simple and clean, I couldn’t resist adding a few creative touches to make the cabinets uniquely mine. Here’s how you can do the same.
Stencil Designs One of the first ideas I considered was using stencils to add a subtle pattern to the cabinet doors. Stenciling is a great way to personalize your cabinets without overwhelming the design. I experimented with a delicate geometric pattern that added just the right amount of flair to my cabinets.
Custom Hardware Custom hardware is another way to personalize your cabinets. I considered having handles made from unique materials, like leather or handcrafted ceramics. While I ultimately chose something more traditional, custom hardware can really make your cabinets stand out.
Add a Pop of Color For those who aren’t afraid of a bit of color, painting the inside of the cabinets or even just the edges can add a fun surprise every time you open the doors. I opted for a soft, pastel color inside the cabinets, which added a cheerful touch without overpowering the room.
Incorporate Glass Inserts Adding glass inserts to the cabinet doors was another idea I loved. This can create a lighter, more open feel in the bathroom while also allowing you to display pretty toiletries or decor. Frosted glass is a good option if you prefer a bit more privacy for what’s inside.
Wallpaper the Interior One of the most unique ideas I came across was wallpapering the inside of the cabinets. This is a low-commitment way to add bold patterns or colors without affecting the overall look of your bathroom. I chose a subtle, nature-inspired pattern that added a touch of whimsy to my cabinets.
Personalize with Monograms or Decals Finally, I considered adding monograms or decals to the cabinet doors. This is a fun way to incorporate personal or family initials into the design. While I kept it simple, adding decals can be a playful and easy way to personalize your bathroom space.
Budget-Friendly Tips for an Affordable Bathroom Cabinet Makeover
Redoing bathroom cabinets doesn’t have to break the bank. With a little creativity and some smart shopping, I was able to achieve a beautiful result on a budget. Here’s how I managed to keep costs down while still creating the bathroom cabinets of my dreams.
Reuse What You Can One of the biggest cost-saving strategies I used was reusing as much of the existing cabinets as possible. Instead of buying new cabinets, I opted to refinish and repaint the ones I already had. This saved me a significant amount of money and allowed me to allocate more of my budget to other aspects of the project.
Shop Smart I also shopped smart by looking for sales, discounts, and even second-hand items. I found great deals on paint, hardware, and even some decorative elements by shopping around and keeping an eye on clearance sections. Thrift stores and online marketplaces can be goldmines for unique and affordable finds.
DIY as Much as Possible Doing as much of the work myself was another way I kept costs down. While I’m no professional, there are plenty of tutorials and resources available that made it possible for me to tackle tasks like painting and installing hardware. Not only did this save money, but it also gave me a sense of accomplishment.
Opt for Affordable Materials When choosing materials, I looked for budget-friendly options that didn’t compromise on quality. MDF and plywood, for example, are less expensive than solid wood but can still look great with the right finish. I also considered laminate or veneer finishes for a stylish look without the high cost.
Consider Stock Cabinets If new cabinets were necessary, I would have considered stock cabinets instead of custom-built ones. Stock cabinets are much more affordable and, with a few tweaks, can look just as good as their custom counterparts. Painting or adding custom hardware can elevate even the most basic stock cabinets.
Keep It Simple Finally, I kept the design simple to avoid unnecessary expenses. While it’s tempting to go all out with elaborate designs, sticking to a more minimalist approach helped me stay within budget. Simplicity doesn’t mean boring—sometimes, less really is more.
The Easiest Way to Paint Cabinets – List in Progress
How To Refinish Bathroom Cabinets DIY Domestic Blonde

Updating a Bathroom Vanity
Tips on How to Paint a Bathroom Vanity Like a Pro
Our Painted Bathroom Vanity
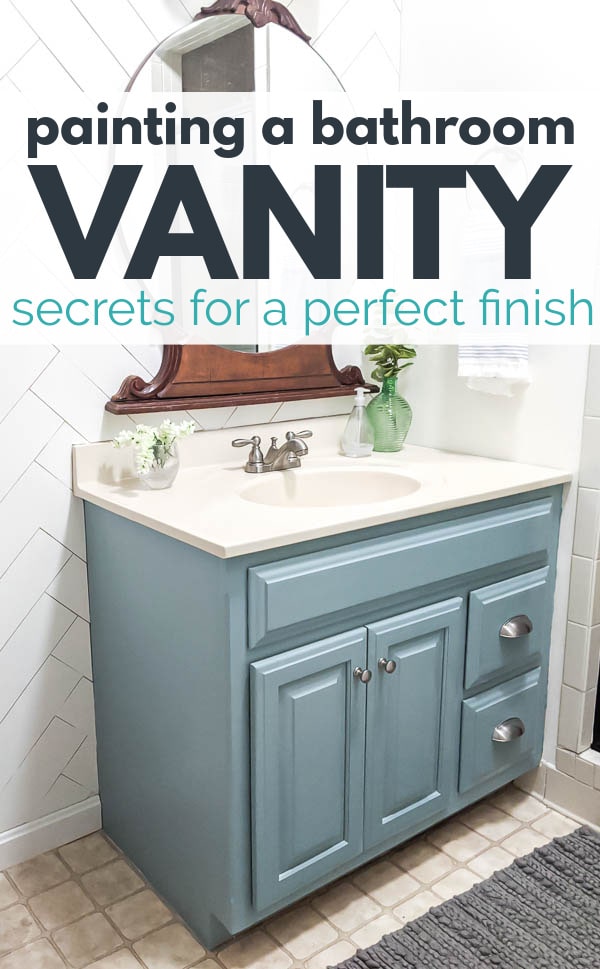
How to Paint a Bathroom Vanity: Secrets for a Perfect Finish
Transform Your Bathroom Vanity In A Weekend!
Related articles:
- Stainless Steel Floor Standing Bathroom Cabinets
- Recessed Bathroom Cabinet With Lights
- 4 Drawer Bathroom Cabinet
- Bathroom Cabinets Minneapolis
- Bathroom Cabinet 18 Inches Wide
- Bathroom Cabinets Albuquerque
- Bathroom Cabinet For Towel Storage
- Where To Buy Bathroom Cabinet
- Cheap Under Sink Bathroom Cabinet
- Keuco Bathroom Cabinets Sale


