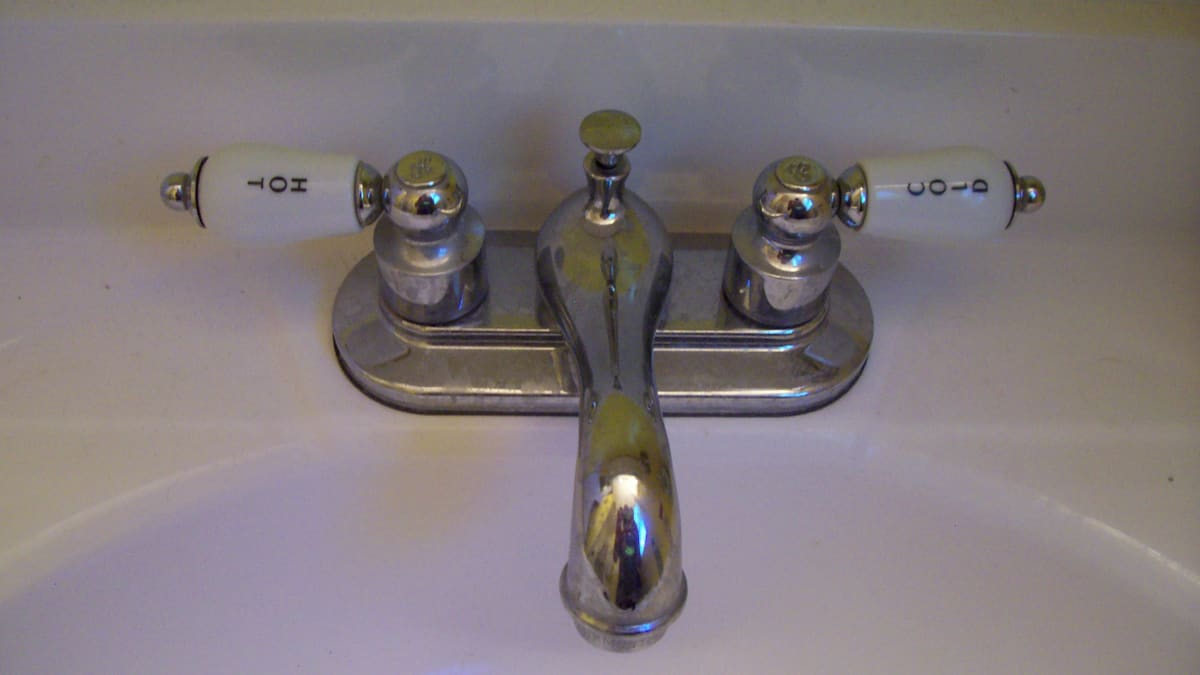
Common Causes of a Dripping Bathroom Faucet
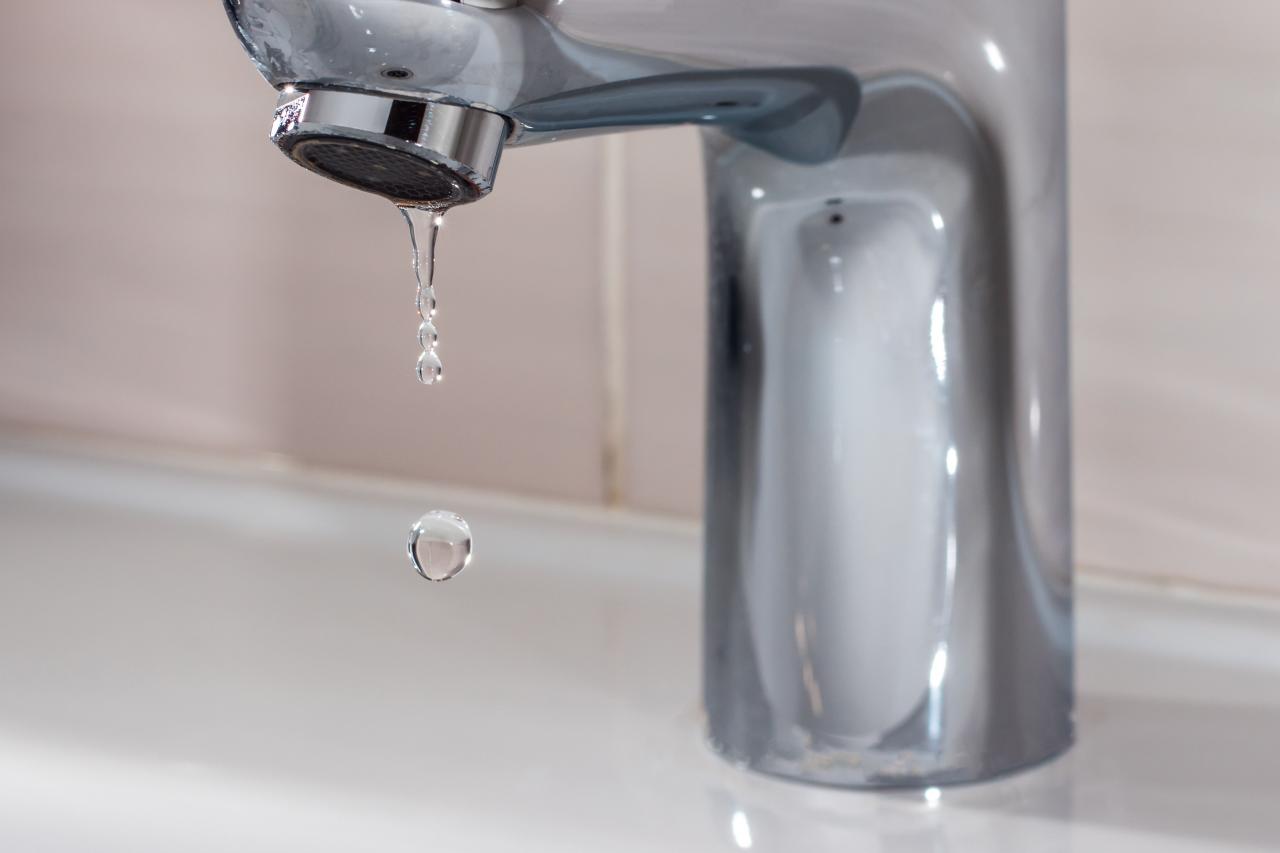
A dripping bathroom faucet can be a frustrating problem to deal with. Not only does it waste water, but the constant dripping noise can also be quite irritating. Understanding the common causes of a dripping bathroom faucet can help you identify the issue and find the appropriate solution. Here are some of the most common causes:
- Worn-out or faulty O-rings: O-rings are small rubber or silicone discs that are used to create a watertight seal within the faucet. Over time, these O-rings can become worn-out or damaged, causing water to leak out of the faucet even when it is turned off.
- Corroded valve seat: The valve seat is a part of the faucet that connects the spout to the faucet body. If the valve seat becomes corroded or worn out, it can cause water to leak from the base of the faucet.
- Loose or worn-out washers: The washers inside the faucet handle are responsible for stopping the flow of water when the faucet is turned off. If these washers become loose or worn out, they may not be able to create a tight seal, resulting in a dripping faucet.
- High water pressure: Excessive water pressure can cause the internal components of a faucet to wear out faster, leading to leaks. If you notice that your faucet drips more when the water pressure is high, it could be an indication of this problem.
- Improper installation: A dripping faucet could also be a result of improper installation. If the faucet is not installed correctly or if the components are not tightened properly, it can lead to leaks.
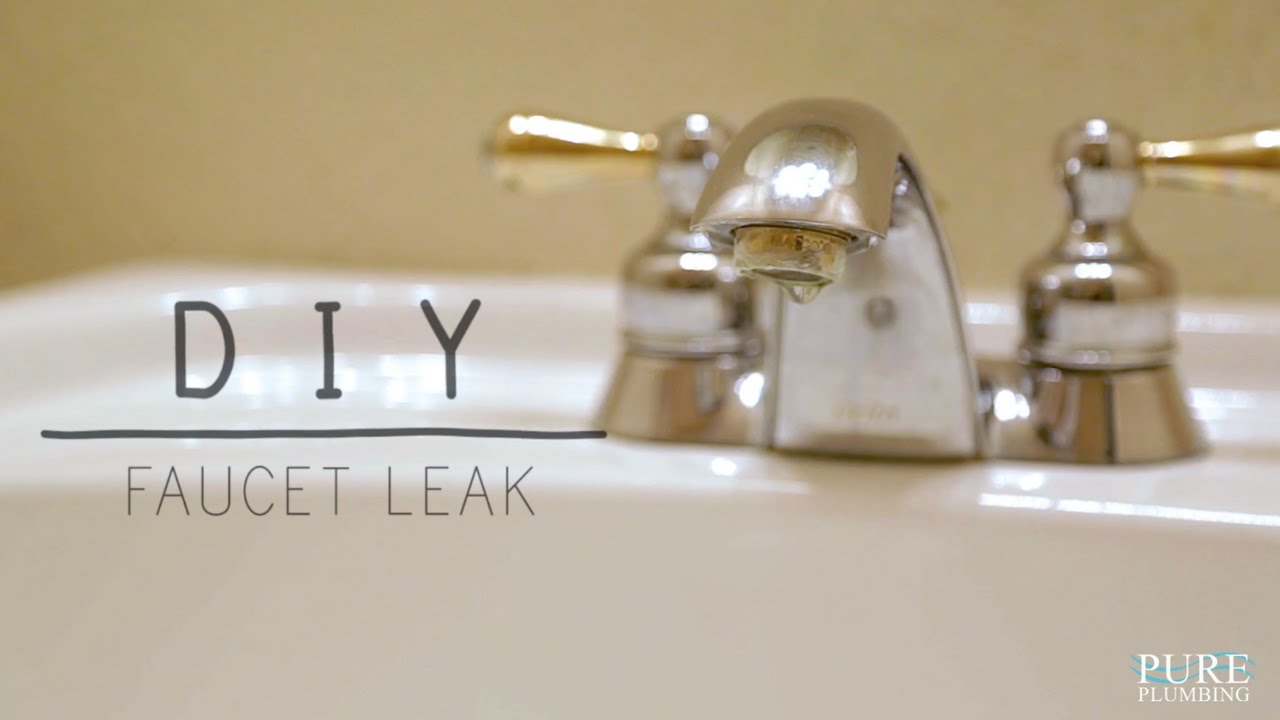
Step-by-Step Guide to Fixing a Dripping Bathroom Faucet
A dripping bathroom faucet can be not only annoying but also wasteful, as it can lead to significant water waste over time. Fortunately, fixing a dripping bathroom faucet is a relatively simple task that can be done by following a few step-by-step instructions. In this guide, we will walk you through the process of fixing a dripping bathroom faucet to help you save water and eliminate that irritating drip.
Gather the necessary tools
Before you begin fixing your dripping bathroom faucet, make sure you have all the necessary tools. These may include an adjustable wrench, pliers, screwdrivers (both flathead and Phillips), a cloth or towel, and a replacement cartridge or washer, depending on the type of faucet you have. Having these tools readily available will ensure a smooth and efficient repair process.
Turn off the water supply
To avoid any water leakage during the repair, it is crucial to turn off the water supply to the bathroom faucet. Locate the shut-off valves under the sink or in the utility room and turn them clockwise until they are fully closed. Once the water supply is turned off, turn on the faucet to drain any remaining water in the pipes.
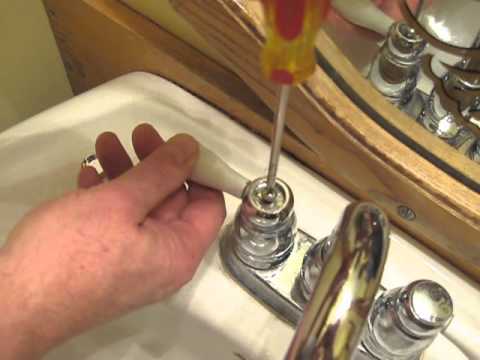
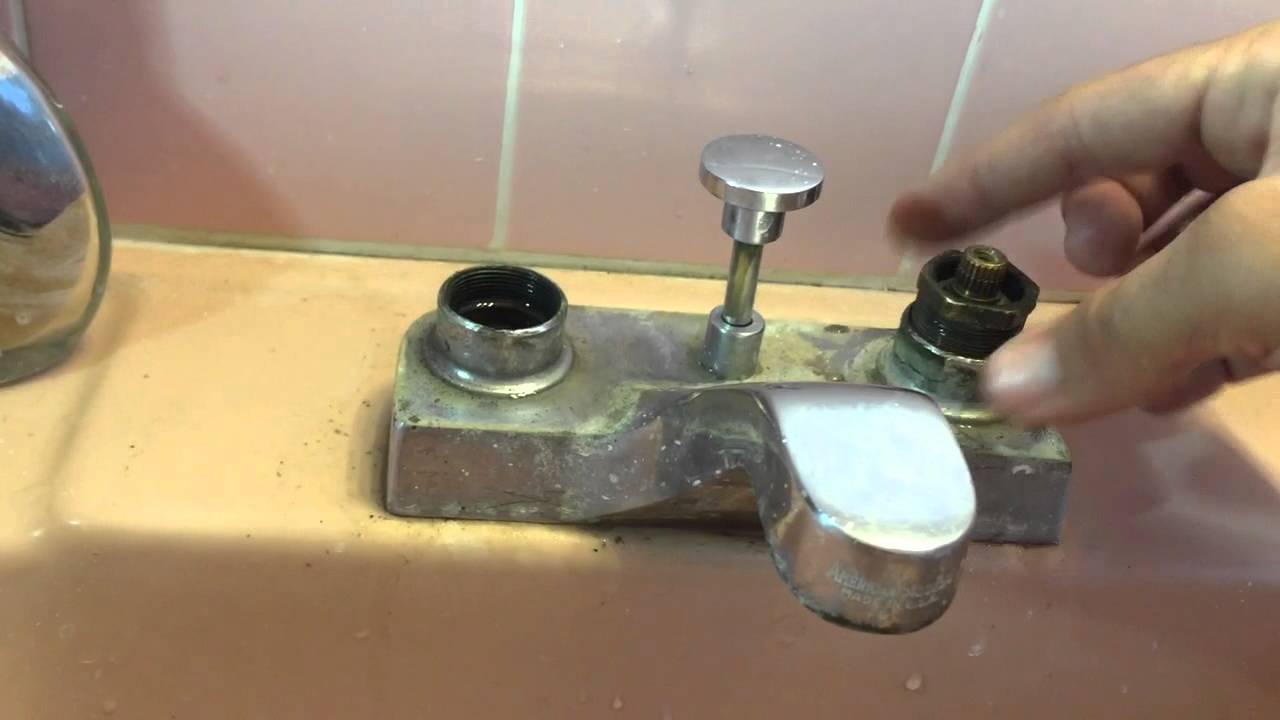
Disassemble the faucet
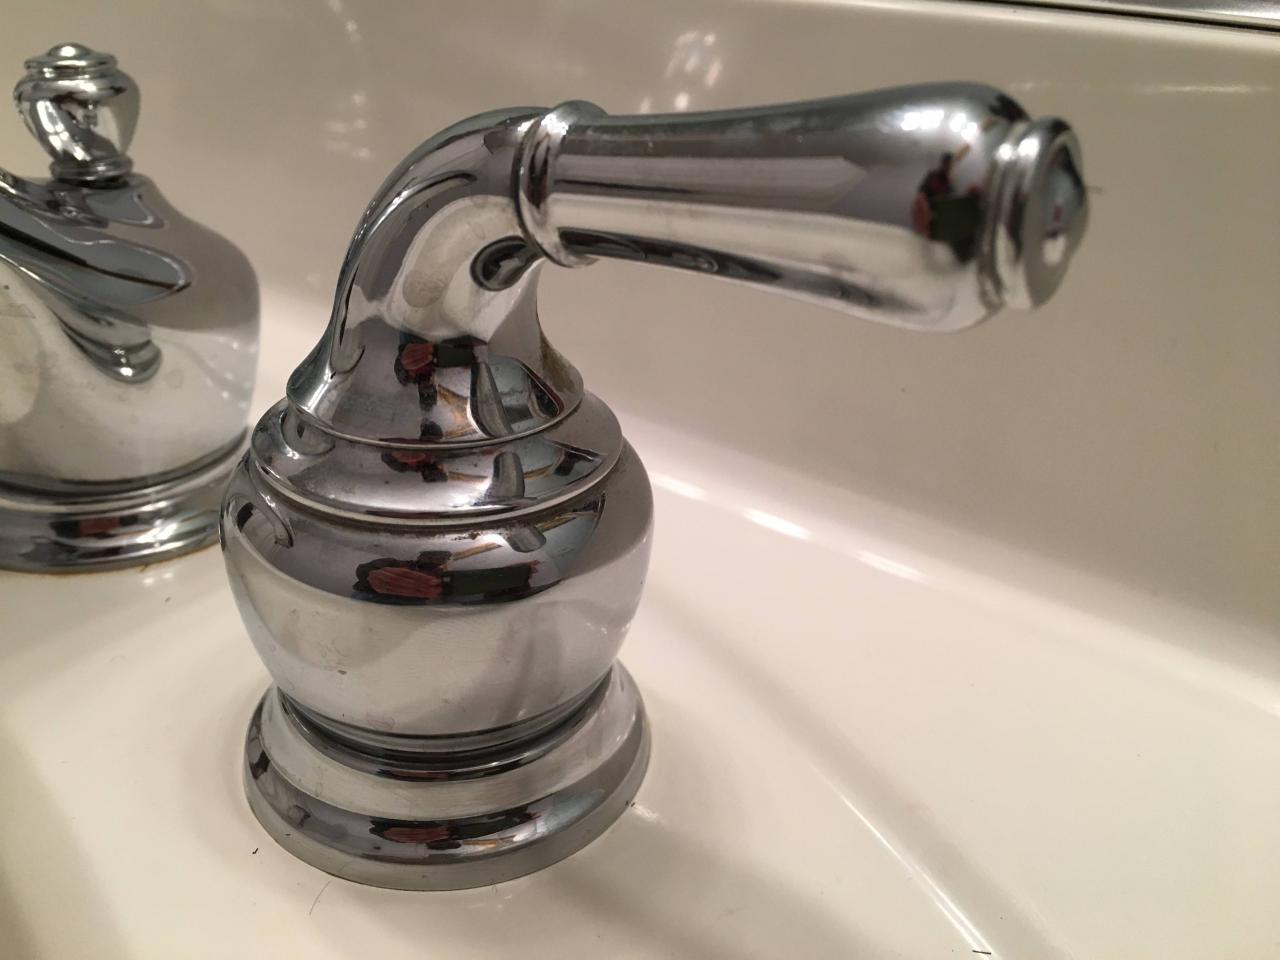
To access the internal components that may be causing the dripping, you will need to disassemble the faucet. Start by removing the handle, which is usually held in place by a screw or cap. Use a screwdriver or pliers to remove the screw or pry off the cap, depending on the type of handle. Once the handle is removed, you may need to unscrew the cartridge or stem assembly to expose the faulty parts.
Identify and replace faulty components
Inspect the cartridge, washer, O-rings, and other components for any signs of wear, damage, or debris buildup. In most cases, a dripping faucet is caused by a worn-out cartridge or washer. If you notice any issues with these components, replace them with new ones. Make sure to choose the correct replacement parts that match the specifications of your faucet model.
Reassemble and test the faucet
After replacing the faulty components, carefully reassemble the faucet in the reverse order of disassembly. Make sure all the parts fit snugly and are tightened properly. Once reassembled, turn on the water supply and test the faucet for any leaks. If the dripping has stopped, congratulations – you have successfully fixed your dripping bathroom faucet!

Prevention Tips to Avoid Future Faucet Drips
Regularly check and maintain the faucets: Inspect your bathroom faucets periodically to ensure they are in good condition. Look for any signs of leakage or dripping and fix them promptly. Tighten any loose connections or replace worn-out parts to prevent future drips.
Use quality faucets and components: Invest in high-quality faucets and components that are built to last. Cheaper options may be appealing initially, but they can wear out quickly and lead to leaks and drips. Choose products from reputable brands that offer warranties to ensure durability and performance.
Avoid excessive force when operating the faucets: Be gentle when turning faucets on and off. Applying excessive force can damage the internal mechanisms and cause leaks. Teach family members, especially children, to use faucets with care to prevent unnecessary wear and tear.
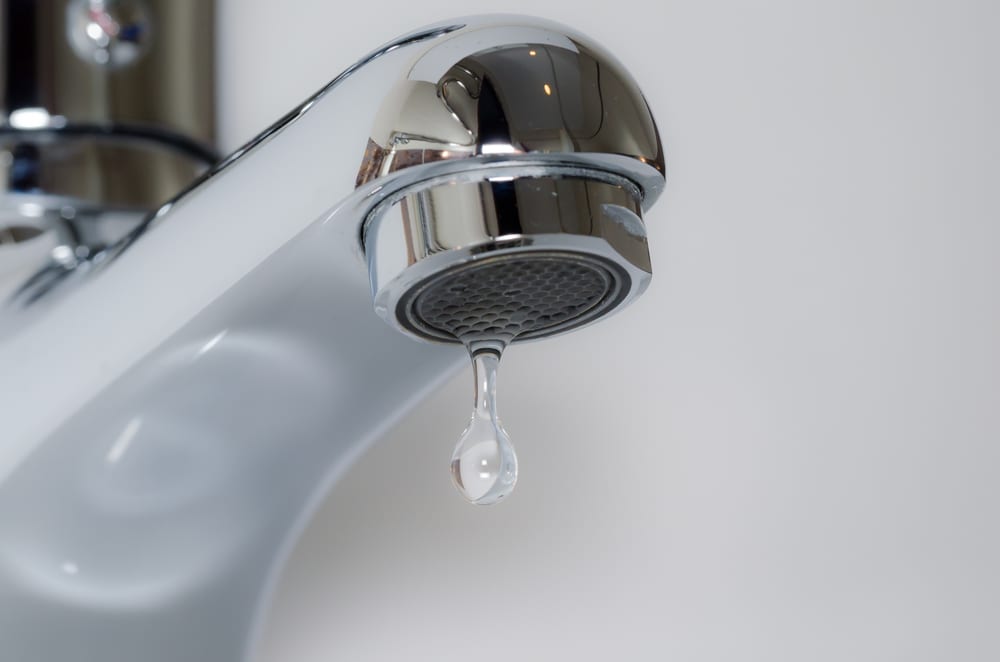
Don’t ignore small leaks: Even if a leak seems minor, it is crucial to address it immediately. Ignoring small leaks can lead to larger and more costly problems in the future. Fixing leaks promptly will save water, prevent damage to your bathroom fixtures, and avoid the annoyance of a continuously dripping faucet.
Regularly clean the aerator: The aerator is a small screen attached to the end of the faucet that controls the water flow. Over time, mineral deposits and debris can accumulate, affecting the faucet’s performance and causing drips. Clean the aerator regularly by unscrewing it and rinsing it under water to prevent clogs and dripping.
Maintain proper water pressure: High water pressure can put excessive strain on your faucets, leading to leaks and drips. Install a pressure regulator if your water pressure is consistently high. Additionally, make sure to turn off the faucets gently to prevent sudden surges in pressure that can damage the internal components.
Insulate exposed pipes: In colder climates, exposed pipes can freeze and burst, causing leaks and drips when the water thaws. Insulate any exposed pipes to protect them from freezing temperatures. Proper insulation will not only prevent future faucet drips but also save you from potential water damage.
Schedule regular plumbing maintenance: Consider hiring a professional plumber for regular maintenance of your bathroom plumbing system. They can inspect faucets, pipes, and other components to identify any potential issues before they become major problems. Regular maintenance can help you catch and fix any faucet drips early on, saving you money and headaches.
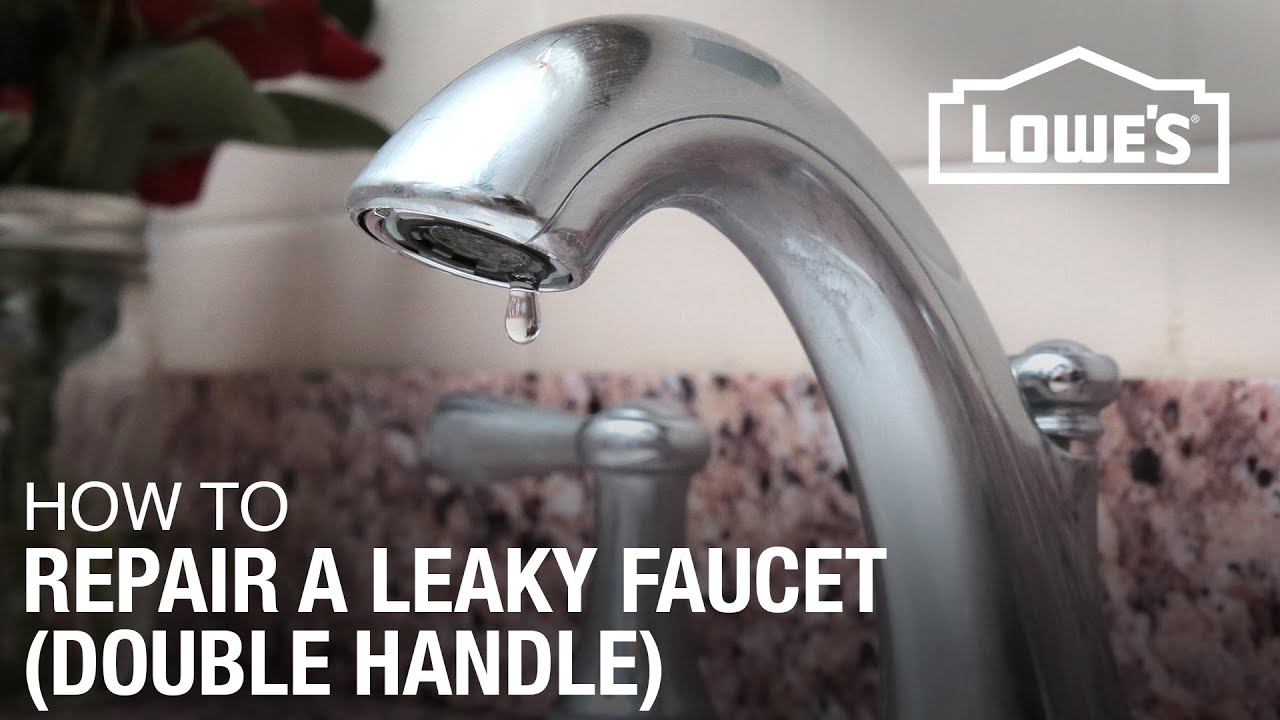
Fix a Leaky Faucet Double Handle DIY
How to Fix a Leaky Faucet (with Pictures) – wikiHow

5 Reasons Your Faucet Is Dripping Water u0026 How To Fix It WM Henderson
How to fix a dripping American Standard Bathroom Faucet
leak – Leaky bathroom faucet – canu0027t find screw on handle – Home
How to Fix a Leaky Faucet – 5 Easy Steps to Fix a Faucet
How To Fix A Dripping or Leaky Double Handle Faucet
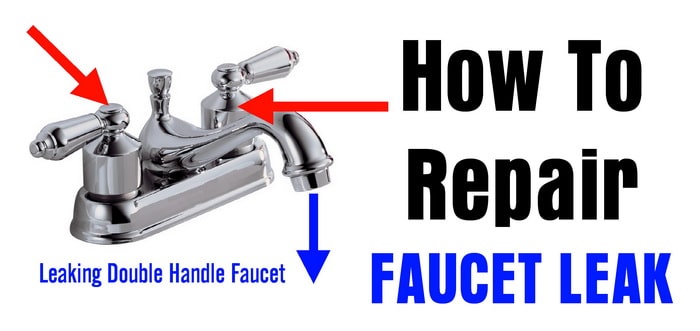
How To Repair A Leaking Double Handle Faucet
11 Easy Steps to Fix a Leaky Bathtub Faucet

Why Is My Faucet Dripping Nonstop?
Related Posts:
- Repair A Bathroom Faucet
- New Bathroom Faucet Leaking
- Moen Bathroom Faucet Repair Diagram
- Dripping Moen Bathroom Faucet Repair
- Kohler Bathroom Faucet Single Hole
- Delta Bathroom Faucet Chrome
- Kohler Bathroom Faucets Polished Brass
- How To Remove A Single Handle Bathroom Faucet
- Matching Bathroom Faucets
- Replacing Old Bathroom Faucet


