Transforming Your Bathroom with Rustoleum
Are you tired of your outdated bathroom tiles? Do you want to give your bathroom a fresh and modern look without breaking the bank? Look no further than Rustoleum! We will guide you through the process of transforming your bathroom with Rustoleum, a trusted brand known for its high-quality paint products. Get ready to say goodbye to dull tiles and hello to a stylish and vibrant bathroom!
- Preparing Your Bathroom Tiles: Before you start painting, it is essential to prepare your bathroom tiles properly. Start by cleaning the tiles thoroughly to remove any dirt, grime, or soap residue. Use a mild detergent and a scrub brush to ensure a clean surface. Once the tiles are clean, rinse them thoroughly and allow them to dry completely. Next, sand the tiles lightly to create a rough surface that will help the paint adhere better. Remember to wear a mask and goggles during the sanding process to protect yourself from dust particles.
- Applying Primer: Priming is a crucial step in achieving a long-lasting and professional-looking finish. Choose a high-quality primer suitable for bathroom tiles and apply it evenly using a paintbrush or a roller. Allow the primer to dry completely before moving on to the next step. Primer not only helps the paint adhere better but also prevents any moisture or stains from seeping through the paint.
- Painting Your Bathroom Tiles: Now comes the fun part – painting! Choose a Rustoleum paint specifically designed for bathroom tiles. These paints are formulated to withstand moisture and provide a durable finish. Start by cutting in the edges of the tiles with a brush, then use a roller to apply the paint evenly over the larger areas. Apply multiple thin coats rather than one thick coat to achieve a smooth and streak-free finish. Allow each coat to dry completely before applying the next one.
- Sealing the Paint: To ensure the longevity and durability of your newly painted bathroom tiles, it is essential to seal the paint. Rustoleum offers clear sealants designed for use on painted tiles. Apply the sealant according to the manufacturer’s instructions, typically using a brush or a roller. Sealing the paint will protect it from moisture, stains, and daily wear and tear, allowing your tiles to maintain their fresh and vibrant appearance for years to come.
- Maintenance and Care: Congratulations! You have successfully transformed your bathroom with Rustoleum. To keep your newly painted tiles looking their best, it is important to practice proper maintenance and care. Avoid using harsh cleaning agents or abrasive scrub brushes that could damage the paint. Instead, use mild cleaners and a soft cloth or sponge to clean the tiles gently. Regularly inspect the paint for any signs of wear and touch up as needed to maintain the beauty of your bathroom.

The Benefits of Using Rustoleum for Painting Bathroom Tiles
When it comes to painting bathroom tiles, choosing the right paint is crucial for achieving a professional-looking finish that will stand the test of time. Rustoleum, a trusted brand in the world of paints, offers several benefits that make it the perfect choice for painting bathroom tiles. Below are the key benefits of using Rustoleum and why it is the preferred option for many DIY enthusiasts and professionals alike.
Superior Durability: One of the primary benefits of using Rustoleum for painting bathroom tiles is its superior durability. Rustoleum paints are specially formulated to withstand the high moisture levels and frequent use common in bathrooms. The paint adheres strongly to the tiles, creating a long-lasting finish that resists chipping, peeling, and fading. With Rustoleum, you can enjoy a beautiful bathroom that will maintain its fresh look for years to come.
Moisture Resistance: Bathrooms are prone to high humidity and moisture, which can be detrimental to painted surfaces. Rustoleum paints are designed to be moisture-resistant, making them an ideal choice for bathroom tiles. The moisture-resistant properties of Rustoleum paints help prevent the growth of mold and mildew, ensuring a clean and hygienic bathroom environment. Additionally, these paints are easy to clean and maintain, allowing you to keep your bathroom tiles looking their best with minimal effort.
Versatility: Rustoleum offers a wide range of colors and finishes, allowing you to achieve the exact look you desire for your bathroom tiles. Whether you prefer a classic white, a bold and vibrant color, or even a textured finish, Rustoleum has options to suit every style and taste. With Rustoleum, you can unleash your creativity and transform your bathroom into a personalized oasis.
Ease of Application: Another advantage of using Rustoleum for painting bathroom tiles is its ease of application. Rustoleum paints are user-friendly, making them suitable for both experienced painters and beginners. The paints are easy to work with, providing smooth and even coverage. Whether you choose to use a brush or a roller, you can achieve a professional-looking finish with minimal effort. Rustoleum’s user-friendly nature makes it an excellent choice for DIY enthusiasts looking to tackle a bathroom tile painting project.
Cost-Effective Solution: Replacing bathroom tiles can be a costly endeavor, especially if you want to upgrade to higher-quality tiles. Painting your existing tiles with Rustoleum offers a cost-effective solution that can save you a significant amount of money. With Rustoleum, you can achieve a brand-new look for your bathroom without the need for expensive renovations. By choosing Rustoleum, you can transform your bathroom on a budget and allocate your savings to other areas of your home improvement projects.
How to Paint Bathroom Tiles with Rustoleum
Painting bathroom tiles can be a cost-effective way to update the look of your bathroom and give it a fresh, modern feel. Rustoleum offers a range of products specifically designed for painting tiles, making it an excellent choice for your DIY project. We will provide you with a step-by-step guide on how to paint bathroom tiles with Rustoleum, so you can achieve professional-looking results and transform your bathroom.
Gather Your Materials: Before you begin, gather all the necessary materials for the project. You will need Rustoleum tile paint, a high-quality brush or roller, painter’s tape, sandpaper or a sanding block, a mild detergent, a scrub brush, and a clean cloth. Make sure to choose the appropriate paint color and finish that suits your desired style and bathroom decor.
Prepare the Tiles: Properly preparing the tiles is crucial for the paint to adhere well and provide a long-lasting finish. Start by cleaning the tiles thoroughly using a mild detergent and a scrub brush. Remove any dirt, grease, or soap residue. Rinse the tiles with clean water and allow them to dry completely. Next, lightly sand the tiles using sandpaper or a sanding block to create a rough surface that will help the paint adhere better. Wipe away any dust or debris with a clean cloth.
Apply Painter’s Tape: To protect areas that you don’t want to paint, such as fixtures or grout lines, apply painter’s tape along the edges. Make sure the tape adheres firmly to the surface to prevent any paint from seeping through. Take your time to ensure that the tape is applied precisely and evenly.
Start Painting: Now it’s time to apply the Rustoleum tile paint to your bathroom tiles. Start by cutting in around the edges of the tiles with a brush, ensuring that you cover all the edges and corners. Then, use a roller to apply the paint evenly over the larger areas of the tiles. Work in small sections, overlapping each stroke to achieve a smooth and consistent finish. Apply multiple thin coats rather than one thick coat for better results. Allow each coat to dry completely before applying the next one.
Remove the Painter’s Tape: Once the final coat of paint is dry, carefully remove the painter’s tape while the paint is still slightly tacky. This will prevent any peeling or chipping of the paint. Slowly peel off the tape at a 45-degree angle, ensuring a clean and crisp line.
Finishing Touches: After removing the painter’s tape, allow the paint to dry completely. Once dry, inspect the painted tiles for any imperfections or areas that may need touch-ups. Use a small brush to fix any spots that require additional paint. Once you’re satisfied with the outcome, let the paint cure according to the manufacturer’s instructions before using the bathroom or exposing it to water.
Choosing the Right Colors for Your Bathroom Tile Transformation
When it comes to painting bathroom tiles, choosing the right colors can make a significant impact on the overall look and feel of your bathroom. Rustoleum offers a wide range of colors and finishes, providing you with endless possibilities to create the perfect ambiance in your bathroom. We will guide you through the process of choosing the right colors for your bathroom tile transformation with Rustoleum, so you can achieve a stunning and personalized result.
Consider Your Bathroom Style: Start by considering the existing style and decor of your bathroom. Take into account the color palette, fixtures, and overall aesthetic. If you have a traditional or classic bathroom, neutral tones like whites, creams, and soft grays can enhance the timeless appeal. For a modern or contemporary bathroom, consider bolder colors such as blues, greens, or even black for a sleek and dramatic look. Understanding your bathroom’s style will help you narrow down your color options.
Assess Lighting Conditions: Lighting plays a crucial role in how colors appear in a space. Take note of the natural and artificial lighting in your bathroom. If your bathroom receives ample natural light, you can opt for brighter colors that will be complemented by the sunlight. In bathrooms with limited natural light, consider lighter and softer shades to create a more open and airy feel. Additionally, be mindful of how different lighting sources, such as overhead lights or vanity lights, may affect the appearance of colors.
Create a Mood: Think about the mood you want to achieve in your bathroom. Colors have the power to evoke specific emotions and set the tone for a space. For a serene and calming bathroom, consider soft blues, greens, or pastel shades. If you want to create a vibrant and energetic atmosphere, bold and saturated colors like reds or yellows can do the trick. Don’t be afraid to experiment with different shades to find the perfect color that aligns with your desired mood.
Coordinate with Fixtures and Accessories: Take into account the existing fixtures and accessories in your bathroom. Consider the color of your vanity, sink, bathtub, and other elements. You can choose colors that complement or contrast with these fixtures to create a cohesive and visually appealing look. Additionally, think about the color scheme of your bathroom accessories, such as towels, shower curtains, and rugs. Coordinating the tile color with these elements can help tie the entire bathroom together.
Test Samples: Before committing to a particular color, it’s important to test samples to see how they look in your bathroom. Rustoleum offers small sample jars of their tile paints, allowing you to apply a small portion of paint to an inconspicuous area of your tiles. Observe how the color looks under different lighting conditions and how it interacts with the existing elements in your bathroom. This will help you make an informed decision and ensure that you are satisfied with the color choice before proceeding with the entire project.
Tips and Tricks for Achieving a Professional Finish with Rustoleum
Painting bathroom tiles with Rustoleum can be a rewarding and cost-effective way to transform your bathroom. To achieve a professional-looking finish, it’s important to follow some tips and tricks that will help you get the best results. Below we share valuable tips and techniques that will guide you in achieving a flawless and durable finish with Rustoleum.
Proper Surface Preparation: Before you start painting, it is crucial to prepare the surface properly. Clean the tiles thoroughly to remove any dirt, grease, or soap residue. Use a mild detergent and a scrub brush, then rinse the tiles with clean water and allow them to dry completely. Sand the tiles lightly to create a rough surface that will help the paint adhere better. Wipe away any dust or debris with a clean cloth. Proper surface preparation is the foundation for a successful paint job.
Use High-Quality Brushes and Rollers: Investing in high-quality brushes and rollers is essential for achieving a professional finish. Cheap or low-quality brushes and rollers can leave streaks, lint, or brush marks on the painted surface. Choose brushes and rollers specifically designed for use with water-based paints. Look for brushes with synthetic bristles that provide a smooth and even application. Remember to clean your brushes and rollers thoroughly after each use to maintain their quality and prolong their lifespan.
Apply Thin Coats: When applying the paint, it’s better to apply multiple thin coats rather than one thick coat. Thin coats dry more evenly and are less likely to result in drips, streaks, or uneven coverage. Allow each coat to dry completely before applying the next one. Follow the manufacturer’s instructions regarding the recommended drying time between coats. Patience is key to achieving a flawless and professional finish.
Maintain a Consistent Application Technique: To achieve a consistent and even finish, maintain a consistent application technique throughout the painting process. Whether you’re using a brush or a roller, apply the paint in the same direction and with the same amount of pressure. This will help avoid visible brush or roller marks and ensure a smooth and uniform appearance. Be mindful of any overlapping areas to prevent uneven color distribution.
Seal the Paint: To protect the painted tiles and ensure their longevity, consider applying a clear sealant over the paint. Rustoleum offers sealants specifically designed for use on painted tiles. The sealant will provide an extra layer of protection against moisture, stains, and daily wear and tear. Follow the manufacturer’s instructions for the application of the sealant, and allow it to dry fully before using the bathroom or exposing the tiles to water.
Practice Proper Maintenance: Once the painting is complete, it’s important to practice proper maintenance to keep the painted tiles looking their best. Avoid using harsh cleaning agents or abrasive scrub brushes that could damage the paint. Instead, use mild cleaners and soft cloths or sponges to clean the tiles gently. Regularly inspect the paint for any signs of wear or damage, and touch up as needed to maintain the professional finish.
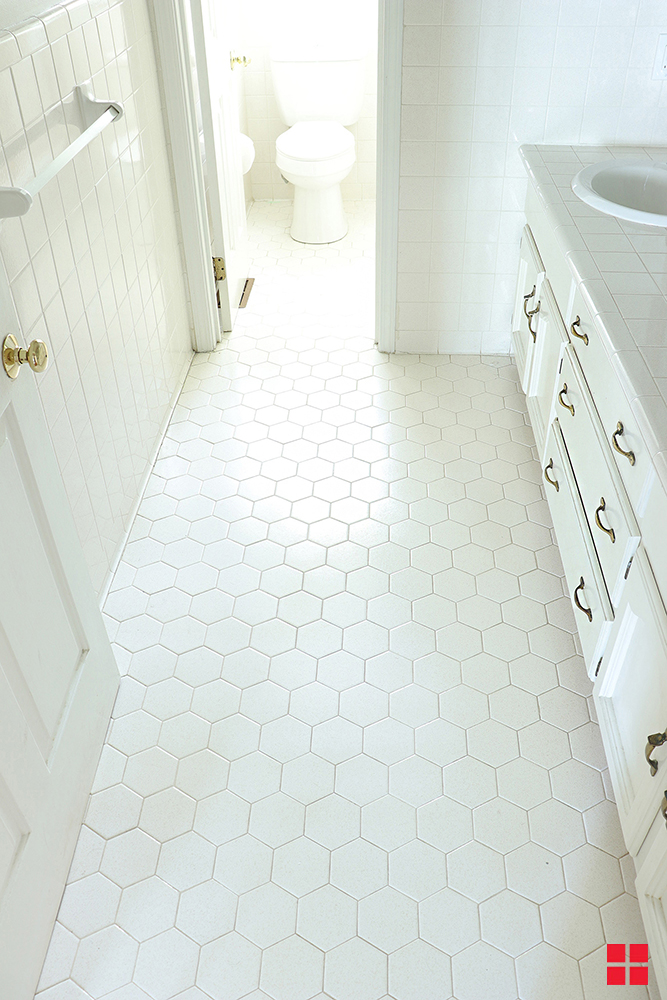
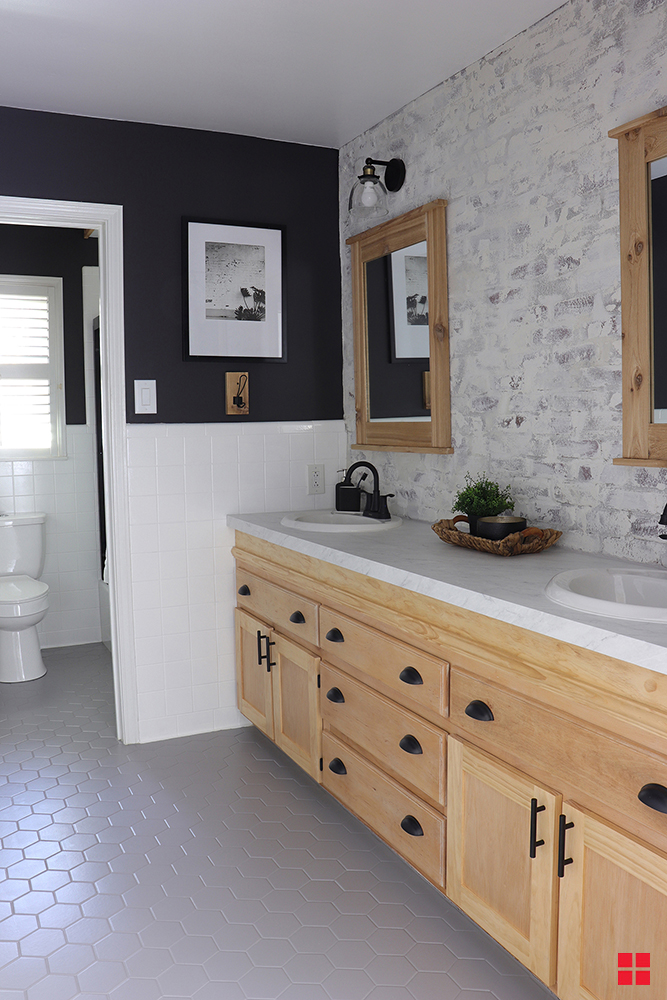
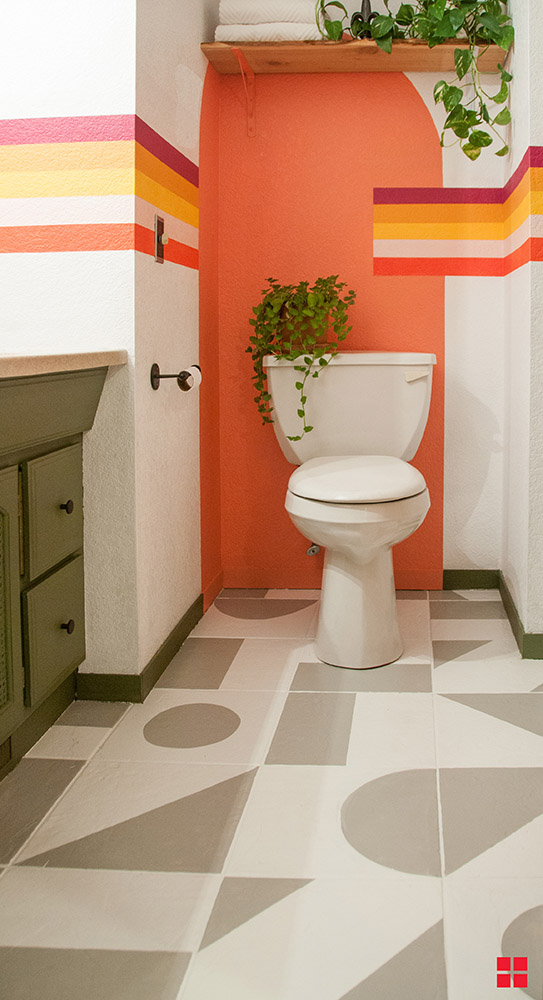
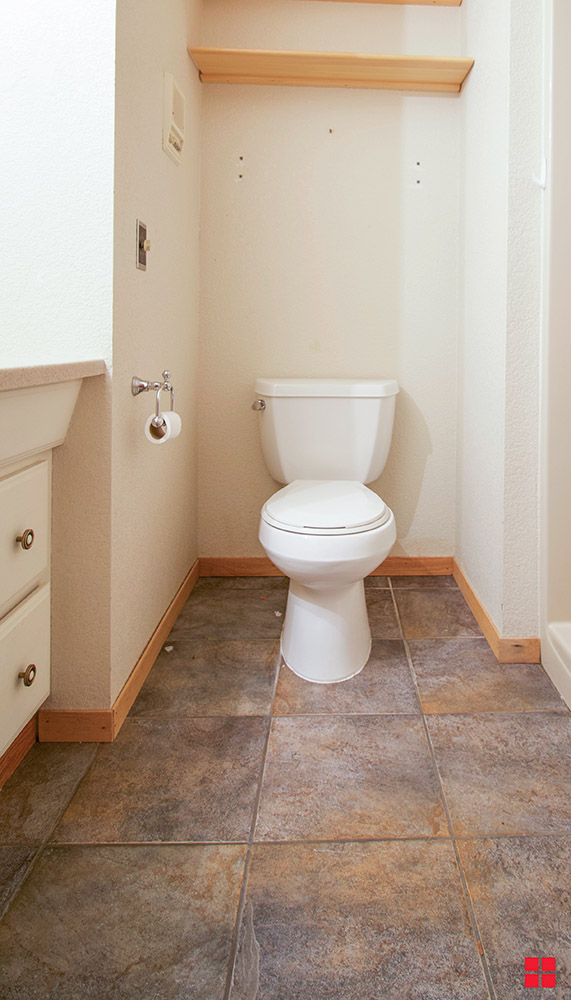
Paint A Bathroom Floor With RockSolid HOME Tile Paint
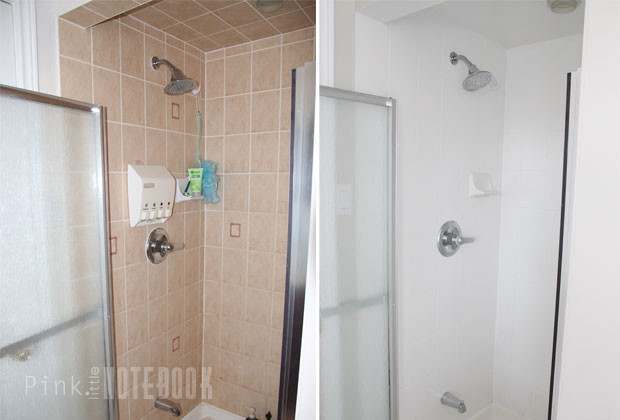
Bathroom Wall Tile Makeover
Rustoleum Tub and Tile paint kit. Great product, easy but somewhat
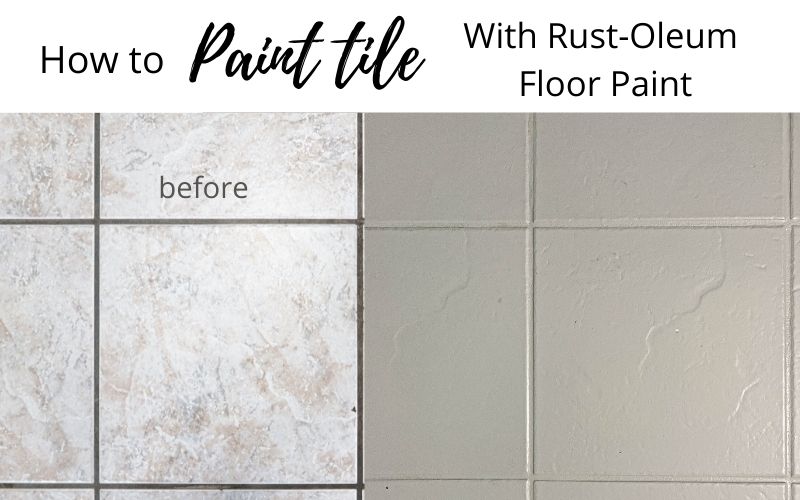
Yes! You Really Can Paint Tiles: Rust-Oleum Tile Transformations
Yes! You Really Can Paint Tiles: Rust-Oleum Tile Transformations
DIY: How to Paint Ceramic Floor Tile u2014 Farmhouse Living
Using Rust-Oleum Home Floor Coating to Paint Outdated Tile Floor
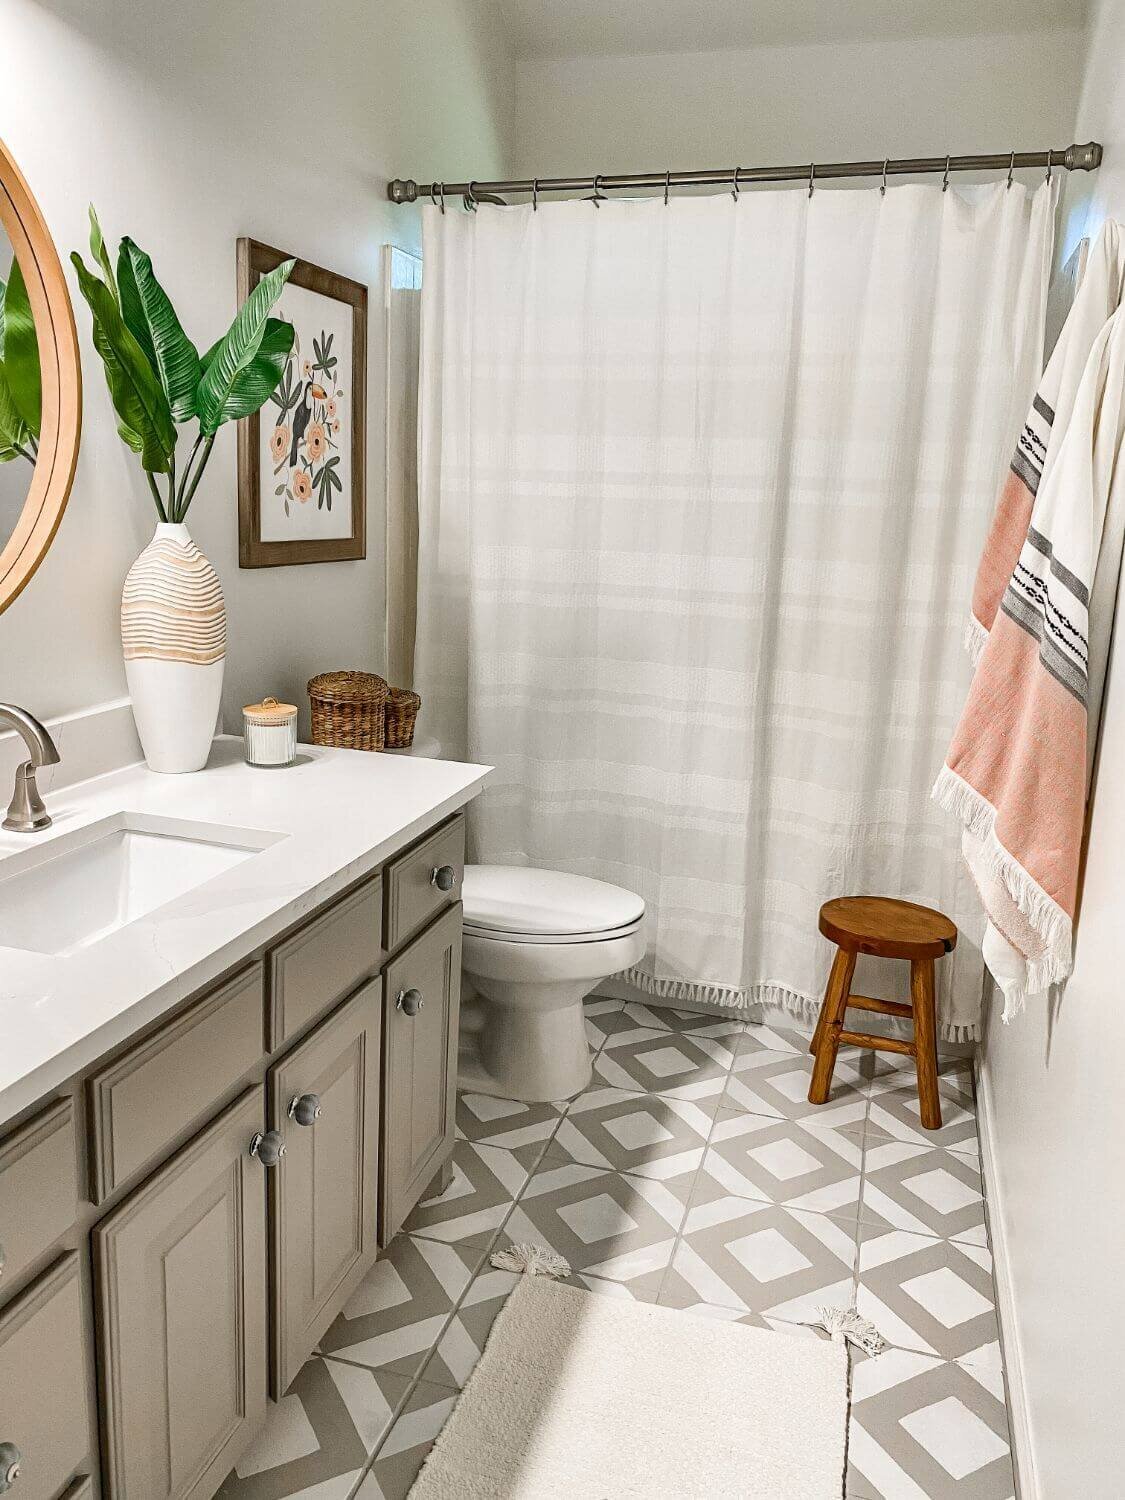
Painting Bathroom Floor Tiles
Painting Bathroom Floor Tiles
Related Posts:


