A 60-inch bathroom vanity offers an abundance of storage for bathroom essentials. Whether you’re renovating an older bathroom or designing a sleek, modern space, these plans are ideal for creating a fully customized vanity to fit your style and needs.
What Kind of Wood and Supplies Will I Need?
To create a 60-inch bathroom vanity, you’ll need quality materials like plywood, hardwood, and birch. Depending on the style of vanity you’re creating, you may also need specific accessories such as door and drawer hardware, faucets, and handles.
Gathering Your Tools and Measuring Your Space
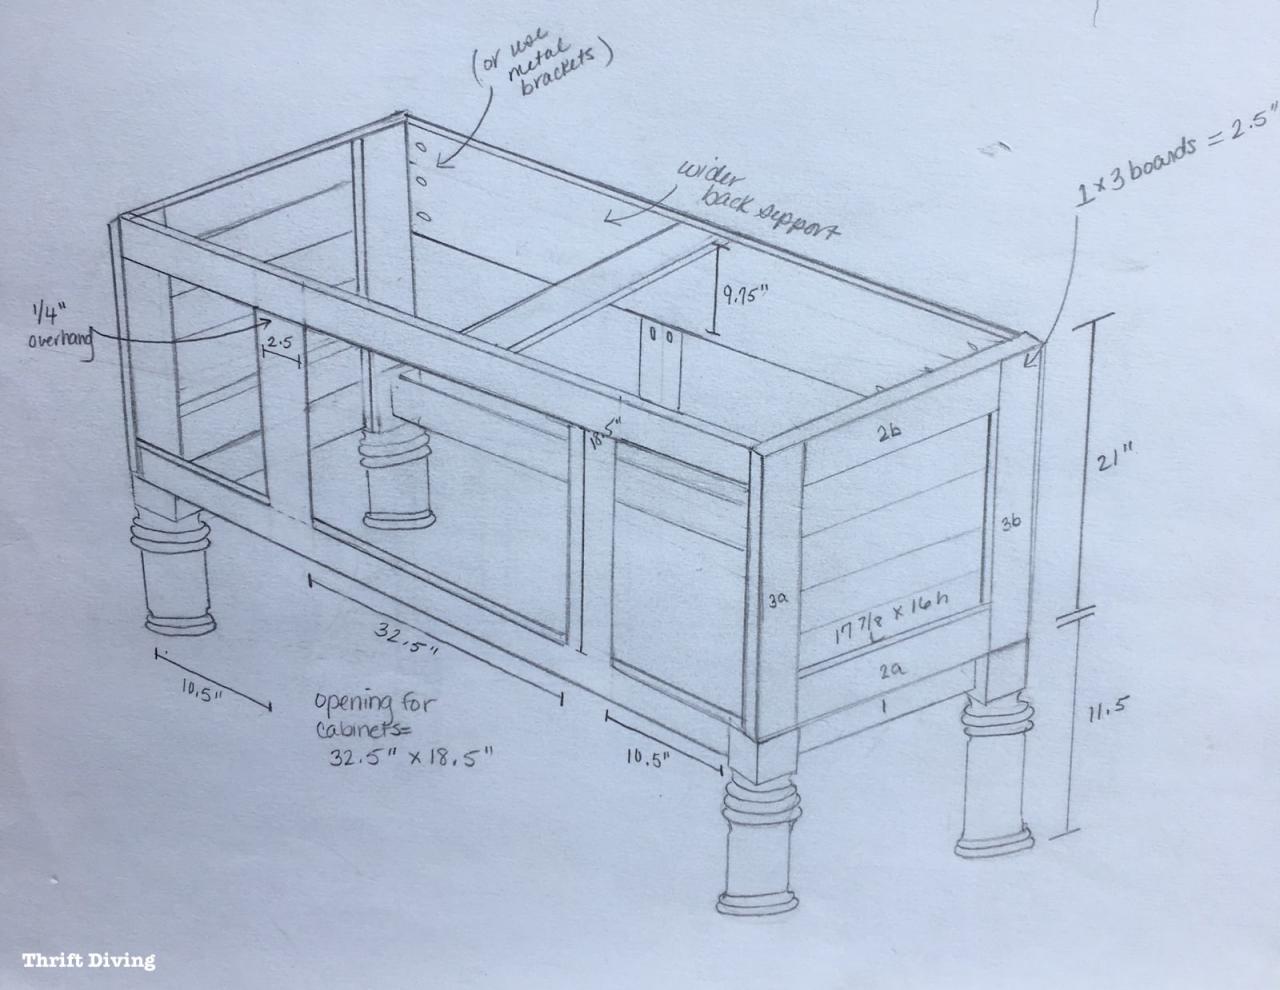
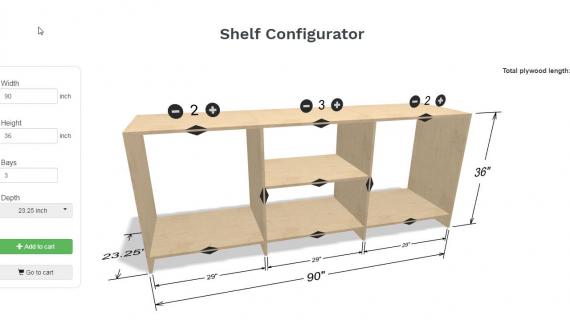
With the right tools and supplies in hand, it’s time to start building. Make sure to measure your space prior to building and plan accordingly. You’ll need a circular saw, tape measure, drill, screws, and other basic carpentry tools to assemble your vanity.
Cutting and Joining Your Materials
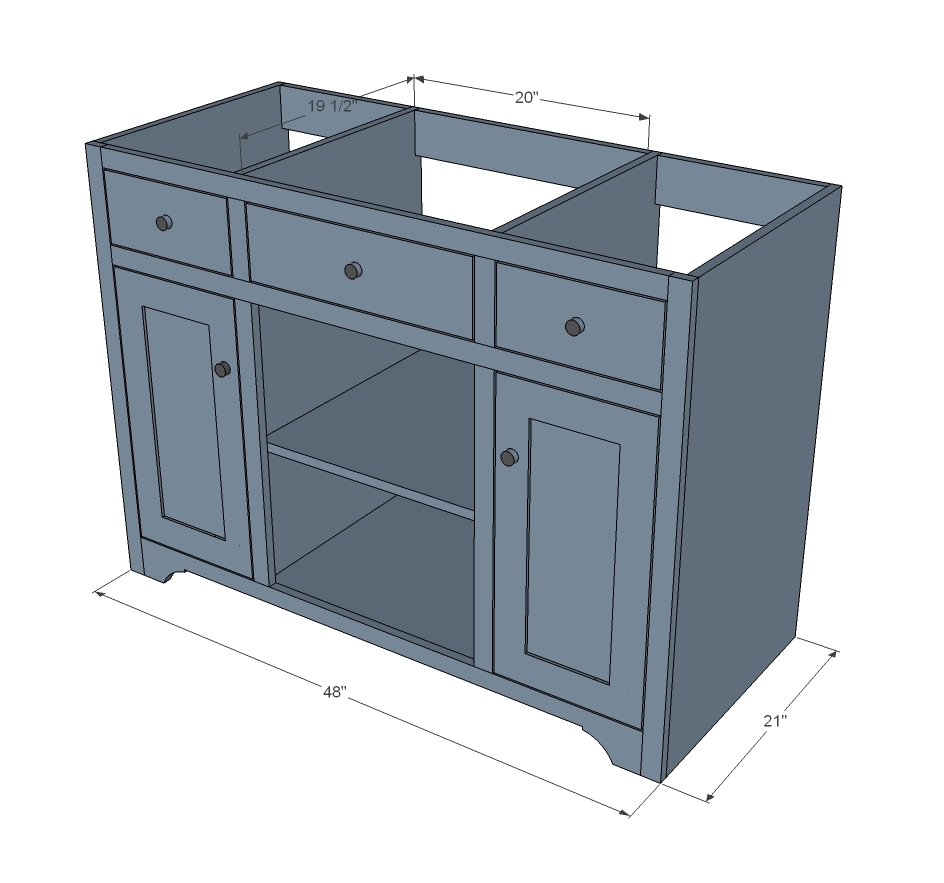
Once you’ve gathered your materials and tools, start by cutting the plywood and hardwood to the measurements for your vanity. Next, join your materials together with screws to form panels for your cabinet. Then, use a jigsaw to cut out any shelves, openings, and other shapes.
Painting and Assembling
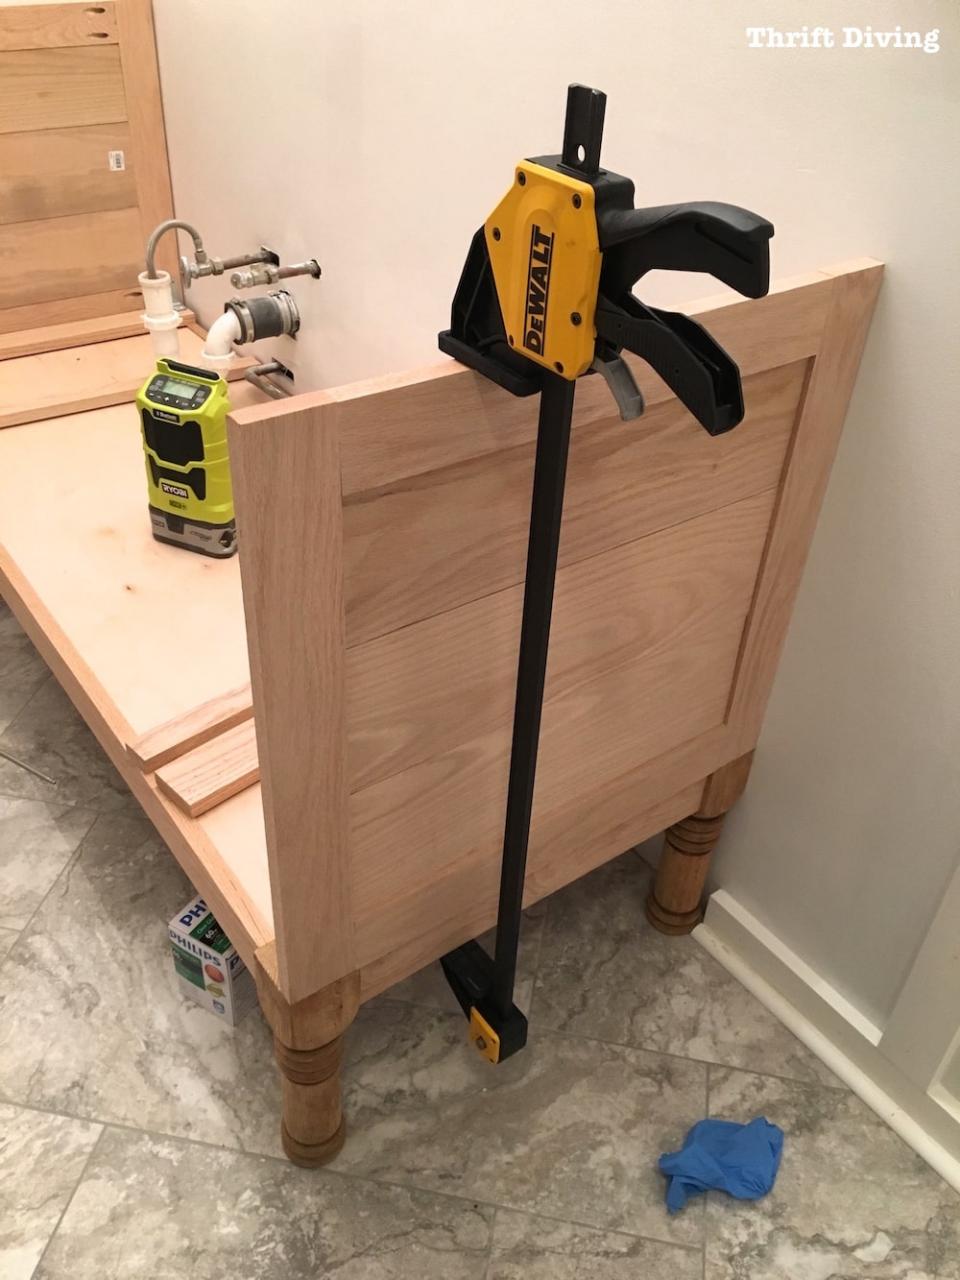
Once you’ve cut and joined your materials, it’s time to start assembling. Attach the panels to form the shape of your vanity, then add shelves and drawers. You can then attach the backsplash and feet to your vanity, as well as door and drawer hardware. Finally, with your vanity fully assembled, you can paint and finish it with whatever style of your choice.
Once you have the materials and measurements in place, it’s relatively easy to create a custom 60-inch vanity for your bathroom. With the right tools and supplies, you can build and finish a beautiful vanity that fits perfectly in your space. Making your own vanity means you can completely customize it to match your aesthetic and fulfill your needs.
60 Inch Bathroom Vanity Plans
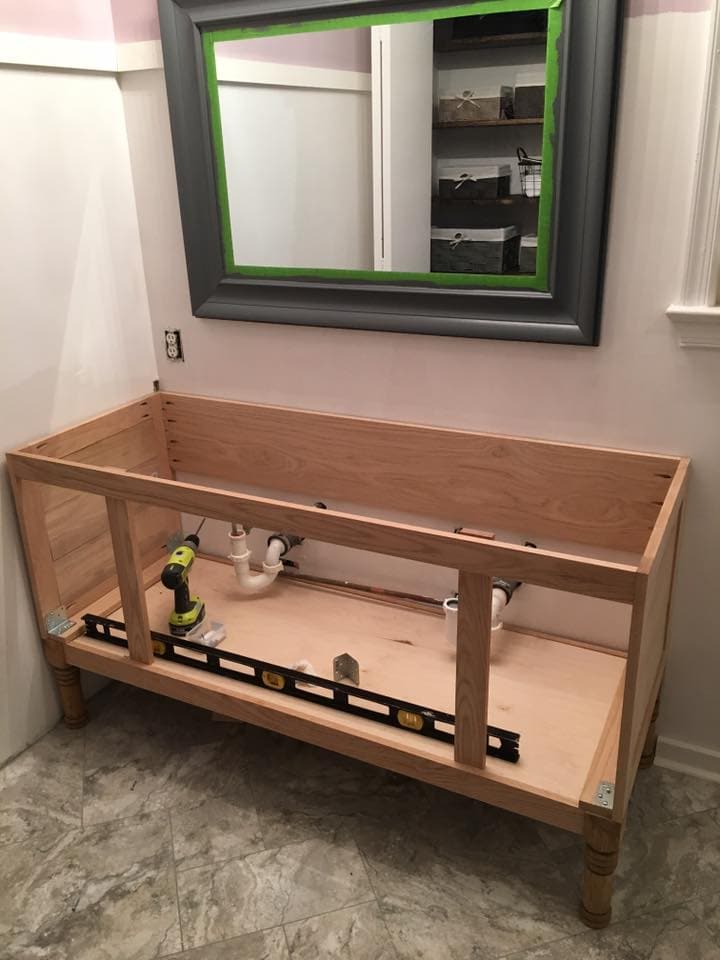
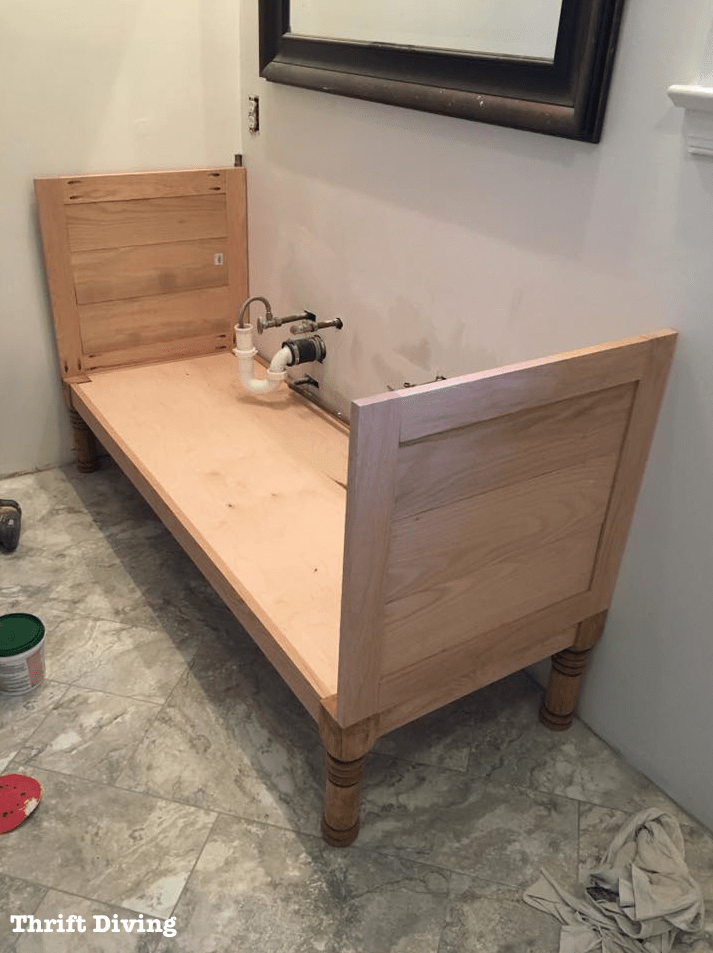
How to Build a 60″ DIY Bathroom Vanity From Scratch
Kreg Tool Innovative Solutions for All of Your Woodworking and

15 DIY Bathroom Vanity Plans You Can Build Today
:max_bytes(150000):strip_icc()/cherry-diy-bathroom-vanity-594414da5f9b58d58a099a36.jpg)
Build a DIY Bathroom Vanity – Part 3 – Creating the Partitions
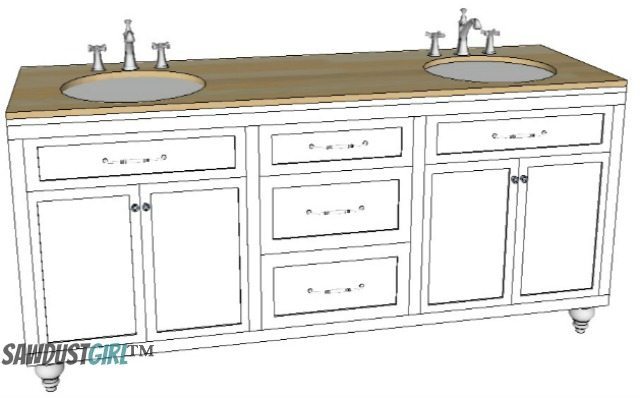
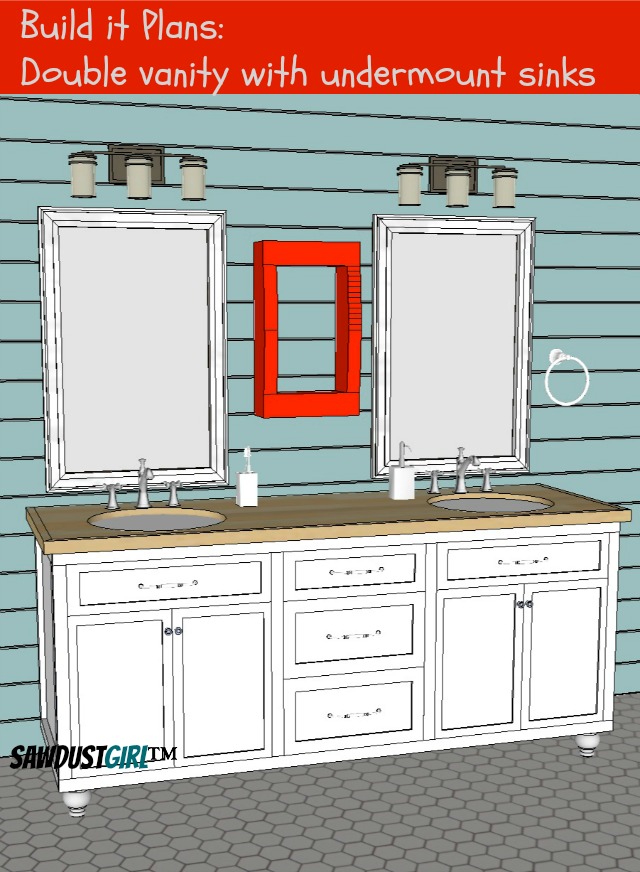
Double Vanity with Center Drawers – Free Plans – Sawdust Girl®

Double Vanity with Center Drawers – Free Plans – Sawdust Girl®
Bathroom Vanities Ana White
Simple Gray Bathroom Vanity Ana White
Double Vanity with Center Drawers – Free Plans – Sawdust Girl®
15 DIY Bathroom Vanity Plans You Can Build Today
:max_bytes(150000):strip_icc()/diy-bathroom-vanity2-594416535f9b58d58a0ce30b.jpg)
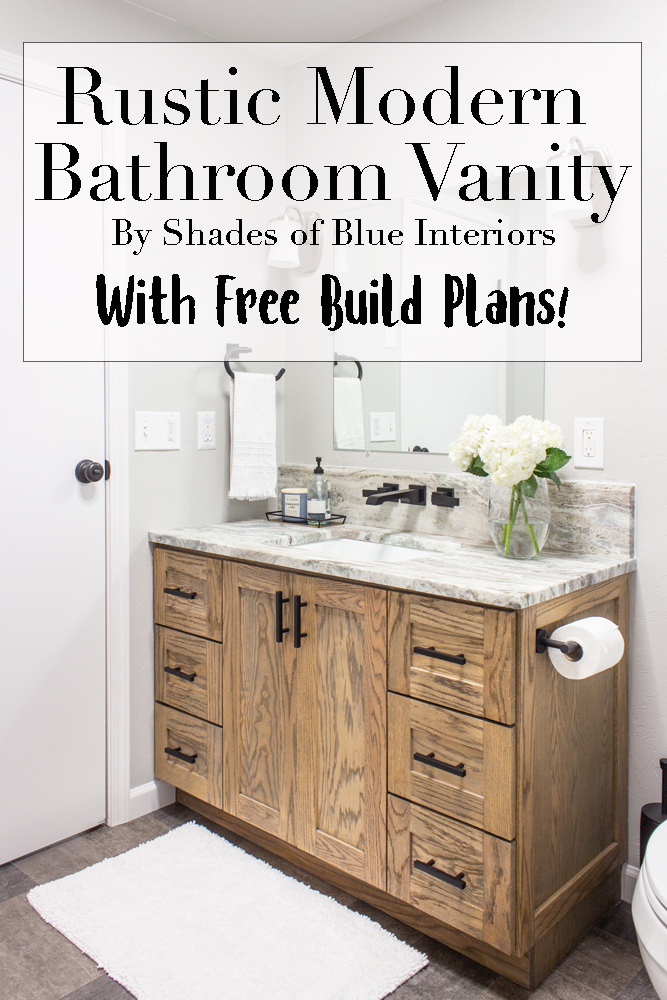
Rustic Modern Bathroom Vanity Build Plans – Shades of Blue Interiors
DIY Bathroom Vanity – Shanty 2 Chic
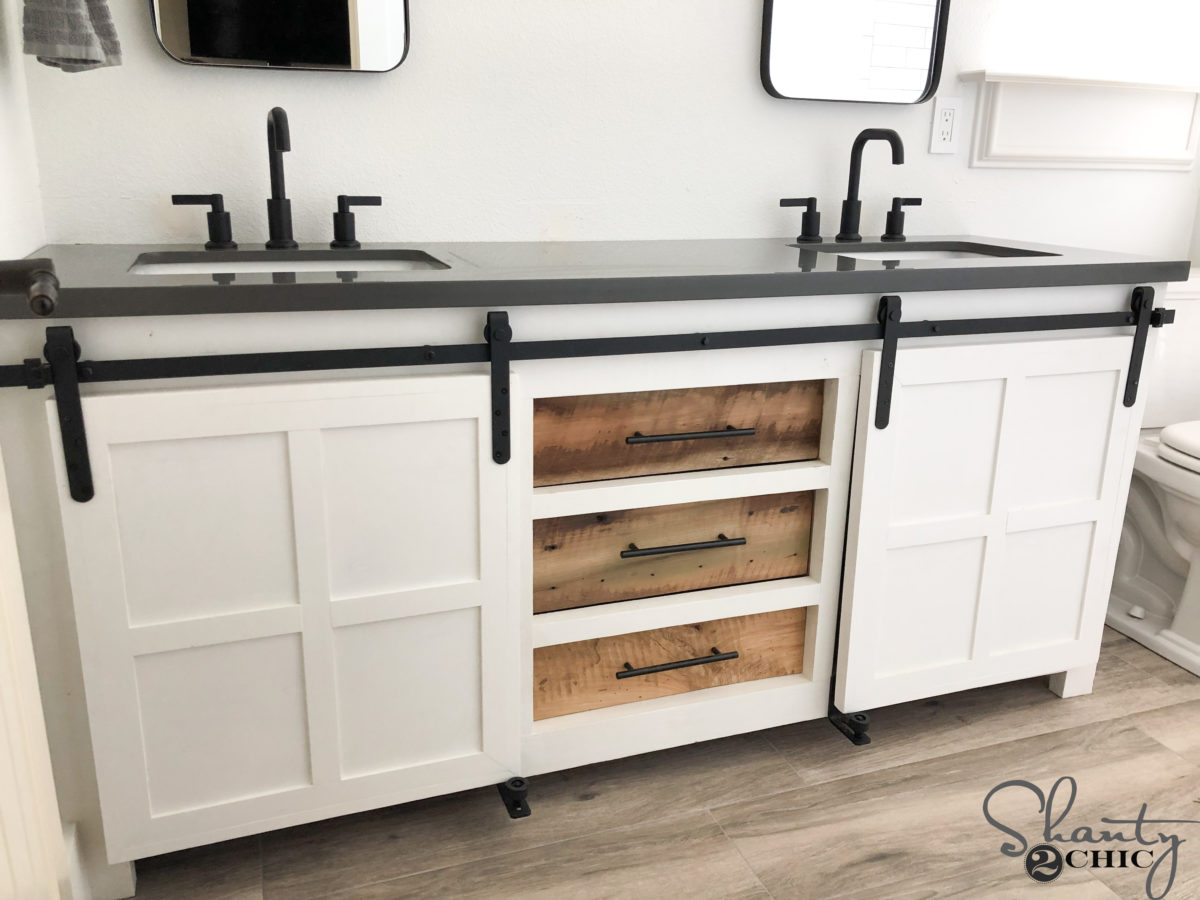
How to Build a 60″ DIY Bathroom Vanity From Scratch
Related Posts:
- Vintage Bathroom Vanity Sink Cabinets
- Contemporary Bathroom Vanity Ideas
- Bathroom Vanity Outlet Center
- Weathered Wood Bathroom Vanity
- Bathroom Vanity Replacement Drawers
- Bathroom Vanity Timber Top
- 36 Inch Rustic Bathroom Vanity
- Rustic Double Sink Bathroom Vanity
- 35 Bathroom Vanity
- Kohler Bathroom Vanity Mirrors
How to make an origami crane?”
What is the traditional Japanese legend behind origami cranes?
The traditional Japanese legend behind origami cranes is that if one folds 1,000 origami cranes, they are granted a wish. This belief is based on the story of Sadako Sasaki, a Japanese girl who contracted leukemia due to the atomic bombing of Hiroshima during World War II. Sadako was determined to fold 1,000 origami cranes in the hope that her wish would be granted, although she died before completing her goal. This story has come to symbolize the power of hope and of peace.
To make an origami crane, follow these steps:
1. Start with a square piece of origami paper.
2. Fold in half, then open back up.
3. Fold in half again, creating a crease.
4. Flip the paper over so the crease is facing down.
5. Fold the top two corners down to the center crease.
6. Flip the paper over.
7. Fold the left and right edges to the center line.
8. Fold the top half over the bottom half.
9. Flip the paper over.
10. Push the two bottom corners up, then fold them inward.
11. Flip the paper over again and make two small pleats on the head and tail.
12. Pull the head and tail up to create the wings of the crane.
13. Grab the top corner points and fold them over the bird’s body.
14. Finally, tweak and adjust to make your crane look perfect.


