Signs That It’s Time to Replace the Cartridge in Your Bathroom Faucet
Over time, the cartridge in your bathroom faucet can wear out or become damaged, leading to issues such as leaks, drips, or difficulty turning the handle. Recognizing the signs that it’s time to replace the cartridge can help you address the problem promptly and avoid further damage to your faucet. Here are some common signs that indicate it’s time to replace the cartridge in your bathroom faucet:
- Leaking or Dripping Faucet: One of the most obvious signs that the cartridge needs replacing is a leaking or dripping faucet. If you notice water leaking from the spout or handle of your faucet, it’s likely that the cartridge is worn out or has developed a faulty seal. Replacing the cartridge can help restore the proper function of your faucet and prevent water wastage.
- Difficulty Turning the Handle: If you’re experiencing difficulty turning the handle of your faucet, it could be due to a worn-out or damaged cartridge. Over time, the internal components of the cartridge can wear out, causing the handle to become stiff or hard to turn. If you find yourself struggling to operate the faucet handle, it’s a clear indication that the cartridge needs replacing.
- Uneven Water Flow: Another sign of a failing cartridge is uneven water flow from the faucet. You may notice that the water pressure is weaker than usual or that the flow of water is inconsistent. This could be caused by mineral deposits or debris buildup inside the cartridge, obstructing the flow of water. Replacing the cartridge can help improve water flow and restore proper water pressure in your faucet.
- Screeching or Grinding Sounds: If you hear screeching or grinding sounds when you turn on the faucet, it could indicate that the cartridge is damaged or worn out. These sounds are typically caused by metal-on-metal friction inside the faucet, which occurs when the cartridge components are no longer properly lubricated or aligned. Ignoring these sounds can lead to further damage to the cartridge and other faucet components.
- Visible Wear and Tear: Inspect the cartridge for visible signs of wear and tear, such as cracks, corrosion, or mineral deposits. These issues can affect the performance of the cartridge and lead to leaks or other problems with your faucet. If you notice any visible damage to the cartridge, it’s important to replace it as soon as possible to prevent further damage to your faucet.
- Faucet Handle Doesn’t Stay in Place: If the faucet handle doesn’t stay in place when you turn it on or off, it could indicate a problem with the cartridge. A worn-out or damaged cartridge can cause the handle to wobble or move out of position, making it difficult to control the water flow. Replacing the cartridge can help stabilize the handle and ensure smooth operation of your faucet.

Tools and Materials Needed
Replacing the cartridge in your bathroom faucet is a relatively simple task that can be completed with the right tools and materials. Having the necessary equipment on hand before you begin will streamline the process and ensure a successful outcome. Here’s a list of tools and materials you’ll need to replace a cartridge in a bathroom faucet:
Adjustable Wrench: An adjustable wrench is essential for loosening and tightening the nuts and bolts that secure the faucet components in place. Choose a wrench with a comfortable grip and adjustable jaws that can accommodate various sizes of nuts and bolts.
Phillips Screwdriver: A Phillips screwdriver is necessary for removing any screws or fasteners that hold the faucet handle or other components in place. Make sure you have a screwdriver with the appropriate size and length to access tight spaces and remove screws with ease.
Hex Key Set (Allen Wrench): Some faucet models may require a hex key or Allen wrench to remove specific components, such as set screws or handles. Make sure you have a set of hex keys in different sizes to accommodate various types of fasteners.
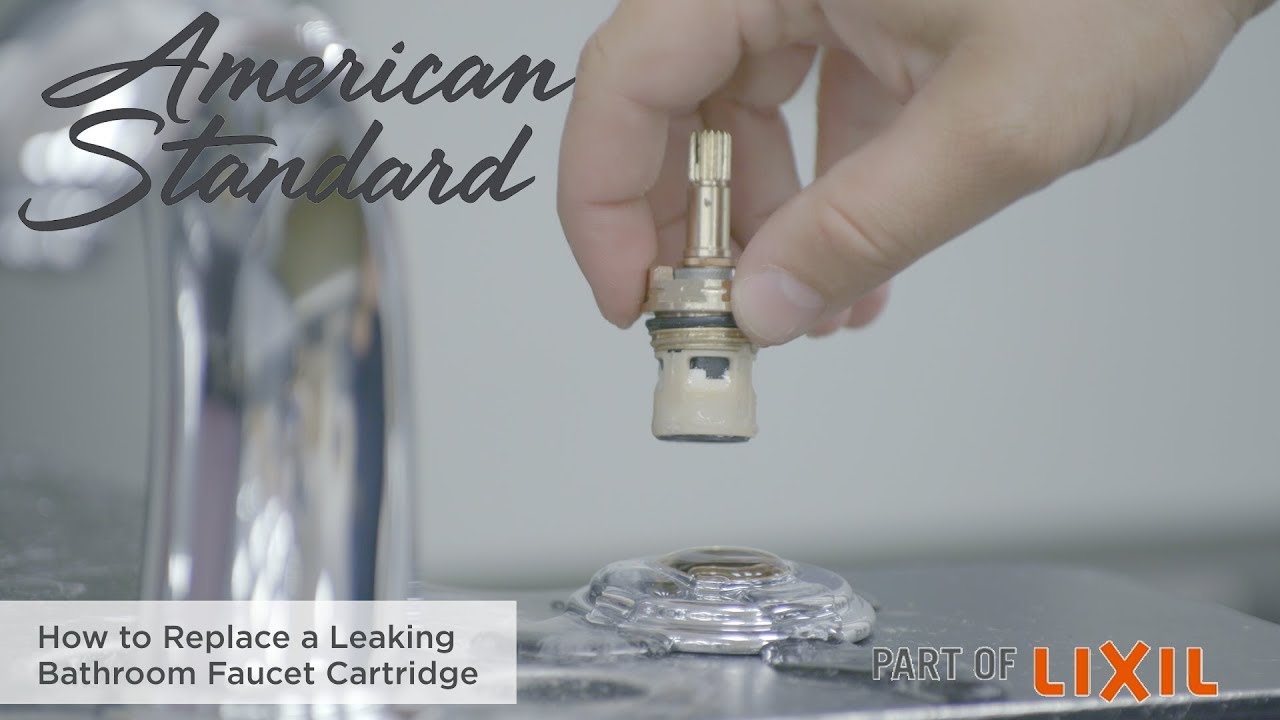
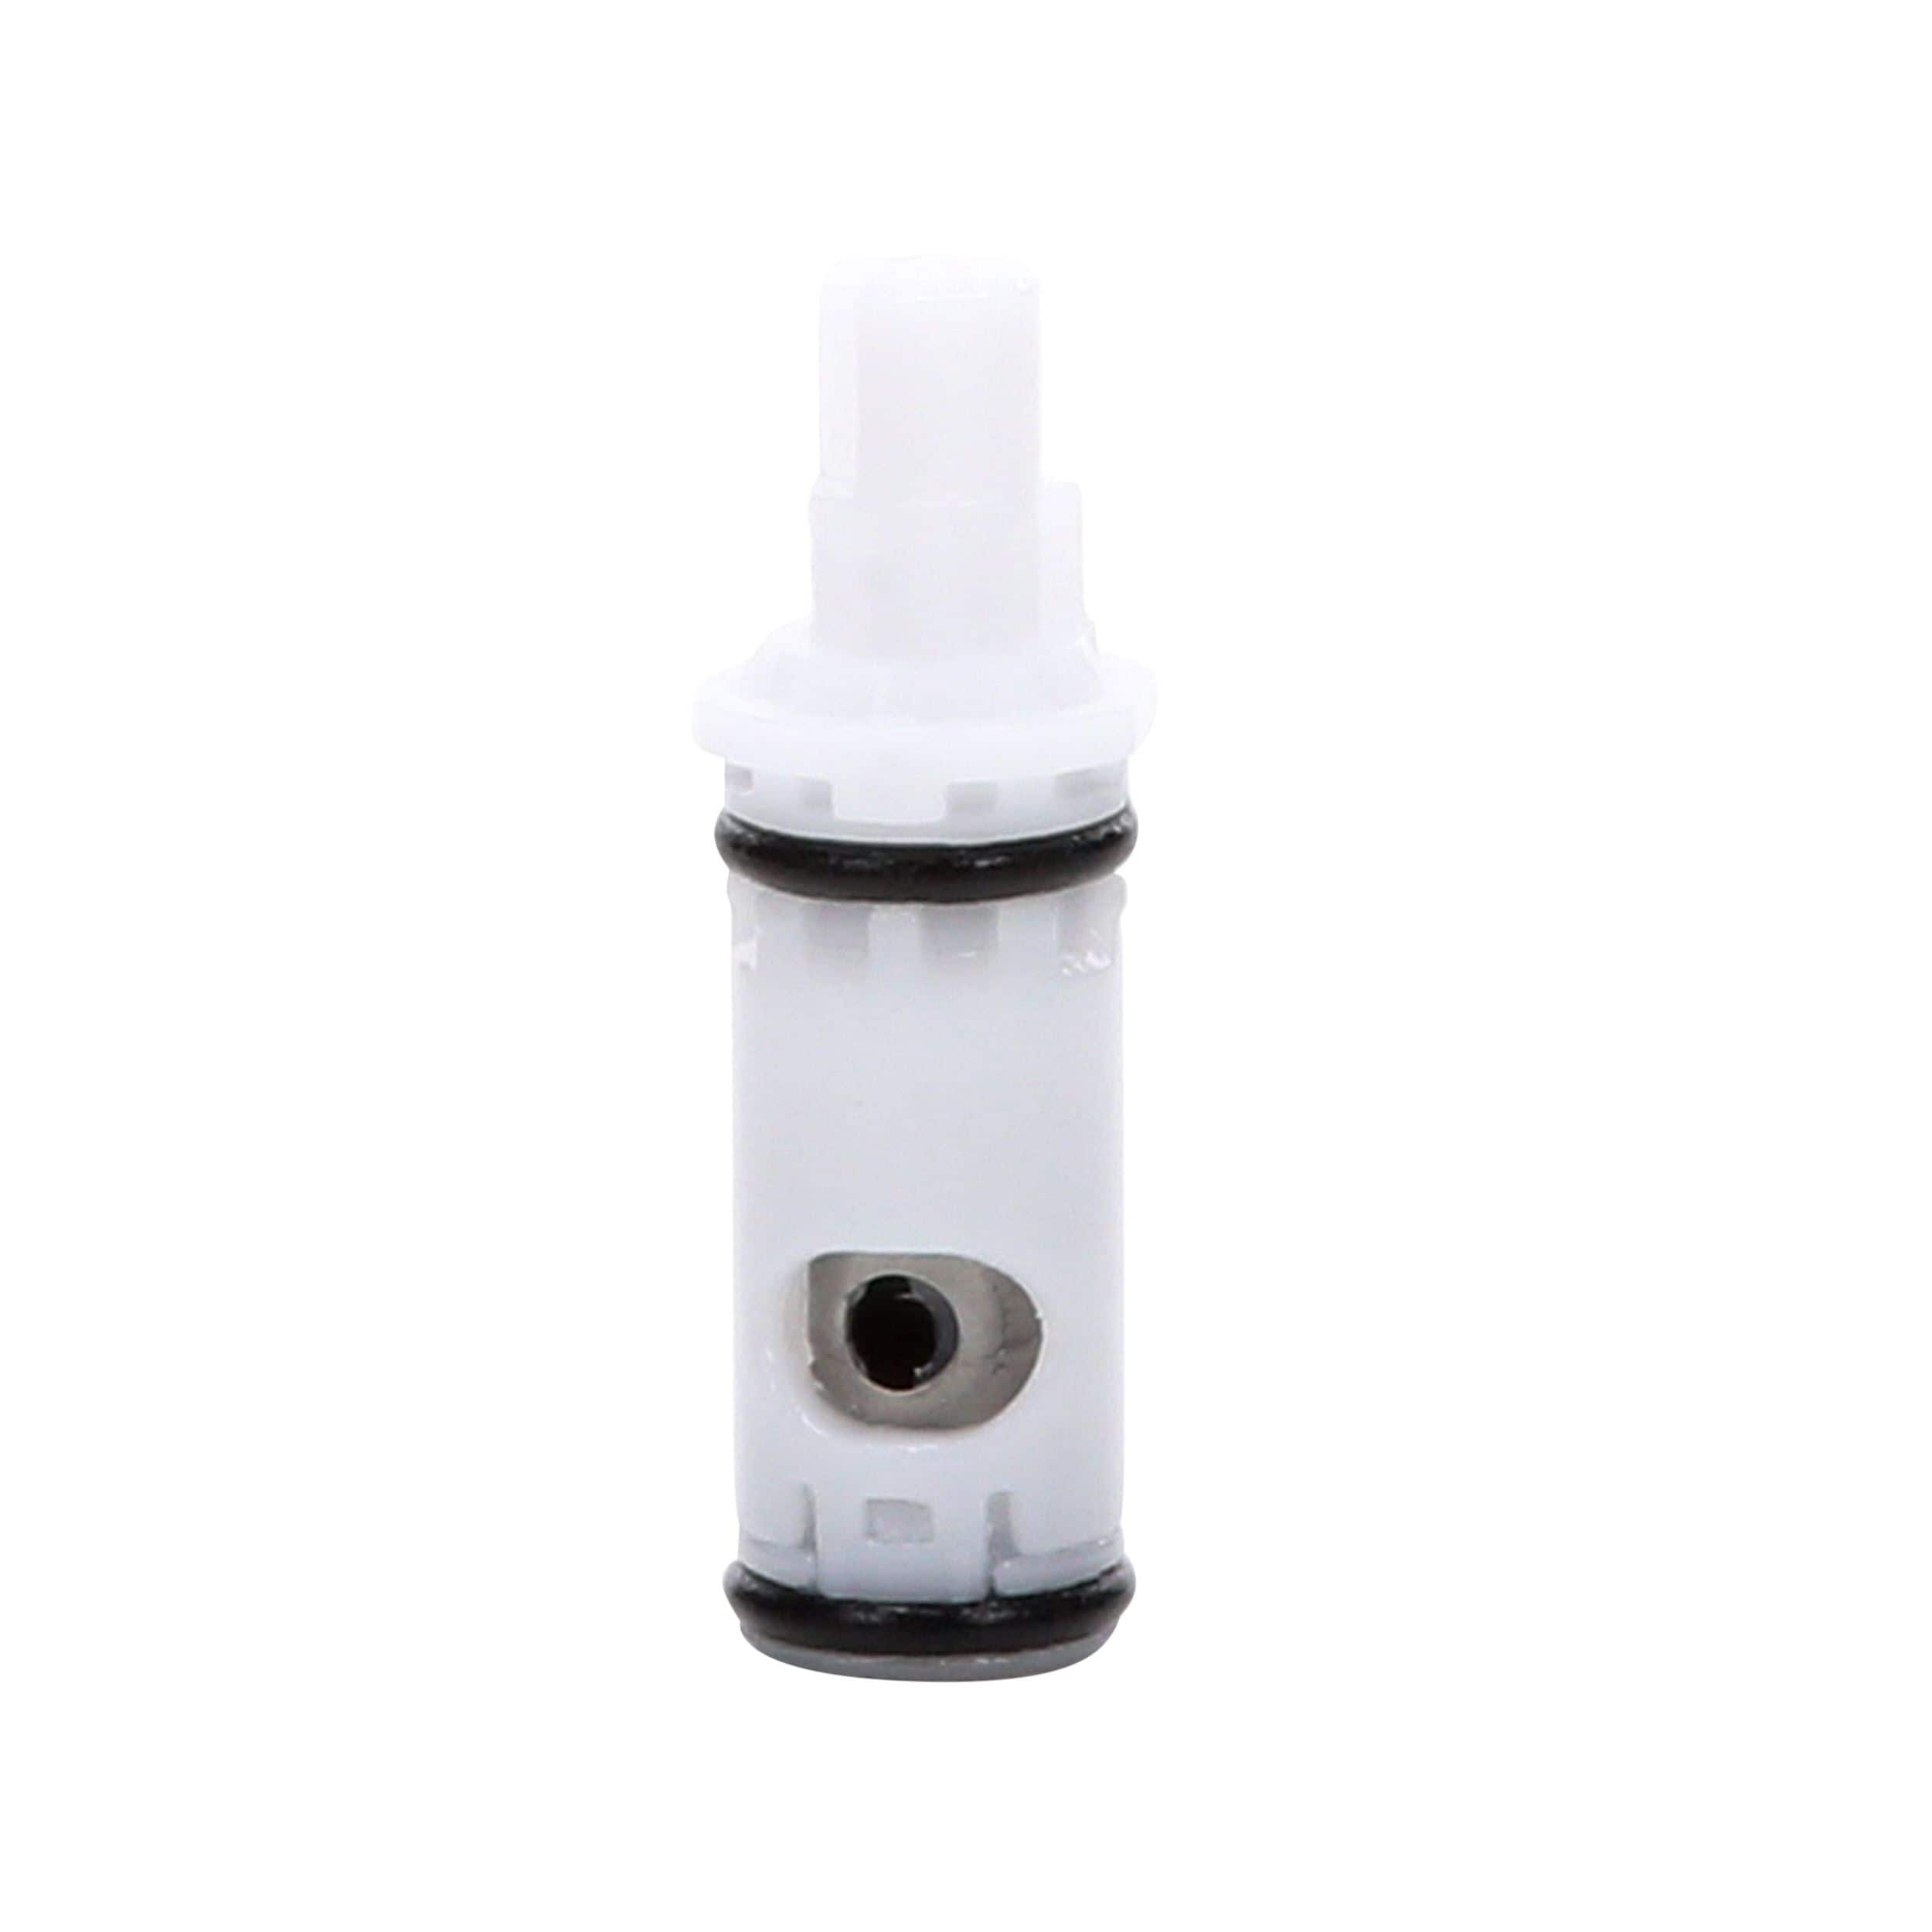
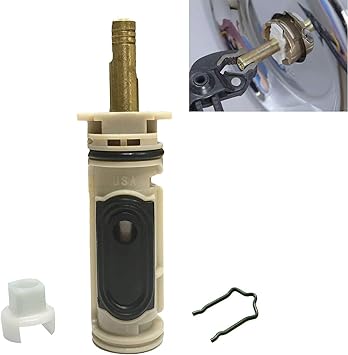
Replacement Cartridge: Before you begin the replacement process, make sure you have a replacement cartridge that is compatible with your faucet model. Cartridges come in various sizes and configurations, so it’s essential to choose the right one for your faucet.
Plumber’s Grease: Plumber’s grease or silicone-based lubricant is helpful for lubricating O-rings, seals, and other components during the installation process. This will ensure the smooth operation of the faucet and prevent leaks or damage to the cartridge.
Clean Cloth or Towel: Keep a clean cloth or towel nearby to wipe away any excess water, debris, or lubricant during the installation process. This will help keep your work area clean and prevent any damage to the faucet components.
Bucket or Container: Place a bucket or container under the sink to catch any water that may spill or leak during the cartridge replacement process. This will help prevent water damage to the surrounding area and make cleanup easier.
Flashlight: A flashlight can be useful for illuminating hard-to-reach areas under the sink or inside the faucet assembly. This will help you see more clearly and navigate the installation process with ease.
Safety Glasses: Safety glasses are recommended to protect your eyes from any debris or splashes of water during the cartridge replacement process. Safety should always be a priority when working with plumbing fixtures.
Owner’s Manual or Instructions: Keep the owner’s manual or installation instructions for your faucet handy for reference. This will help you identify the specific components and steps involved in replacing the cartridge for your particular faucet model.
Step-by-Step Guide to Replacing the Cartridge in Your Bathroom Faucet
Replacing the cartridge in your bathroom faucet is a straightforward process that can be completed with a few simple steps. By following this step-by-step guide, you can successfully replace the cartridge and restore the proper function of your faucet. Here’s how to do it:
Turn Off the Water Supply: Before you begin, turn off the water supply to the faucet. Locate the shut-off valves under the sink and turn them clockwise to shut off the water flow. Once the water supply is turned off, open the faucet to release any remaining water pressure and drain the lines.
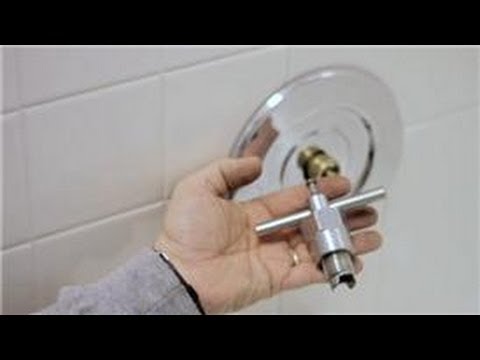
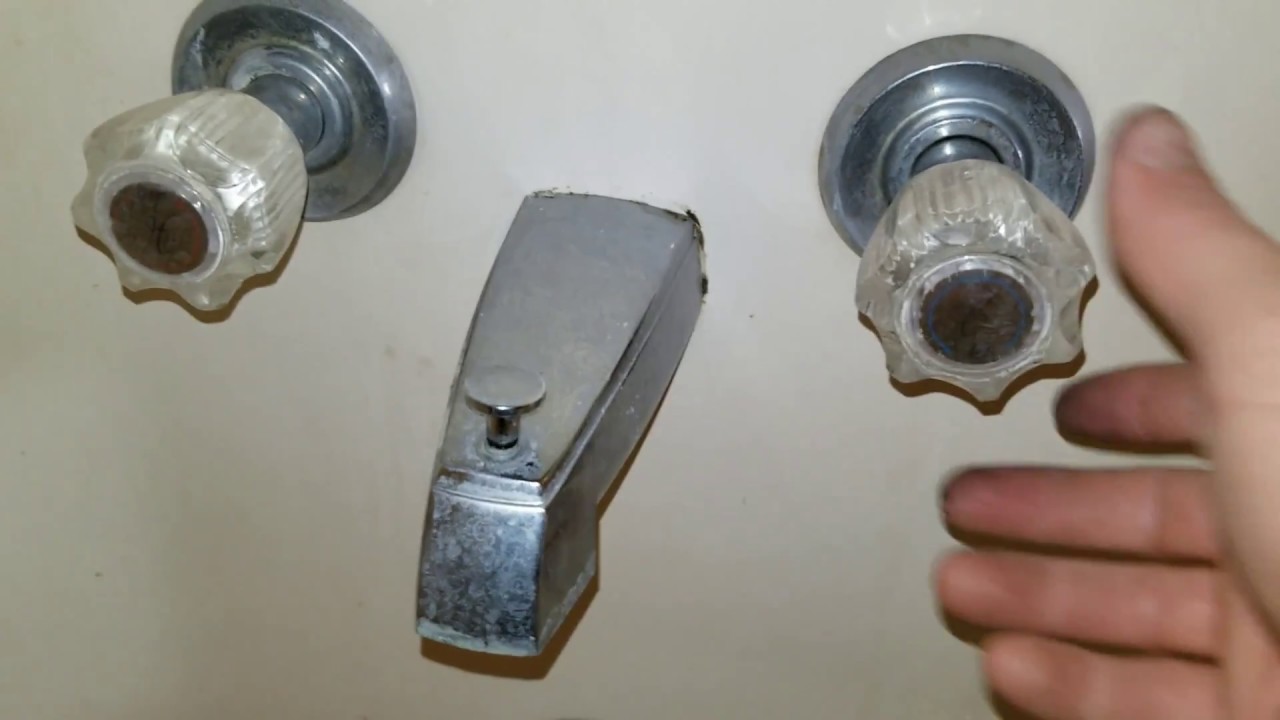
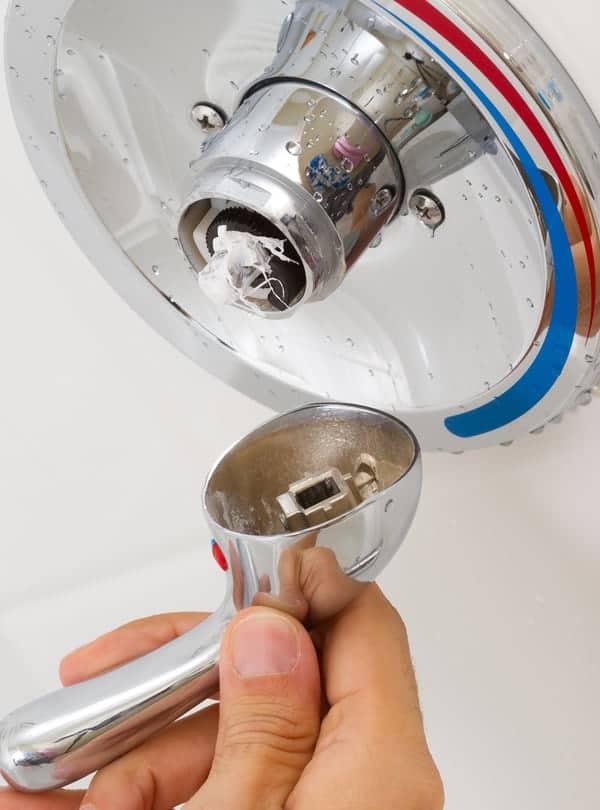
Remove the Faucet Handle: Use a Phillips screwdriver or hex key (Allen wrench) to remove the screws or fasteners that hold the faucet handle in place. Once the screws are removed, carefully lift the handle of the faucet stem to expose the cartridge assembly underneath.
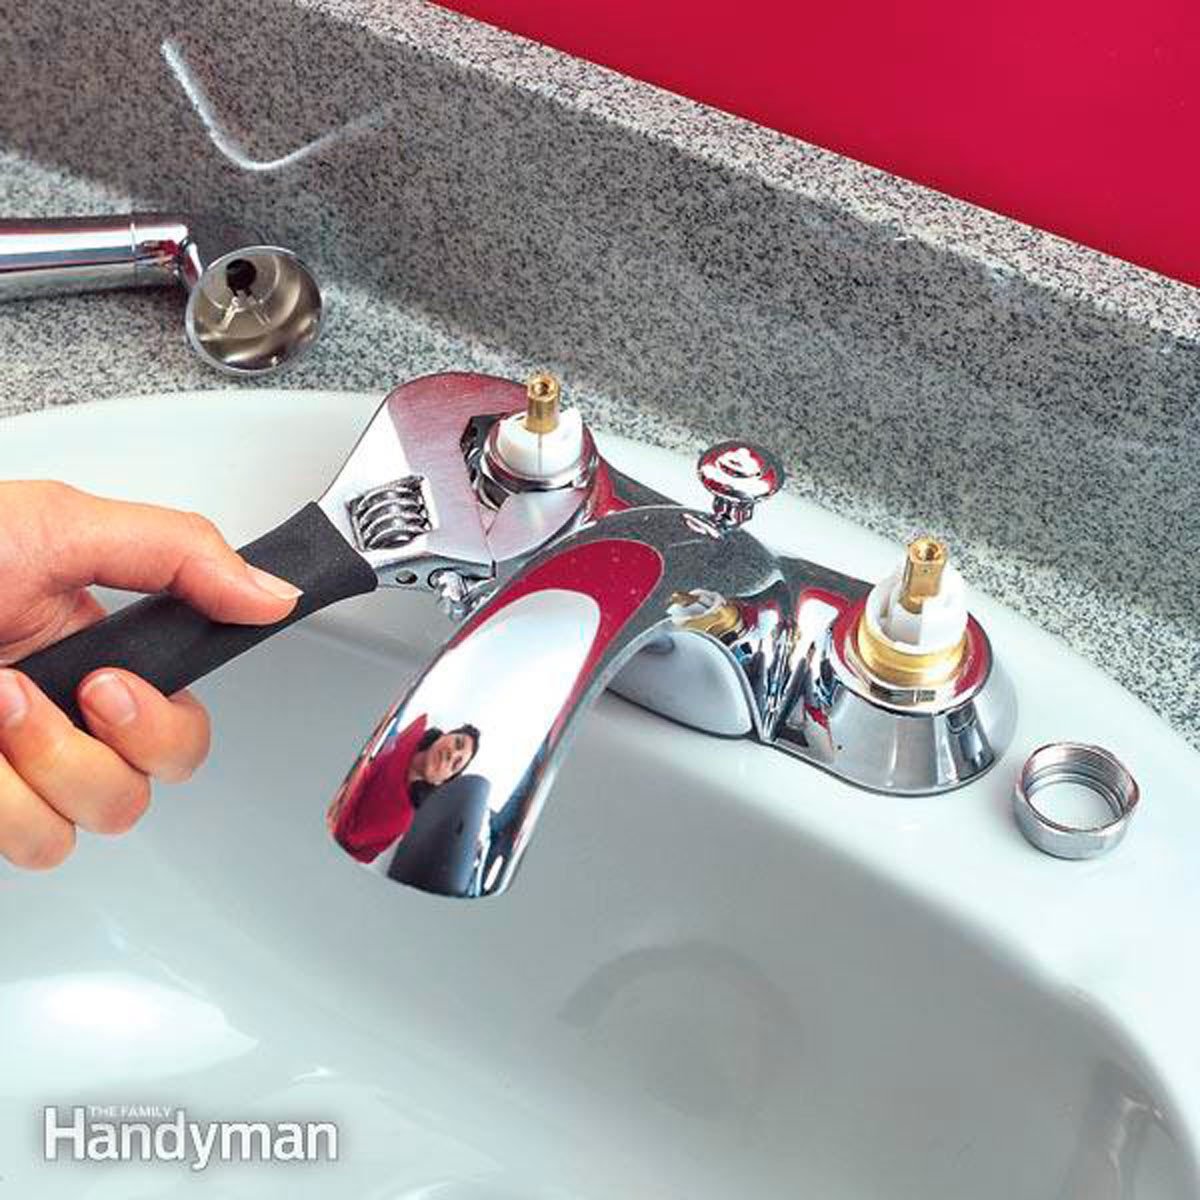
Remove the Cartridge Retaining Nut: Use an adjustable wrench to loosen the retaining nut that secures the cartridge in place. Turn the nut counterclockwise to loosen it, then carefully remove it from the faucet assembly. Set the retaining nut aside in a safe place.
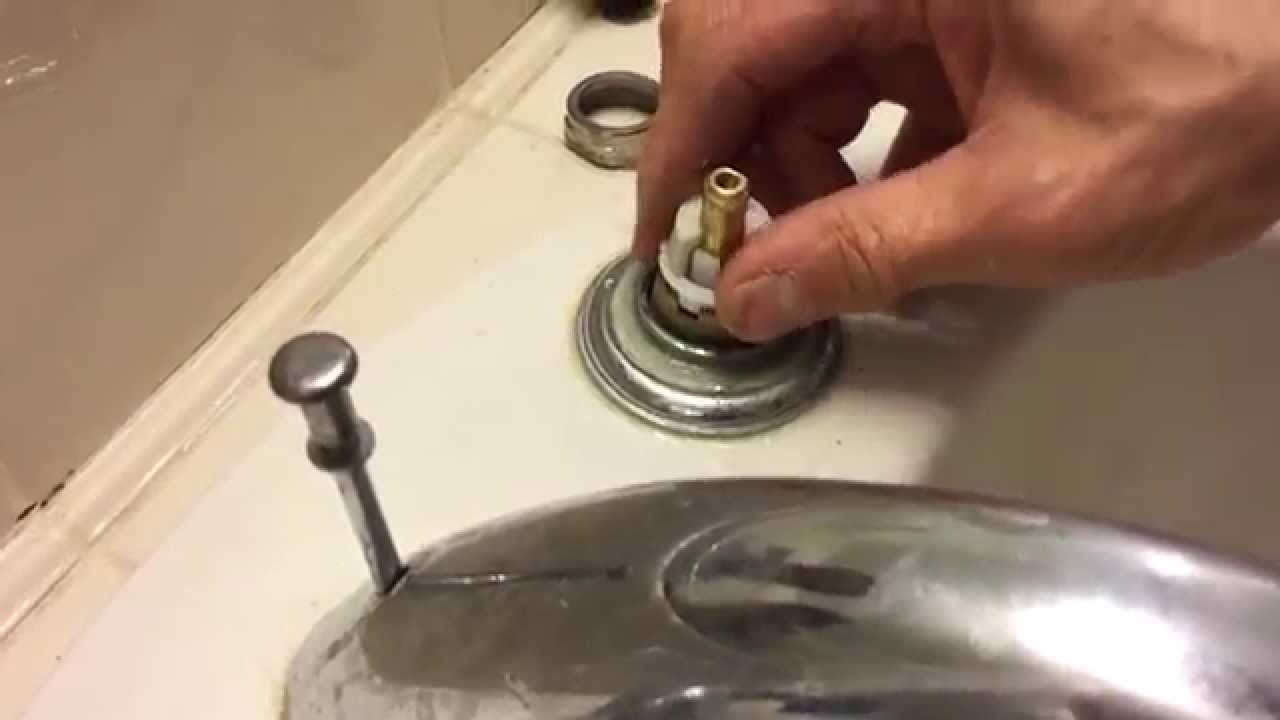
Remove the Old Cartridge: Once the retaining nut is removed, you can easily pull the old cartridge out of the faucet assembly. Grasp the cartridge firmly and gently pull it straight out of the faucet body. If the cartridge is stuck or difficult to remove, you may need to use a cartridge puller tool to help extract it.
Inspect the Faucet Components: Before installing the new cartridge, take a moment to inspect the faucet components for any signs of damage or wear. Check for debris or mineral buildup inside the faucet body and clean any areas as needed. Replace any damaged or worn O-rings, seals, or gaskets to ensure a proper seal with the new cartridge.
Install the New Cartridge: Insert the new cartridge into the faucet body, making sure it is positioned correctly and aligns with the water supply lines. Slide the cartridge into place until it is fully seated in the faucet body.
Reassemble the Faucet: Once the new cartridge is installed, reassemble the faucet by securing the retaining nut over the cartridge and tightening it with an adjustable wrench. Make sure the nut is snug but not over-tightened to avoid damaging the cartridge or other components.
Reattach the Faucet Handle: Carefully place the faucet handle back onto the faucet stem and secure it in place with the screws or fasteners you removed earlier. Use a Phillips screwdriver or hex key to tighten the screws and ensure the handle is securely attached to the faucet assembly.
Turn On the Water Supply: Once the cartridge is replaced and the faucet is reassembled, turn the water supply back on by opening the shut-off valves under the sink. Slowly turn on the faucet and check for any leaks or drips. If everything looks and sounds good, your faucet cartridge replacement is complete!
Test the Faucet: Turn the faucet on and off several times to ensure that the handle operates smoothly and the water flow is consistent. Check for any leaks or drips around the faucet handle or spout and make any necessary adjustments to ensure a proper seal.
Tips for Preventing Future Issues After Replacing the Cartridge
After successfully replacing the cartridge in your bathroom faucet, it’s essential to take steps to prevent future issues and ensure the continued proper function of your faucet. By following these tips, you can maintain the integrity of your faucet and prolong its lifespan:
Regular Maintenance: Perform regular maintenance on your faucet to prevent the buildup of debris, mineral deposits, and other contaminants that can affect its performance. Clean the faucet aerator and spout regularly to remove any buildup and ensure smooth water flow.
Use Soft Water: If your home has hard water, consider installing a water softener to reduce mineral buildup in your plumbing fixtures. Soft water is gentler on faucets and helps prevent corrosion, scale buildup, and other issues that can affect their performance.
Avoid Excessive Force: Avoid using excessive force when operating the faucet handle, as this can put unnecessary strain on the cartridge and other components. Turn the handle gently and avoid slamming it shut to prevent damage and ensure smooth operation.
Replace Seals and O-rings: Periodically check the seals and O-rings on your faucet for signs of wear or damage and replace them as needed. Worn or damaged seals can cause leaks and other issues, so it’s essential to keep them in good condition to maintain a proper seal with the cartridge.
Address Leaks Promptly: If you notice any leaks or drips from your faucet, address them promptly to prevent water wastage and further damage to the cartridge and other components. Inspect the faucet for signs of leaks regularly and make any necessary repairs or replacements to prevent issues from escalating.
Avoid Harsh Chemicals: Avoid using harsh chemical cleaners or abrasive materials on your faucet, as these can damage the finish and corrode the metal components. Use mild soap and water or a vinegar solution to clean your faucet regularly and maintain its appearance.
Install a Filtration System: Consider installing a water filtration system to improve the quality of your water and reduce contaminants that can affect your faucet’s performance. Filtered water is gentler on faucets and helps prevent scale buildup and corrosion.
Check for Manufacturer’s Warranty: If your faucet is still under warranty, check the manufacturer’s warranty for any specific maintenance recommendations or guidelines. Following the manufacturer’s recommendations can help ensure that your faucet remains in good condition and prevent voiding the warranty.
Schedule Professional Inspection: Periodically schedule a professional inspection of your plumbing fixtures to identify any potential issues and address them before they escalate. A licensed plumber can inspect your faucet and recommend any necessary repairs or replacements to ensure its continued proper function.
Educate Household Members: Educate household members about proper faucet usage and maintenance to prevent accidental damage or misuse. Encourage everyone to handle the faucet with care and report any issues promptly to prevent further damage.

Common Mistakes to Avoid When Replacing the Cartridge in Your Bathroom Faucet
Replacing the cartridge in your bathroom faucet is a relatively simple task, but there are some common mistakes that homeowners often make during the process. Avoiding these mistakes can help ensure a successful cartridge replacement and prevent further damage to your faucet. Here are some common mistakes to avoid when replacing the cartridge in your bathroom faucet:
Not Turning Off the Water Supply: One of the most critical steps in replacing the cartridge is turning off the water supply to the faucet. Failure to do so can result in water leakage and damage to your plumbing fixtures. Always remember to turn off the water supply before starting the replacement process.
Using Excessive Force: Using excessive force when removing or installing the cartridge can damage the faucet components and cause leaks. Take your time and work carefully to avoid applying too much pressure. If the cartridge is stuck, use a cartridge puller tool or lubricant to help loosen it.
Skipping Inspection of Components: Before installing the new cartridge, take the time to inspect the faucet components for any signs of damage or wear. Check for debris or mineral buildup inside the faucet body and clean any areas as needed. Replace any damaged or worn O-rings, seals, or gaskets to ensure a proper seal with the new cartridge.
Incorrect Cartridge Installation: Installing the cartridge incorrectly can lead to leaks, drips, or difficulty operating the faucet handle. Make sure the new cartridge is positioned correctly and aligns with the water supply lines before securing it in place. Follow the manufacturer’s instructions carefully to ensure proper installation.
Over-Tightening the Retaining Nut: Over-tightening the retaining nut that secures the cartridge in place can damage the cartridge or other faucet components. Tighten the nut securely with an adjustable wrench, but avoid over-tightening to prevent damage. Use caution and stop tightening once the nut is snug.
Not Testing for Leaks: After replacing the cartridge and reassembling the faucet, it’s essential to test for leaks before turning the water supply back on. Turn on the faucet and check for any leaks or drips around the faucet handle or spout. If you detect any leaks, make any necessary adjustments to ensure a proper seal.
Ignoring Manufacturer’s Instructions: Each faucet model may have specific instructions and guidelines for cartridge replacement. Ignoring the manufacturer’s instructions or using incorrect replacement parts can lead to compatibility issues or improper installation. Always refer to the manufacturer’s instructions and use compatible replacement parts for your faucet model.
Not Seeking Professional Help When Needed: While replacing the cartridge is a relatively simple task, some faucet issues may require professional assistance. If you encounter any challenges or are unsure about the replacement process, don’t hesitate to seek help from a licensed plumber. Professional assistance can ensure the proper function of your faucet and prevent further damage.
Bath Replacement Cartridge

How to replace valve cartridge on Kohler DevonshireWidespread

Bathroom faucet cartridge replacement
How to Repair a 2-Handle Cartridge Faucet

Moen 2-Handle Brass and Plastic Faucet/Tub/Shower Cartridge in the
How To Replace A Two Handle Bathtub Faucet Cartridge – KNOW IT INFO
How to Replace Leaky Cartridges in a Bathroom Faucet Repair
Quickly Fix a Leaky Faucet Cartridge (DIY)
Replacement Cartridge Kit For Moen 1222 / 1222B Posi-Temp Single Handle Faucets
Related Posts:
- Price Pfister Bathroom Faucet Repair Kit
- Moen Bathroom Faucet Handle Fell Off
- Fix Moen Bathroom Faucet Leak
- Bathroom Faucets For Tub
- Pegasus Bathroom Faucets Installation Instructions
- Single Lever Bathroom Faucets Brushed Nickel
- Kohler Devonshire Widespread Bathroom Faucet
- Moen Chrome Polished Brass Bathroom Faucets
- Bathroom Faucet Outlet
- Bathroom Faucets Made In America


