Choosing the Right Bathroom Light Fixture
When it comes to choosing a bathroom light fixture, there are several factors to consider. Not only do you want a fixture that provides adequate lighting, but you also want it to complement the style of your bathroom. This guide will help you navigate through the options and make an informed decision on the right bathroom light fixture for your space.
- Consider the Style: The first step in choosing a bathroom light fixture is to consider the overall style of your bathroom. Are you going for a modern, sleek look or a more traditional and vintage vibe? The style of your bathroom will help determine the type of light fixture that will best suit your space. For a modern look, consider fixtures with clean lines and minimalistic designs. If you have a more traditional bathroom, opt for fixtures with ornate details and finishes.
- Determine the Size: The size of the light fixture is another important factor to consider. Measure the space above your mirror to determine the appropriate size for your bathroom light fixture. A general rule of thumb is to choose a fixture that is about 75-80% of the width of your mirror. This will ensure that the light is evenly distributed and properly illuminates your face when getting ready.
- Choose the Right Lighting Type: Next, consider the type of lighting you want in your bathroom. Do you prefer soft, ambient lighting or bright, task lighting? Some popular options include vanity lights, sconces, or even recessed lighting. Vanity lights are a popular choice as they provide even lighting and can be mounted directly above the mirror. Sconces offer a more decorative and unique option, while recessed lighting provides a sleek and minimalist look.
- Pay Attention to the Finish: The finish of your bathroom light fixture is another important consideration. The finish should complement the existing fixtures in your bathroom, such as the faucet, showerhead, and towel bars. Popular finishes include chrome, brushed nickel, bronze, and brass. Choose a finish that ties in with the overall style and color scheme of your bathroom.
- Consider Energy Efficiency: Lastly, consider the energy efficiency of the light fixture. Opt for LED or CFL bulbs, which are more energy-efficient and have a longer lifespan compared to traditional incandescent bulbs. Energy-efficient fixtures not only help reduce your carbon footprint but also save you money on your electricity bills in the long run.

How to Safely Mount a Bathroom Light Fixture Over a Mirror
Installing a bathroom light fixture over a mirror can instantly update the look and functionality of your bathroom. While it may seem like a daunting task, with the right tools and step-by-step instructions, you can safely mount a bathroom light fixture on your own. This guide will walk you through the installation process to help you achieve a professional and polished result.
Gather the Necessary Tools and Materials: Before you begin the installation process, gather all the tools and materials you’ll need. This may include a screwdriver, wire strippers, electrical tape, wire connectors, a ladder or step stool, and of course, the light fixture itself. Ensure that you have turned off the power to the bathroom circuit before starting any work.
Remove the Existing Fixture: Start by removing the existing fixture, if there is one. Turn off the power at the circuit breaker, then remove the screws holding the old fixture in place. Carefully disconnect the wires and set the old fixture aside. If there is no existing fixture, skip to the next step.
Install the Mounting Bracket: Next, install the mounting bracket onto the electrical box. Line up the screw holes on the bracket with the holes on the electrical box and secure them with screws. Ensure that the bracket is securely attached and leveled.
Connect the Wires: Carefully connect the wires from the electrical box to the wires on the new light fixture. Match the colors of the wires (black to black, white to white, and green or copper to the grounding wire). Use wire connectors to secure the connections and wrap them with electrical tape for added protection.
Attach the Light Fixture: Once the wires are securely connected, attach the light fixture to the mounting bracket. Line up the holes on the fixture with the screws on the bracket and tighten them until the fixture is secure. Double-check that the fixture is level before proceeding.
Test and Finish: After the fixture is securely mounted, turn the power back on at the circuit breaker and test the light. If everything is functioning properly, tighten any remaining screws or fasteners and make any necessary adjustments to ensure the fixture is level and properly aligned.

Wiring and Electrical Considerations
When it comes to installing a bathroom light fixture, it is crucial to understand the wiring and electrical considerations involved. Proper electrical connections and safety precautions are essential to prevent hazards and ensure the longevity and functionality of your light fixture. This article will guide you through the wiring and electrical considerations necessary for a successful installation.
Turn off the Power: Before beginning any electrical work, it is essential to turn off the power to the bathroom circuit at the circuit breaker. This step is crucial to prevent electrical shock or damage during the installation process. Use a voltage tester to verify that the power is indeed turned off before proceeding.
Understand the Wiring: Take the time to familiarize yourself with the wiring in your bathroom. Typically, a bathroom light fixture will have three wires: black (hot), white (neutral), and green or copper (grounding wire). These wires need to be properly connected to ensure the safe and efficient operation of your light fixture.
Properly Strip and Connect the Wires: Using wire strippers, carefully strip about 1/2 inch of insulation from the ends of the wires. Twist the ends of the corresponding wires together, ensuring a secure connection. For added safety, use wire connectors to join the wires and wrap them with electrical tape.
Grounding the Fixture: The grounding wire is crucial for protecting against electrical shocks and ensuring the safe operation of your light fixture. Ensure that the grounding wire from the fixture is properly connected to the grounding wire in the electrical box. This typically involves attaching the grounding wire to a screw or grounding clip within the box.
Securely Mount the Fixture: Once the wiring is properly connected, securely mount the light fixture to the mounting bracket. Ensure that all screws are tightened and the fixture is level. A loose or improperly mounted fixture can pose safety risks and affect the functionality of the light.
Double-Check and Test: Before restoring power, double-check all the connections and ensure that everything is secure. Once you are confident in the wiring and mounting, restore power to the bathroom circuit and test the light fixture to ensure it is functioning correctly.

Lighting Placement and Design Tips
Proper lighting in the bathroom is essential for performing daily tasks, enhancing the overall ambiance, and creating a visually appealing space. By strategically placing and designing your bathroom light fixtures, you can achieve a well-lit and stylish bathroom. We will provide you with tips and considerations for lighting placement and design in your bathroom.
Layered Lighting: One of the key principles of bathroom lighting is to incorporate layered lighting. This involves using a combination of ambient, task, and accent lighting to create a balanced and versatile lighting scheme. Ambient lighting provides overall illumination, task lighting is focused lighting for specific activities (such as applying makeup or shaving), and accent lighting highlights and adds depth to specific areas or features.
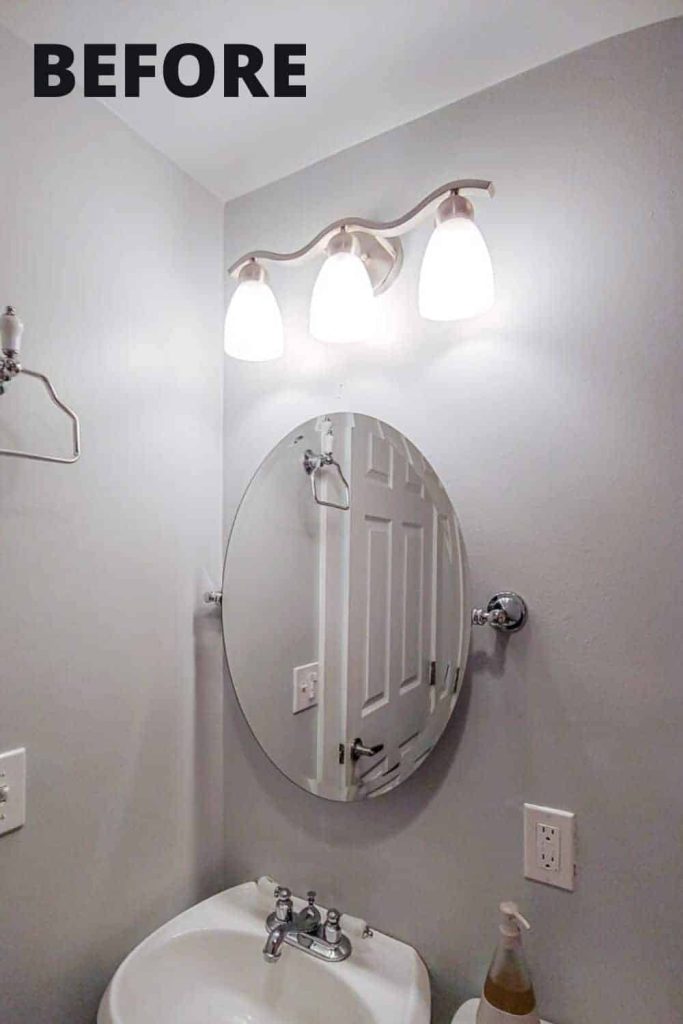
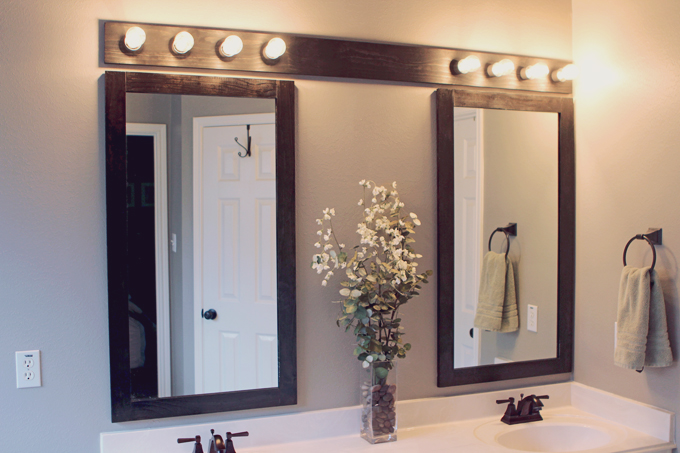
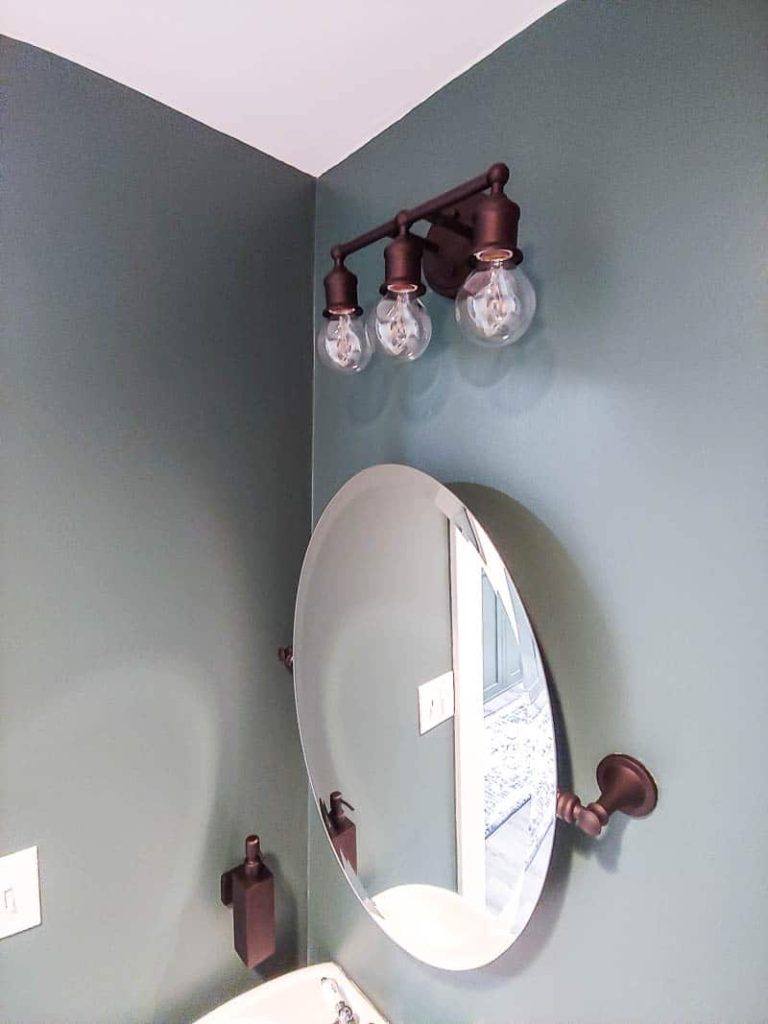
Mirror Lighting: When it comes to lighting above the bathroom mirror, avoid placing a single fixture directly above it, as it can create unflattering shadows. Instead, opt for vertical fixtures on either side of the mirror, ideally at eye level. This provides even lighting and minimizes shadows on the face, making it easier for tasks like applying makeup or shaving.
Consider Natural Light: If your bathroom has windows or skylights, consider the natural light available and how it can complement your artificial lighting. Natural light can provide a refreshing and uplifting feel to the space. To maximize natural light, avoid heavy window coverings and opt for sheer or light-filtering options that still provide privacy.
Dimmers and Lighting Controls: To create a versatile and customizable lighting scheme, incorporate dimmers and lighting controls. Dimmers allow you to adjust the brightness of the lights to suit different needs and moods. They also help conserve energy and extend the lifespan of your bulbs. Lighting controls, such as motion sensors or timers, can add convenience and energy efficiency to your bathroom lighting.
Consider the Color Temperature: When choosing light bulbs for your bathroom, consider the color temperature. Cooler color temperatures (around 4000-5000 Kelvin) mimic daylight and are ideal for task lighting, as they provide a bright and energizing light. Warmer color temperatures (around 2700-3000 Kelvin) create a cozy and relaxing atmosphere, suitable for ambient lighting or accent lighting.
Style and Design: In addition to functionality, the style and design of your bathroom light fixtures play a significant role in the overall aesthetics of the space. Consider the overall style of your bathroom and choose fixtures that complement the existing decor. Whether you prefer sleek and modern fixtures or vintage-inspired designs, there are numerous options available to suit your preferences.

Maintenance and Troubleshooting
Once you have installed a bathroom light fixture, it is important to maintain it properly to ensure its longevity and optimal performance. Regular maintenance and troubleshooting can help prevent issues and keep your light fixture in excellent condition. Below we provide you with tips and techniques for maintaining and troubleshooting your bathroom light fixture.
Cleaning and Dusting: Regular cleaning and dusting are essential to keep your light fixture looking its best and functioning properly. Use a soft cloth or a duster to remove dust and debris from the fixture. Avoid using abrasive cleaners or harsh chemicals, as they can damage the finish or components of the fixture. For difficult-to-reach areas, use a gentle cleaning solution and a soft brush.
Check for Loose Connections: Periodically check the connections of your light fixture to ensure they are secure. Over time, vibrations and movements can cause wires or screws to become loose. Gently tighten any loose connections using a screwdriver or appropriate tool. Loose connections can result in flickering lights or intermittent functionality.
Replace Bulbs as Needed: Regularly check the bulbs in your bathroom light fixture and replace any that have burned out. Burned-out bulbs can affect the overall lighting quality and may indicate an issue with the fixture. When replacing bulbs, ensure that you use the correct wattage and type as recommended by the manufacturer.
Inspect for Water Damage: Bathrooms are prone to moisture and humidity, which can potentially damage light fixtures. Regularly inspect your light fixture for any signs of water damage, such as rust, corrosion, or discoloration. If you notice any water damage, it is important to address it promptly to prevent further issues. Consider using moisture-resistant or waterproof light fixtures in areas with high humidity.
Address Flickering or Dimming Lights: If you notice that your bathroom light fixture is flickering or the lights are dimming, it could indicate an underlying issue. Start by checking the bulbs and ensuring they are properly seated. If the problem persists, it may be a sign of a loose connection, faulty wiring, or a problem with the electrical supply. In such cases, it is recommended to consult a professional electrician to diagnose and resolve the issue.
Schedule Professional Inspections: To ensure the safety and functionality of your bathroom light fixture, it is advisable to schedule periodic professional inspections. An electrician can inspect the wiring, connections, and overall condition of the fixture, making any necessary repairs or replacements. Regular inspections can help identify and address potential issues before they become major problems.
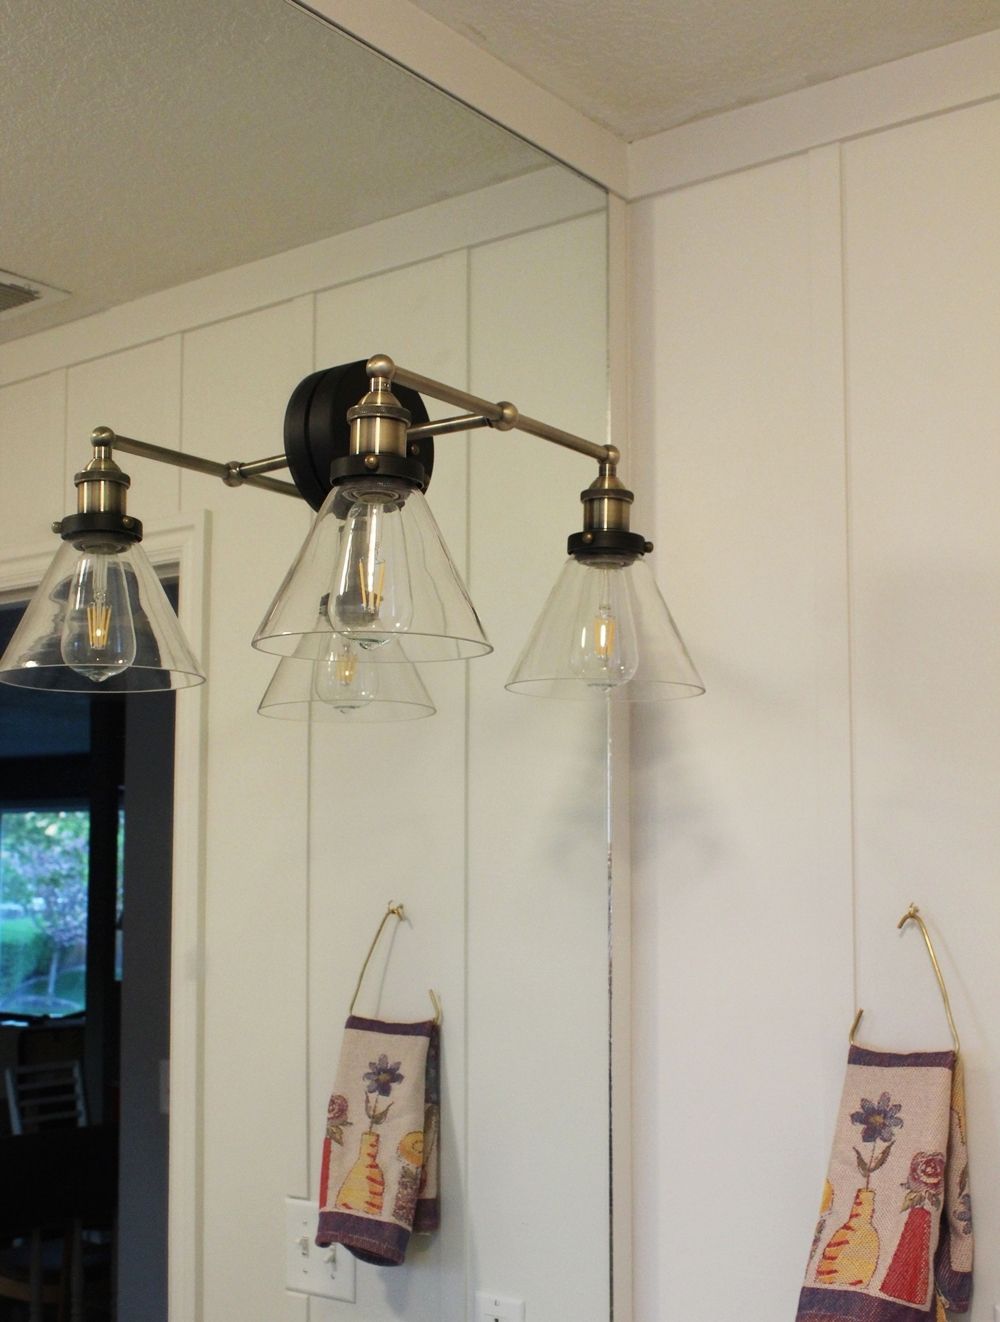
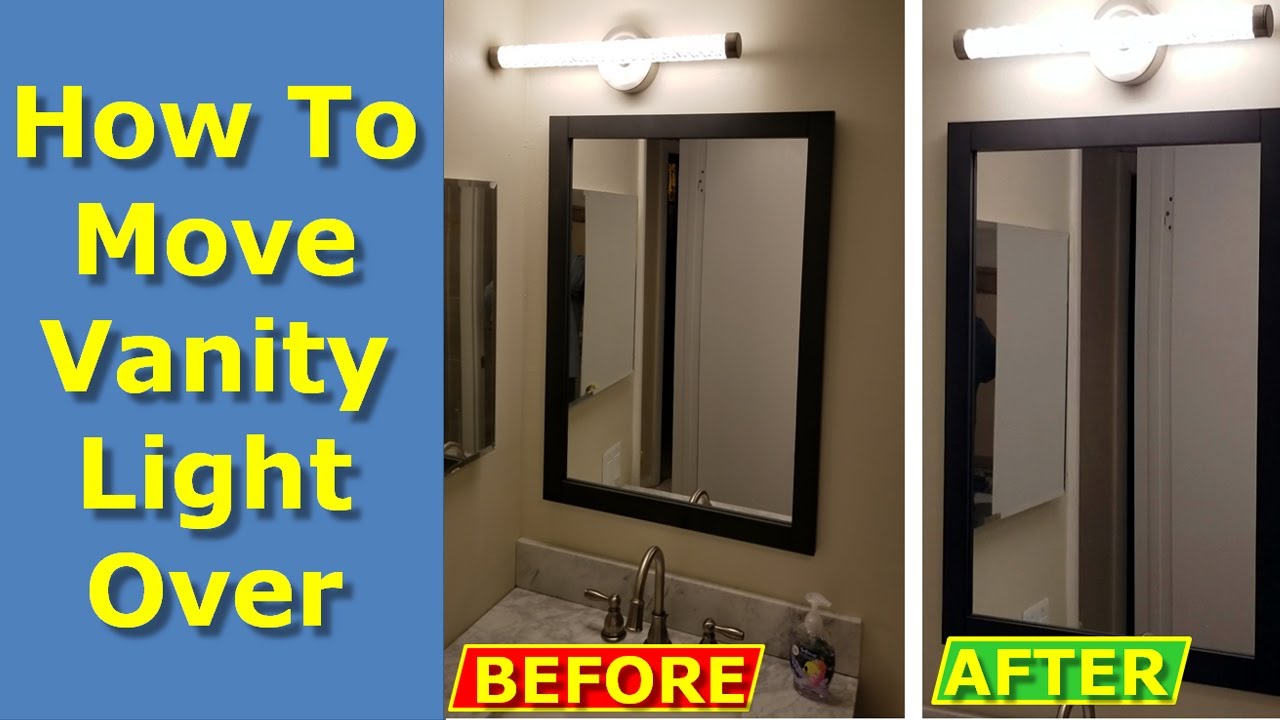
How to Move Off Center Vanity Light Over on Bathroom Wall
How to Mount a Light On Top of a Mirror Bathroom Vanity

How To Install A Vanity Light (Video Tutorial) – Making Manzanita
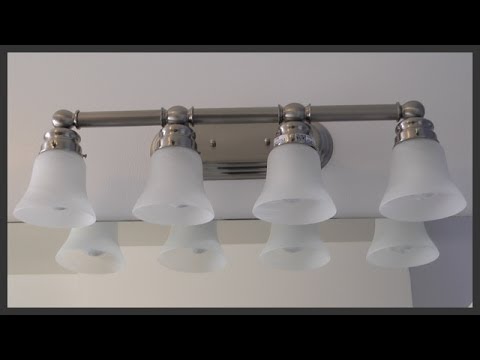
Bathroom Lighting How to Replace a Vanity Light The Home Depot

Bathroom vanity light fixture installation
Wooden Light Fixture Over Bathroom Mirrors Gray House Studio
How To Install A Vanity Light (Video Tutorial) – Making Manzanita
Linea di Liara 2 Light Farmhouse Bathroom Light Fixtures, Lavagna

Related Posts:
- Bathroom Light Fixtures With Electrical Plug
- All Modern Bathroom Lighting
- Wrought Iron Bathroom Light Fixtures
- Led Bathroom Lights LP65
- Bathroom Light Switch Ideas
- Bathroom Lighting Atlanta
- Bathroom Light Pull Cord Knob
- Bathroom Light Fixture Glass Shade Replacement
- Bathroom Lighting USA
- Bathroom Lighting Ideas Led


