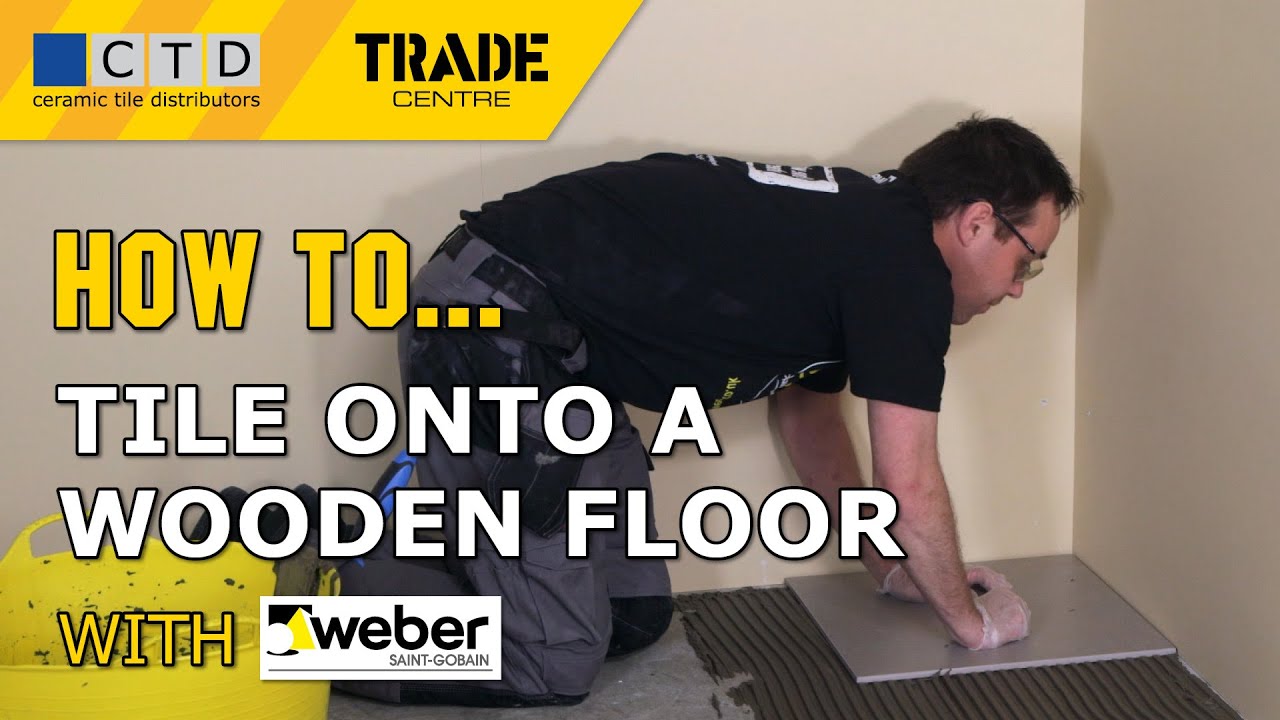
Before installing bathroom tiles on a wooden floor, it is crucial to ensure that the surface is properly prepared. This step-by-step guide will help you understand how to prepare the wooden floor for tile installation, ensuring a sturdy and long-lasting result.
Clearing the Floor: Start by removing any furniture or fixtures from the bathroom. Clear the area completely, providing ample space to work on the wooden floor.
Inspecting the Floor: Thoroughly examine the wooden floor for any signs of damage, such as rot or loose boards. Repair or replace any damaged sections to create a solid foundation for the tiles.
Cleaning the Surface: Next, clean the wooden floor to remove any dirt, dust, or debris. Sweep or vacuum the area, followed by a damp mop to ensure a clean and smooth surface. Allow the floor to dry completely before moving on to the next step.
Applying a Primer: To enhance the adhesion of the tiles to the wooden floor, apply a primer specifically designed for wood surfaces. Follow the manufacturer’s instructions for application and drying time.
Leveling the Floor: Using a leveling compound, address any uneven areas on the wooden floor. Apply the compound according to the product instructions, ensuring a level surface for the tile installation.
Sanding the Floor: If the wooden floor has a glossy finish or rough spots, lightly sand the surface to create a better bond between the tiles and the floor. Remove any dust after sanding.
Choosing the Right Tiles for a Wooden Floor
Selecting the appropriate tiles for a wooden floor is essential to achieve both aesthetic appeal and practical functionality. Below we provide you with valuable tips and considerations when choosing tiles for your bathroom floor.
Material Selection: Consider the material of the tiles carefully. Ceramic or porcelain tiles are popular choices for bathroom floors due to their durability, water resistance, and ease of maintenance. Alternatively, natural stone tiles such as marble or slate can add a luxurious touch to the bathroom.
Size and Shape: Take into account the size and shape of the tiles. Larger tiles can create a sense of spaciousness, while smaller tiles can offer more design possibilities. Consider the overall style and layout of your bathroom to determine the best tile size and shape.
Slip Resistance: Ensure that the tiles you choose have adequate slip resistance, especially for a bathroom floor. Look for tiles with a textured surface or a high coefficient of friction to minimize the risk of accidents.
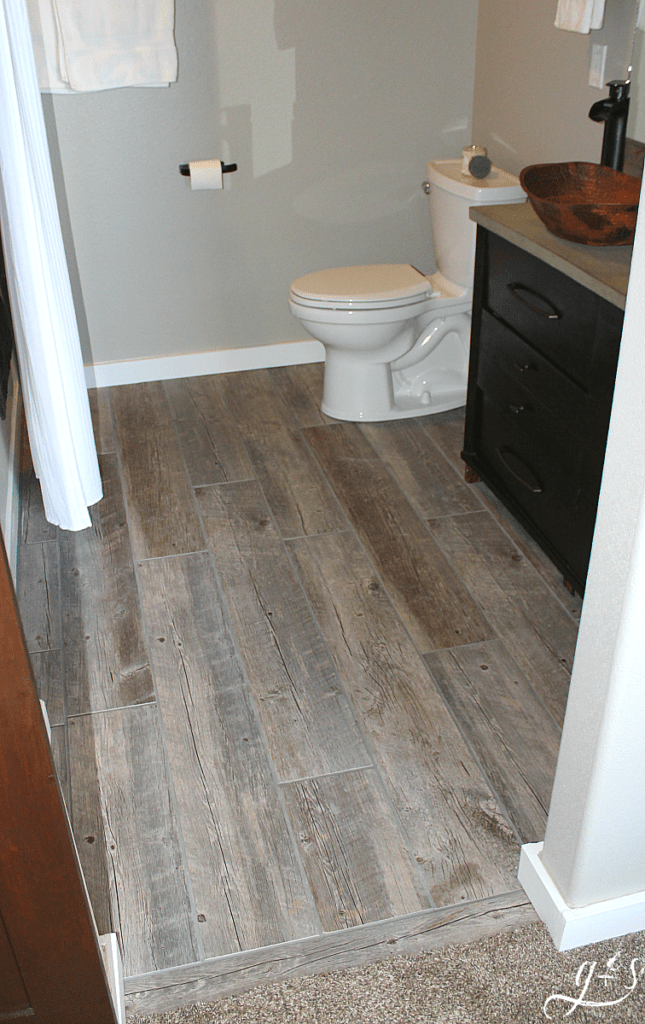
Color and Pattern: Select a color and pattern that complements your bathroom’s overall design scheme. Lighter colors can make the space feel more open and airy, while darker hues can create a cozy and intimate atmosphere. Consider the existing color palette and the mood you want to achieve in your bathroom.
Maintenance and Longevity: Think about the maintenance requirements and longevity of the tiles. Some materials may require regular sealing or special care to maintain their appearance and durability. Consider your lifestyle and the level of maintenance you are willing to undertake.
Essential Precautions for Bathroom Tile Installation
Proper waterproofing is essential when installing bathroom tiles on a wooden floor. Let me guide you through the necessary precautions to ensure a watertight installation, protecting your wooden floor from moisture damage.
Use a Waterproof Membrane: Before tiling, apply a waterproof membrane to the entire wooden floor surface. This membrane acts as a barrier, preventing water from seeping through and damaging the wood. Follow the manufacturer’s instructions for application and drying time.
Seal Joints and Gaps: Ensure that all joints and gaps between the tiles are properly sealed. Use a waterproof sealant or caulk to seal the edges and corners, as well as any gaps around fixtures or pipes. This will prevent water from seeping into the wooden floor.
Install a Shower Pan: In areas where water exposure is higher, such as around the shower or bathtub, consider installing a shower pan. A shower pan is a waterproof barrier that collects and drains water, further protecting the wooden floor from moisture.
Slope the Floor: To prevent water from pooling and causing damage, ensure that the bathroom floor is properly sloped towards the drain. This will encourage water to flow towards the drain instead of collecting on the wooden surface.
Test for Leaks: Once the tile installation is complete, thoroughly test for any potential leaks. Run water over the tiled floor and check for any signs of water seepage or pooling. Address any leaks immediately to prevent further damage.
Installing Bathroom Tiles on a Wooden Floor
Installing bathroom tiles on a wooden floor requires specific techniques and best practices to ensure a successful and long-lasting result. Follow this guide to help you through the installation process, providing valuable tips for a professional finish.
Gather the Right Tools: Before starting the installation, gather all the necessary tools. These may include a tile cutter, trowel, spacers, level, rubber mallet, notched trowel, and grout float. Having the right tools on hand will make the installation process smoother and more efficient.
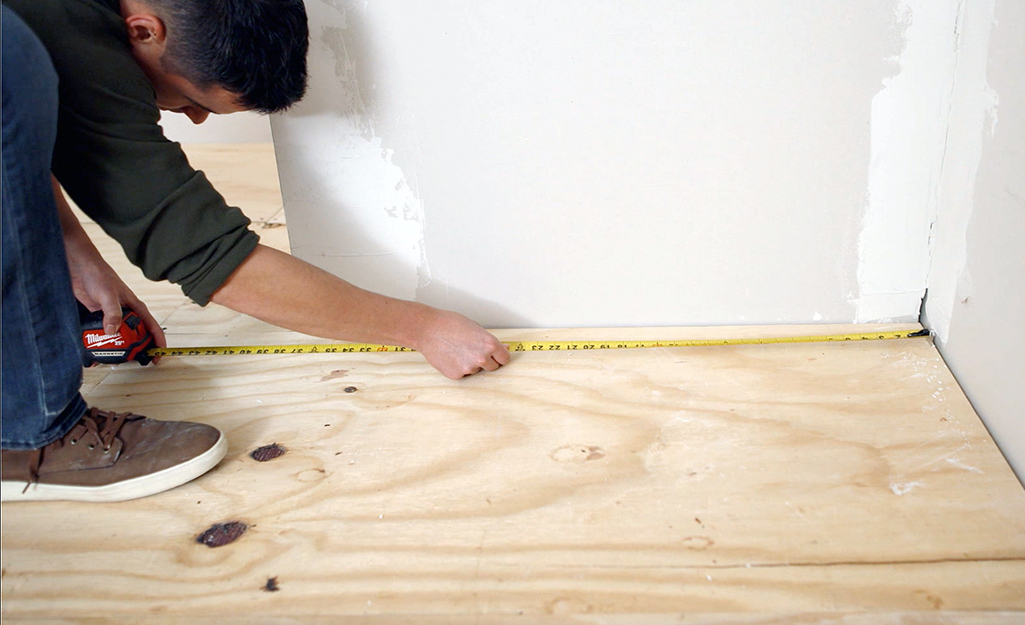
Plan the Layout: Plan the layout of the tiles before starting the installation. Measure the dimensions of the bathroom and create a layout plan to determine the tile placement and avoid awkward cuts or small tile pieces. Consider starting the installation from the center of the room for a balanced look.
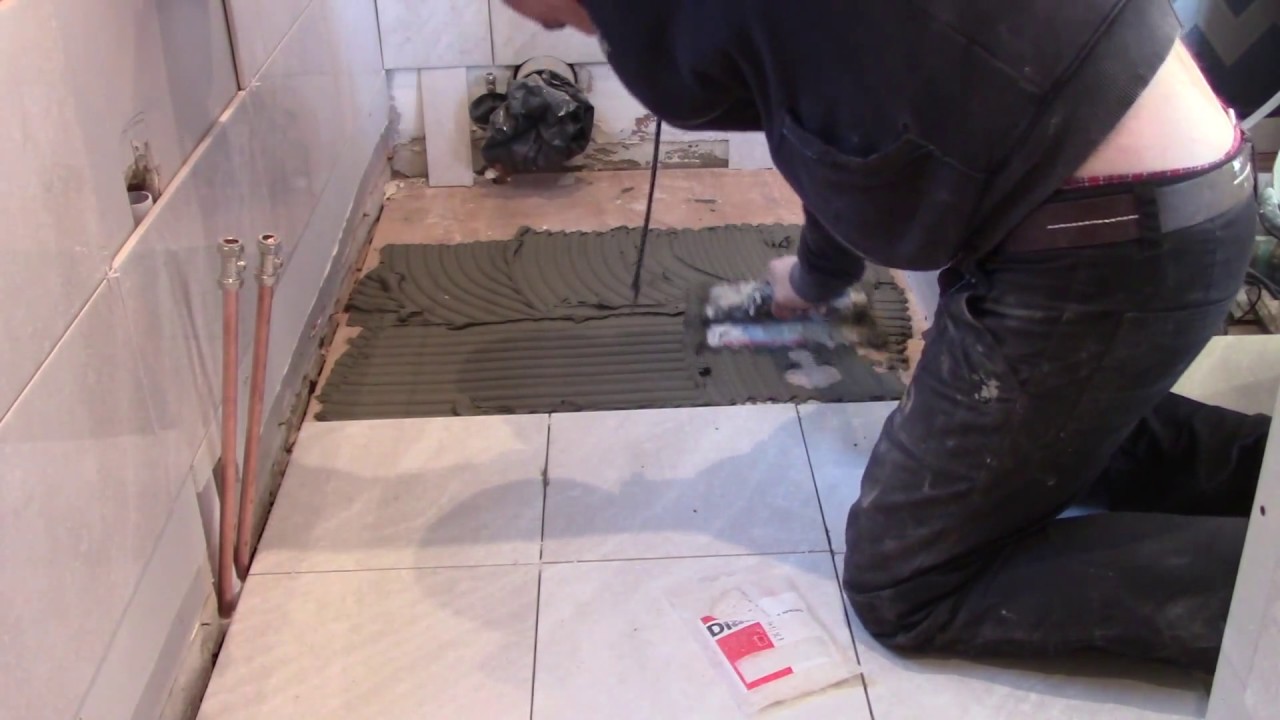
Apply Adhesive: Using a notched trowel, apply tile adhesive to the wooden floor in small sections. Spread the adhesive evenly, ensuring full coverage. Work in manageable areas to prevent the adhesive from drying out before placing the tiles.
Place and Level the Tiles: Carefully place each tile onto the adhesive, pressing it firmly into place. Use spacers to create even gaps between the tiles for grout. Use a level to ensure that the tiles are aligned and level with each other.
Cut and Trim Tiles: When necessary, cut and trim tiles to fit around edges, corners, or fixtures. Use a tile cutter or wet saw to make accurate cuts. Take measurements carefully and double-check before cutting to avoid mistakes.
Allow for Drying Time: After placing the tiles, allow them to dry and set according to the adhesive manufacturer’s instructions. Avoid walking on the tiles or applying any weight until they are fully dry.
Grouting and Sealing Bathroom Tiles on a Wooden Floor
Once the bathroom tiles are installed on a wooden floor, the final step is to grout and seal them. Here is the process of grouting and sealing, ensuring a polished and protected finish for your bathroom floor.
Cleaning the Tiles: Before grouting, clean the tiles to remove any adhesive residue or dust. Use a damp sponge or cloth to wipe the surface of the tiles, ensuring they are clean and dry before proceeding.
Mixing the Grout: Follow the manufacturer’s instructions to mix the grout to the desired consistency. Use a grout float to apply the grout to the tile joints, pressing it firmly into the gaps. Work in small sections to prevent the grout from drying too quickly.
Wiping off Excess Grout: After applying the grout, use a damp sponge or cloth to wipe off the excess grout from the tile surface. Rinse the sponge frequently and continue wiping until the tiles are clean and the grout lines are smooth and even.
Allowing the Grout to Cure: Allow the grout to cure for the recommended time specified by the manufacturer. Avoid walking on the tiles or exposing them to water until the grout has fully cured.
Sealing the Grout: Once the grout is fully cured, apply a grout sealer to protect it from staining and moisture. Use a brush or applicator to evenly distribute the sealer over the grout lines. Wipe off any excess sealer from the tile surface.
Sealing the Tiles (Optional): If you’re using natural stone tiles or porous ceramic tiles, consider sealing the tile surface as well to provide extra protection against water damage and stains. Follow the manufacturer’s instructions for the appropriate sealer and application method.
How To Install Wood Look Tile
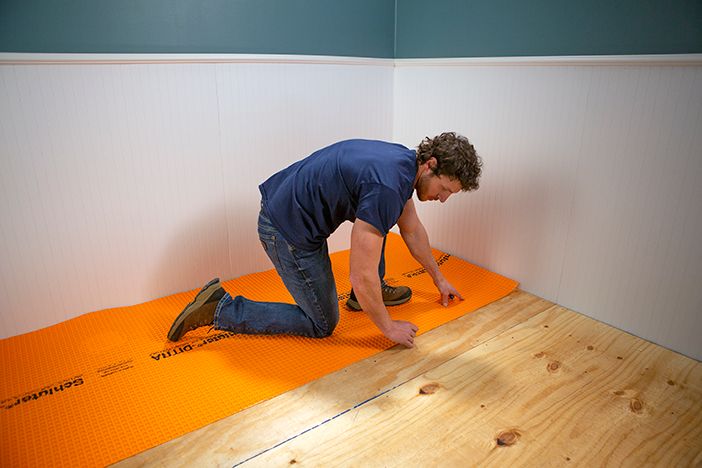
How to Lay Tile: DIY Floor Tile Installation Loweu0027s
How to Tile a Bathroom Floor with Wickes
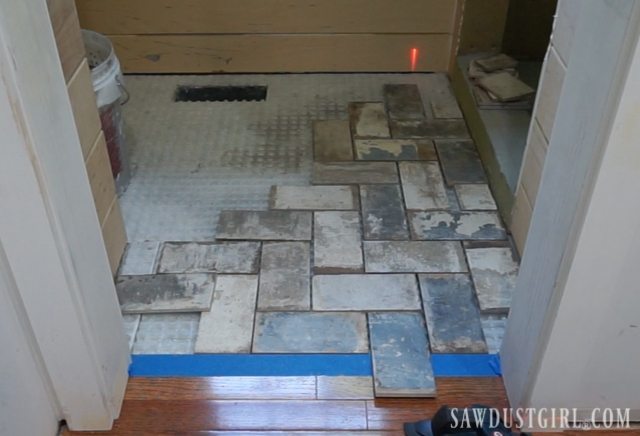
How to Install Tile Flush with Hardwood Floors – Sawdust Girl®
We use cookies on our website to give you the most relevant experience by remembering your preferences and repeat visits. By clicking “Accept All”, you consent to the use of ALL the cookies. However, you may visit "Cookie Settings" to provide a controlled consent.
This website uses cookies to improve your experience while you navigate through the website. Out of these, the cookies that are categorized as necessary are stored on your browser as they are essential for the working of basic functionalities of the website. We also use third-party cookies that help us analyze and understand how you use this website. These cookies will be stored in your browser only with your consent. You also have the option to opt-out of these cookies. But opting out of some of these cookies may affect your browsing experience.
Necessary cookies are absolutely essential for the website to function properly. These cookies ensure basic functionalities and security features of the website, anonymously.
Cookie
Duration
Description
cookielawinfo-checkbox-analytics
11 months
This cookie is set by GDPR Cookie Consent plugin. The cookie is used to store the user consent for the cookies in the category "Analytics".
cookielawinfo-checkbox-functional
11 months
The cookie is set by GDPR cookie consent to record the user consent for the cookies in the category "Functional".
cookielawinfo-checkbox-necessary
11 months
This cookie is set by GDPR Cookie Consent plugin. The cookies is used to store the user consent for the cookies in the category "Necessary".
cookielawinfo-checkbox-others
11 months
This cookie is set by GDPR Cookie Consent plugin. The cookie is used to store the user consent for the cookies in the category "Other.
cookielawinfo-checkbox-performance
11 months
This cookie is set by GDPR Cookie Consent plugin. The cookie is used to store the user consent for the cookies in the category "Performance".
viewed_cookie_policy
11 months
The cookie is set by the GDPR Cookie Consent plugin and is used to store whether or not user has consented to the use of cookies. It does not store any personal data.
Functional cookies help to perform certain functionalities like sharing the content of the website on social media platforms, collect feedbacks, and other third-party features.
Performance cookies are used to understand and analyze the key performance indexes of the website which helps in delivering a better user experience for the visitors.
Analytical cookies are used to understand how visitors interact with the website. These cookies help provide information on metrics the number of visitors, bounce rate, traffic source, etc.
Advertisement cookies are used to provide visitors with relevant ads and marketing campaigns. These cookies track visitors across websites and collect information to provide customized ads.


 Related Posts:


