Identifying the Source of the Leak
One of the first steps in fixing a Moen bathroom faucet leak is identifying the source of the problem. Here’s a step-by-step guide to help you pinpoint the exact location of the leak:
- Turn off the water supply: Before you begin any work, it’s important to turn off the water supply to your bathroom faucet. Look for the shut-off valve under the sink and turn it clockwise to shut off the water flow.
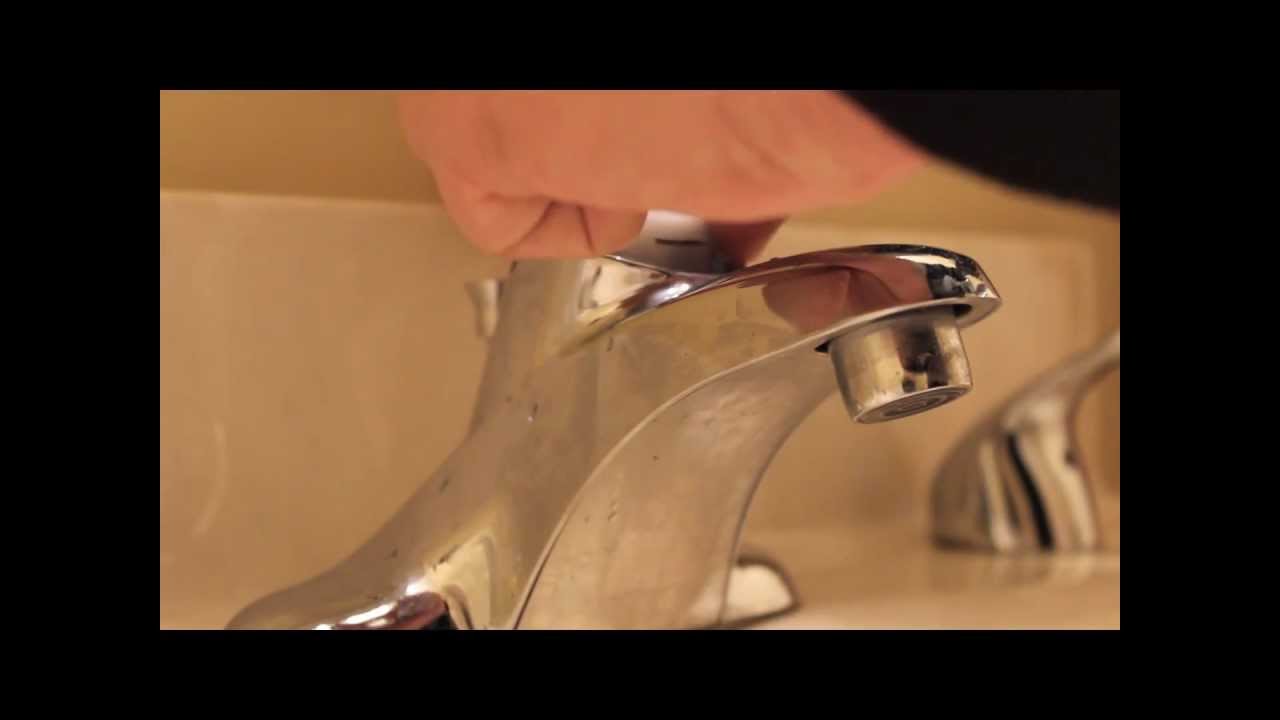
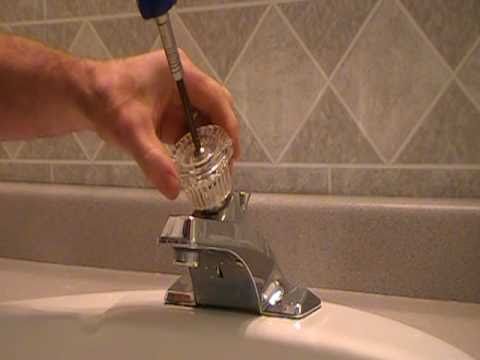
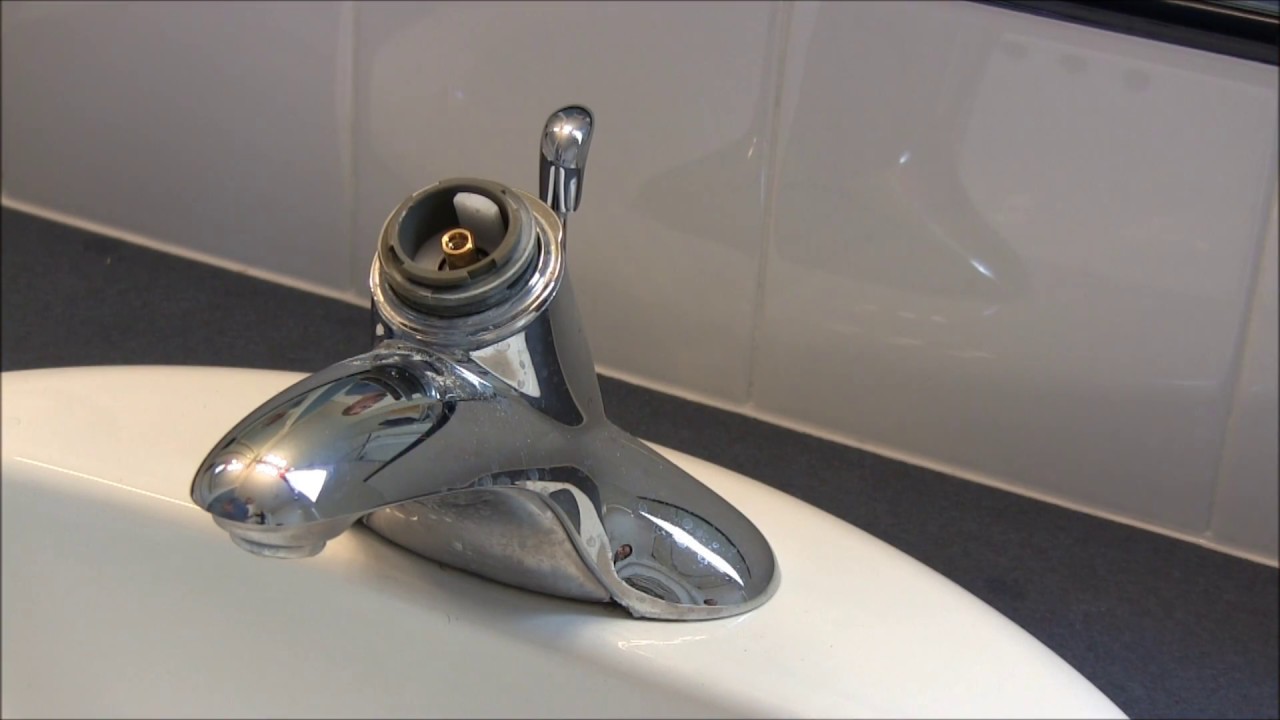
- Remove the faucet handle: Depending on the model of your Moen faucet, you may need to remove a cap or a screw to access the handle. Once you have removed any necessary components, gently pull the handle away from the faucet body.
- Inspect the cartridge: The cartridge is a crucial component in a Moen faucet, and it is often the source of leaks. Examine the cartridge for any signs of wear, damage, or buildup. Look for cracks, mineral deposits, or worn-out rubber gaskets.
- Check the O-rings: O-rings are small rubber rings that create a watertight seal between different parts of the faucet. Inspect the O-rings for signs of wear, such as cracks or tears. If they are damaged, they may need to be replaced.
- Examine the spout and connections: Leaks can also occur at the spout or the connections between the faucet and the water supply lines. Look for any visible signs of water leakage or loose connections. Tighten any loose fittings and replace any worn-out washers or seals.
- Reassemble the faucet: Once you have identified the source of the leak and made any necessary repairs or replacements, reassemble the faucet in the reverse order of disassembly. Make sure all components are securely in place.

Tools You’ll Need to Fix a Moen Bathroom Faucet Leak
To fix a Moen bathroom faucet leak, it’s essential to have the right tools on hand. Here are the tools you’ll need to complete the repair:
Adjustable wrench: An adjustable wrench is a versatile tool that can be used to tighten or loosen various components of the faucet. It’s important to have a wrench that can fit different sizes to accommodate different parts of the faucet.
Screwdriver: Depending on the model of your Moen faucet, you may need a screwdriver to remove screws or fasteners. A Phillips-head screwdriver is commonly used for this purpose.
Allen wrench: Some Moen faucets may require an Allen wrench to remove certain components, such as handles or cartridges. Make sure you have the appropriate size Allen wrench for your specific faucet model.
Plumber’s tape: Also known as Teflon tape, plumber’s tape is used to create a watertight seal on threaded connections. It can help prevent leaks and ensure a secure connection between different parts of the faucet.
Replacement parts: Depending on the source of the leak, you may need to replace certain components, such as cartridges, O-rings, or washers. Make sure you have the necessary replacement parts before starting the repair.
Rag or towel: Have a rag or towel handy to wipe away any excess water and to protect the sink or countertop surface during the repair process.
Fixing a Dripping Faucet: Common Solutions for Moen Bathroom Faucets
A dripping faucet can be a frustrating and wasteful problem. Fortunately, fixing a dripping Moen bathroom faucet is often a straightforward process. Here are some common solutions to address this issue:
Tightening loose handles: Sometimes, a dripping faucet can be caused by loose handles. Use an adjustable wrench or Allen wrench to tighten the handle screws. Make sure not to overtighten, as it can damage the faucet.
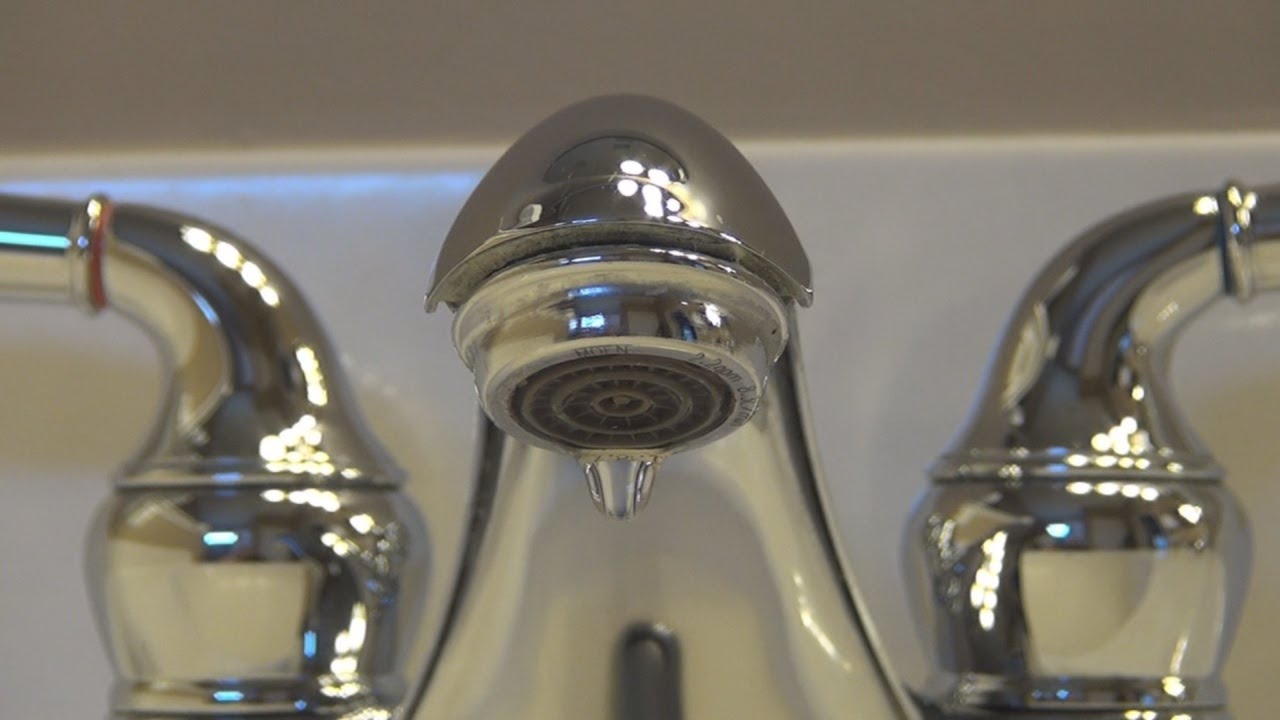
Cleaning the aerator: Mineral deposits and debris can build up in the aerator, causing water to flow irregularly or drip. Remove the aerator from the faucet spout and clean it thoroughly. Soak it in vinegar or use a toothbrush to remove any stubborn deposits.
Replacing worn-out washers: Dripping may occur if the rubber washers inside the faucet handle have worn out. Turn off the water supply, disassemble the faucet, and replace the worn-out washers with new ones. Make sure to use the correct size and type of washer for your specific faucet model.
Lubricating the cartridge: A dripping faucet can also be caused by a stiff or worn-out cartridge. Turn off the water supply, remove the cartridge, and apply silicone-based faucet lubricant to the O-rings and other moving parts. Reinstall the cartridge and test the faucet.
Checking the water pressure: High water pressure can cause a faucet to drip. Use a pressure gauge to measure the water pressure at the faucet. If it exceeds the recommended level, consider installing a pressure-reducing valve to regulate the water flow.
Replacing the cartridge: If none of the above solutions work, the cartridge itself may need to be replaced. Turn off the water supply, remove the old cartridge, and install a new one. Make sure to choose the correct cartridge for your Moen faucet model.
Replacing Faulty Cartridges: A DIY Solution for Leaky Moen Faucets
If your Moen bathroom faucet continues to leak even after attempting other solutions, it may be necessary to replace the cartridge. Here’s a DIY guide on how to replace a faulty cartridge in a Moen faucet:
Turn off the water supply: Before starting any work, locate the shut-off valve under the sink and turn it clockwise to shut off the water supply to the faucet.
Remove the handle: Depending on the faucet model, you may need to remove a cap or a screw to access the handle. Once removed, gently pull the handle away from the faucet body.
Take out the retaining clip: With the handle removed, locate the retaining clip or nut that holds the cartridge in place. Use pliers or an adjustable wrench to remove the clip or nut and set it aside.
Remove the old cartridge: Once the retaining clip or nut is removed, you can pull out the old cartridge. Grip the cartridge with pliers and firmly pull it straight out. If it’s stubborn, you may need to use a cartridge-pulling tool.
Install the new cartridge: Take the new cartridge and align it with the faucet body. Make sure it sits flush and secure. Push it in firmly until it clicks or locks into place.
Reassemble the faucet: Once the new cartridge is installed, reassemble the faucet in the reverse order of disassembly. Make sure all components are securely in place.
Preventing Future Leaks: Maintenance Tips for Moen Bathroom Faucets
Taking proactive measures can help prevent future leaks in your Moen bathroom faucet. Here are some maintenance tips to keep your faucet in good condition:
Regular cleaning: Clean the faucet regularly to remove mineral deposits, soap scum, and other debris. Use a mild soap solution and a soft cloth or sponge. Avoid abrasive cleaners or scrub brushes that can damage the faucet finish.
Check for leaks: Periodically check for any leaks or drips in your faucet. If you notice any signs of leakage, address the issue promptly to prevent further damage.
Avoid excessive force: Be gentle when using the faucet handles. Avoid using excessive force when turning them on or off, as it can cause wear and tear on the internal components.
Replace worn-out parts: If you notice any signs of wear, such as dripping or difficulty in turning the handles, replace the worn-out parts promptly. This includes cartridges, O-rings, washers, and other components.
Use plumbers tape: When installing or reinstalling any threaded connections, such as the spout or supply lines, wrap plumbers tape around the threads. This helps create a watertight seal and prevents leaks.
Maintain proper water pressure: High water pressure can cause stress on the faucet and lead to leaks. Consider installing a pressure-reducing valve if your water pressure exceeds the recommended level.

How do I replace my Moen bathroom faucet cartridge?
How to Fix a Leaking Moen 1225 Series Bathroom Faucet by Replacing the Cartridge
How to Fix a Leaking Moen Bathroom Sink Faucet Fast! – Plumbing Sniper

Moen® Two-Handle Bath Replacement Cartridge at Menards®

How to replace a 1224 moen cartridge

Related Posts:
- Grohe Bridgeford Bathroom Faucet
- Single Handle Bathroom Faucet Leaking
- How To Repair A Leaky Moen Single Handle Bathroom Faucet
- Kohler Bathroom Faucets On Sale
- Gold Bathroom Faucets Wholesale
- Single Handle Bathroom Faucet Moen
- How To Change Moen Bathroom Faucet Cartridge
- Delta Bathroom Faucet Replacement
- Bathroom Faucet With Porcelain Cross Handles
- Pfister Marielle Bathroom Faucet


