Tools and Materials Needed for Removing a Bathroom Faucet
Removing a bathroom faucet may seem like a daunting task, but with the right tools and materials, it can be a straightforward process. Whether you’re replacing an old faucet or conducting repairs, having the necessary equipment at hand will make the job easier and more efficient. Let’s discuss the essential tools and materials you need to remove a bathroom faucet.
- Adjustable Wrench: An adjustable wrench is a must-have tool for removing a bathroom faucet. It allows you to tighten or loosen nuts and bolts of various sizes. Make sure to choose a wrench that fits the size of your faucet connections to avoid damaging the hardware.
- Screwdriver Set: A set of screwdrivers of different sizes and types will come in handy during the faucet removal process. Flathead and Phillips screwdrivers are commonly used to remove screws that secure the faucet handles or other components.
- Basin Wrench: A basin wrench is a specialized tool designed specifically for removing and installing faucets in tight spaces. It has a long shaft with a pivoting jaw that can reach underneath the sink to loosen or tighten nuts. This tool is particularly useful when dealing with hard-to-reach areas.
- Plumber’s Putty: Plumber’s putty is a versatile material used to create watertight seals between the sink and faucet. It helps prevent leaks and ensures a secure connection. Apply a thin layer of putty around the base of the faucet before installing it.
- Teflon Tape: Teflon tape, also known as plumber’s tape, is used to seal threaded connections and prevent leaks. Wrap a few layers of Teflon tape around the threaded parts of the faucet to create a tight seal when reassembling.
- Bucket or Towels: Having a bucket or towels nearby is essential to catch any water that may spill during the faucet removal process. This will help prevent water damage to your bathroom floor or cabinets.

Step-by-Step Guide: Removing a Bathroom Faucet
Removing a bathroom faucet may seem like a complex task, but with a step-by-step guide, it can be a straightforward process. Whether you’re replacing an old faucet or conducting repairs, following a systematic approach will ensure a smooth removal process. We will provide you with a detailed step-by-step guide on how to remove a bathroom faucet.
Turn Off the Water Supply: Before starting any work, it’s crucial to turn off the water supply to the bathroom faucet. Locate the shut-off valves under the sink and turn them clockwise until they are fully closed. This will prevent water from flowing during the removal process.
Disconnect the Water Supply Lines: Using an adjustable wrench, loosen the nuts that connect the water supply lines to the faucet. Once loose, carefully remove the lines, allowing any remaining water to drain into the bucket or towels placed below.
Remove the Faucet Handles: Depending on the type of faucet, you may need to remove the handles by unscrewing them or prying off decorative caps to access the screws. Use a screwdriver to remove the screws and gently lift off the handles.
Loosen and Remove the Mounting Nuts: Underneath the sink, locate the mounting nuts that secure the faucet to the countertop. Use a basin wrench to loosen and remove these nuts. If the nuts are difficult to reach, try using a flashlight or mirror to assist you.
Detach the Faucet from the Sink: With the mounting nuts removed, you can now lift the faucet off the sink. Be careful not to damage any surrounding plumbing or other components. If the faucet feels stuck, gently wiggle it or use a small pry bar to loosen it.
Clean the Area: Once the faucet is removed, take the opportunity to clean the sink surface and remove any debris or buildup. This will ensure a clean and smooth installation when you replace the faucet.
Troubleshooting Common Issues During Faucet Removal
While removing a bathroom faucet may seem like a straightforward process, several common issues can arise and complicate the removal process. Being aware of these issues and having troubleshooting techniques at hand can save time and frustration. Let’s discuss some common issues that may occur during faucet removal and how to troubleshoot them effectively.
Stuck or Rusty Nuts: One common issue is encountering stuck or rusty nuts that refuse to loosen. In such cases, try spraying a penetrating oil, such as WD-40, onto the nuts and allow it to sit for a few minutes. This will help loosen the rust and make it easier to remove the nuts with a wrench or basin wrench.
Corroded Connections: Corrosion can occur between the faucet and the water supply lines, making it challenging to disconnect them. If you encounter corroded connections, try using a pair of pliers to hold the faucet steady while applying gentle pressure to twist the water supply lines. If necessary, use a wire brush or sandpaper to remove any corrosion before attempting to disconnect the lines.
Stubborn Handles: Sometimes, faucet handles can be stubborn and refuse to come off even after removing the screws. In such cases, try gently tapping the handles with a rubber mallet or using a handle puller tool designed specifically for this purpose. These methods can help break the handle free from any adhesive or corrosion.
Hidden Mounting Hardware: In certain faucet designs, the mounting hardware may be hidden or difficult to access. If you’re having trouble locating or reaching the mounting nuts, try using a flashlight or mirror to assist you. You may also need to remove additional components, such as decorative caps or trim, to access the mounting hardware.
Leaking or Dripping Connections: During the removal process, you may encounter leaking or dripping connections. This can be due to worn-out washers or damaged seals. To address this issue, turn off the water supply and replace any faulty washers or seals before reassembling the faucet. Applying a plumber’s putty or Teflon tape to the threaded connections can also help create a watertight seal.
Professional Assistance: If you encounter persistent issues or lack confidence in your abilities, it’s always wise to seek professional assistance. A licensed plumber will have the expertise and tools necessary to troubleshoot and resolve any complex issues during faucet removal.
Tips for a Smooth and Successful Faucet Removal Process
Removing a bathroom faucet can be a challenging task, but with the right tips and techniques, you can ensure a smooth and successful removal process. From preparation to organization, these tips will help you tackle the job with confidence. Here are some valuable tips to make your faucet removal process easier and more efficient.
Prepare the Work Area: Before starting the removal process, it’s important to prepare your work area. Clear out any items from under the sink to create ample space for maneuvering. Place a towel or bucket below the faucet to catch any water that may spill during the removal process.
Take Pictures or Make Notes: Taking pictures or making notes of the faucet’s configuration before starting the removal process can be extremely helpful. This will serve as a reference when it’s time to reassemble the new faucet. It’s easy to forget the exact position and orientation of various components, so having a visual aid will save you time and frustration.
Organize and Label: As you remove the faucet components, it’s essential to stay organized. Place the removed parts in a tray or container and label them accordingly. This will prevent confusion and ensure that you can easily find the right parts when reassembling the faucet.
Use Lubricants: If you encounter any stubborn or rusted parts during the removal process, using lubricants can make the job easier. Apply a lubricant, such as WD-40, to stuck nuts or screws and allow it to penetrate before attempting to loosen them. This will help reduce friction and make disassembly smoother.
Clean and Inspect: Once the faucet is removed, take the opportunity to thoroughly clean the area and inspect the surrounding plumbing. Look for any signs of leaks, corrosion, or other issues that may need attention. Addressing these problems early on will prevent future headaches and ensure a successful faucet replacement.
Follow Manufacturer’s Instructions: When removing a specific brand or model of faucet, it’s advisable to consult the manufacturer’s instructions. These instructions will provide specific guidelines and steps tailored to your faucet, ensuring a smooth removal process. If you no longer have the instructions, check the manufacturer’s website for downloadable manuals.

Replacing Your Bathroom Faucet
When it comes to replacing your bathroom faucet, choosing the right replacement is crucial for both functionality and aesthetics. With a wide variety of styles, finishes, and features available, it’s important to consider your needs and preferences before making a selection. We will provide you with some valuable tips to help you choose the right replacement for your bathroom faucet.
Consider Your Sink Configuration: Before selecting a new faucet, take into account your sink’s configuration. Different sinks may require specific types of faucets, such as single-hole, centerset, or widespread faucets. Measure the distance between the faucet holes to ensure that the replacement faucet will fit properly.
Determine the Mounting Style: Faucets come in various mounting styles, including deck-mounted, wall-mounted, and vessel-mounted. The mounting style you choose will depend on the type of sink or countertop you have and the overall look you want to achieve. Consider the space available and the design aesthetic you prefer when selecting the mounting style.
Choose a Style and Finish: Selecting a style and finish for your new bathroom faucet is an opportunity to enhance the overall design of your bathroom. Consider the existing decor and choose a style that complements it. Whether you prefer a modern, traditional, or transitional look, there are plenty of options available. Additionally, consider the finish of the faucet, such as chrome, brushed nickel, bronze, or brass, to match other fixtures in your bathroom.
Evaluate the Functionality: When choosing a replacement faucet, it’s important to consider the functionality and features that best suit your needs. Some faucets offer additional features like a pull-out sprayer, touchless operation, or temperature control. Determine which features are important to you and select a faucet that provides the desired functionality.
Check for Quality and Durability: Investing in a high-quality and durable faucet is essential to ensure its longevity and performance. Look for faucets made from solid brass or stainless steel, as they are generally more durable and resistant to corrosion. Additionally, read customer reviews and check for warranties to ensure you are purchasing a reliable and long-lasting product.
Set a Budget: Last, it’s important to set a budget for your new bathroom faucet. Faucet prices can vary significantly, depending on the brand, style, and features. Determine how much you are willing to spend and explore options within your budget range. Remember to prioritize quality and durability over price to avoid frequent replacements or repairs in the future.

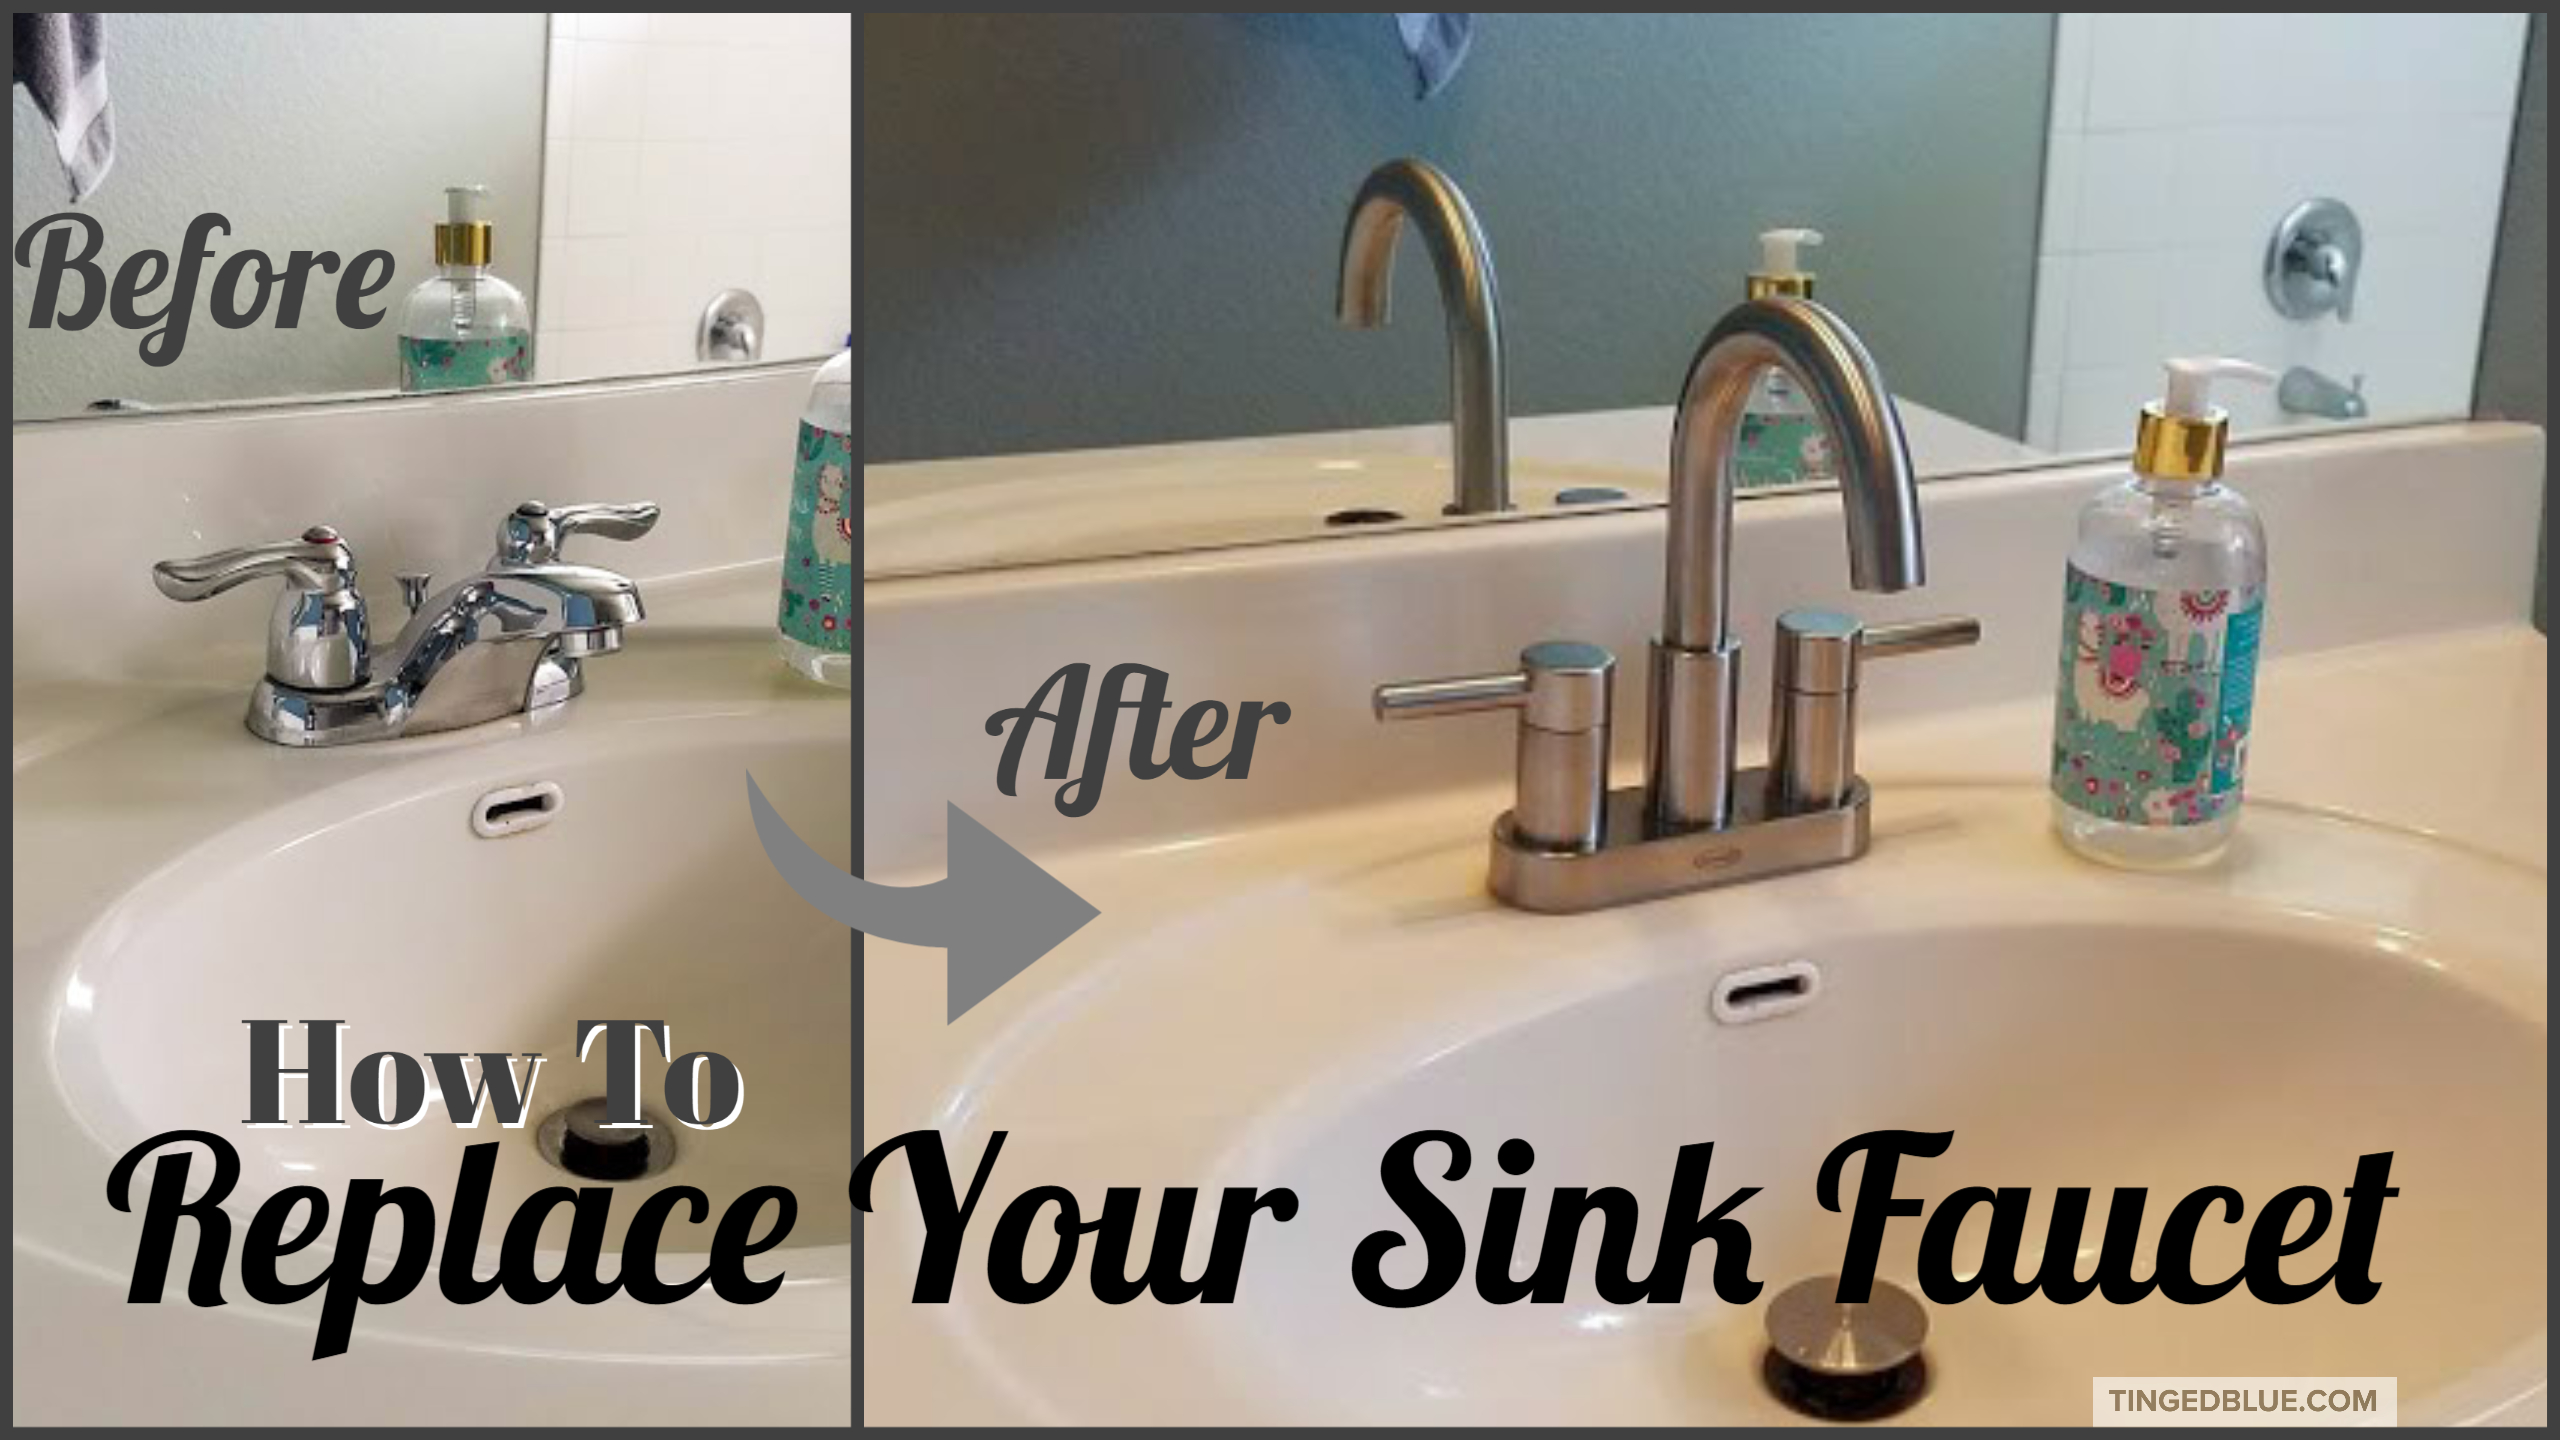
How To Replace a Bathroom Faucet – Tinged Blue
How to remove and replace a bathroom sink DIY video #diy #sink

Moen Monticello. Trying to Remove Bathroom Faucet Terry Love

How to remove this old bathroom faucet (or what kind of nut is

How to Remove and Install a Bathroom Faucet
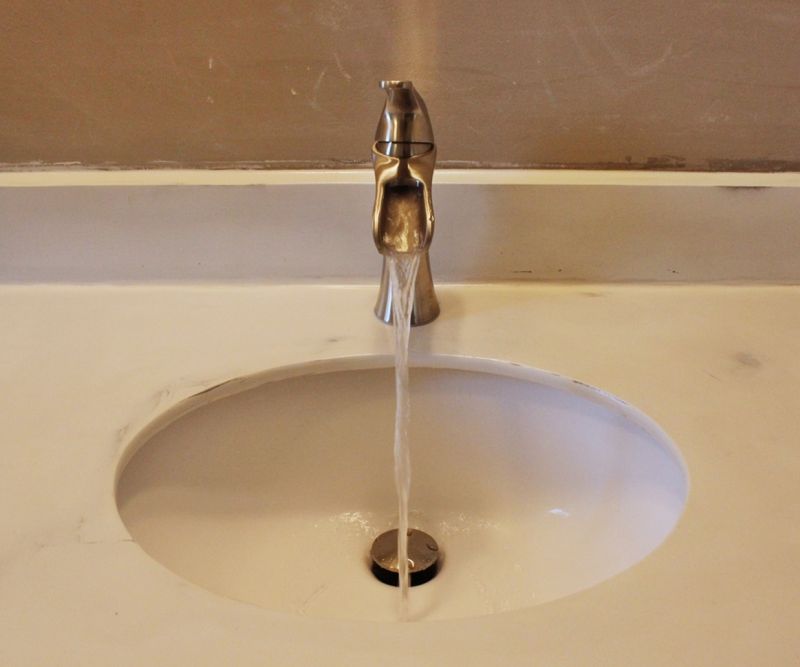
Installing a new bathroom faucet
How to Replace a Bathroom Faucet: 14 Steps (with Pictures)

Easy DIY: How to Change a Bathroom Faucet Replace bathroom

Related Posts:
- Moen Brass And Chrome Bathroom Faucet
- Bathroom Faucets Louisville Ky
- Gerber Bathroom Faucet Handles
- Kohler Archer Bathroom Faucet
- How To Replace A Delta Bathroom Faucet Cartridge
- Grohe Bathroom Faucet Installation
- Change Bathroom Faucet Washer
- Discount Designer Bathroom Faucets
- Bathroom Faucet Low Pressure
- Brushed Nickel Bathroom Faucets Cheap


