Here are the reasons why I chose a combination of Light/Fan for my bathroom:
Convenient 2-in-1 function. The unit provides both lighting and ventilation in one sleek fixture. This saves space compared to separate installations.
Simplified installation. Wiring and mounting one unit is faster than installing two separate fixtures. Fewer holes to cut and wires to connect.
Synced operation. Many combo units have lighting that automatically turns on when the fan is activated. Added convenience.
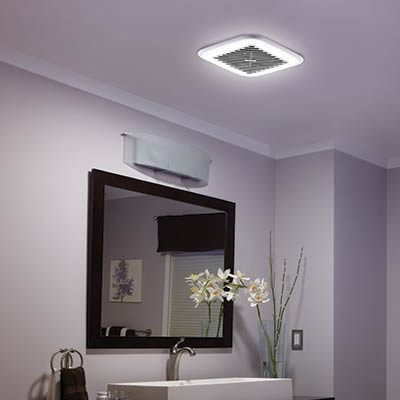
Flexible positioning. The central fixture can be positioned optimally between the sink and shower to serve both areas efficiently.
Cost-effective upgrade. Getting a light and exhaust fan in one new unit was cheaper than replacing them separately. Dual upgrade for the price of one.
Stylish options are available. I found sleek, low-profile LED/fan combos that blend in beautifully with my contemporary bathroom design.
Improved ventilation. Newer fans move more air and reduce humidity better than my old outdated ones. Important for moisture control.
Added safety features. Units with built-in nightlights, occupancy sensors, and dimmable LEDs provide extra functionality.
Key Considerations when Selecting a Unit
Here is a list of the key factors I evaluated when choosing my bathroom light/fan:
Size of the bathroom space. I measured square footage to ensure I got a fan with an adequate CFM rating to properly ventilate the area.
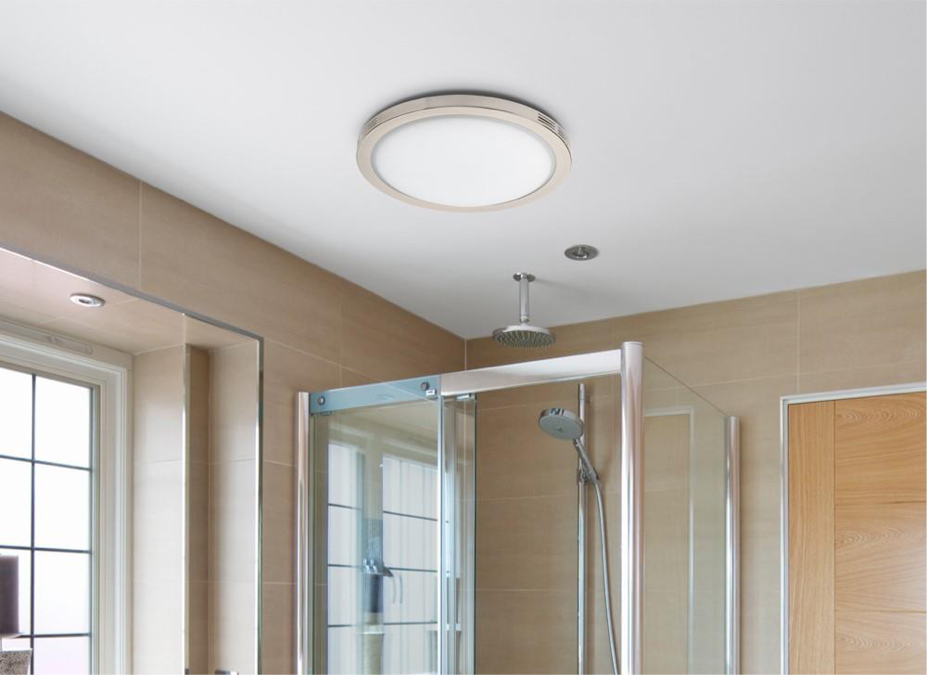
Whether the unit will service the shower. Wet location-rated fans hold up better in humid environments. I made sure to get one for my shower area.
Noise level ratings. I compared sones ratings to find the quietest fan that still moved sufficient air. Minimizing noise was important to me.
Appearance and finish options. I looked for a style that matched my bathroom decor, from modern chrome to traditional bronze.
Lighting features. I wanted an LED light with high-lumen output and adjustable color temperature. Dimming capability was a plus.
Ease of installation and wiring. I opted for a self-contained unit that didn’t require extensive wiring or ductwork modifications to install.
Budget. I got the best quality fan and brightest LED lights I could afford. Price played a role in narrowing down options.
Warranties and ratings. I made sure to choose a product from a reputable brand that was highly rated and offered at least a 1-year warranty for peace of mind.
Installation Tips for Bathroom Light/Fan Combos
When I took on installing the new light and fan combo in my bathroom, I used some handy techniques to get the job done right. Proper installation is important for both function and safety.
The first step was turning off power at the circuit breaker. Safety comes first when dealing with electrical wiring. I tested with a non-contact voltage tester before doing anything else.
I read the manufacturer’s instructions thoroughly before starting. This gave me valuable specifics for my model like a wiring diagram, mounting bracket info, and ducting recommendations.
I positioned the mounting bracket centered between the sink and shower area for optimal coverage. Making precise markings for the bracket holes ensured it would install level.
Wiring the new fixture involved connecting the power supply, light wires, fan wires, and ground. I made sure to match wire colors and cap all unused wires securely.
For ventilation, I connected the fan exhaust port to the existing ductwork. I used foil duct tape to seal joints and prevent air leakage.
After double-checking all connections, I secured the fixture to the mounting plate and switched the circuit breaker back on. I tested the unit to confirm proper operation.
Finally, I sealed around the edges with silicone caulk for an airtight installation. Taking the time to do it right meant my new fixture would function safely and effectively for years.
Maintenance and Cleaning Recommendations
To keep my bathroom light and fan unit running at its best, I make sure to follow the manufacturer’s maintenance recommendations. Proper care promotes good operation and longevity.
The most important maintenance task is cleaning the fan portion regularly. Dust and grime buildup on the fan blades can lead to decreased efficiency and noise over time. I carefully vacuum the fan blades every couple of months to prevent buildup.
It’s also critical to keep the fan’s exterior vents clear. I check that outside wall and roof exhaust vents aren’t obstructed by plants or debris. Clogs restrict airflow and put a strain on the motor.
I also replace the fan’s filter periodically as directed. Filters trap lint, hair, and other particles before they reach the fan mechanism. I install new filters every 6 months for optimal performance.
The LED light assembly requires little maintenance. I wipe down the glass fixtures occasionally with a microfiber cloth to remove dust and fingerprints. This keeps the light shining bright.
For overall care, I make sure to run the fan after showering to remove moisture and humidity from the bathroom. This protects the unit from condensation damage.
Following the manufacturer’s recommendations allows me to keep my bathroom light/fan unit in good working order for many years. Proper maintenance is easy and ensures optimal function.
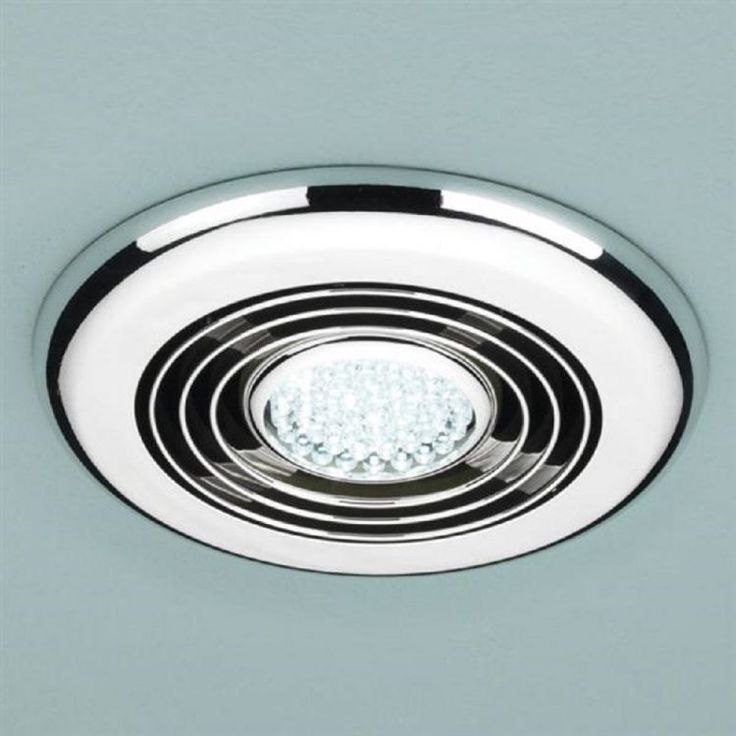
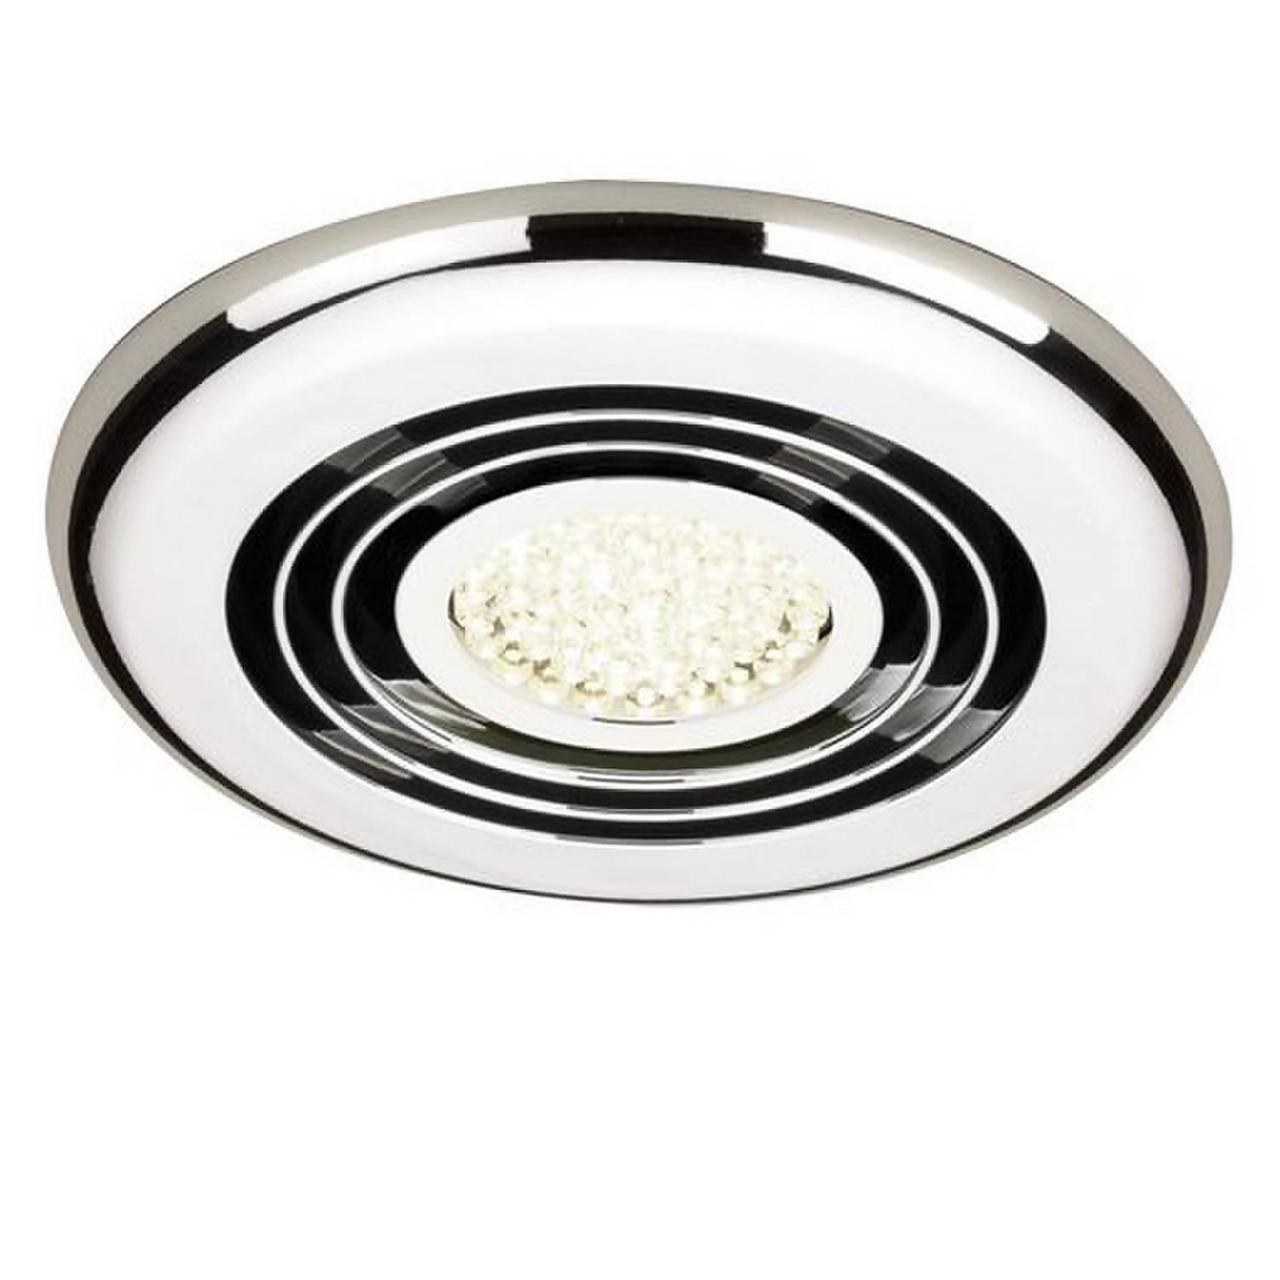
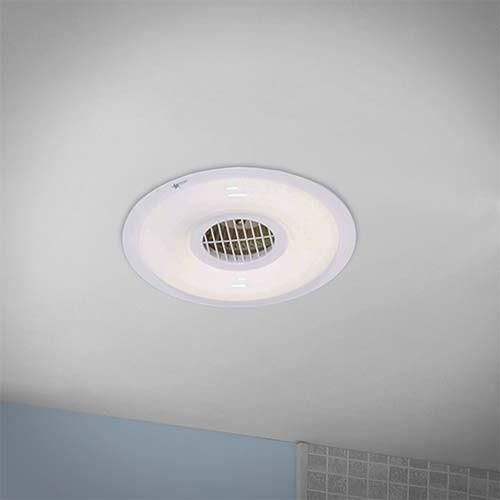
Rapide Inline Ceiling Mounted Bathroom Extractor Fan with LED Lighting – Chrome
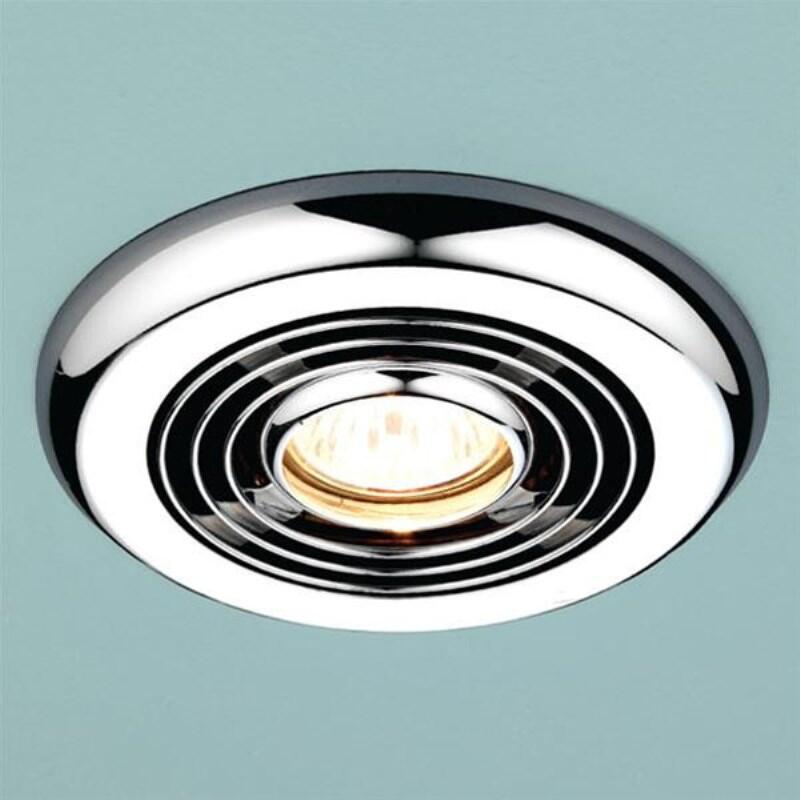
Round Bathroom Extractor Fan u0026 Light Bathroom extractor fan, Fan
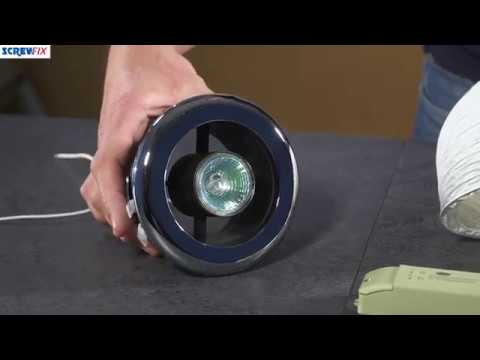
MANROSE SHOWER LIGHT u0026 EXTRACTOR FAN KIT CHROME 100MM Screwfix
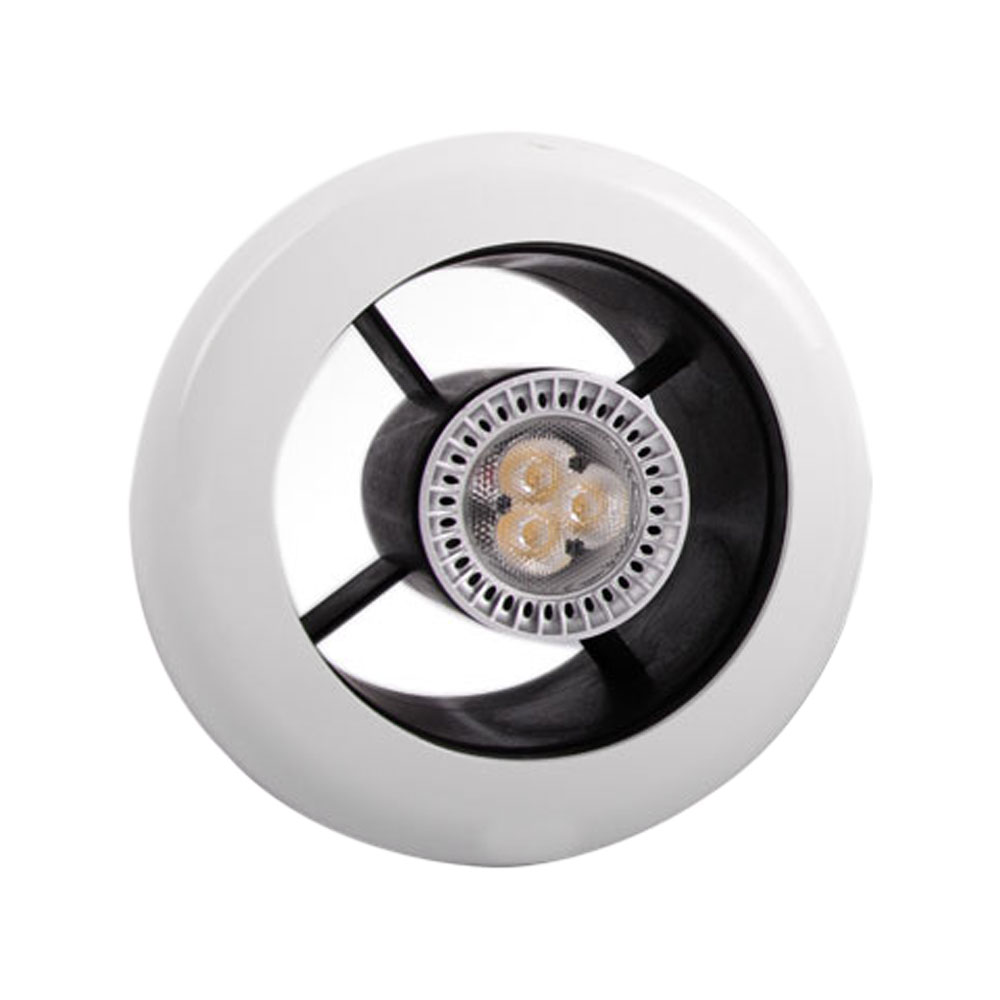
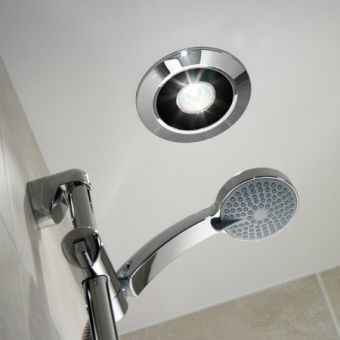
VENT-A-LIGHT LED SHOWER EXTRACTOR FAN + TIMER
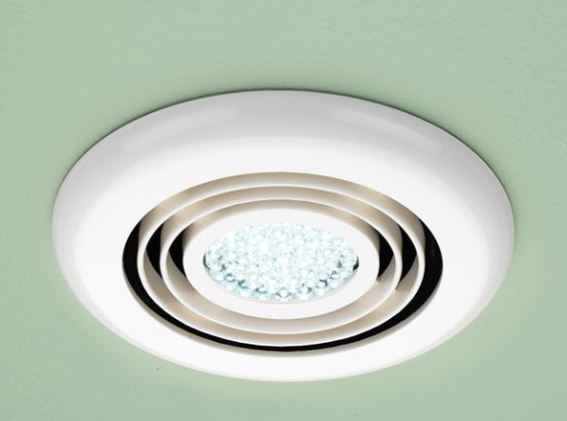
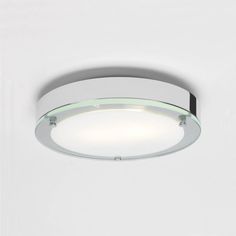
HIB Cyclone White Illuminated Ceiling Fan Cool White LED
20 Best Bathroom exhaust fan with light ideas bathroom exhaust
Bathroom extractor fans – Bathroom extractor ceiling fan
We use cookies on our website to give you the most relevant experience by remembering your preferences and repeat visits. By clicking “Accept All”, you consent to the use of ALL the cookies. However, you may visit "Cookie Settings" to provide a controlled consent.
This website uses cookies to improve your experience while you navigate through the website. Out of these, the cookies that are categorized as necessary are stored on your browser as they are essential for the working of basic functionalities of the website. We also use third-party cookies that help us analyze and understand how you use this website. These cookies will be stored in your browser only with your consent. You also have the option to opt-out of these cookies. But opting out of some of these cookies may affect your browsing experience.
Necessary cookies are absolutely essential for the website to function properly. These cookies ensure basic functionalities and security features of the website, anonymously.
Cookie
Duration
Description
cookielawinfo-checkbox-analytics
11 months
This cookie is set by GDPR Cookie Consent plugin. The cookie is used to store the user consent for the cookies in the category "Analytics".
cookielawinfo-checkbox-functional
11 months
The cookie is set by GDPR cookie consent to record the user consent for the cookies in the category "Functional".
cookielawinfo-checkbox-necessary
11 months
This cookie is set by GDPR Cookie Consent plugin. The cookies is used to store the user consent for the cookies in the category "Necessary".
cookielawinfo-checkbox-others
11 months
This cookie is set by GDPR Cookie Consent plugin. The cookie is used to store the user consent for the cookies in the category "Other.
cookielawinfo-checkbox-performance
11 months
This cookie is set by GDPR Cookie Consent plugin. The cookie is used to store the user consent for the cookies in the category "Performance".
viewed_cookie_policy
11 months
The cookie is set by the GDPR Cookie Consent plugin and is used to store whether or not user has consented to the use of cookies. It does not store any personal data.
Functional cookies help to perform certain functionalities like sharing the content of the website on social media platforms, collect feedbacks, and other third-party features.
Performance cookies are used to understand and analyze the key performance indexes of the website which helps in delivering a better user experience for the visitors.
Analytical cookies are used to understand how visitors interact with the website. These cookies help provide information on metrics the number of visitors, bounce rate, traffic source, etc.
Advertisement cookies are used to provide visitors with relevant ads and marketing campaigns. These cookies track visitors across websites and collect information to provide customized ads.

 Related Posts:


