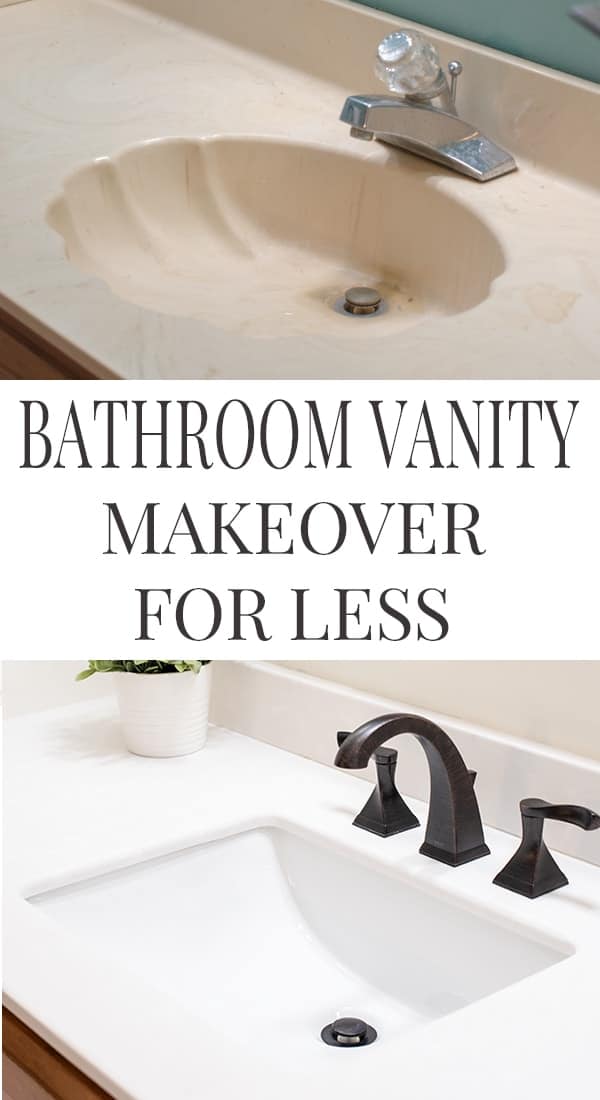
Choosing the Right Material for Your Bathroom Vanity Top Replacement
When it comes to replacing your bathroom vanity top, selecting the right material is crucial for both aesthetic appeal and functionality. With a wide range of options available, it’s important to consider factors such as durability, maintenance, and overall style to make an informed decision.
- Granite: Known for its durability and natural beauty, granite vanity tops are a popular choice. They are resistant to heat, scratches, and stains, making them ideal for a high-traffic bathroom. With a variety of colors and patterns, granite adds a touch of luxury to any bathroom space.
- Marble: If you want timeless elegance, marble vanity tops are a classic option. While marble requires more maintenance to prevent staining and etching, its unique veining and luxurious appeal make it a sought-after choice for those looking to elevate their bathroom design.
- Quartz: Engineered quartz vanity tops offer the beauty of natural stone with the added benefit of being non-porous and low-maintenance. With a wide range of color options and patterns, quartz is a versatile choice that complements various bathroom styles.
- Solid Surface: Solid surface materials like Corian and similar brands are an excellent choice for a seamless and easy-to-maintain vanity top. They are resistant to stains, mold, and mildew, and can be seamlessly integrated with the sink for a sleek, modern look.
- Laminate: If budget-friendliness is a priority, laminate vanity tops offer a variety of colors and patterns at an affordable price point. While not as durable as natural stone or solid surface materials, laminate is easy to clean and can be a practical choice for a low-traffic bathroom.
- Concrete: If you’re looking for a custom and industrial aesthetic, concrete vanity tops provide a unique and modern appeal. With the ability to be customized in terms of shape, color, and texture, concrete offers a one-of-a-kind option for those seeking a contemporary look.
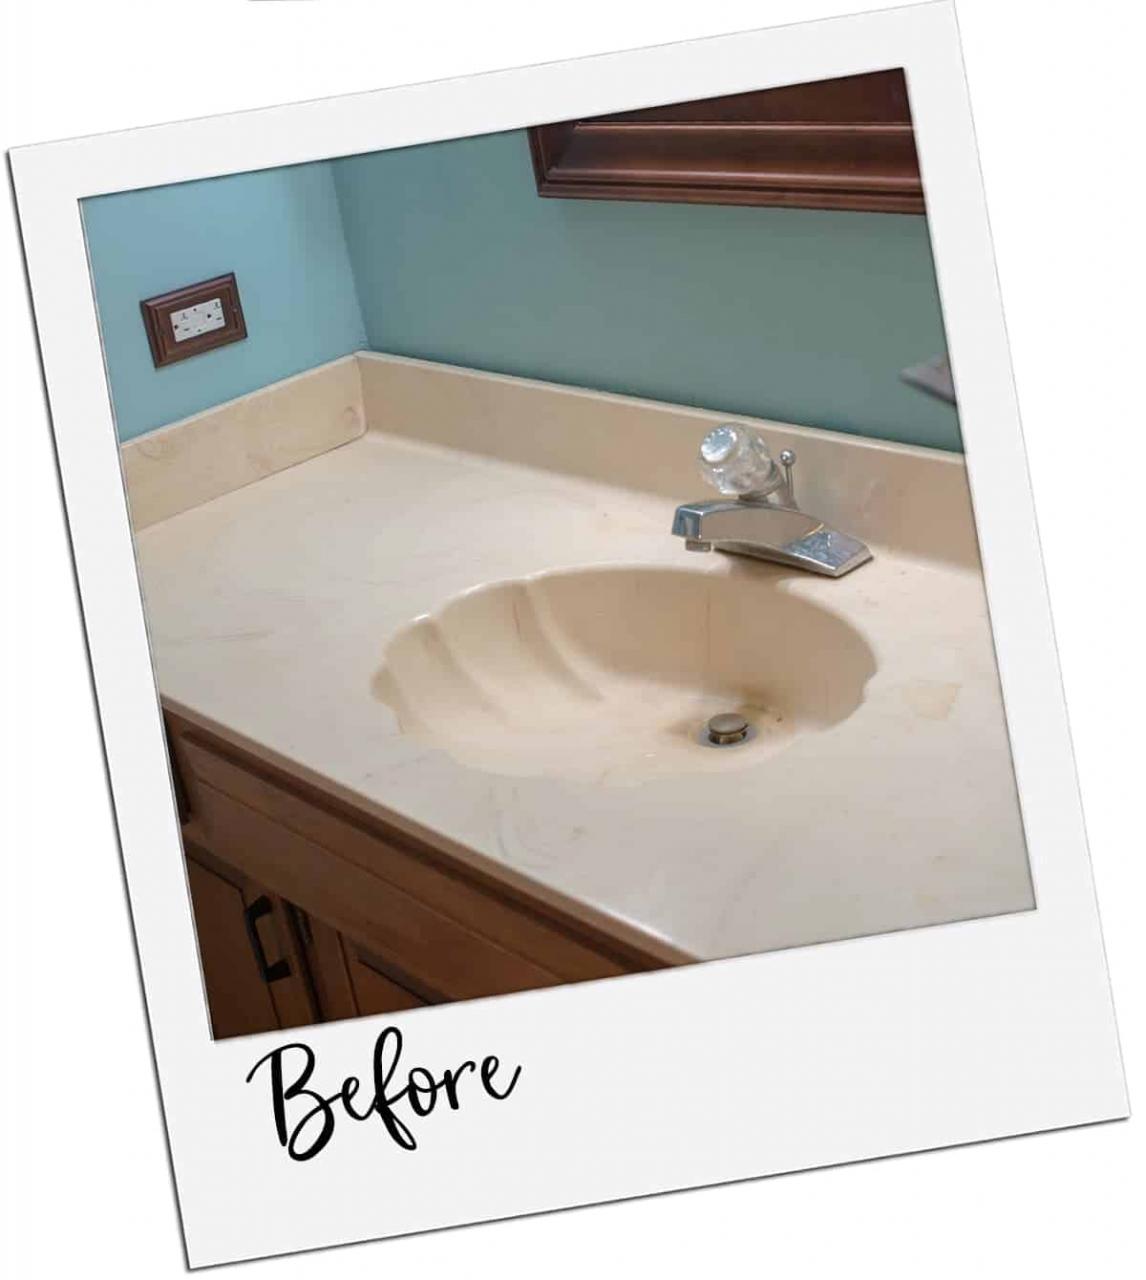
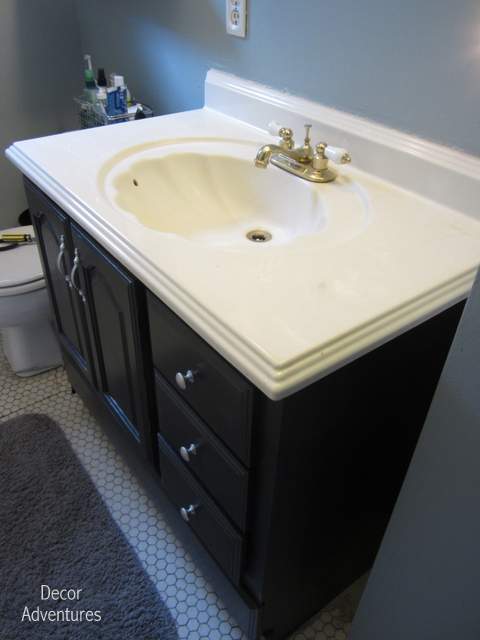
Step-by-Step Guide to Removing the Old Vanity Top
Before installing a new vanity top, it’s essential to properly remove the old one to ensure a smooth transition and a flawless fit for the replacement. Here’s a step-by-step guide to help you through the process.
Prepare the Area: Clear out the vanity and its surrounding area, removing any toiletries, accessories, and items stored inside. Turn off the water supply to the sink and disconnect the plumbing connections.
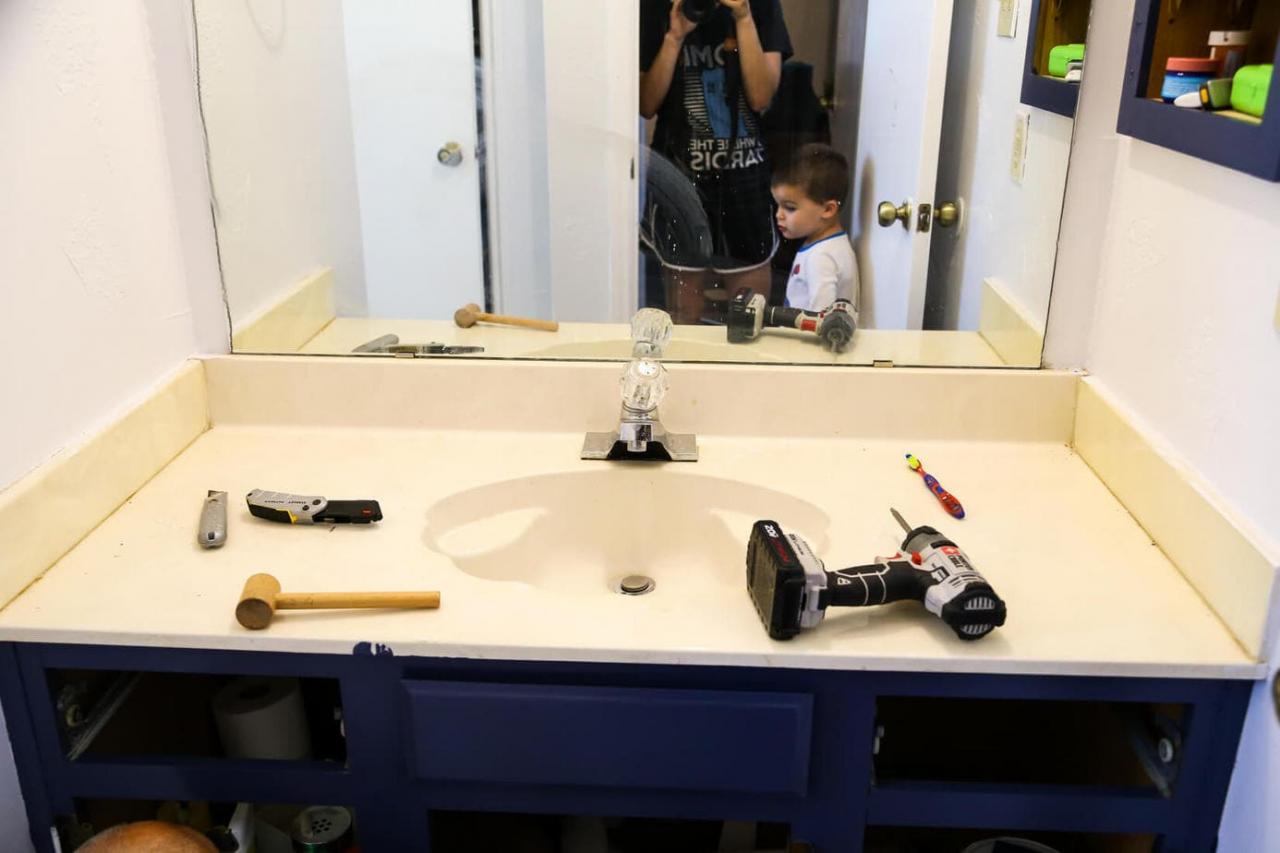
Loosen the Seal: Using a utility knife, carefully cut through the caulk or adhesive sealing the vanity top to the base cabinet. Take your time to avoid damaging the cabinet or the wall surface.
Detach the Sink: If the sink is integrated into the vanity top, detach it by loosening the clips or brackets and securing it to the countertop. Disconnect the plumbing connections to free the sink from the vanity top.
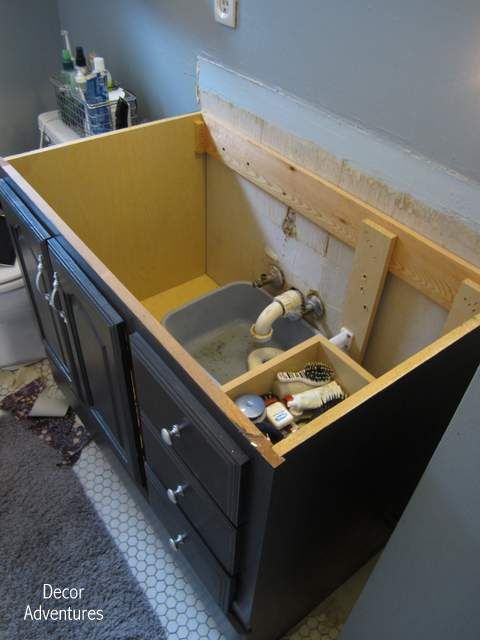
Remove the Vanity Top: With the seal and sink detached, carefully lift the old vanity top from the base cabinet. Enlist the help of a friend if the top is too heavy to handle.
Clean the Base Cabinet: Once the old vanity top is removed, take the opportunity to clean the base cabinet thoroughly. Remove any remnants of caulk, adhesive, or debris to prepare the surface for the new vanity top.
Assess the Condition: Inspect the base cabinet for any damage or areas that may need repair or reinforcement before installing the new vanity top. Address any issues to ensure a solid foundation for the replacement.
Installing the New Vanity Top
After removing the old vanity top, the next step in the replacement process is installing the new one. Proper installation is crucial to ensure a seamless fit and a professional finish. Here are some tips and tricks to guide you through the installation process.
Measure Carefully: Before purchasing a new vanity top, measure the dimensions of the base cabinet to ensure the replacement top will fit perfectly. Take accurate measurements of the length, width, and depth of the cabinet to inform your selection.
Test Fit: Once you have the new vanity top, perform a test fit to verify that it aligns with the base cabinet and that any pre-drilled holes for faucets or sinks match up correctly. Make any necessary adjustments before proceeding with the installation.
Apply Sealant: Before placing the new vanity top on the base cabinet, apply a bead of silicone caulk or adhesive along the edges of the cabinet to create a watertight seal and prevent water damage.
Secure the Top: Carefully position the new vanity top onto the base cabinet, ensuring a snug fit. Use clamps or brackets to hold the top in place while the sealant sets, following the manufacturer’s instructions for the specific adhesive you are using.
Connect Plumbing: Once the vanity top is securely in place, reattach the plumbing connections for the sink. Ensure that the connections are tight and leak-free to prevent any water damage.
Caulk the Edges: After the vanity top is installed, apply a thin bead of silicone caulk along the edges where the top meets the wall and the sink meets the countertop. This will create a clean and watertight seal, enhancing the overall appearance and protecting against water damage.
Clean Up: Wipe away any excess caulk or adhesive and clean the vanity top to remove any fingerprints, smudges, or debris. This final touch will give your newly installed vanity top a polished and professional look.
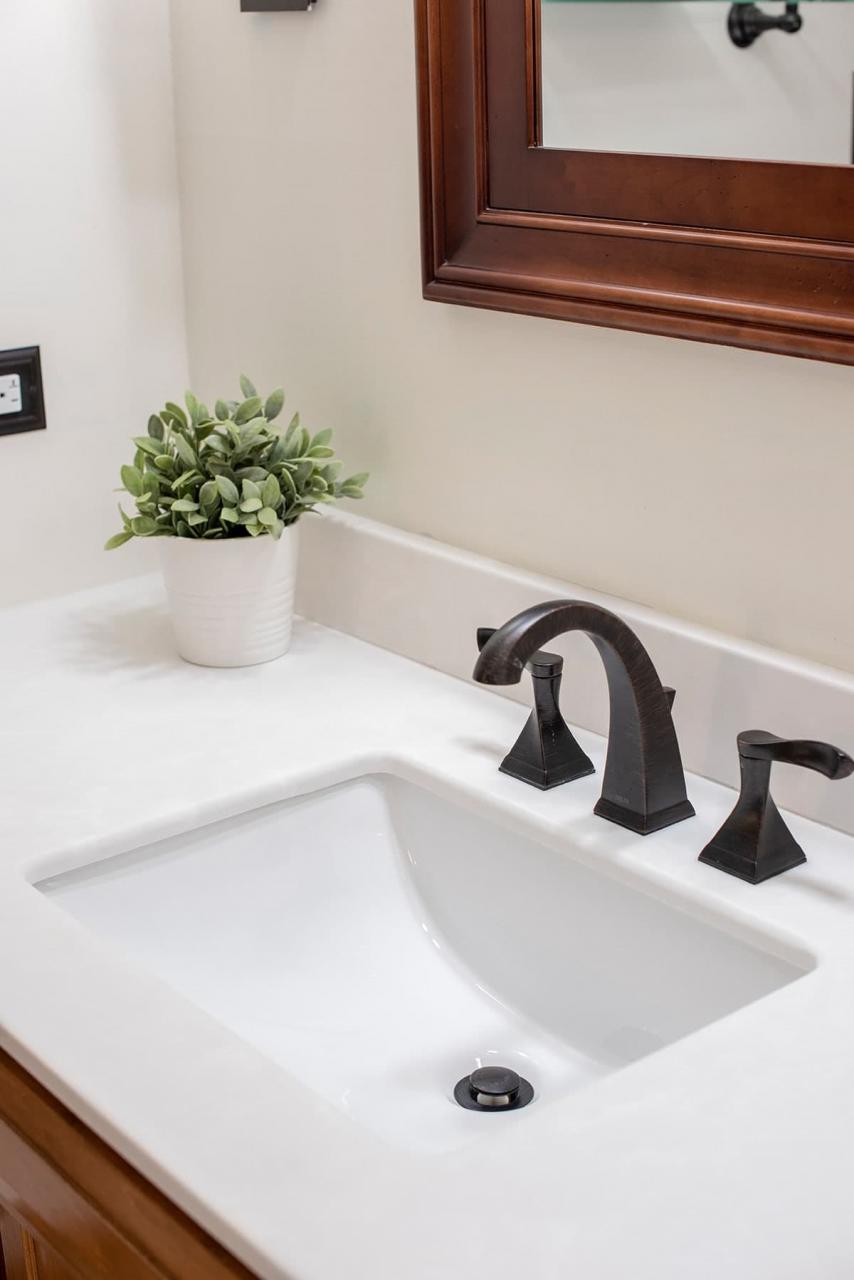
Enhancing Your Bathroom Aesthetics with Stylish Vanity Top Options
When it comes to enhancing your bathroom aesthetics, the choice of vanity top plays a significant role in defining the overall style and ambiance of the space. With a variety of stylish options available, you can elevate your bathroom design and create a personalized sanctuary. Here are some popular vanity top options to consider for enhancing your bathroom aesthetics.
Integrated Sink: A vanity top with an integrated sink offers a sleek and seamless look, creating a cohesive and modern appearance. This design eliminates the edges and crevices around the sink, making cleaning and maintenance easier while contributing to a sophisticated aesthetic.
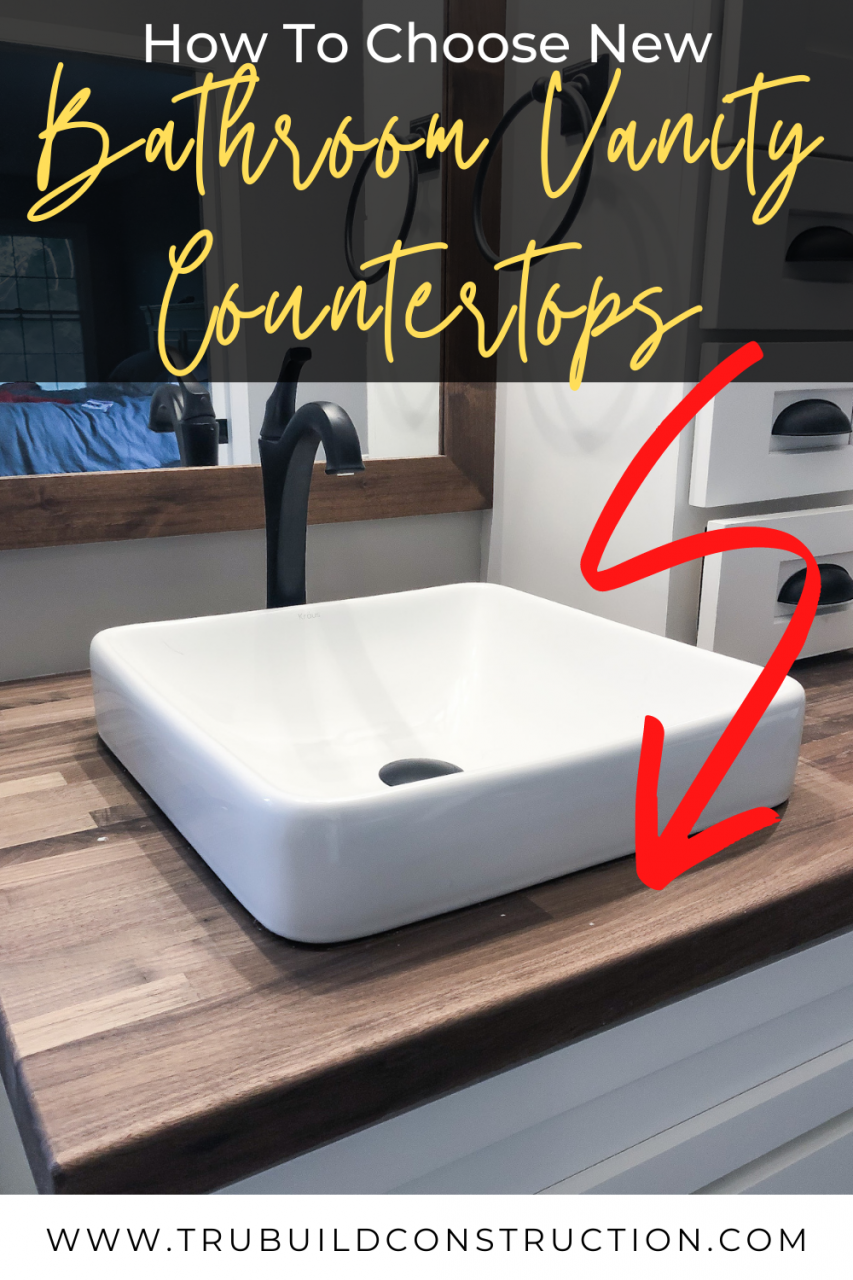
Vessel Sink: For a striking and contemporary statement, consider pairing your vanity top with a vessel sink. These above-counter sinks come in a range of materials and styles, adding an artistic focal point to the bathroom while allowing for more countertop space.
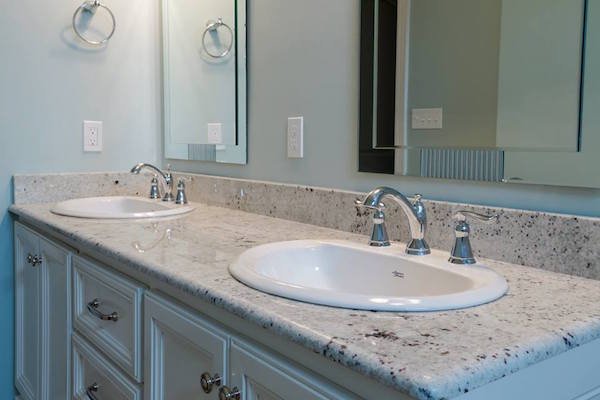
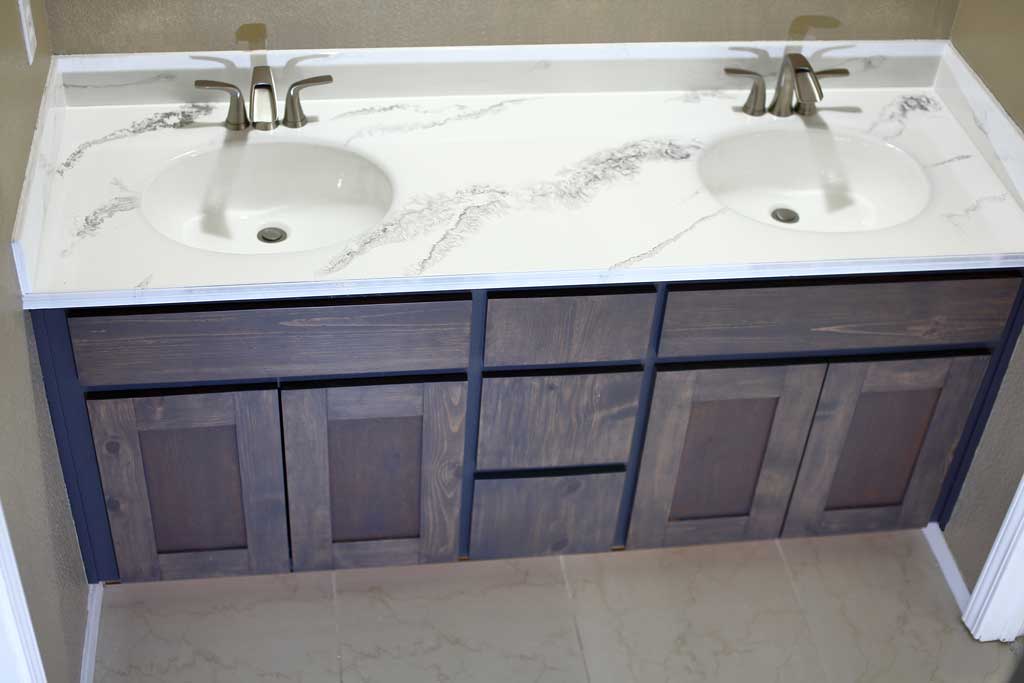
Double Vanity: If space allows, a double vanity top provides a luxurious and functional option for shared bathrooms. This setup offers dual sinks and ample countertop space, allowing for a symmetrical and balanced design that accommodates multiple users with ease.
Customizable Edge Profiles: Many vanity top materials offer customizable edge profiles, allowing you to tailor the look of the countertop to your preferences. Whether you prefer a sleek and modern square edge or an elegant ogee edge, selecting the right profile can enhance the overall aesthetic of the vanity top.
Color and Texture Variety: From classic whites and neutrals to bold patterns and textures, vanity tops come in a wide range of colors and finishes to suit various design preferences. Whether you aim for a minimalist and serene look or a vibrant and expressive style, the color and texture of the vanity top can significantly impact the overall aesthetic of the bathroom.
Maintenance and Care Tips
After installing a new vanity top, proper maintenance and care are essential for preserving its beauty and functionality over time. By following these maintenance tips, you can prolong the lifespan of your vanity top and keep it looking pristine for years to come.
Regular Cleaning: Establish a routine for regular cleaning of the vanity top to remove dust, debris, and any spills or splashes. Use a mild, non-abrasive cleaner suitable for the specific material of your vanity top to maintain its finish and appearance.
Avoid Harsh Chemicals: Refrain from using harsh or abrasive cleaners, as well as products containing bleach, ammonia, or abrasive particles, as these can damage the surface of the vanity top. Opt for gentle, non-abrasive cleaning solutions to protect the material.
Prevent Staining: Take preventive measures to avoid staining by promptly wiping up spills and splashes from cosmetics, toiletries, and hair products. Additionally, use coasters or trays to contain items that may leak or leave residues on the vanity top surface.
Sealant Maintenance: If your vanity top is made of natural stone, such as granite or marble, ensure that it is properly sealed according to the manufacturer’s recommendations. Periodically check the sealant and reapply it as needed to protect the surface from moisture and stains.
Handle with Care: Avoid placing heavy or sharp objects directly on the vanity top surface to prevent scratches, chips, or cracks. Use cutting boards, trays, and protective mats to safeguard the surface from potential damage.
Address Issues Promptly: If you notice any chips, cracks, or damage to the vanity top, address the issue promptly to prevent further deterioration. Consult a professional for repairs or refinishing as needed to maintain the integrity of the surface.

How to Remove a Bathroom Vanity Cabinet
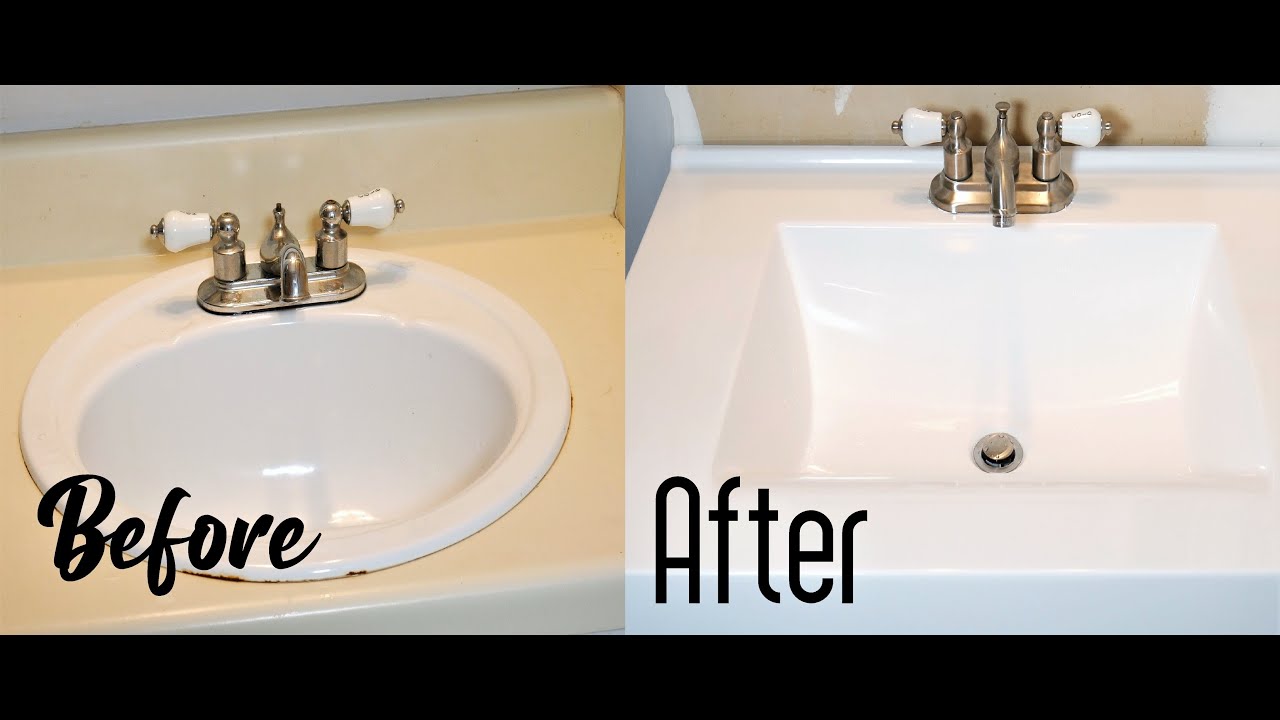
It has grown on me!: Replacing the Tile Vanity Top on A Budget
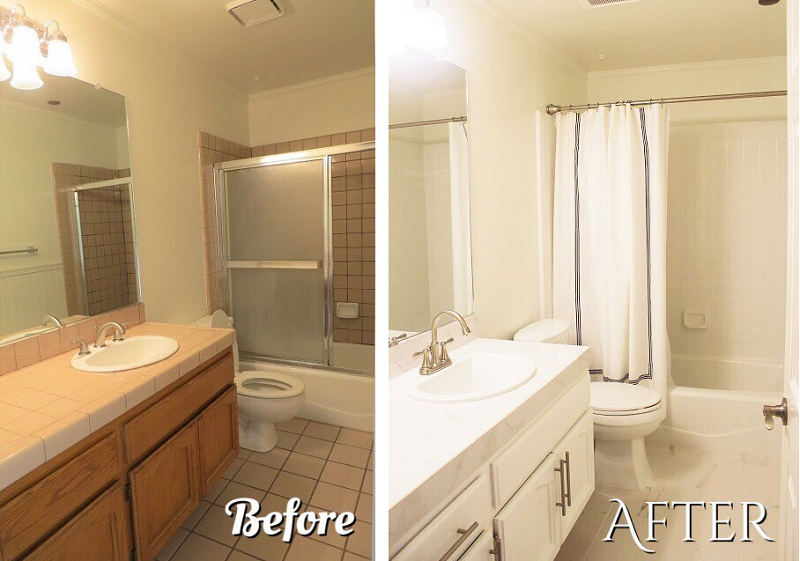
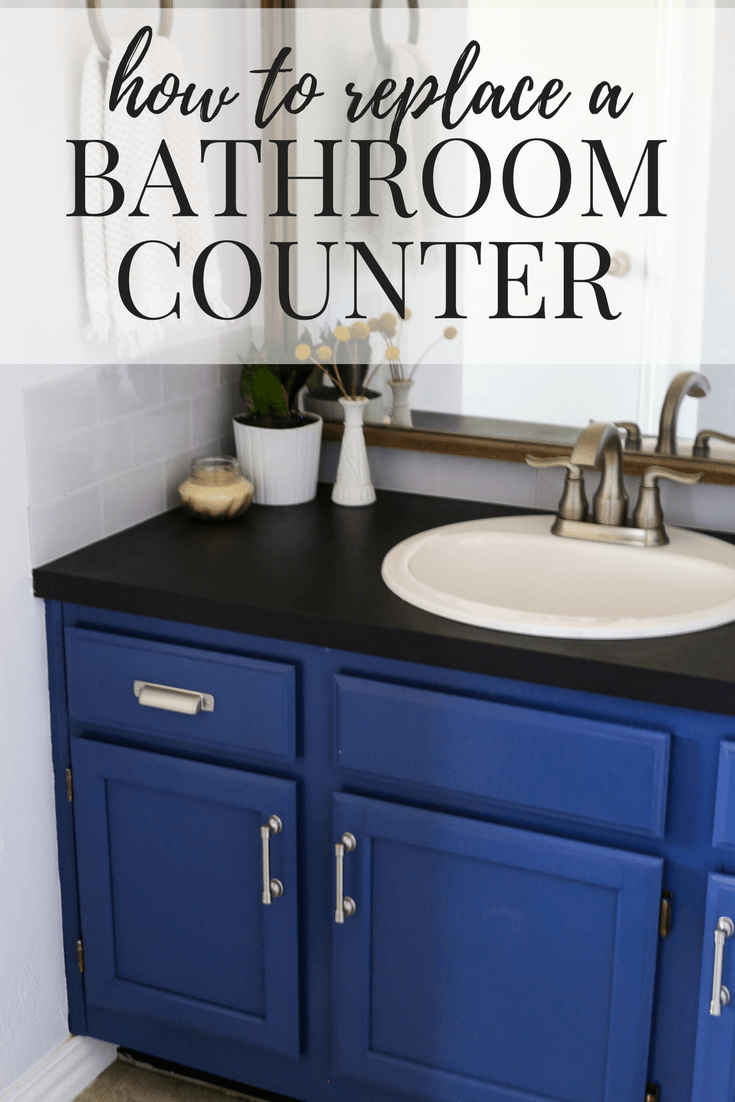
How to Replace a Bathroom Countertop HomeAdvisor
How to Replace A Bathroom Countertop u2013 Love u0026 Renovations
How to Remove a Countertop From a Vanity » Decor Adventures
How to Refinish Bathroom Vanity Top with DIY Epoxy Resin – TheDIYPlan
How to Replace A Bathroom Countertop u2013 Love u0026 Renovations
How To Install a Bathroom Vanity – YouTube

How to Remove a Countertop From a Vanity » Decor Adventures Diy
Related Posts:
- Restoration Hardware Bathroom Vanity Knockoff
- Bathroom Vanity Vessel Sink Combo
- Tri Fold Bathroom Vanity Mirrors
- 6 Foot Bathroom Vanity
- Bathroom Vanity Cabinet Sizes
- Bathroom Vanity Decor Ideas
- Bathroom Vanity And Mirror Combo
- 54 Bathroom Vanity Double Sink
- Best Countertop Material For Bathroom Vanity
- 36 Black Bathroom Vanity


