The Importance of Replacing a Bathroom Light Pull Cord
Bathroom light pull cord may seem like a small and insignificant component, but it plays a crucial role in our daily lives. It allows us to conveniently control the lighting in our bathrooms. However, over time, these cords can wear out or break, compromising not only our convenience but also our safety. We will discuss the importance of replacing a bathroom light pull cord and why it should be a priority.
- Ensuring Safety: A faulty or damaged light pull cord can pose serious safety hazards. A frayed cord or loose connection could lead to electrical issues, such as short circuits or even electrical shocks. By replacing a worn-out light pull cord promptly, you can eliminate these potential dangers and ensure a safe environment for yourself and your family.
- Convenience and Accessibility: A functioning bathroom light pull cord provides us with convenience and accessibility. Imagine getting ready for an important meeting or trying to relax in a warm bath, only to struggle with a broken cord. By replacing it, you can regain control over your bathroom lighting, allowing you to set the desired ambiance and create a comfortable space.
- Preventing Further Damage: A damaged light pull cord can lead to additional problems if left unaddressed. For example, a frayed cord can become entangled or stuck, making it difficult to turn the lights on or off. This can cause unnecessary wear and tear on the cord, the light fixture, and even the electrical wiring. By replacing it promptly, you can prevent further damage and save yourself from costly repairs down the line.
- Improving Aesthetics: In addition to functionality and safety, a new light pull cord can enhance the aesthetics of your bathroom. With a wide range of designs and styles available, you can choose a cord that complements your bathroom decor and adds a touch of personal style. Replacing a worn-out cord with a stylish one can give your bathroom a fresh and updated look.
- Peace of Mind: Knowing that your bathroom light pull cord is in good working condition provides peace of mind. You can go about your daily routine without worrying about potential electrical hazards or struggling with a faulty cord. By taking the time to replace it, you can enjoy a well-lit and worry-free bathroom experience.
Step-by-Step Guide: Replacing a Bathroom Light Pull Cord
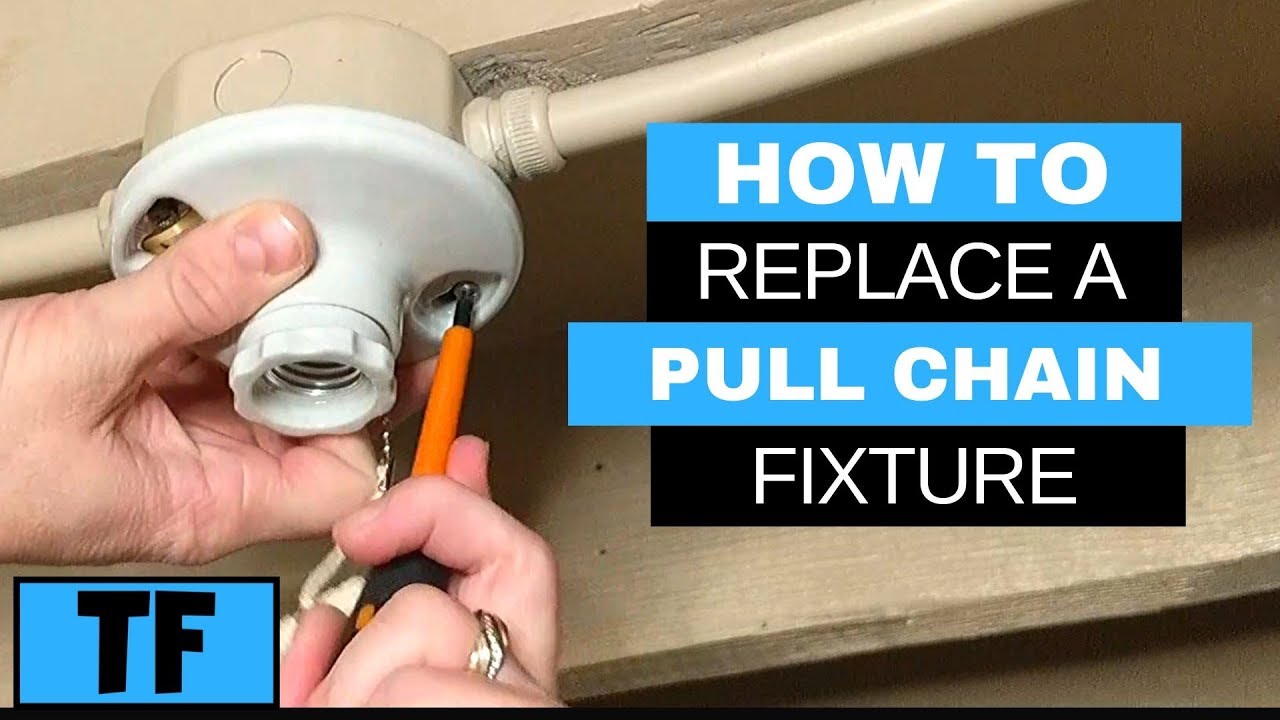
A broken or worn-out bathroom light pull cord can be frustrating, but the good news is that replacing it is a relatively simple task that you can do yourself. In this step-by-step guide, we will walk you through the process of replacing a bathroom light pull cord, ensuring that you can regain control over your bathroom lighting in no time.
Gather the Necessary Tools: Before you start the replacement process, gather the tools you’ll need. These typically include a screwdriver, a pair of scissors, wire connectors, electrical tape, and a new light pull cord. Ensuring you have all the necessary tools beforehand will make the process smoother and more efficient.
Turn Off the Power: Safety should always be a priority when working with electrical components. Start by turning off the power supply to your bathroom lights at the circuit breaker. This will prevent any potential electrical accidents while you’re working on replacing the pull cord.
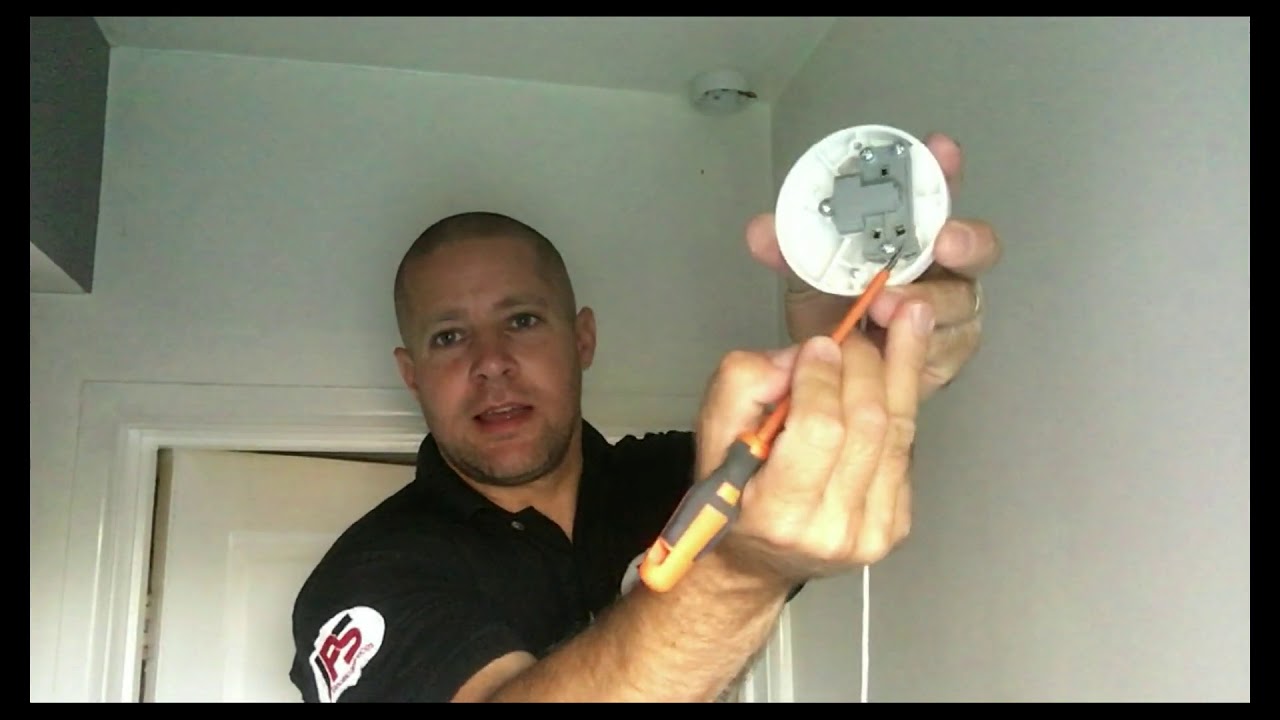
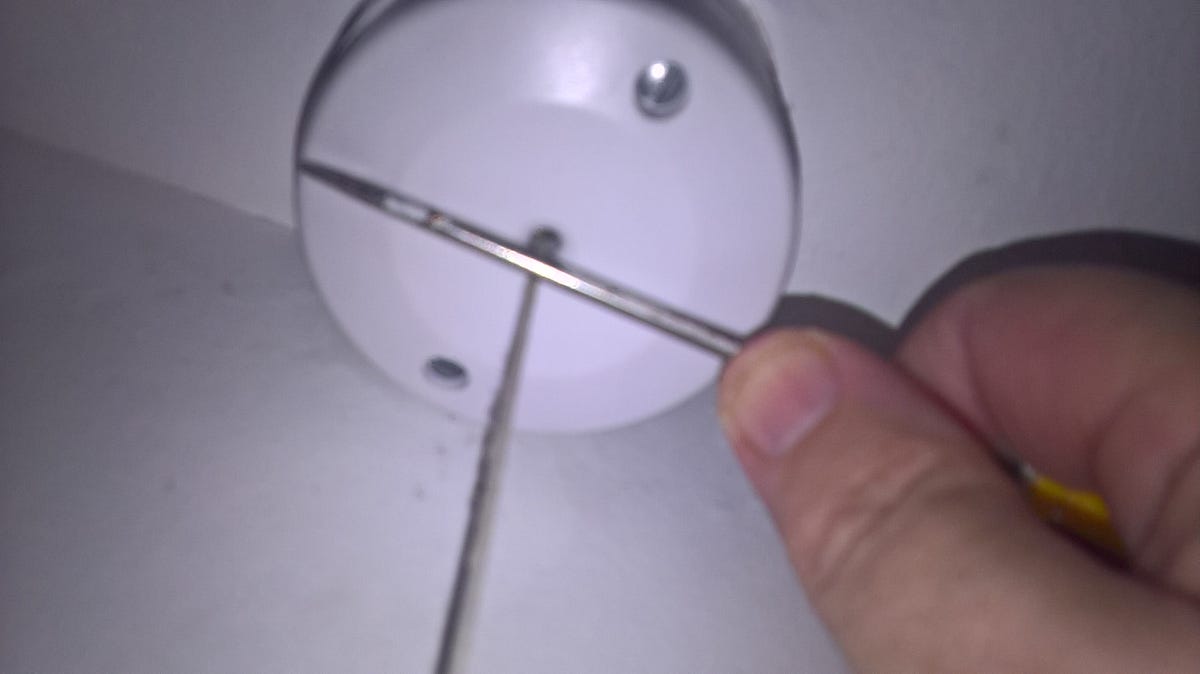
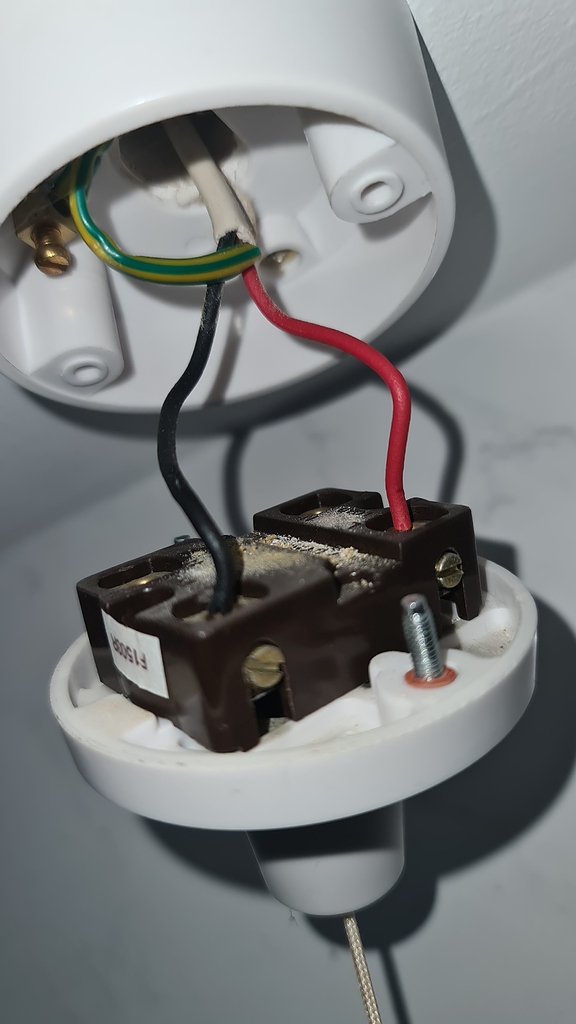
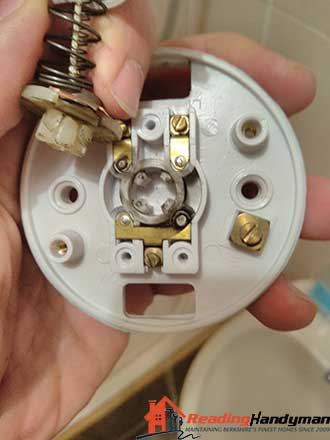
Remove the Old Cord: Locate the cover plate of the light switch and remove the screws holding it in place using a screwdriver. Once the cover plate is removed, you’ll be able to see the old pull cord. Carefully disconnect the wires attached to the cord, noting their positions or taking a picture for reference. Unscrew the cord from the fixture and remove it.
Install the New Cord: Take the new light pull cord and thread it through the fixture, ensuring it is securely attached. Connect the wires back to their respective positions, using wire connectors and electrical tape to secure the connections. Double-check that the connections are tight and secure, as loose connections can cause electrical issues.
Test and Reassemble: With the new pull cord in place, turn the power back on at the circuit breaker and test the functionality of the light switch. Pull the cord to turn the lights on and off, ensuring smooth operation. If everything is working correctly, reassemble the cover plate using the screws and make sure it is securely in place.
Final Check: Once the replacement is complete, give everything a final check. Ensure that the pull cord is functioning properly, the wires are securely connected, and there are no loose components. Take a moment to appreciate your work and enjoy the convenience of a fully functional bathroom light pull cord.
Tools and Materials Needed for Replacing a Bathroom Light Pull Cord
Before embarking on the task of replacing a bathroom light pull cord, it’s important to gather the necessary tools and materials. Having everything you need at hand will make the process smoother and more efficient. Let’s talk about the essential tools and materials required for replacing a bathroom light pull cord.
Screwdriver: A screwdriver is a must-have tool for removing the cover plate of the light switch. Choose a screwdriver that matches the type of screws used in your light switch, whether they are flathead or Phillips head screws. Having a combination screwdriver with interchangeable heads can be particularly useful.
Pair of Scissors: A pair of scissors will come in handy for cutting and trimming the new light pull cord to the desired length. Make sure the scissors are sharp and suitable for cutting through the cord material without fraying or damaging it.
Wire Connectors: Wire connectors, also known as wire nuts, are small plastic caps used to secure the electrical connections between the pull cord wires and the wires in the light switch. Opt for wire connectors of the appropriate size for the gauge of the wires you’re working with.
Electrical Tape: Electrical tape is used to insulate and protect the wire connections. It helps prevent any accidental contact between the wires, reducing the risk of electrical hazards. Choose high-quality electrical tape that is durable and provides reliable insulation.
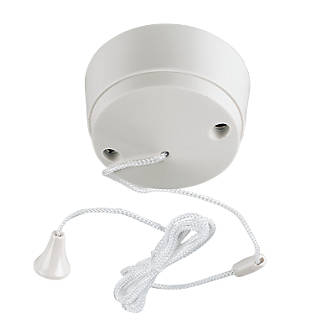
New Light Pull Cord: Of course, you’ll need a new light pull cord to replace the old one. Look for a cord that matches your desired style and length. Consider the material and durability of the cord, ensuring it is suitable for use in a bathroom environment.
Step Stool or Ladder: Depending on the height of your light switch, you may need a step stool or ladder to reach it comfortably and safely. Choose a sturdy and stable option that allows you to maintain your balance while working on the light switch.
Voltage Tester (Optional): While not necessary, a voltage tester can be a useful tool for ensuring the power supply to the light switch is completely turned off before starting the replacement process. This additional safety measure can provide peace of mind while working with electrical components.
Troubleshooting Common Issues with Bathroom Light Pull Cords
Bathroom light pull cords, like any other electrical component, can encounter problems over time. From a stuck cord to a non-responsive switch, these issues can be frustrating. Let’s discuss some common problems that occur with bathroom light pull cords and provide troubleshooting tips to help you resolve them.
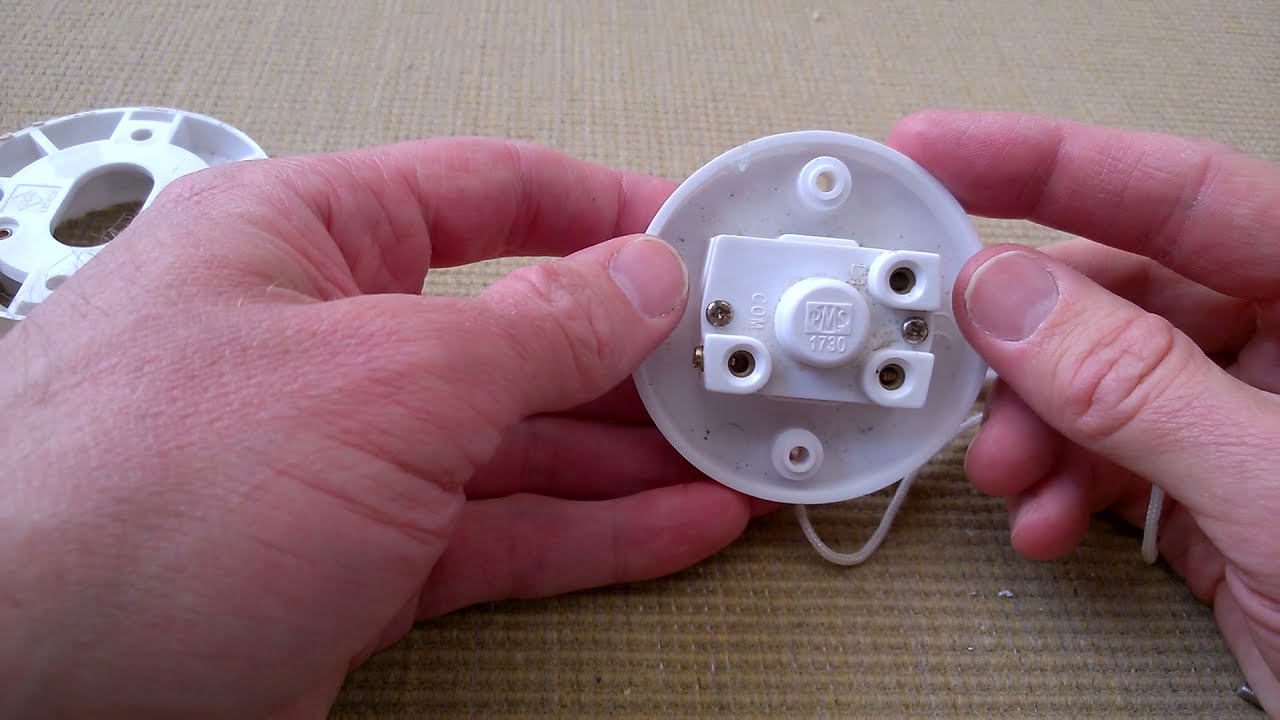
Stuck or Jammed Cord: One of the most common issues with a bathroom light pull cord is when it becomes stuck or jammed. This can happen due to dirt, debris, or worn-out components. To troubleshoot this issue, try gently pulling and releasing the cord several times to loosen any obstructions. If that doesn’t work, you may need to remove the cover plate and inspect the mechanism for any visible signs of damage or blockage.
Non-Responsive Switch: If you pull the cord, but the light doesn’t turn on or off, the switch may be non-responsive. Start by checking the power supply to ensure it is turned on. If the power is on and the switch is still not working, you may need to replace the switch mechanism. Turn off the power supply at the circuit breaker and follow the steps in the previous article to replace the switch.
Frayed or Damaged Cord: Over time, the pull cord can become frayed or damaged, affecting its functionality. If you notice any signs of wear, such as exposed wires or a worn-out cord, it’s important to replace it promptly. Follow the step-by-step guide provided earlier to safely replace the damaged cord with a new one.
Loose Connections: Loose connections can cause intermittent issues with the functionality of the pull cord. Check the connections at both ends of the cord, ensuring they are securely attached. If you find any loose connections, use wire connectors and electrical tape to secure them properly. Be sure to turn off the power supply before working on any electrical connections.
Dim or Flickering Lights: If the lights connected to the pull cord are dim or flickering, it could be a sign of an underlying electrical problem. Start by checking the light bulbs and replacing them if necessary. If the issue persists, it may be a wiring problem that requires professional assistance. Contact a licensed electrician to diagnose and resolve the electrical issue.
Tips for Maintaining a Functional and Stylish Bathroom Light Pull Cord
Maintaining a functional and stylish bathroom light pull cord not only enhances the overall aesthetics of your bathroom but also ensures its proper functionality. Below we provide you with some useful tips to help you maintain your bathroom light pull cord in top condition.
Regular Cleaning: Dust and debris can accumulate on the pull cord over time, affecting its smooth operation. Regularly clean the cord using a soft cloth or a mild detergent solution to remove any dirt or grime. Be gentle while cleaning to avoid damaging the cord or its attachments.
Lubrication: To keep the pull cord mechanism working smoothly, consider applying a small amount of lubricant to the moving parts. Use a silicone-based lubricant or a light machine oil, applying it sparingly to avoid any excess that may attract dust or cause the cord to become slippery.
Avoid Excessive Force: Pulling the cord with excessive force can strain the mechanism and lead to premature wear. Always pull the cord gently and avoid yanking or tugging on it. This will help to preserve the integrity of the cord and ensure its longevity.
Check for Loose Connections: Periodically check the connections at both ends of the pull cord to ensure they are securely attached. If you notice any loose connections, use wire connectors and electrical tape to secure them properly. Loose connections can cause intermittent functionality issues and should be addressed promptly.
Upgrade to a Stylish Cord: If you’re looking to enhance the style of your bathroom, consider upgrading to a more stylish pull cord. There are various designs and materials available, such as decorative chains, fabric cords, or even customized options. Choose a cord that complements your bathroom decor and reflects your style.
Regular Inspection: Perform regular visual inspections of the pull cord mechanism, including the attachment points and the light switch. Look for any signs of wear, damage, or loose components. Promptly address any issues you notice to prevent further damage or potential hazards.

How to install and wire pull cord switch
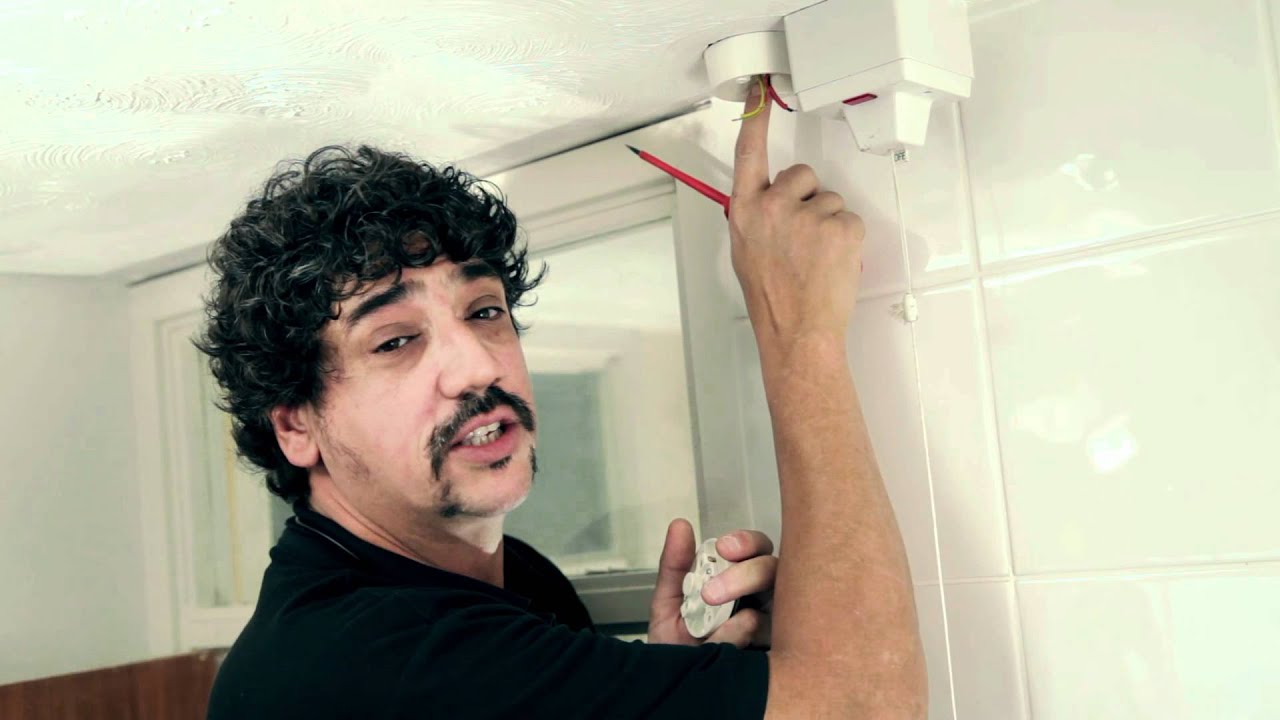
Bathroom Light Pull Switch Repair by paul martin Outdoor
How to change a pull switch in a bathroom
Add Shelly 1 into UK Bathroom pull cord fitting? – Third party
how to change a bathroom light switch
How to Repair a Ceiling Fan Light Pull Cord : Ceiling Fan Maintenance

Changing bathroom light switch

Related Posts:
- Bathroom Light Fixtures 5 Bulbs
- Bathroom Light Bulbs Watts
- Bathroom Light Pull Cord Switch Homebase
- Ideas For Bathroom Light Fixtures
- Bathroom Lighting London
- Bathroom Lighting Manufacturers
- Bathroom Light And Fan Cover
- Bathroom Light Fan Wiring
- Bathroom Light Fixtures Near Me
- Bathroom Light Fixtures Electrical Outlet


