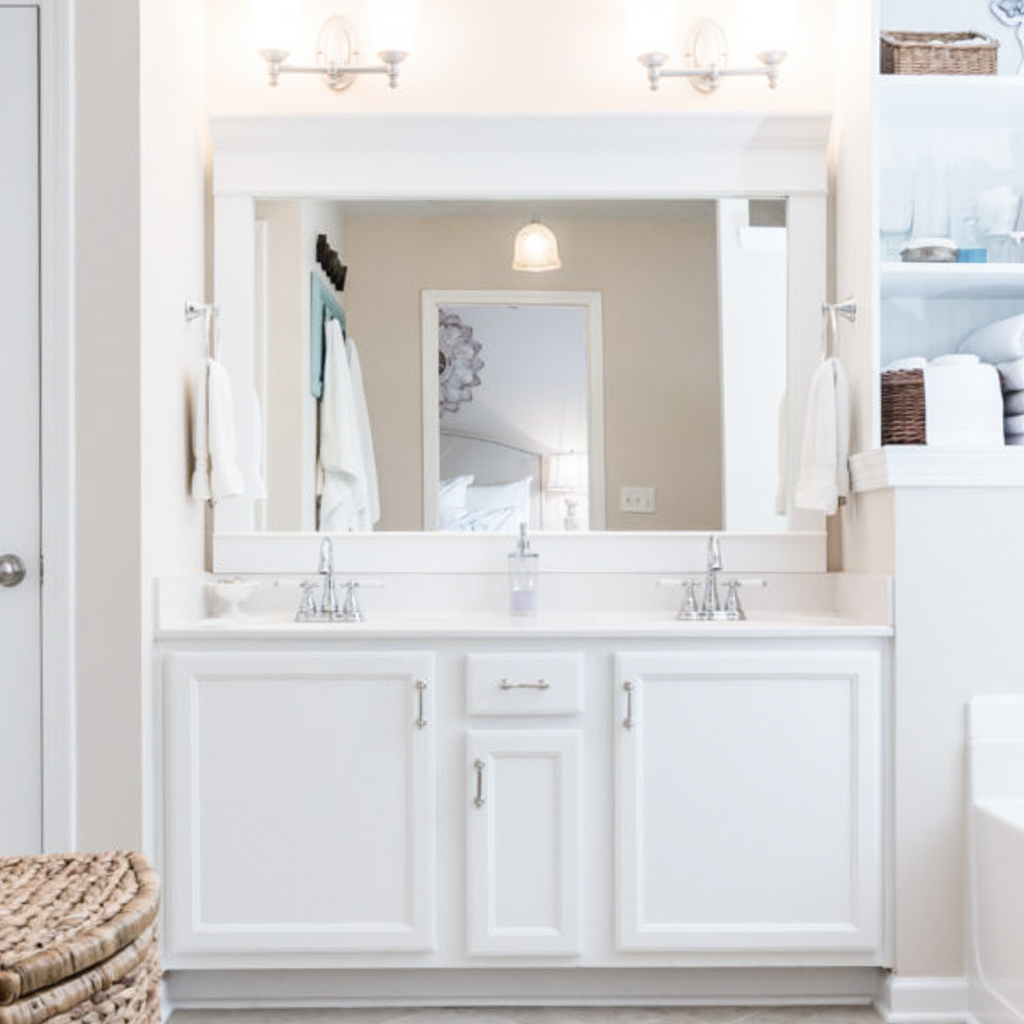
Choosing the Right Frame: Materials and Styles
When it comes to framing a bathroom mirror, the first decision you’ll need to make is choosing the right frame. This choice can significantly impact the overall look and feel of your bathroom. From traditional to modern styles, and a variety of materials, there are countless options to consider. Here’s a breakdown of some popular materials and styles to help you find the perfect frame for your bathroom mirror.
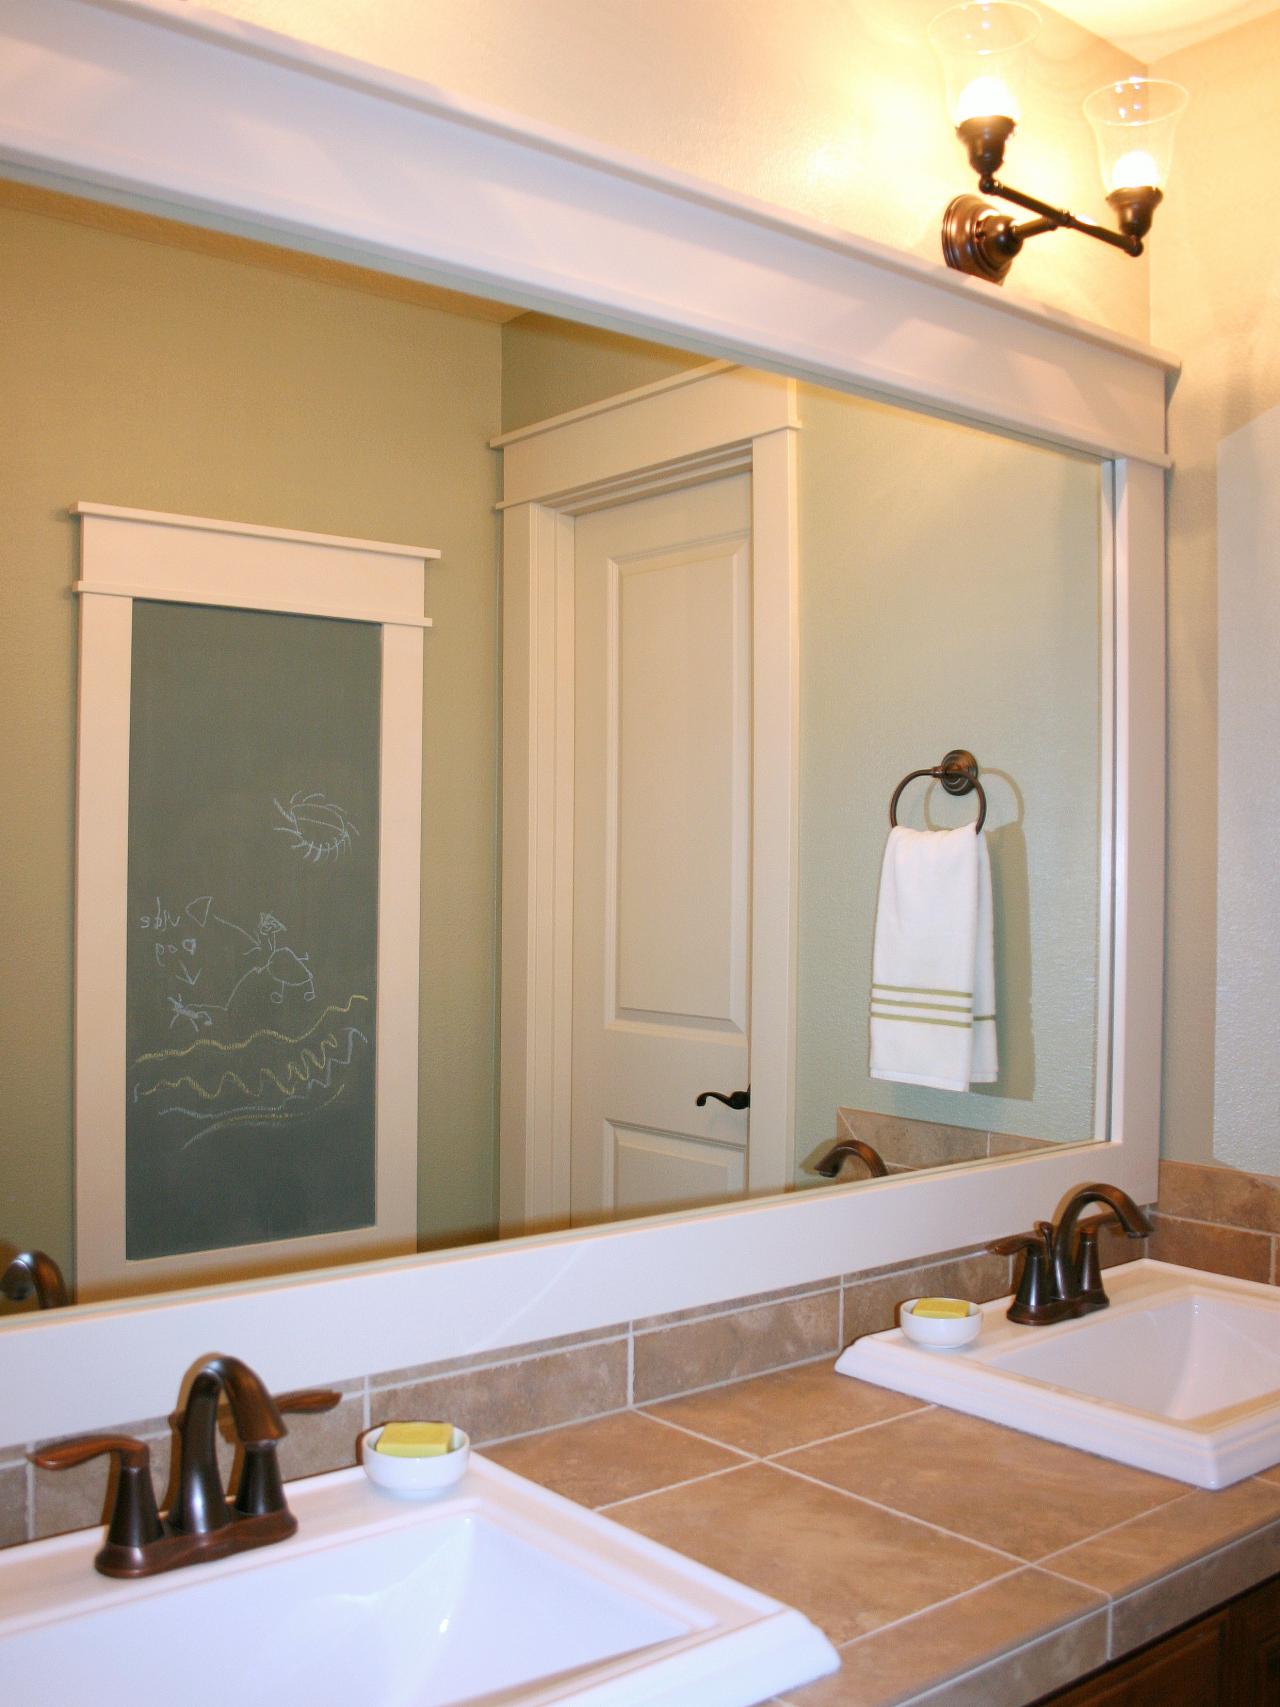
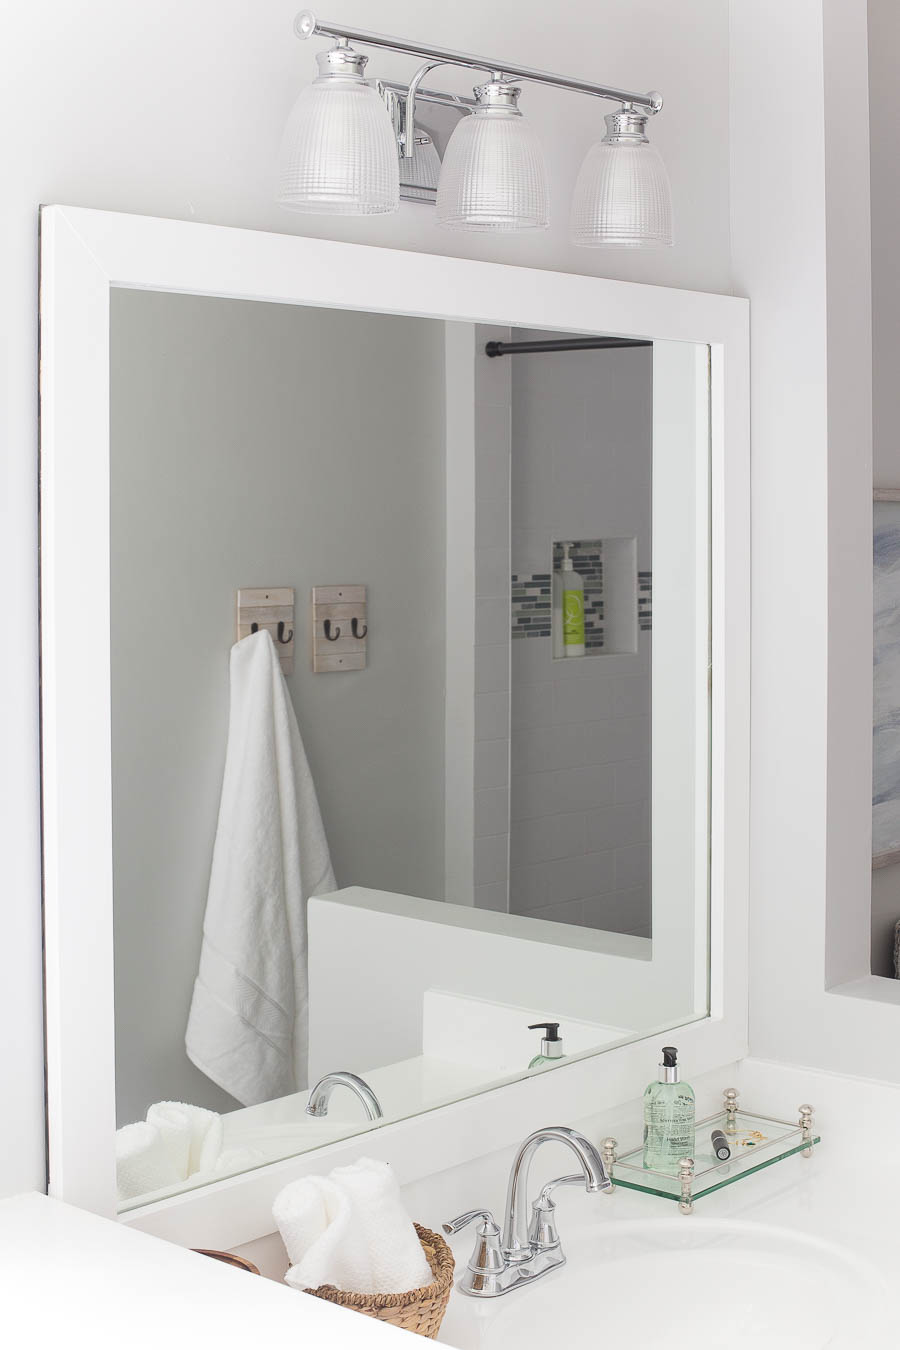
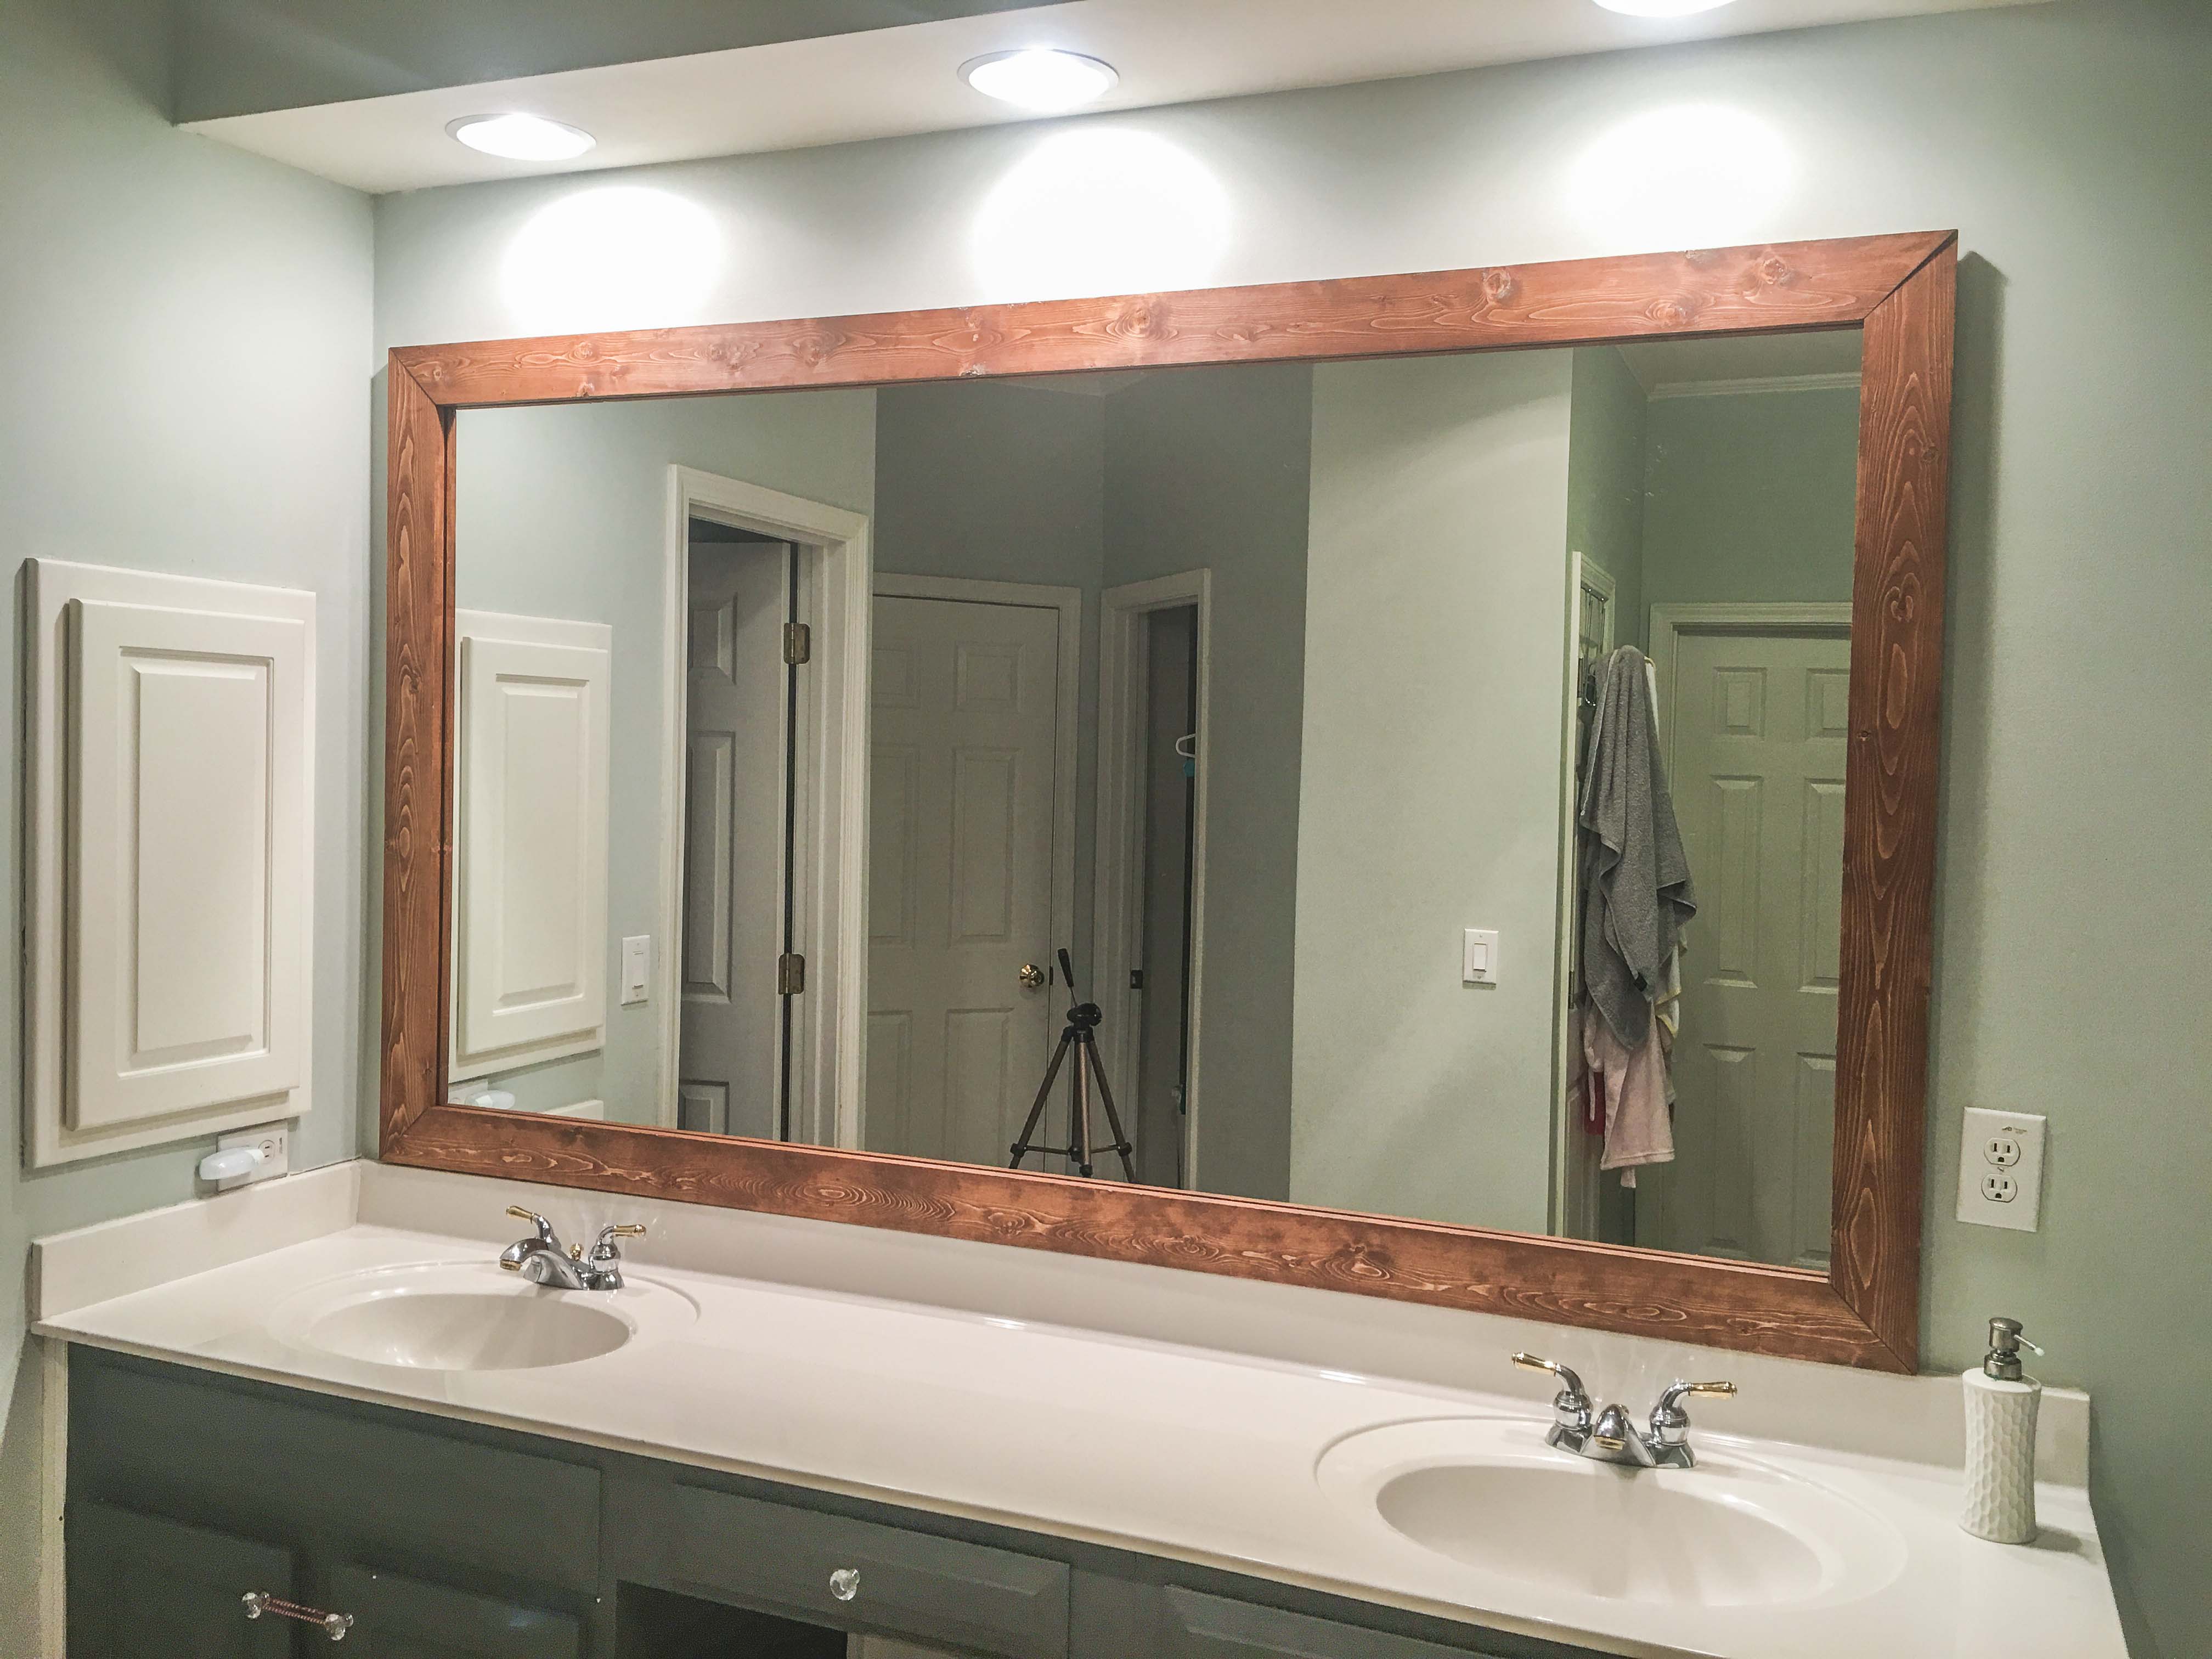
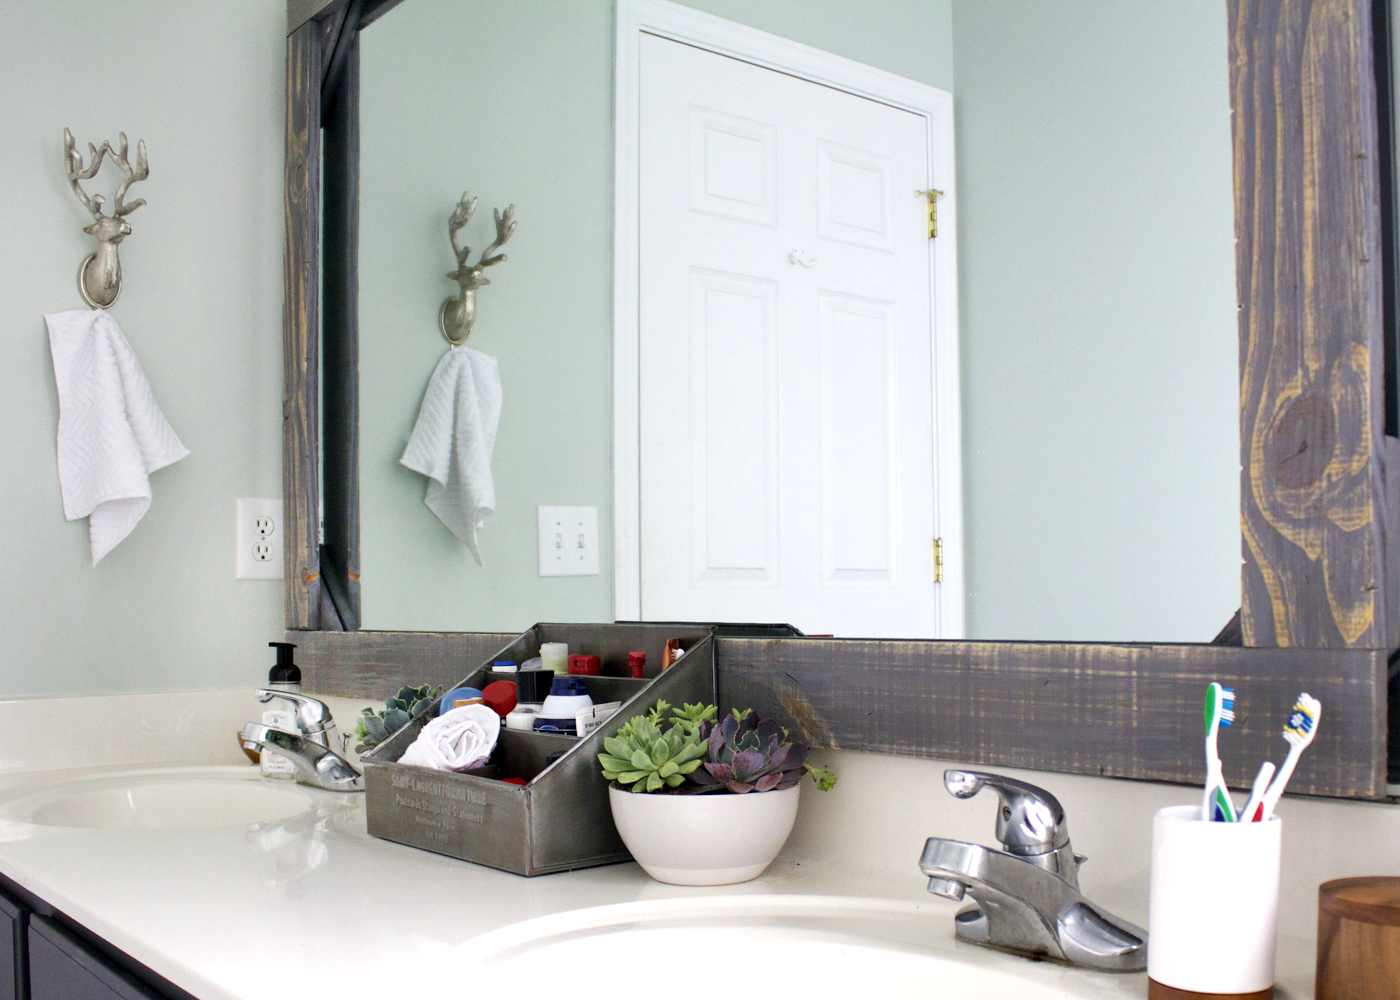
- Wood Frames: Wood frames offer timeless elegance and warmth to any bathroom space. You can choose from a variety of wood types, including oak, pine, maple, and more. Whether you prefer a natural finish or want to paint or stain the wood to match your bathroom decor, wood frames provide versatility and durability.
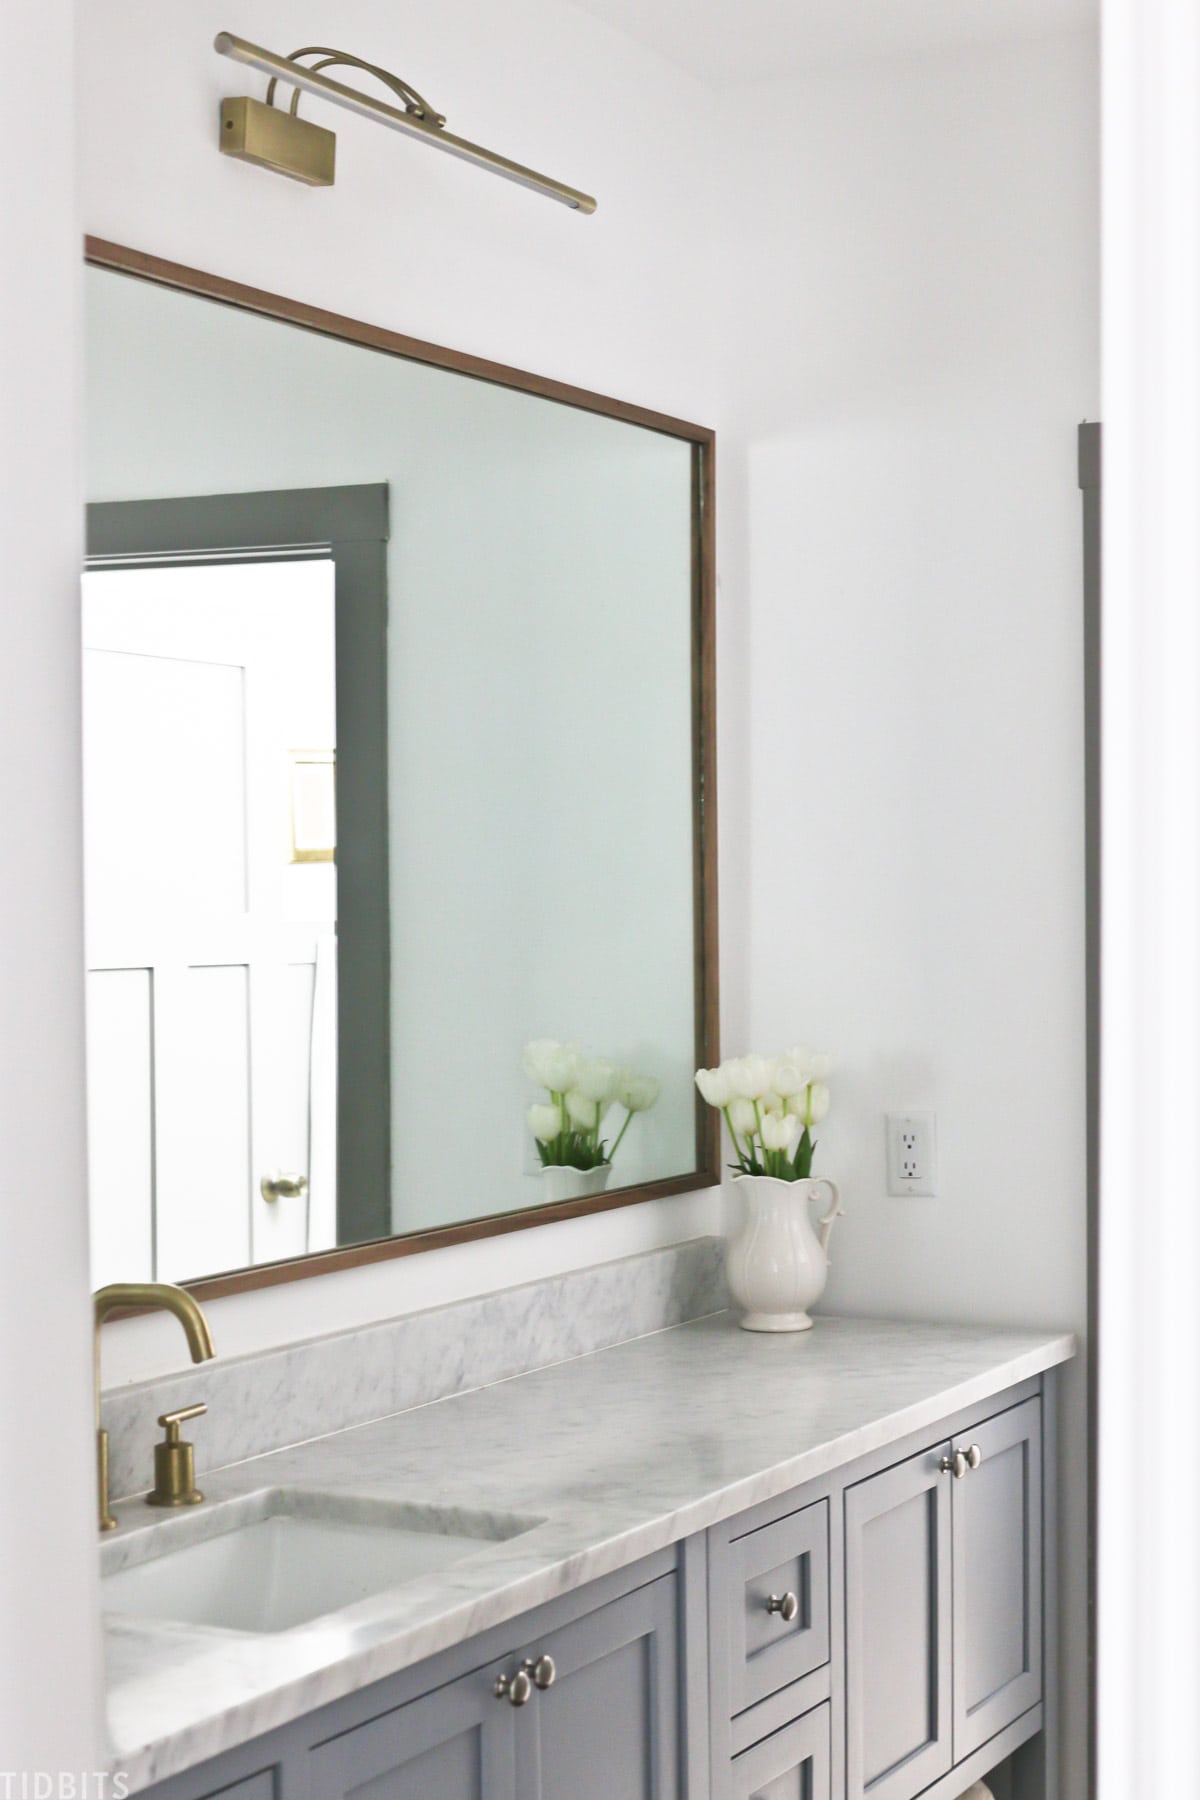
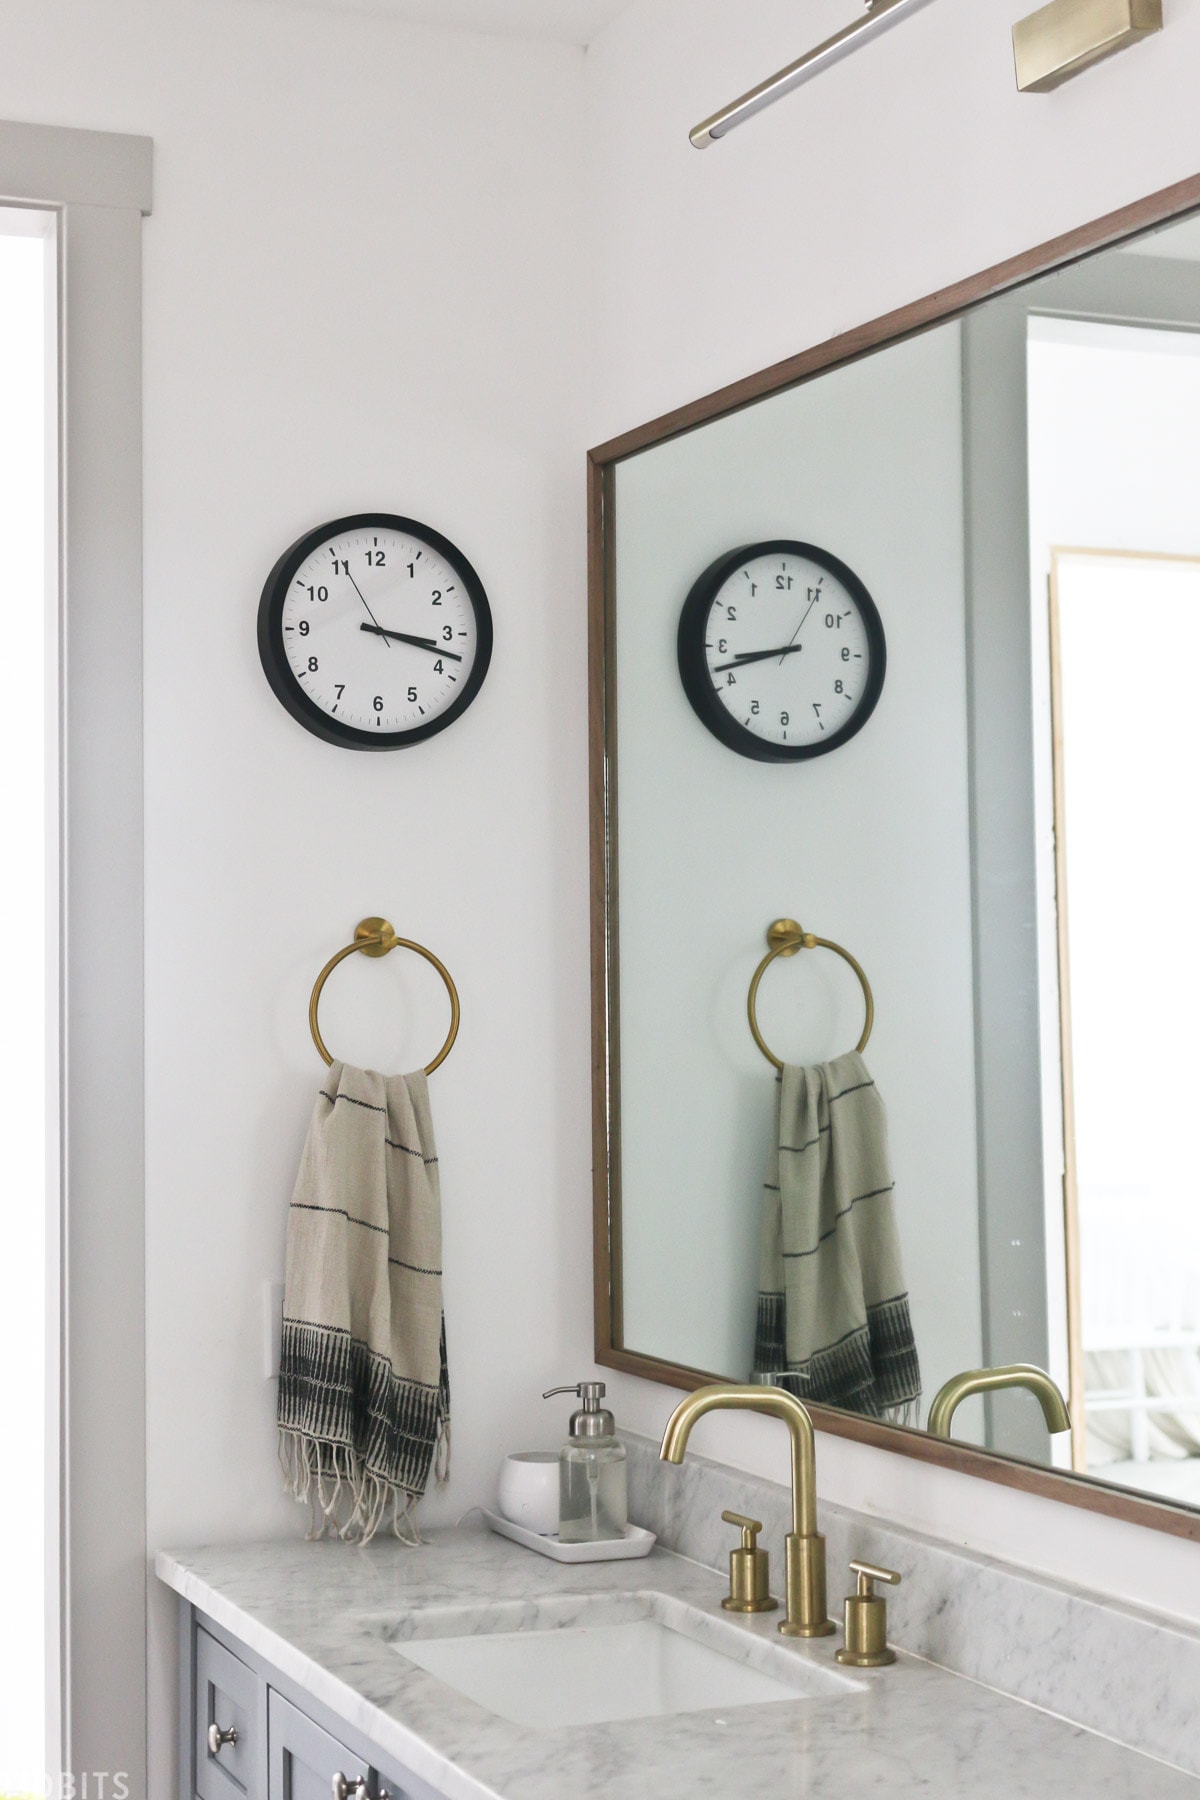
- Metal Frames: For a sleek and contemporary look, metal frames are an excellent choice. Aluminum, stainless steel, and brass are popular options that add a touch of sophistication to your bathroom mirror. Metal frames are also resistant to moisture, making them ideal for humid bathroom environments.
- Plastic Frames: Plastic frames are lightweight, affordable, and come in a wide range of colors and styles. They are easy to clean and maintain, making them a practical choice for busy households. Plastic frames are also resistant to moisture, making them suitable for bathroom use.
- Ornate Frames: If you’re looking to make a statement with your bathroom mirror, consider an ornate frame. These frames feature intricate designs and embellishments, adding a touch of luxury and elegance to your bathroom decor. Ornate frames are available in a variety of materials, including wood, metal, and resin.
- Frameless Options: For a minimalist and modern look, you may opt for a frameless mirror. Frameless mirrors create a seamless and clean aesthetic in your bathroom, perfect for contemporary design schemes. These mirrors are also versatile and can be customized to fit any size or shape.
Step-by-Step Guide: DIY Framing Process
Are you ready to give your bathroom mirror a makeover? Framing a mirror is a simple and budget-friendly DIY project that can instantly elevate the look of your bathroom. With the right tools and materials, you can achieve a professional-looking finish in no time. Follow this step-by-step guide to learn how to frame your bathroom mirror like a pro.
Gather Your Materials: Before you begin, gather all the necessary materials for the project. You’ll need a frame kit or molding, adhesive or double-sided tape, a saw, measuring tape, sandpaper, and paint or stain (if desired).
Measure Your Mirror: Start by measuring the dimensions of your mirror. This will help you determine the size of the frame needed. Measure both the width and height of the mirror, as well as the thickness if you plan to use molding.
Cut the Frame: Using a saw, cut the frame kit or mold it to the appropriate size according to your measurements. Make sure to cut the corners at a 45-degree angle for a seamless finish. Sand down any rough edges for a smooth surface.
Attach the Frame: Apply adhesive or double-sided tape to the back of the frame or molding. Carefully align the frame with the edges of the mirror and press firmly to secure it in place. Use a level to ensure the frame is straight and even.
Paint or Stain the Frame: If you prefer a custom finish, you can paint or stain the frame to match your bathroom decor. Apply a primer coat followed by your chosen paint or stain color. Allow the frame to dry completely before hanging the mirror back on the wall.
Hang the Mirror: Once the frame is dry and secure, hang the mirror back on the wall using the appropriate hardware. Make sure the mirror is level and securely attached to the wall.
Enjoy Your New Mirror: Step back and admire your handiwork! Your newly framed bathroom mirror will add style and personality to your bathroom space.

Tips and Tricks for a Professional Finish
Framing a bathroom mirror may seem like a daunting task, but with the right tips and tricks, you can achieve a professional-looking finish. From preparation to installation, here are some helpful tips to ensure your DIY framing project is a success.
Prepare the Surface: Before attaching the frame to your mirror, make sure the surface is clean and free of any dust, dirt, or residue. Use a mild cleaner and a soft cloth to wipe down the mirror and remove any debris.
Choose the Right Adhesive: When selecting an adhesive for attaching the frame to the mirror, opt for a strong and durable option that is specifically designed for use in bathrooms. Double-sided tape and adhesive caulking are popular choices that provide a secure hold.
Use a Level: To ensure your frame is straight and even, use a level during the installation process. This will help prevent crooked or uneven placement and ensure a professional-looking finish.
Consider Safety Precautions: If you’re using a saw to cut the frame or molding, be sure to wear appropriate safety gear, including goggles and gloves, to protect yourself from any potential hazards.
Take Your Time: Rushing through the framing process can lead to mistakes and uneven results. Take your time to measure accurately, cut precisely, and install the frame carefully for a polished and professional finish.
Customize Your Frame: Get creative with your frame by adding decorative accents or embellishments to customize the look to your taste. Consider adding trim, molding, or paint details to give your frame a unique and personalized touch.
Seek Inspiration: Don’t be afraid to browse home improvement stores or online resources for inspiration and ideas. Look for examples of framed bathroom mirrors that match your style and vision for your space.
Customizing Your Framed Mirror: Paint, Stain, or Decorative Accents
Once you’ve chosen the perfect frame for your bathroom mirror, it’s time to customize it to match your decor style and personal taste. Whether you prefer a classic wood finish, a sleek metallic look, or something more ornate, there are plenty of options for customizing your framed mirror. Here are some ideas to inspire you:
Paint: Painting your frame is a simple and cost-effective way to customize its look. Choose a paint color that complements your bathroom decor and apply a few coats for a smooth and even finish. You can also use painter’s tape to create patterns or designs for a more unique look.
Stain: If you prefer a more natural look, consider staining your frame instead of painting it. Stain enhances the natural beauty of the wood and adds warmth and depth to your bathroom mirror. Choose a stain color that matches your existing wood tones or opt for a contrasting shade for a bold statement.
Decorative Accents: Add decorative accents to your frame to give it a personalized touch. Consider adding trim, molding, or decorative appliques to enhance the look of your mirror. You can also incorporate elements like beads, shells, or crystals for a more eclectic and unique design.
Mirror Mosaic: Create a stunning focal point in your bathroom by incorporating a mirror mosaic into your frame. Cut small mirror tiles into different shapes and sizes and arrange them on the frame in a mosaic pattern. This eye-catching design will add texture and dimension to your mirror.
Vinyl Decals: Vinyl decals are an easy and affordable way to customize your frame with intricate designs or patterns. Choose from a variety of designs, such as florals, geometric shapes, or quotes, and apply them directly to the frame for a quick and stylish update.
Hardware Accents: Incorporate hardware accents into your frame for a more industrial or modern look. Add metal corner brackets, drawer pulls, or decorative screws to the corners of the frame for added visual interest and texture.
Personal Touches: Finally, don’t forget to add personal touches to your framed mirror to make it truly your own. Consider adding a monogram, family crest, or meaningful quote to the frame for a personalized touch that reflects your personality and style.

Budget-Friendly Alternatives and Creative Ideas
Framing a bathroom mirror doesn’t have to break the bank. There are plenty of budget-friendly alternatives and creative ideas to achieve a stylish look without spending a fortune. Whether you’re working with a tight budget or simply looking for ways to save money, here are some cost-effective options to consider:
Repurpose Old Frames: Instead of purchasing a new frame, consider repurposing old frames from thrift stores or flea markets. With a fresh coat of paint or stain, you can transform an outdated frame into a stylish and unique addition to your bathroom decor.
DIY Molding: If you’re handy with tools, consider making your molding for the frame. Purchase inexpensive wood trim from the hardware store and cut it to size using a saw. Sand down any rough edges and paint or stain the molding to match your bathroom decor.
Use Mirrored Tiles: Instead of framing the entire mirror, use mirrored tiles to create a border around the edges. Mirrored tiles are affordable and easy to install, and they add a touch of glamour to your bathroom mirror without the need for a traditional frame.
Vinyl Stick-On Frames: Vinyl stick-on frames are a budget-friendly alternative to traditional framing. These adhesive frames are easy to apply and come in a variety of styles and designs to suit your decor. Simply peel and stick the frame directly onto the mirror for an instant update.
Painted Borders: Create a faux frame by painting a border directly onto the mirror. Use painter’s tape to create clean lines and paint the border in a color that complements your bathroom decor. This budget-friendly option adds visual interest to your mirror without the need for a separate frame.
Decorative Tape: Decorative tape is another affordable option for adding a frame-like border to your mirror. Choose from a variety of patterns and colors and apply the tape directly onto the mirror for a quick and easy update. Decorative tape is removable and won’t damage the mirror surface, making it a great temporary solution for renters.
Mirror Clips: If you prefer a minimalist look, consider using mirror clips to secure the mirror to the wall instead of framing it. Mirror clips are affordable and easy to install, and they create a sleek and modern look that allows the mirror to stand out on its own.
With these budget-friendly alternatives and creative ideas, you can achieve a stylish and personalized look for your bathroom mirror without breaking the bank. Whether you repurpose old frames, use mirrored tiles, or get creative with paint and tape, there are plenty of ways to frame your mirror on a budget.

Common Mistakes To Avoid
Framing a bathroom mirror is a rewarding project that can instantly elevate the look of your bathroom. However, there are some common mistakes that DIYers often make when undertaking this task. By being aware of these pitfalls, you can ensure a successful framing project. Here are some common mistakes to avoid:
Not Measuring Properly: One of the most crucial steps in framing a bathroom mirror is accurate measurement. Failing to measure the mirror and frame correctly can result in a frame that doesn’t fit properly or is uneven. Take the time to measure the dimensions of your mirror accurately before purchasing or cutting materials for the frame.
Choosing the Wrong Materials: Selecting the wrong materials for your frame can impact both the aesthetics and durability of the finished product. Make sure to choose materials that are suitable for bathroom use and can withstand moisture and humidity. Avoid using materials that are prone to warping or deteriorating in a wet environment.
Skipping Surface Preparation: Proper surface preparation is essential for ensuring the frame adheres securely to the mirror. Skipping this step or not thoroughly cleaning the mirror surface can result in poor adhesion and an unstable frame. Take the time to clean the mirror surface thoroughly and remove any debris or residue before attaching the frame.
Ignoring Safety Precautions: When cutting materials for the frame or using power tools, it’s essential to prioritize safety. Failing to wear appropriate safety gear, such as goggles and gloves, can result in accidents or injuries. Always follow safety guidelines and use caution when handling tools and materials.
Rushing the Installation Process: Installing the frame too quickly or without proper care can lead to mistakes and a subpar finished product. Take your time during the installation process to ensure the frame is aligned correctly, level, and securely attached to the mirror and wall. Rushing through this step can result in a crooked or unstable frame.
Neglecting to Seal Joints: If you’re using multiple pieces of molding or trim to create the frame, it’s crucial to seal the joints properly. Failing to do so can leave gaps or seams that detract from the overall look of the frame. Use wood glue or adhesive caulking to seal joints and ensure a seamless finish.
Not Considering Lighting: Lighting plays a significant role in showcasing your framed mirror and enhancing its visual appeal. Failing to consider lighting when selecting materials or installing the frame can result in shadows or uneven illumination. Make sure your bathroom is well-lit with overhead lighting or wall sconces to highlight the framed mirror effectively.
Overlooking Style Compatibility: When choosing a frame for your bathroom mirror, it’s essential to consider the overall style and decor of your bathroom. A frame that clashes with the existing decor can detract from the cohesive look of the space. Choose a frame that complements your bathroom’s style and color scheme for a harmonious finish.
How to Frame a Bathroom Mirror – Budget Friendly DIY Project
DIY Stick-On Mirror Frame – Sawdust Sisters

How to Frame a Bathroom Mirror – Budget Friendly DIY Project

DIY: How to Frame A Builder-Grade Bathroom Mirror – Home and Hallow
How to DIY Upgrade Your Bathroom Mirror With a Stained Wood Frame
How to Frame a Bathroom Mirror

How to Make a DIY Mirror Frame – Rock Solid Rustic

How to Frame a Mirror with Wood u2014 Tag u0026 Tibby Design
Related Posts:
- Illuminated Bathroom Mirror Sale
- Bathroom Mirrors With Storage Behind
- Bathroom Mirrors Over Sink
- Small Round Bathroom Mirror
- Distressed White Bathroom Mirror
- Large Bathroom Mirror Medicine Cabinet
- Illuminated Bathroom Mirror With Shaver Point
- Curved Bathroom Mirror Cabinet
- Framing An Existing Bathroom Mirror
- Bathroom Mirrors White Wood


